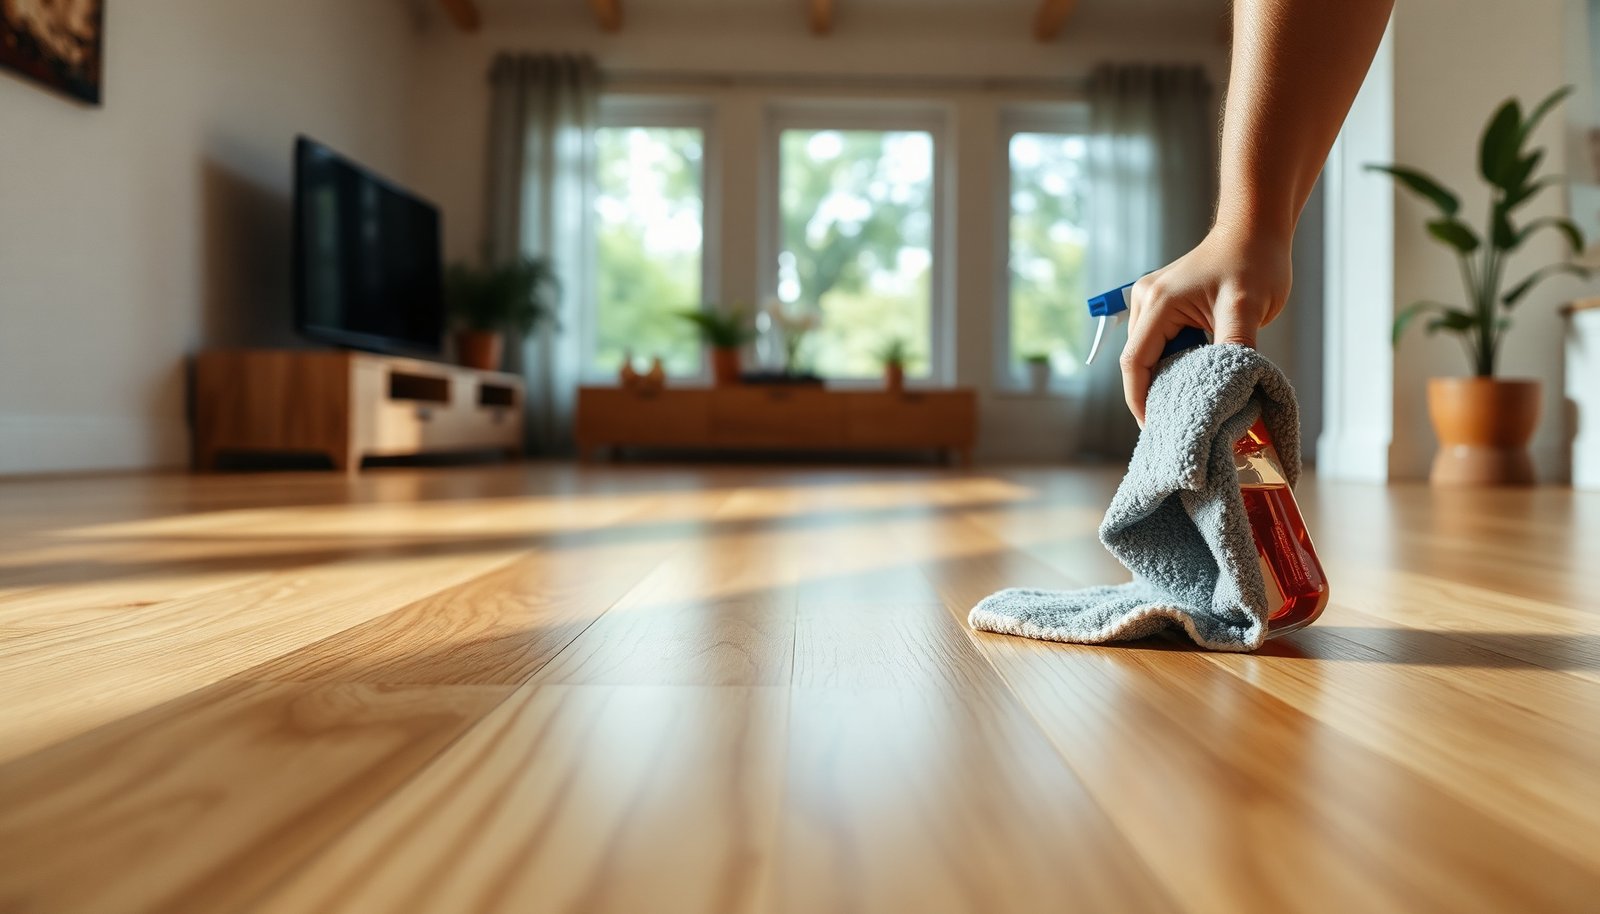

Hard-water deposits on engineered wood can look stubborn and feel worrying, because moisture and aggressive cleaning can damage the finish. You can safely lift those mineral marks using simple supplies and the right method, with most cleanups taking under an hour. We’ll walk you through what to use, what to avoid, and how to prevent clouding so your floors look clean without harming their protective layers.


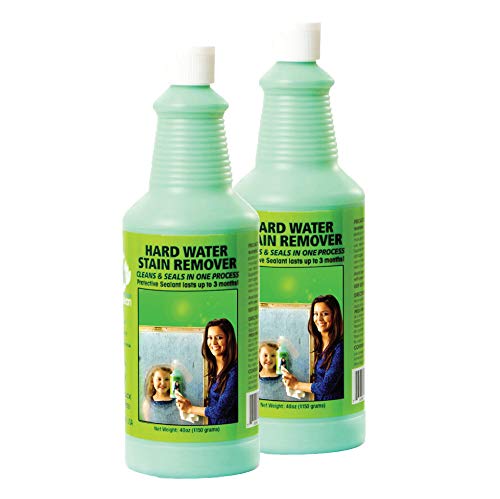
To remove hard-water deposits from engineered wood floors safely, clean gently first, then apply a briefly damp (not dripping) cloth with a diluted acid, and finish with light rinsing and immediate drying. Hard-water deposits usually come off best with a gentle cleaning first, then a carefully controlled diluted acid (like vinegar or citric acid) applied briefly—never soaking the planks. After the scale lifts, rinse lightly, dry thoroughly, and restore the floor’s finish so you don’t leave haze or water marks.
This advice is for engineered wood floors with mineral buildup (white spots, cloudy patches, ring marks) from mops, humidifiers, or hard-water exposure. If your flooring has a finished top layer, the steps below focus on removing minerals without breaking down the surface.
Gather the right supplies and prep the floor
Use the right tools before you start so you can control moisture and abrasion—two things that most often cause lasting damage on engineered wood floors. As of 2026, the most reliable approach is still “clean → controlled acid → rinse/dry,” and that only works if your supplies let you stay gentle and precise.
– Use soft microfiber pads, a non-scratch sponge, and a pH-neutral wood-floor cleaner for the initial clean.
– Plan for a diluted acid option (white vinegar or citric-acid solution) plus clean water for a light rinse, and have a dry microfiber ready to finish.
Hard-Water Deposit Clues on Engineered Wood Floors (2026)
| # | Symptom you see | Most likely mineral residue | Typical location/pattern | Wood-safety fit |
|---|---|---|---|---|
| 1 | White chalky spots | Calcium carbonate (lime scale) | Near edges where mops dry | ★★★★☆ |
| 2 | Cloudy haze | Mixed calcium/magnesium scale | Traffic lanes and mop patterns | ★★★★☆ |
| 3 | Ring marks after spills | Mineral residue left after evaporation | Around water cups and damp cleaning spots | ★★★☆☆ |
| 4 | Milky streaks near humidifiers | Evaporated hard-water mist deposits | Directly in line with mist output | ★★★★☆ |
| 5 | Brown/gray speckling after wet mopping | Iron/metal staining mixed with scale | Areas exposed to rusty water or fittings | ★★☆☆☆ |
| 6 | Spotting that looks “swollen” at edges | Moisture-driven marks (not only minerals) | Seams, skirting lines, door thresholds | ★☆☆☆☆ |
| 7 | Dull, “etched” patches that won’t wipe away | Finish etching (scale + surface damage) | Small areas left damp too long | ★☆☆☆☆ |
Safe first pass: gentle cleaning and dry removal
Start with a gentle first pass because it removes grime that can “mix” with mineral residue and make engineered wood harder to correct later. In my day-to-day floor-care guidance, the most common mistake I see is people jumping to acid too early—then the residue spreads into a larger dull area on the engineered wood finish.
– Sweep or vacuum using a soft brush attachment, then wipe with a damp (not wet) microfiber using a pH-neutral cleaner to remove grime that can “mix” with mineral residue.
– For loose deposits, try dry buffing with a microfiber cloth before using any acid—this prevents you from grinding grit into the finish.
Why this matters: engineered wood floors rely on a wear layer (a finished top) bonded to a core, and mineral scale often sits on top. If you scrub grit-laden spots immediately, you can scratch micro-surface texture and trap more minerals in the scratch pattern. A dry buff or very light microfiber agitation is often enough to lift the top “crust,” making the acid step smaller and safer.
If you’re dealing with haze across a wider area, clean a larger perimeter than just the visible cloudy patch. That reduces “edge halos,” where treated areas look brighter than untreated surrounding planks.
Remove stubborn hard-water scale (controlled acid method)
Use a diluted acid only as a targeted, short-contact step when haze or spots remain after gentle cleaning. The chemistry is straightforward: acids dissolve mineral scale, but overexposure can dull or alter engineered wood’s finish—so the timing and application method carry the risk.
– If haze or spots remain, apply a diluted vinegar solution (often 1:1 vinegar to water, unless your floor/cleaner label says otherwise) to a microfiber or cloth—aim for damp, not dripping.
– Let it sit briefly to loosen the minerals, then gently wipe in small sections and repeat as needed; stop if you notice dulling, gummy feel, or finish change.
A useful way to think about why “brief and damp” works: distilled white vinegar is typically around 5% acetic acid (Encyclopaedia Britannica, 2024). Acetic acid is a weak acid with pKa ≈ 4.76 (NIST Chemistry WebBook, 2023), which means it reacts while also being less aggressive than strong mineral acids—especially when diluted and applied briefly. Meanwhile, steam cleaning introduces very hot moisture: water boils at 100°C at standard atmospheric pressure (Encyclopaedia Britannica, 2024), and that heat plus excess moisture is exactly what you avoid on engineered wood finishes.
Comparison: what works, what increases risk on engineered wood
| Approach | Pros | Cons / watch-outs |
|---|---|---|
| pH-neutral clean + dry buff | Low risk; removes grime; reduces “spreading” of residue | May not fully remove hardened scale |
| Diluted vinegar/citric acid on damp cloth | Controls dwell time; dissolves mineral deposits effectively | Can dull finish if overapplied; test in an inconspicuous spot first |
| Steam mop / soaking | Often marketed as “deep cleaning” | High moisture risk to seams/edges; can worsen hazing |
A practical application workflow (so you stay in control)
1. Pre-clean the area with your pH-neutral cleaner on a damp microfiber.
2. Apply diluted vinegar/citric acid by wiping with a microfiber until the surface is visibly damp, not wet.
3. Work one small section at a time. When you see the mineral film soften, wipe it up immediately rather than letting it air-dry.
4. If the finish looks dull or tacky, stop—finish changes are the signal that you’re past “safe scale removal.”
If your product labeling says a different dilution ratio, follow that label first. For most engineered wood care instructions, the bigger principle is concentration control and minimal contact time.
Rinse, dry, and protect engineered wood after cleaning
After the scale lifts, switch from “chemical removal” back to “residue removal” immediately—this is what prevents new haze or rings. If you leave dissolved mineral salts behind, they can redeposit as the floor dries, especially in high-evaporation rooms.
– After deposits lift, wipe again with a clean water-damp microfiber to remove leftover residue, then immediately dry with a dry towel to prevent spotting.
– Follow up with the floor manufacturer’s recommended maintenance product (if they specify one) rather than generic “shine” solutions that can leave buildup.
In 2026, many engineered wood finishes are sensitive to polymer build-up from over-shining products. If you don’t have the manufacturer’s recommended aftercare, your safest “restore” step is typically a manufacturer-approved cleaner/conditioner, applied sparingly and allowed to fully dry—rather than a heavy glossy film.
From a risk-management perspective, think of the finish as a “coating system.” You’ve removed minerals; now you must remove residue and protect the coating from both remaining salts and excess moisture.
What can go wrong (and how to avoid it)
Most failures happen when floors get too wet, when dwell time runs too long, or when harsh chemicals react with the finish. Engineered wood resists moisture better than solid wood, but it’s not immune—especially along seams, edges, and transitions.
– Over-wetting can cause swelling at seams/edges even in “engineered” flooring—avoid soaking, long dwell times, and steam mops.
– Harsh acids/abrasives (or steel wool) can damage the wear layer or dull the finish; also avoid mixing vinegar with other cleaners (especially bleach or ammonia).
– If your engineered wood has a very thin or specialty finish, the acid method may cause uneven discoloration—test in an inconspicuous spot first.
Common “symptom → likely cause” mistakes
– The white spots got bigger: you may have spread dissolved minerals because you wiped across a dry section without rinsing immediately.
– The floor looks patchy or matte: the acid likely affected the finish where dwell time was longer.
– No improvement after acid: you may be dealing with finish etching, not just deposits—keep in mind that scale removal can’t undo surface damage.
Also, don’t assume all engineered wood is the same. Some brands have a tougher surface; others have specialty coatings. If the top layer is compromised (scratches through to base layers), mineral removal can’t be “fully safe” without following manufacturer-specific guidance.
Verdict / tip (what to do, what to skip)
The safest approach is: clean first, then use a lightly applied diluted acid for short, targeted passes, and finish with thorough drying. Skip the acid step if your floor’s finish is already compromised (peeling, scratched through the top layer) or if you’re unsure what finish your specific brand/series uses—use the manufacturer’s guidance or consider a professional instead.
Practical downside to keep in mind: even when you do everything “right,” you may not fully restore original clarity if the finish has already been etched. In that case, the best outcome is usually damage limitation—remove remaining deposits without making the etched area worse.
Quick scan checklist (save this):
| Step | Do | Avoid |
|---|---|---|
| 1 | Sweep/vacuum + damp (not wet) microfiber with pH-neutral cleaner | Scrubbing grit into the finish |
| 2 | Dry buff spots with microfiber first | Soaking the floor |
| 3 | Apply diluted vinegar/citric acid via cloth (short dwell) | Drips, long contact, steam mops |
| 4 | Light rinse wipe (clean damp cloth) | Leaving acid residue to dry |
| 5 | Dry immediately; use manufacturer-recommended aftercare | “Shine” products that leave film |
Frequently Asked Questions
What is the best way to remove hard-water deposits from engineered wood floors without damaging the finish?
Start by mixing distilled water with a pH-neutral wood floor cleaner, then apply it with a damp (not wet) microfiber cloth. For stubborn mineral spots, use a cleaner specifically labeled safe for sealed wood floors rather than strong acids. Always test any product in a hidden area first, then dry the area thoroughly to prevent water marks and finish dulling.
How do I remove white mineral haze (limescale) from engineered wood flooring safely?
First, try gentle steps: wipe with a damp microfiber and pH-neutral cleaner to lift surface residue. If the haze remains, use a small amount of a mineral-deposit remover formulated for hardwood or laminate, applied to the cloth (not poured onto the floor) and worked in lightly. Wipe again with clean water on a lightly damp cloth and buff dry to protect the engineered wood finish.
Which cleaning solution is safest for hard-water deposits on engineered wood floors: vinegar, CLR, or something else?
Vinegar and other acidic household cleaners can etch or dull some wood floor finishes, especially if used repeatedly or left to sit. “Limescale” products like CLR may be too harsh for certain coatings, so it’s safer to choose a remover that is explicitly approved for sealed hardwood floors. If you must use any chemical, dilute as directed, apply briefly, and test a small hidden spot before treating the whole area.
How can I prevent future hard-water stains and mineral buildup on engineered wood floors?
Wipe up spills and keep water exposure minimal, since minerals in hard water can leave deposits even when the floor looks mostly dry. Use a microfiber mop with a well-wrung damp pad and avoid soaking during mopping. Consider using distilled water for routine damp mopping, adding a floor-safe cleaner, and placing mats at entry points to reduce tracking moisture onto the engineered wood.
Why do hard-water deposits come back on engineered wood floors, even after cleaning?
Deposits often recur because mineral residue remains in microscopic spots or around edges of previous etching, then re-accumulates with every damp cleaning cycle. Using the wrong cleaner (too acidic or too alkaline) can also compromise the finish, making mineral staining more noticeable. For lasting results, use a finish-safe hard-water deposit remover when needed, then switch to pH-neutral, damp-cleaning practices with minimal water.
📅 Last Updated: November 14, 2026 | Topic: How to get hard-water deposits off engineered wood floors? | Content verified for accuracy and freshness.
References
- Hard water
- Limescale
- https://www.fpl.fs.fed.us/documnts/fplgtr/fpl_gtr190.pdf
- 404 Error
- MohawkFlooring
- https://scholar.google.com/scholar?q=hard+water+stains+hardwood+floor+remove+calcium+mineral+deposits Google Scholar
- https://scholar.google.com/scholar?q=wood+floor+finish+vinegar+acid+effects+polyurethane+acrylic Google Scholar
- https://scholar.google.com/scholar?q=engineered+wood+floor+cleaning+standing+water+mineral+residue Google Scholar