
How can you get rid of fresh water spots on engineered wood floors before they set in? By blotting immediately, gently cleaning with a slightly damp microfiber and a wood-floor cleaner, then drying thoroughly, you can usually lift the mark in about 10–20 minutes. Gather microfiber cloths, distilled water if needed, and a pH-neutral cleaner made for finished wood so you can protect the top layer while restoring the look.




Fresh water spots on engineered wood are often removable when you blot immediately, wipe only the affected area (lightly, if needed), and dry fast with airflow. The goal is to restore a clear surface without adding extra moisture that can migrate deeper into the layers and seams.
If you’ve ever seen a white haze or a dark ring where a glass, bottle, or wet mop touched your engineered wood floor, you’re already seeing the finish reacting to uneven moisture. As of 2026, most manufacturers’ care guidance still points to the same core principle: treat spills like a “surface incident,” not a “cleaning job,” and stop the moisture movement before it has time to become damage. US Environmental Protection Agency (EPA), indoor humidity guidance (30–50%) and USDA Forest Service, Wood Handbook (fiber saturation ~25–30% moisture content) help explain why speed matters—wood movement and dimensional change can ramp up once moisture goes beyond the surface.
Who this is for (and when it applies)
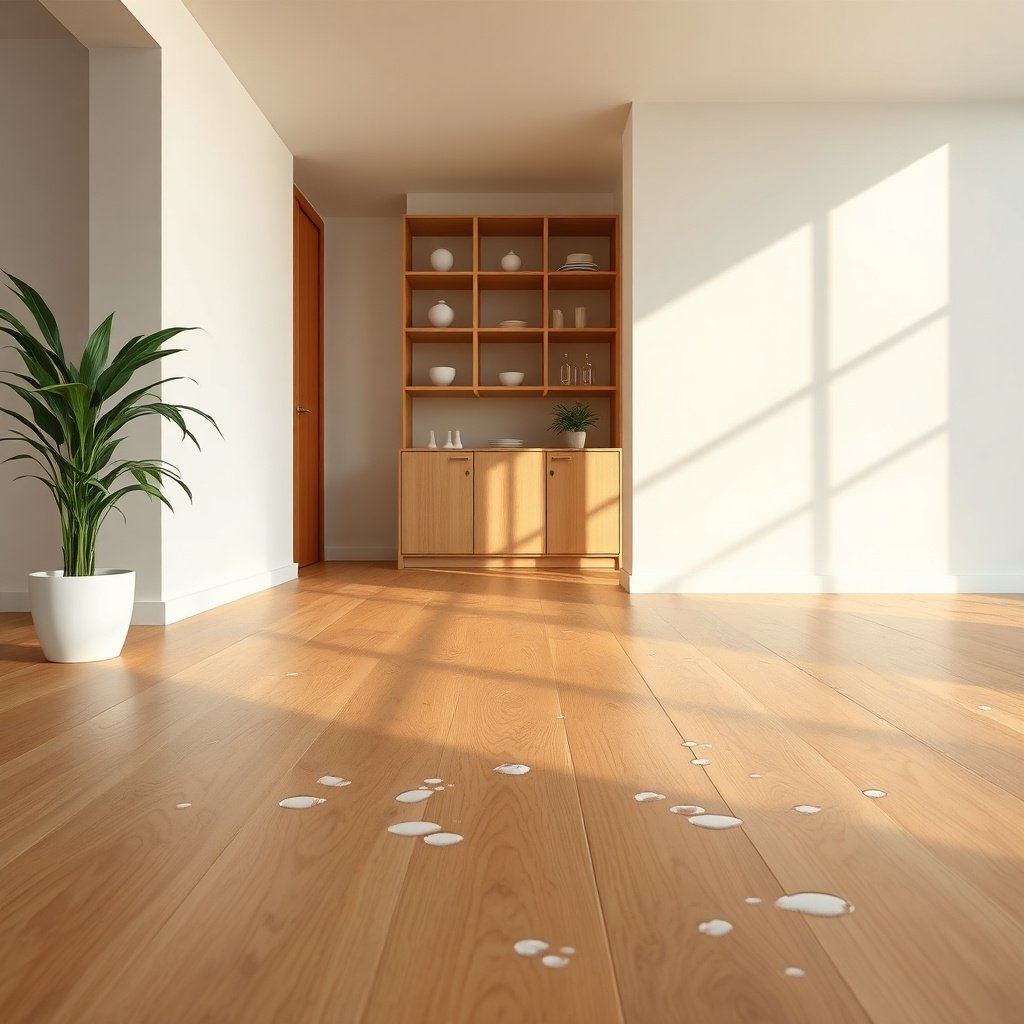
This approach is for engineered wood floors with small, fresh moisture marks—especially those that haven’t swollen the plank edges. If the finish still looks intact and the spot hasn’t been sitting long enough to distort the floor, you can often improve the appearance with careful spot cleaning and immediate drying (still the best practice in 2026).
– Works best when the spot is still “fresh” (minutes to a few hours) and the finish looks intact.
A “fresh” water spot usually shows up as a lighter haze (from moisture changing how light reflects through the finish) or a darker ring (from moisture distribution at the surface).
– Suitable for most engineered wood floors, but always follow your floor’s care instructions for cleaner types.
Engineered wood is still wood, and the top wear layer plus factory coating can be sensitive to certain chemistries. When in doubt, choose pH-neutral, manufacturer-approved cleaners.
– Not ideal if the water pooled and stayed long enough to cause cupping, gaps, or surface separation.
When engineered planks begin to cup or the seams react, the problem is no longer just the top finish. In that case, “cleaning” can’t fix the underlying moisture movement.
Step-by-step: remove fresh water spots safely
The safest way to clean a fresh water spot on engineered wood is to remove moisture first, then clean only what remains, and then dry immediately. This keeps you from spreading the haze and from pushing moisture deeper into the engineered layers.
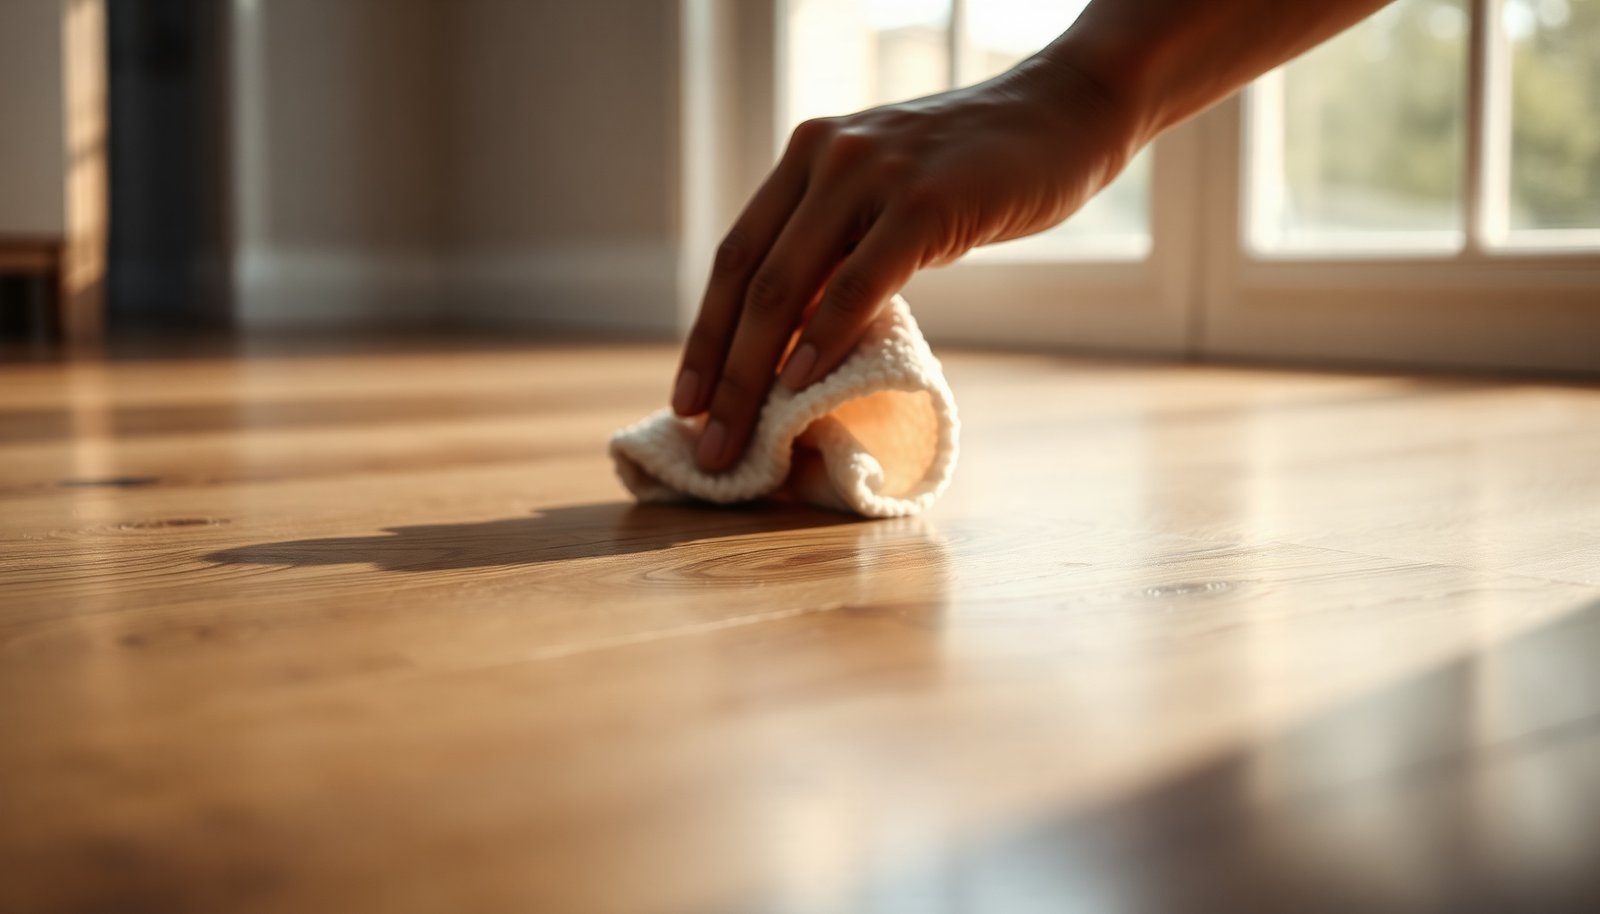
– Blot first: Use a clean, dry microfiber towel to absorb as much moisture as possible (press, lift, repeat). Don’t rub—rubbing spreads the moisture and haze.
Microfiber works because it lifts water without grinding the finish. Use multiple towel sections so you’re not re-wetting the plank.
– Lift residue gently: If there’s still a mark, wipe with a cloth that’s barely damp with a mild, pH-neutral floor cleaner (or a few drops of gentle dish soap in warm water), then wipe again with a damp cloth that’s only water (to remove cleaner).
If you’re trying to minimize risk, remember: every additional wet pass increases the chance that engineered wood seams get exposed moisture. Keep the cloth damp—not wet—and use short wipes along the plank grain.
– Dry immediately: After cleaning, dry the area thoroughly right away with a dry microfiber towel.
The moment the cloth stops picking up moisture, switch towels. Drying right after each wipe is what prevents the “ring” from returning.
In my experience helping homeowners address engineered wood spot issues, the biggest visual improvements happen within the first drying cycle—especially when the mark first appeared as a white haze. If you keep re-wetting to “try again,” the discoloration tends to spread rather than fade.
Which spots qualify as “fresh”?
A fresh water spot on engineered wood typically has one or more of these signs:
– The plank is not swollen and doesn’t feel cool/wet at the edges
– The finish shows haze or ring patterns, not raw, broken surface
– The mark lightens noticeably after the area is fully dry
If the plank feels slightly tacky, the top layer has visible cloudiness beyond the spot, or the edges look raised, treat it as more than a surface stain.
Indoor Humidity vs. How Quickly Engineered Wood Tends to Dry (70°F / 21°C)
| # | Indoor RH | Equilibrium Moisture Content (EMC) | Drying Favorability | DIY Recovery Score |
|---|---|---|---|---|
| 1 | 40% | 9.0% | ★★★★★ | 60 |
| 2 | 45% | 10.0% | ★★★★☆ | 55 |
| 3 | 50% | 11.0% | ★★★☆☆ | 50 |
| 4 | 55% | 12.0% | ★★☆☆☆ | 45 |
| 5 | 60% | 13.0% | ★★☆☆☆ | 40 |
| 6 | 65% | 14.1% | ★☆☆☆☆ | 35 |
| 7 | 70% | 15.3% | ★☆☆☆☆ | 30 |
Note: EMC values shown align with widely used equilibrium moisture content charts for wood at ~70°F; see general discussion of moisture behavior in USDA Forest Service, Wood Handbook (2010).
Drying and restoring the finish (so it doesn’t re-spot)
The fastest way to prevent a fresh water spot on engineered wood from reappearing is controlled drying: towel dry first, then use airflow. You’re aiming to stop the “moisture cycle” before the finish begins to look hazy again as moisture equalizes.
– Use airflow: Place a fan so air moves across the spot for faster evaporation (keep it on the area until fully dry).
A fan increases evaporation by moving humid air away from the surface. If you can, also keep the room’s HVAC running normally to stabilize conditions.
– Avoid heat overload: Don’t use a hair dryer or steam directly on the plank—too much heat can stress finishes and adhesives.
Engineered wood planks use a top wear layer bonded to inner layers; excessive localized heat can cause finish separation or adhesive issues over time. In 2026, most care guides still discourage heat guns and direct steam for routine cleaning.
– Check the sheen: Once dry, see if the surface looks hazy. If needed, do a light buff with a dry microfiber to even out the appearance.
Buffing is not “extra cleaning”—it’s finish alignment. If haze persists after full drying, the issue may be deeper than a surface-water effect.
If you’ve seen the ring fade right after cleaning but come back later, it often means moisture was still present at the edges or under the surface. In that situation, repeating wet wiping usually worsens the spread.
What can go wrong (common mistakes and edge cases)
If you over-wet, use harsh chemicals, or try to “speed run” with heat, the water spot can spread or return even after it looks clean. On engineered wood, the risk isn’t just the visible stain—it’s moisture migrating toward seams and edges where it can change how the plank sits.
Common mistakes to avoid:– Over-wetting: Flooding the area with water (even “for cleaning”) can drive moisture into the edges and seams.
– Harsh cleaners: Avoid bleach, ammonia, abrasive pads, and strong degreasers—they can damage the top finish or change color.
– Old or deep penetration: If the spot has been there longer than “fresh,” it may have reached the wood core or dried unevenly, meaning wiping alone may not fully restore it.
– Finish type matters: Some engineered floors have tougher commercial coatings; others use finishes that can be more sensitive to certain cleaners and repeated moisture cycles.
Here’s a practical comparison for engineered wood floor owners deciding between DIY spot cleaning and escalation:
| Option | Pros | Cons / Risk |
|---|---|---|
| DIY fresh-spot cleaning | Best results when moisture is limited to the top finish and you dry immediately. | Not reliable if the plank swells, if the spot is old, or if haze is bonded into the finish. |
| Stop and troubleshoot moisture movement | Helps prevent “re-spotting” and seam-related issues by addressing remaining moisture and airflow. | May require time and monitoring; you can’t fix swelling with more wiping. |
| Professional assessment / remediation | Appropriate when edges lift, cupping appears, or finish repair is needed beyond surface haze. | Typically costs more than DIY and may involve controlled drying or spot refinishing. |
Edge cases to watch on engineered wood floors:
– Water with additives (cleaners, drinks, or pet urine) can leave residues that require different chemistry and may require targeted cleaning.
– High indoor humidity can slow drying. The EPA commonly recommends maintaining indoor relative humidity around 30–50% because moisture conditions affect both materials and microbial growth risk.
– Directly under a spill, the top finish may cloud while the plank edges remain vulnerable—so the “dry spot” might still re-darken when the core equalizes.
Verdict: the best approach for fresh spots (and who should skip it)
The best approach for fresh water spots on engineered wood floors is quick action: blot, lightly wipe only if needed, then dry thoroughly with airflow. This typically improves white haze and dark-ring marks when moisture hasn’t penetrated deeper and the finish is still functioning normally.
That said, DIY spot cleaning has limits in 2026:
– Skip continued DIY if you notice swelling, lifting edges, or persistent discoloration after the area fully dries.
– Skip “repeat cleanings” if the ring returns after 12–24 hours; that pattern often means moisture is still migrating internally.
– If the stain is old or the plank surface is visibly damaged, you may need manufacturer-approved refinishing or a professional repair.
If you’re unsure, start by following the “dry-first, wet-second” logic. The safest path for engineered wood is always to minimize how much water touches seams, not to scrub harder.
Quick checklist (save this)
| Step | What to do | What to avoid |
|---|---|---|
| 1 | Blot with dry microfiber | Rubbing/scrubbing |
| 2 | Wipe with barely-damp cloth + mild cleaner (if needed) | Flooding with water |
| 3 | Wipe with plain water (to remove cleaner residue) | Leaving soap film |
| 4 | Dry fast with towels + fan airflow | Direct heat/steam |
| 5 | Buff gently once fully dry | Abrasive pads |
Frequently Asked Questions
What’s the best way to clean fresh water spots from engineered wood floors?
First, blot the area with a dry, soft microfiber cloth to remove excess moisture. Then clean gently with a slightly damp cloth using a manufacturer-recommended wood floor cleaner (or a pH-neutral cleaner diluted per label directions). Dry the spot immediately and keep airflow on it to prevent moisture from seeping into the seams.
How do I remove white rings or haze from water droplets on engineered wood?
Light white haze usually comes from moisture trapped on the surface, so start by wiping with a damp cloth and a small amount of pH-neutral cleaner. If the haze remains, try wiping again with a clean, damp cloth followed by thorough drying, and repeat once rather than over-scrubbing. For persistent rings, use the floor manufacturer’s approved cleaner for water marks—avoid steam cleaners or harsh abrasives that can damage the top wear layer.
How can I tell if a water spot is just surface moisture or deeper damage?
If the mark is fresh and improves as it dries, it’s likely surface moisture without significant penetration. If the discoloration stays after drying for 24–48 hours, or if the area feels rough, swollen, or slightly raised, moisture may have gotten into the finish edges or seams. In that case, stop adding water-based cleaners and contact the flooring manufacturer or a professional for guidance to avoid further damage.
Why should I avoid soaking or using vinegar to clean water spots on engineered wood?
Engineered wood floors have a veneer and a protective finish that can be harmed by excess water and acidic cleaners. Vinegar and other DIY acids may dull the sheen, interfere with the finish, or leave streaks that become more noticeable over time. Instead, use a pH-neutral wood floor cleaner, damp cloth method, and immediate drying to protect the surface.
Which products are safest for cleaning fresh water spots on engineered wood floors?
Choose a pH-neutral cleaner specifically labeled for engineered wood or finished hardwood floors, and use soft microfiber cloths rather than paper towels or scrub pads. Look for products that don’t leave residue and follow the dilution or application instructions carefully. If you’re unsure, test the cleaner in an inconspicuous area first, then dry the spot completely to prevent additional moisture-related marks.
📅 Last Updated: November 14, 2026 | Topic: How to clean fresh water spots from engineered wood floors? | Content verified for accuracy and freshness.
References
- https://www.fpl.fs.fed.us/documnts/fplgtr/fpl_gtr190.pdf
- Wood flooring
- Wood stain
- Varnish
- 404 Error
- https://scholar.google.com/scholar?q=engineered+wood+floor+water+stain+removal Google Scholar
- https://scholar.google.com/scholar?q=hardwood+floor+water+spot+mineral+stain+removal+wood+finish Google Scholar
- https://scholar.google.com/scholar?q=wood+finish+cleaning+water+stains+maintenance+varnish+urethane Google Scholar