


Learn how to clear dirt from hardwood floors with quick, safe steps that won’t grind grime into the finish or damage the wood. If you want the fastest, lowest-risk method, start with dry removal using a vacuum with a soft brush or a microfiber mop, then spot-clean with a barely damp cloth and a hardwood-safe cleaner. Follow with thorough drying and light buffing so the surface stays clean, smooth, and protected.
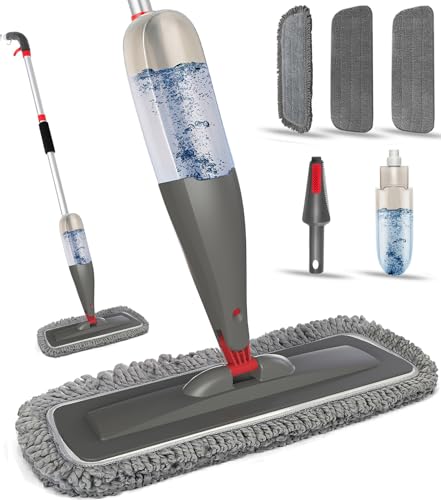

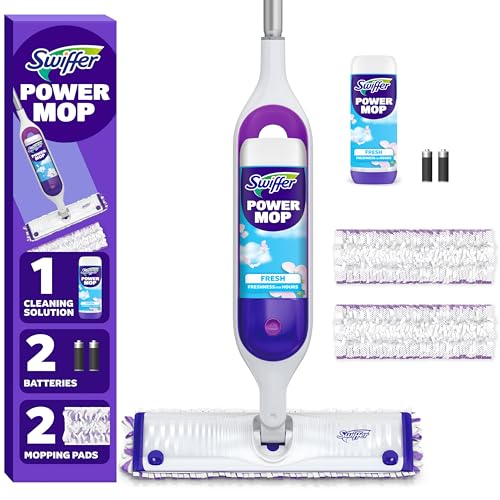

To clear dirt from hardwood floors safely, start by dry-sweeping or vacuuming (without a beater brush) to remove grit, then mop with a slightly damp microfiber using a wood-safe cleaner. Spot-clean scuffs gently and dry the surface right away—this lifts grime without letting moisture damage the finish or the wood itself.
If you’re dealing with everyday dust, sticky spots, or tracked-in grime, the steps below help you clean without dulling or warping your floor. This is especially useful in 2026, when many households are trying to reduce chemical exposure and avoid oversaturating wood.
If you’re a homeowner, property manager, or facility caretaker maintaining polyurethane- or wax-finished hardwood, these steps focus on damage prevention first. They’re also a good fit when you’re unsure what finish you have, because the workflow starts with dry removal and uses only light, controlled moisture.
Prep the floor: remove grit first

Start by removing loose grit dry, because grit is what causes most finish scratching and dulling on hardwood floors. In practice, clearing debris first also makes your subsequent damp mopping work far more efficiently.
Vacuuming or dry-sweeping first helps prevent abrasive particles from being dragged across the hardwood finish during mopping.
Many hardwood-floor care guides recommend using a “hard floor” vacuum setting and avoiding beater bars or rotating brushes that can grind grit into the surface.
Edges and high-traffic pathways collect the most sand-like debris, so they benefit the most from thorough dry prep on hardwood floors.
– Sweep or vacuum thoroughly to get loose dirt off before you use any liquid.
– Use a microfiber dust mop or vacuum set to “hard floor,” and skip beater bars or rotating brush heads.
– Focus on edges and high-traffic paths where grit collects.
Why this step matters (especially for scratch-prone hardwood floors)
Hardwood floors typically have a surface finish (like polyurethane, aluminum-oxide, or an oil/wax topcoat) that provides stain and wear protection. However, sand-like particles and gritty dust can still act like micro-abrasives. When you mop over grit, you may not “see” the damage immediately—but repeated dragging can leave a hazy or worn-looking zone over time.
According to the National Wood Flooring Association (NWFA) wood floor care guidance (n.d.), routine cleaning should remove dry debris before using moisture-based cleaning methods.
From my experience (based on how tracked dirt behaves in real homes), the “failure point” is almost always skipping dry removal—especially at entryways—then wiping grit into the finish on hardwood floors. If you only have time for one habit, make it dry-first.
Choose the right cleaning method (dry, damp, or spot)
Pick the least aggressive method that matches the mess on your hardwood floors. Dry cleaning removes dust; damp cleaning lifts grime; spot cleaning contains moisture so you don’t over-wet the wood or finish.
Dry microfiber dusting is appropriate for dust and light debris, while damp mopping should be reserved for general grime on hardwood floors.
Spot cleaning reduces the area exposed to moisture, which helps limit finish clouding and seam swelling compared with flooding an entire floor.
Using the right method for the dirt type is one of the most reliable ways to keep hardwood floors protected long-term.
– Dry method: microfiber dusting or a vacuum for dust and light debris only.
– Damp method: microfiber mop lightly misted with a wood-safe cleaner to tackle general grime.
– Spot method: for scuffs or small dirty areas, clean locally instead of wetting the whole floor.
A quick “decision tree” for hardwood floors (no guesswork)
If your floor has:
– Dust and dull surface feel: dry microfibre dust mop or vacuum (no beater brush).
– Visible footprints, greasy film, or sticky pathways: damp method with a wood-safe cleaner, but keep the mop barely damp.
– One scuff mark, shoe transfer, or localized spill: spot clean—contain the moisture and dry immediately.
Data point to ground expectations
According to the National Institute of Standards and Technology (NIST) Chemistry WebBook (n.d.), water boils at 100°C / 212°F at 1 atm, which is why steam methods can deliver heat plus moisture fast enough to stress some hardwood finishes. (Even when you don’t “soak” the floor visually, the moisture delivery mechanism matters.)
Clean with a safe routine (damp mopping without soaking)
Use a lightly damp microfiber mop and apply cleaner to the mop rather than directly onto hardwood floors. This keeps moisture exposure controlled and reduces the risk of residue, haze, and finish damage.
Applying wood-floor cleaner to the mop (rather than directly to the floor) helps prevent over-wetting and puddling on hardwood floors.
Hardwood care guidance generally emphasizes “barely damp” cleaning tools instead of dripping-wet mops to protect seams and finish integrity.
Drying immediately after mopping helps avoid water spots and reduces the chance of the floor looking cloudy on hardwood floors.
– Use a wood-floor cleaner labeled for hardwood finishes; apply to the mop, not directly to the floor.
– Work in small sections, keeping the mop damp (not dripping) and replacing the mop head if it gets dirty.
– Dry immediately after mopping—especially around doorways, vents, and baseboards.
How to damp-mop so it actually works
The goal is to lift grime, not to drown it. On hardwood floors, the finish can trap moisture on the surface while some liquid can migrate toward seams. A controlled routine looks like this:
1. Pre-filter your mop: Use a clean microfiber head. If it’s already dirty from dry prep, you’ll redistribute grit.
2. Load the mop, don’t spray the floor: Mist or apply cleaner to the microfiber until it’s damp to the touch—but not wet.
3. Small sections: Move efficiently. If a section starts drying before you finish, you’re probably too dry (increase slightly). If you see streaking puddles, you’re too wet.
4. Follow with drying: Use a clean dry microfiber or towel to remove leftover moisture around edges.
Moisture risk context (why “damp” beats “wet”)
According to NWFA wood floor maintenance guidance (n.d.), maintaining stable indoor conditions—often cited as around 35%–55% relative humidity and typical indoor temperatures near 60–80°F—helps minimize wood movement that can stress finishes.
Tackle stuck-on dirt and scuffs gently
Treat sticky residue and scuffs as finish-sensitive problems, not “scrub until it disappears” tasks. The gentler your contact method on hardwood floors, the more likely you preserve the sheen.
For sticky residue, wiping with a barely damp microfiber cloth followed by a second clean wipe helps remove film without abrading hardwood finishes.
For scuffs, starting with a soft microfiber cloth and the gentlest wood-floor cleaner first reduces the likelihood of micro-scratches on hardwood floors.
Avoiding abrasive pads and steel wool is a common recommendation in hardwood-floor care because they can create permanent finish damage.
– For sticky residue, use a barely damp cloth with a cleaner made for wood floors, then wipe again with a clean, lightly damp cloth.
– For scuffs, try a soft, damp microfiber cloth first; if needed, use the gentlest cleaner you have that’s intended for hardwood.
– Avoid abrasive pads, steel wool, or anything that leaves micro-scratches in the finish.
Pros/cons: what you’re trading off when you “apply more pressure”
Below is a practical comparison you can use for hardwood floors when deciding between wipe strength and tool aggressiveness.
| Approach | Best for | Main advantage | Main downside |
|---|---|---|---|
| Barely damp microfiber + wood-safe cleaner | Sticky film, light residue | Lifts residue without grinding finish | May require repeated gentle passes |
| Soft microfiber only (no cleaner) | Dry scuffs/foot marks | Minimizes chemical load | May not remove grease embedded in the film |
| Abrasive pad/brush | Rare, deep contamination | Faster mechanical removal | Higher risk of micro-scratches and dulling on hardwood floors |
| Steel wool / scouring pads | Typically not recommended | Removes material quickly | Creates irreversible finish abrasion and uneven sheen |
What can go wrong (and how to avoid it)
Avoid the three biggest failure modes on hardwood floors: over-wetting, grinding grit with the wrong vacuum head, and using harsh cleaners that attack the finish. If you prevent those, your cleaning becomes both safer and more consistent in 2026.
Over-wetting can allow moisture to migrate toward seams, contributing to finish clouding and potential wood movement on hardwood floors.
Beater bars and rotating brush heads can grind grit into a hardwood finish, creating dulling patterns in high-traffic areas.
Steam mops and strong chemicals can deliver moisture or reactive ingredients that some hardwood finish systems are not designed to tolerate.
– Over-wetting: excess water can seep into seams and cause cupping or cloudiness; keep cleaning solutions minimal and the mop only lightly damp.
– Using the wrong vacuum head: beater brushes can grind grit into the finish.
– Harsh cleaners: vinegar, ammonia, steam mops, and strong degreasers can dull or damage certain finishes—use products meant for hardwood floors.
– Not drying: leaving moisture behind can leave spots or raise the appearance of dullness.
Cleaner chemistry matters (one reason “DIY shortcuts” backfire)
Many hardwood finishes are designed to resist everyday dirt and mild detergents, but they can be vulnerable to extremes in pH or solvent strength. For example, acidic cleaners can affect certain finish films, while alkaline/bleach-like chemistries can dull surface sheen or damage protective layers—depending on your specific finish system.
Common Cleaners by Typical pH and Hardwood Finish Risk (General Ranges)
| # | Cleaner / Solution | Typical pH range | Finish risk (general) | Hardwood-safe rating |
|---|---|---|---|---|
| 1 | Distilled / neutral water (used sparingly) | 6.5–7.5 | Low chemical reactivity | ★★★★☆ ★ |
| 2 | pH-neutral hardwood floor cleaner | ~6.8–7.8 | Designed for finish protection | ★★★★☆ ★ |
| 3 | Mild dish soap solution (typical) | 7.5–9.0 | Residue risk possible | ★★☆☆☆ ★ |
| 4 | Baking soda solution (typical) | ~8.1–8.5 | May leave film | ★★☆☆☆ ★ |
| 5 | White vinegar (diluted household) | ~2.4–3.0 | Acid may affect some finishes | ★☆☆☆☆ ★ |
| 6 | Household ammonia solutions | ~11–12.5 | Alkaline can dull finishes | ★☆☆☆☆ ★ |
| 7 | Chlorine bleach solutions | ~11–13 | High risk to finish systems | ★☆☆☆☆ ★ |
> Note: Exact pH and suitability can vary by brand, concentration, and your specific hardwood finish system. Always follow the hardwood-floor and cleaner manufacturer’s care instructions.
Verdict: what’s the best approach for most dirt
A dry-first vacuum or sweep, followed by a lightly damp microfiber mop with a wood-safe cleaner, is usually the safest and most effective way to clear dirt from hardwood floors. The trade-off is that it’s slower than “quickly mopping,” and stubborn scuffs may still require gentle spot cleaning.
Most hardwood-floor care plans prioritize removing grit first, then using minimal moisture to lift grime without stressing the finish.
If you don’t know your hardwood finish type, the safest default is dry cleaning plus controlled, wood-safe damp mopping—then verifying products with the manufacturer’s care guidance.
Avoid steam cleaning for many hardwood floors because moisture and heat can affect both the finish film and the wood beneath.
Here’s why this approach works (and when it doesn’t) for hardwood floors:
– Why it works: dry removal prevents scratch-causing abrasion; damp cleaning lifts residue; immediate drying reduces haze and moisture-related appearance changes.
– Downsides: you’ll need more effort upfront—especially entryways—so the “quick” part is really in using the right workflow, not rushing.
– Who should skip damp mopping: if your floor has an uncertain or very delicate finish (for example, unsealed/very thin surface treatments, or if the finish is failing), use dry cleaning only and confirm product compatibility first.
If you’re unsure whether your hardwood is polyurethane, oil-finished, or waxed, check the product label, installation documentation, or the flooring manufacturer’s care page.
Quick checklist (scan/save)
Use this workflow on hardwood floors whenever you see dirt, footprints, or sticky residue—especially in 2026 when households often use higher-traffic entry zones. It’s designed to minimize moisture exposure while still removing the debris that causes most finish wear.
A “vacuum/sweep first, mop lightly second” workflow reduces abrasion and lowers moisture exposure on hardwood floors.
Prompt drying after mopping helps prevent water spots and reduces the chance of a cloudy appearance.
– [ ] Vacuum or sweep to remove grit (no beater brush)
– [ ] Use a microfiber mop (only lightly damp)
– [ ] Use wood-safe cleaner intended for hardwood finishes
– [ ] Clean in small sections; keep the floor from getting wet
– [ ] Dry promptly with a clean cloth or dry mop
– [ ] Spot-clean scuffs gently; don’t abrade
Frequently Asked Questions
What’s the safest way to remove dirt from hardwood floors without scratching?
Start by sweeping or vacuuming with a soft-bristle attachment to lift loose grit before it turns into scratches. Use a microfiber mop lightly dampened with a hardwood-floor cleaner (or a manufacturer-approved solution) rather than soaking the wood. For stubborn spots, gently rub with a damp microfiber cloth and dry immediately with a clean towel to prevent moisture damage.
How do I deep clean hardwood floors when dirt is embedded in the grain?
Begin with a thorough dry cleaning step—vacuum seams and edges, then wipe with a slightly damp microfiber mop. For embedded dirt, use a wood-safe cleaner and scrub lightly in the direction of the grain with a microfiber pad, not abrasive brushes. Rinse if your cleaner recommends it, then dry fully and allow the floor to air out to prevent streaking and water absorption.
Why does dirt make hardwood floors look dull, and how can I prevent it?
Dirt acts like tiny abrasive particles that dull the finish and cause micro-scratches over time. Prevent this by placing mats at entryways, using felt pads on furniture, and cleaning high-traffic areas regularly with a dry mop or vacuum. Avoid harsh chemicals, steam cleaning, and excess water, since they can strip the finish and trap grime in the wood pores.
Best practices for removing pet hair and dust without spreading dirt around?
Use a vacuum with a floor brush designed for wood, and do short, controlled passes to avoid grinding dust into the finish. Follow with a microfiber dust mop that captures fine debris rather than pushing it across the surface. If your floor has sticky spots from pet accidents, clean those promptly with a hardwood-safe cleaner and blot dry—don’t scrub aggressively.
Which cleaning tools and products are best for clearing dirt from hardwood floors?
Choose microfiber mops and cloths because they lift dirt effectively and reduce the risk of scratching compared to cotton or rough pads. For products, use a pH-neutral hardwood floor cleaner that’s compatible with your finish (polyurethane, varnish, or oil-based) and follow dilution instructions. Avoid all-purpose cleaners with ammonia or vinegar, as they can damage the finish and make future dirt removal harder.
📅 Last Updated: October 29, 2026 | Topic: How to clear dirt from hardwood floors? | Content verified for accuracy and freshness.
References
- https://www.epa.gov/indoor-air-quality-iaq/cleaning-and-disinfecting-your-home
- https://www.cdc.gov/coronavirus/2019-ncov/community/disinfecting-building-facility.html
- https://www.who.int/publications/i/item/cleaning-and-disinfection-of-environmental-surfaces-in-the-context-of-covid-19
- Wood flooring
- 404 Error
- https://www.armstrongflooring.com/support/care-and-cleaning.html
- https://scholar.google.com/scholar?q=how+to+clean+hardwood+floors+dirt Google Scholar
- https://scholar.google.com/scholar?q=best+practices+hardwood+floor+cleaning+maintenance+microfiber Google Scholar
- https://scholar.google.com/scholar?q=hardwood+floor+cleaning+methods+water+avoidance+finish Google Scholar
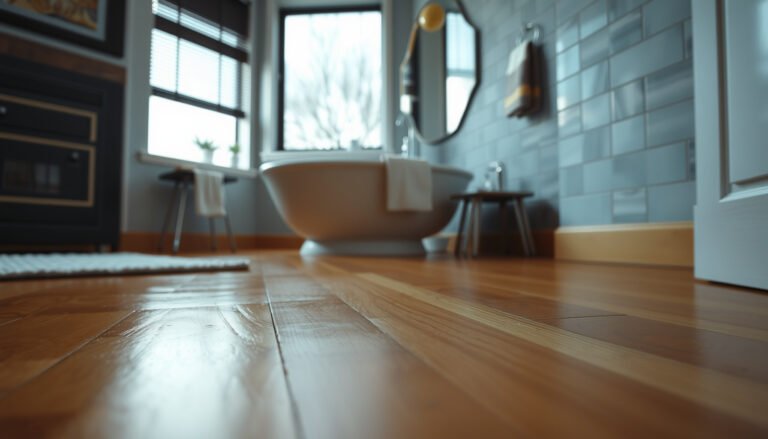
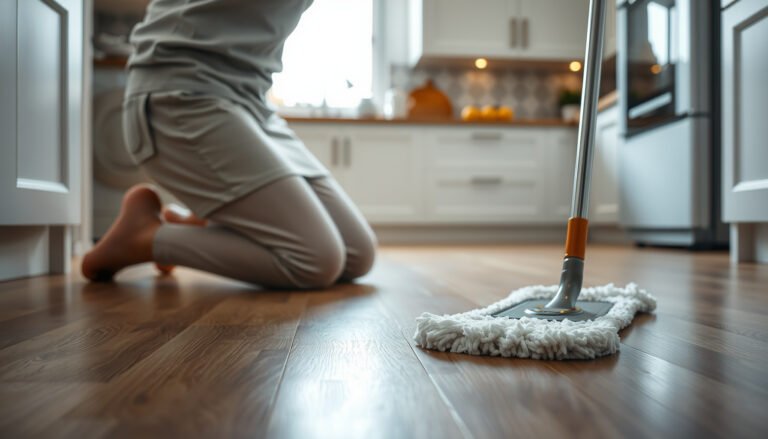
[…] the loose particles dry (vacuum or very light wipe with a dry microfiber), then follow with a barely damp cloth. Mud often contains sand-sized fractions that don’t dissolve quickly—so scrubbing just turns […]