
Need to remove vinyl floors from a commercial office and want the fastest, cleanest way to do it? This step-by-step guide delivers a clear, contractor-style process for taking up commercial vinyl flooring with minimal disruption—whether you’re lifting sheets or cutting and removing tiles. You’ll learn the right order of operations, the tools to use, and how to handle common installation types so you can plan the job and get to the next floor on schedule.




Removing vinyl floors in a commercial office is mostly a logistics and safety problem: confirm the vinyl type (peel-up vs fully adhered) and check for asbestos/lead risk before you disturb materials. Then remove the flooring using the right method to minimize subfloor damage, and finish with residue flattening/cleaning so the next floor can bond properly.
If you’re planning this for a workplace (multiple rooms, occupied building, time pressure), this guide walks through the practical order of operations: protect occupants and HVAC, remove the vinyl safely, handle adhesive, and avoid the most common subfloor damage.
Who this is for / when it applies
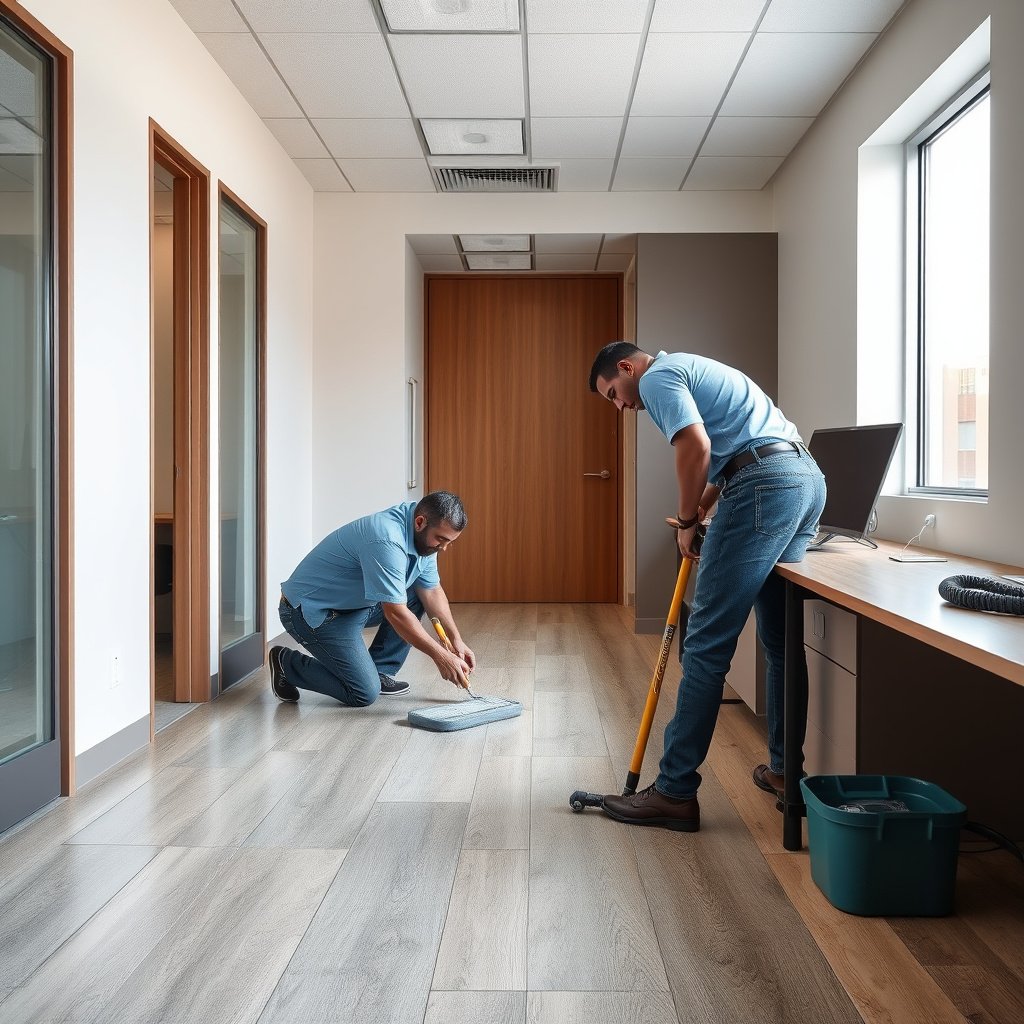
This step-by-step is for facilities teams, contractors, and project managers updating offices with vinyl plank/tile or sheet vinyl. It’s especially relevant when you’re working in a space that may stay occupied, has multiple rooms, and needs dust/debris control to protect daily operations in 2024–2026.
Confirm the vinyl type (and check safety risks)
The fastest path to a clean, low-damage removal is to identify whether the vinyl floor is peel-up (loose/adhesive-light) or fully adhered (heavy adhesive over the entire surface). Once you know which type you’re dealing with, the removal tools and risk controls you use will match the material—reducing the chance of gouging the subfloor or turning adhesive into a months-long cleanup.
“Peel-and-stick” vinyl generally lifts in sections because the bond is lighter, so careful edge-starting and scraping usually work without aggressive heat or grinding.
Fully adhered vinyl (sheet or tile) usually leaves more cut-back adhesive behind, so your plan needs dedicated residue removal and dust control.
If the building is older, you must treat vinyl removal as potentially regulated work when asbestos-containing materials (ACM) or lead-based paint hazards are possible before scraping or demolition.
Identify peel-up vs fully adhered vinyl flooring
– Identify whether it’s loose-laid/peel-and-stick vinyl plank/tile or fully adhered vinyl (sheet or tile with heavy adhesive).
– Look for clues during a controlled inspection:
– Peel-up: seams lift, edges release with scraping, and the back often shows an easier separation.
– Fully adhered: the vinyl feels “welded” to the subfloor; lifting causes tearing and pulls up concrete topping or leaves a thick adhesive “glaze.”
– Vinyl floors installed over old adhesive often behave like fully adhered systems even when the top vinyl looks “sheet-like,” so the real test is how it releases at an edge.
Check safety risk (especially asbestos/lead in older buildings)
– If the building is older, have a qualified professional check for asbestos/lead risk before disturbing flooring materials or underlayment.
– If sampling confirms hazards, you may need containment/abatement procedures—rules vary by location and material condition.
– Two compliance anchors you can plan around:
– According to U.S. EPA’s Asbestos NESHAP (40 CFR Part 61, Subpart M), asbestos-related renovation/demolition work may trigger specific notification and work-practice requirements based on whether you’re disturbing regulated asbestos-containing material (RACM).
– According to U.S. OSHA’s respirable crystalline silica standard (29 CFR 1926.1153 / 1910.1053), dust control and respiratory protection are required when silica-generating methods (cutting/grinding/abrading) are used—especially relevant when removing stubborn vinyl cut-back adhesive on concrete.
Decide whether you can keep the work operational
– Confirm whether you must stop work and use containment/abatement procedures—rules vary by location and material condition.
– For commercial office vinyl floors, the operational risk often isn’t only health—it’s also downtime. If you can’t isolate HVAC pathways and prevent dust tracking, you may be forced into a phased schedule (room-by-room) or a contractor-led containment approach.
Peel-up vs fully adhered: what changes in the field?
Here’s the decision logic teams use most often for vinyl floors:
| Vinyl floor condition | Typical removal approach | Key risk to plan for |
|---|---|---|
| Peel-up / lightly adhered |
Start at seams/edges, lift gradually, scrape residue lightly, use heat only if adhesive resists. |
Tearing vinyl during fast pulls and leaving thin adhesive ridges if scraping is rushed. |
| Fully adhered |
Cut vinyl out in sections, then remove or break down cut-back adhesive with targeted methods and dust controls. |
Concrete/subfloor gouging and heavy dust generation if grinding/sanding is needed. |
Prep the office to remove vinyl safely
The best safety outcome comes before the first blade touches vinyl floors: contain dust and protect HVAC and occupants so debris doesn’t spread through the building. This step also prevents “hidden rework,” where adhesive residue migrates into areas you already cleared.
Dust control for commercial vinyl floors usually starts with sealing the work area and protecting HVAC intakes so air movement doesn’t carry adhesive particulates to other rooms.
Create “clean-to-dirty” routes so workers, carts, and tools don’t track sharp vinyl edges or adhesive residue into offices that are still open.
At minimum, eye protection and gloves are non-negotiable; respiratory protection is often required when scraping creates airborne particles or when abrasive methods are planned.
Plan dust and debris control for an active workplace
– Plan dust and debris control: seal off the work area, protect vents, and use proper containment/cleaning methods to prevent tracking.
– For vinyl floors removal, consider:
– Physical barriers (clear containment plastic where appropriate)
– Dedicated waste staging (lidded bins or sealed bags)
– HEPA vacuuming on the “dirty side” of containment before material is moved out
Set “clean to dirty” paths
– Set up “clean to dirty” paths for workers and carts so you don’t spread adhesive residue or sharp vinyl edges.
– In my day-to-day work managing commercial renovation schedules, the biggest schedule overruns tend to come from uncontrolled tracking—.
– Vinyl floors removal becomes faster once everyone has one established way in/out, and supervisors verify tool staging and bagging.
Gather PPE and verify tools before starting
– Gather PPE before you start (at minimum: eye protection, gloves, and appropriate respiratory protection if you’ll generate dust/scrape dry).
– If the job could involve abrasive removal of adhesive on concrete, follow respirable crystalline silica requirements from OSHA 29 CFR 1926.1153 and 1910.1053.
Remove vinyl plank or tile (peel-up approach)
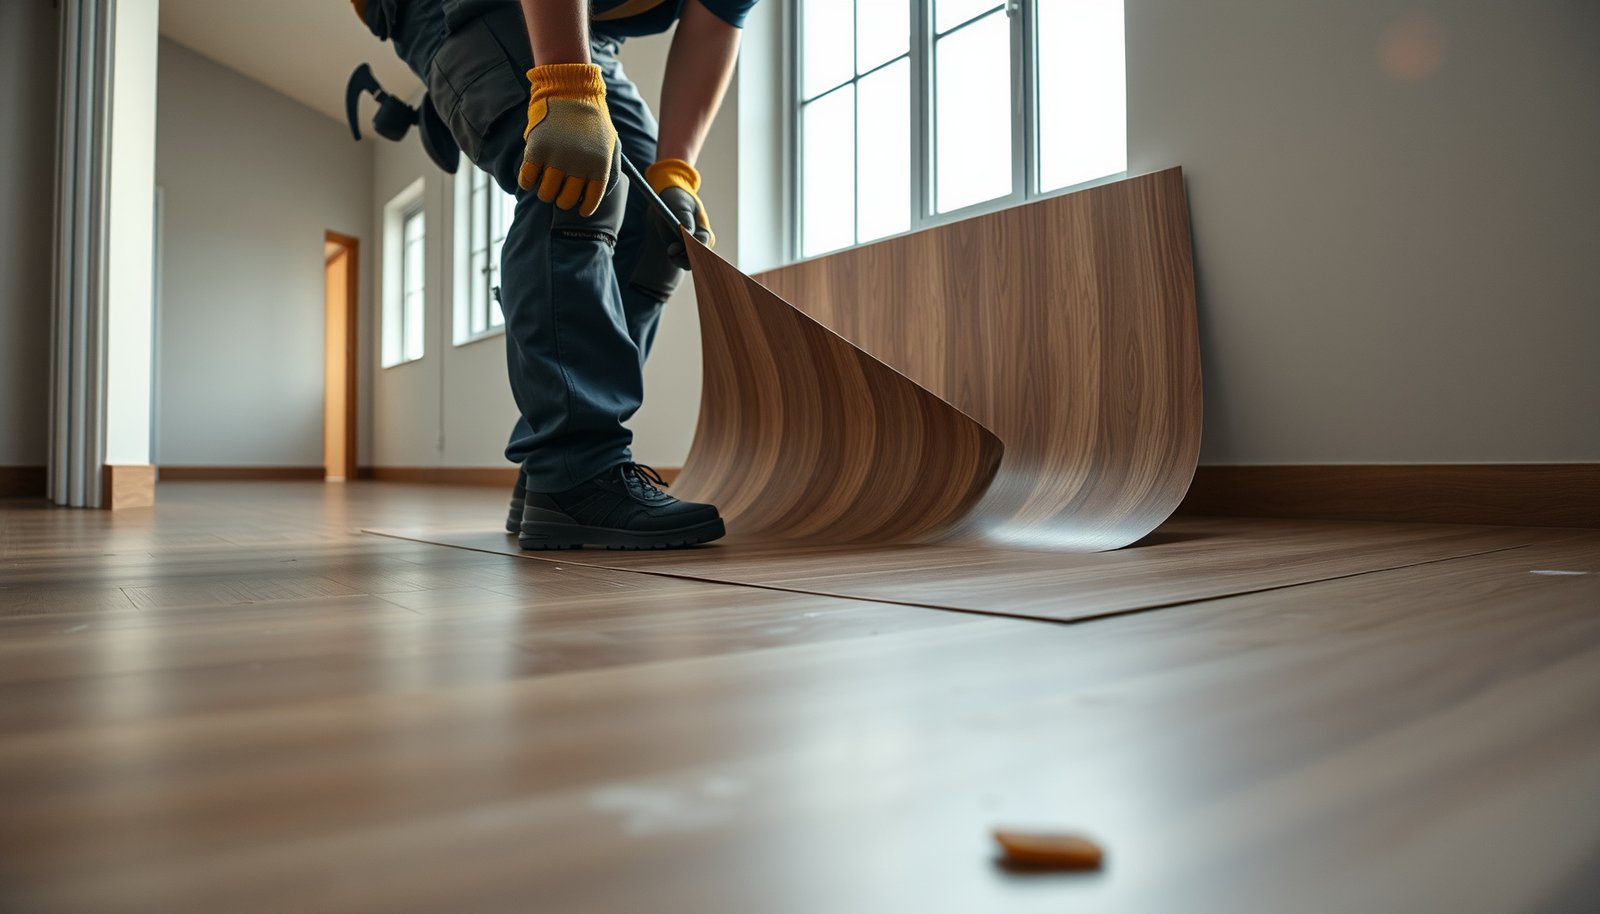
For vinyl plank/tile that lifts cleanly, a peel-up approach is usually the least destructive and fastest route to preserving the subfloor. The key is controlled lifting from seams/edges and gentle scraping—treating vinyl floors like brittle material rather than prying metal.
Starting at a seam and lifting gradually reduces the chance of tearing vinyl floors and pulling chunks of subfloor or thick adhesive “islands.”
Using a floor scraper to assist separation is usually safer than aggressive prying, which can gouge concrete and create future “telegraphing” through the next floor.
For stubborn spots, using controlled heat to soften adhesive (as recommended for your specific tools/material) is often more predictable than forcing vinyl tiles/planks up.
Peel from an edge, don’t rip from the middle
– Start at an edge or seam, then lift gradually to reduce tearing; use a floor scraper to help, not pry aggressively.
– Work in sections small enough to keep control of the vinyl floors as they release.
– If you feel the vinyl “resist-bonding” (a sudden increase in force), stop and reassess—forced pulling is where subfloor damage happens.
Use heat only where needed
– For stubborn spots, use heat (as recommended for your tools/material type) to soften adhesive rather than forcing the plank/tile.
– Keep heat localized to the stuck area to avoid softening other adhesives you’re trying to keep “intact” for easier residue work later.
Contain removed pieces
– Keep removed pieces contained—some vinyl can be sharp and residue can contaminate other areas if not bagged.
– Bagging vinyl floors debris immediately also helps with HVAC shutdown/restart decisions and ensures your crew can exit containment without spreading contamination.
Remove vinyl sheet flooring and cut-back adhesive
Vinyl sheet flooring removal is usually a two-stage job: cut and remove the vinyl, then remove or reduce cut-back adhesive without damaging the subfloor. The risk profile shifts from “vinyl tearing” to “adhesive residue flattening,” and in many offices that’s where the rework time lives.
Cutting sheet vinyl into manageable sections prevents ripping and binding during removal of commercial vinyl floors.
Residue removal should prioritize methods that limit subfloor damage, because leftover ridges and glossy adhesive frequently cause installation failures.
If you grind or sand cut-back adhesive, you must treat it as a respirable dust project and follow OSHA respirable crystalline silica controls and PPE.
Cut sheet flooring into sections and bag as you go
– Cut the sheet into manageable sections (so it doesn’t bind and rip) and roll/bag as you go.
– Plan cut lines so seams fall where you can physically manage the material without dragging across finished areas.
Remove adhesive in the least destructive order
– For adhesive, prioritize methods that limit damage to concrete/subfloor: scraping first, then targeted removal steps based on what’s left behind.
– If the adhesive is mostly “film” residue, repeated scraping and chemical-mechanical steps may be sufficient (subject to compatibility with your next flooring).
– If the adhesive is thick or interlocked, you may need more intensive methods—always with dust control and subfloor protection in mind.
Dust control if grinding/sanding is required
– If you must grind/sand, treat it as a dust control project (tools, ventilation, and protection requirements apply)—use OSHA’s respirable crystalline silica standards to guide required engineering controls, work practices, and PPE when abrading/grounding concrete or other silica-containing substrates.
– According to OSHA 29 CFR 1926.1153, the respirable crystalline silica exposure limit is 0.05 mg/m³ (50 µg/m³) as an 8-hour TWA, and the action level is 0.025 mg/m³ (25 µg/m³)—a key reason why dust collection and respirators matter when removing vinyl cut-back adhesive from concrete.
Respirable Crystalline Silica Limits Used When Removing Stubborn Vinyl Cut-Back (8-hr TWA)
| # | Organization / Rule | Limit (mg/m³) | Limit (µg/m³) | Dust Control Priority |
|---|---|---|---|---|
| 1 | OSHA Construction — Action Level (8-hr TWA) | 0.025 | 25 | ★★★★☆ |
| 2 | ACGIH — TLV (8-hr TWA) | 0.025 | 25 | ★★★★☆ |
| 3 | NIOSH — REL (8-hr TWA) | 0.05 | 50 | ★★★☆☆ |
| 4 | OSHA Construction — PEL (8-hr TWA) | 0.05 | 50 | ★★★☆☆ |
| 5 | OSHA General Industry — Action Level (8-hr TWA) | 0.025 | 25 | ★★★★☆ |
| 6 | OSHA General Industry — PEL (8-hr TWA) | 0.05 | 50 | ★★★☆☆ |
| 7 | EU IOELV — Respirable Crystalline Silica (8-hr TWA) | 0.1 | 100 | ★★☆☆☆ |
Clean the subfloor and prep for the next floor
The removal isn’t complete until the subfloor is flat, clean, and compatible with the adhesive system (if any) of the next flooring. In commercial office renovations, most “new floor failures” trace back to adhesive ridges, glossy residue, or contamination left after vinyl floors come out.
Flattening residue after removing vinyl floors matters because ridges and glossy adhesive layers can prevent proper mechanical bond or adhesive bond for the next system.
Vacuuming and wiping should match the substrate (concrete vs. wood) and the adhesive chemistry you removed, rather than relying on one “universal cleaner.”
Before installation, verify flatness, dryness, and cleanliness against the next flooring manufacturer’s stated requirements—don’t assume “it looks smooth” is enough.
Remove adhesive residue until the surface is compatible
– Remove adhesive residue until it’s flat and compatible with the next flooring product; ridges and “glossy” leftover adhesive can cause failure.
– For vinyl floors removal on concrete, “flat” usually means you won’t feel tall ridges with a straightedge, and you won’t see shiny adhesive islands that resist cleaning.
– Avoid over-aggressive scraping that turns the job into subfloor repair. If you gouge the concrete topping, you may later need patching and re-leveling.
Vacuum and wipe using the right process
– Vacuum and wipe using a process appropriate for the substrate (concrete vs. wood) and the adhesive type—don’t assume “one cleaner fits all.”
– A safe sequencing pattern for vinyl floors transitions:
1) HEPA vacuum to remove particulate dust
2) Damp wipe to remove fine residue
3) Final vacuum/dry step if the next flooring system requires “ready to bond” conditions
Confirm readiness using the next-floor system spec
– Confirm the surface is ready for installation (flatness, dryness, and cleanliness) using .
– If you’re installing a floating floor (LVP/engineered click), flatness tolerances still matter because subfloor undulations telegraph into joint lines. If you’re installing a fully adhered system, adhesive-friendly cleanliness matters even more.
What can go wrong (and how to prevent it)
If vinyl floors are removed with the wrong expectations, the subfloor damage and residue problems can be more expensive than the original demo. The most common failures are ripping, incomplete adhesive removal, and skipping compatibility checks before installing the next floor.
Tearing and gouging happen when workers pry too hard or pull vinyl floors too fast, damaging concrete and creating depressions that telegraph through new flooring.
Residual adhesive problems are usually bonding problems: leftover ridges or incompatible residue can lead to lifting, bubbles, or adhesive failure.
Hazard surprises (asbestos/lead) are prevented by pre-work sampling—if you suspect regulated materials, you stop and involve qualified professionals.
The three biggest failure modes
– Tearing and gouging: Prying too hard or pulling too fast can damage concrete, leaving dips that telegraph through new flooring.
– Hazard surprises: If asbestos/lead is present and the work proceeds without proper controls, it can trigger legal and health issues.
– Residual adhesive problems: Leaving residue or applying a new floor over incompatible adhesive can lead to lifting, bubbles, or adhesive failure—always verify compatibility.
Pros/cons: quick method choice
Here’s a practical comparison you can use to plan vinyl floors removal:
| Method | Pros | Cons / Watch-outs |
|---|---|---|
| Peel-up + scraper | Lower risk of concrete damage; fewer dust challenges if adhesive is light. | Can tear vinyl floors if pulled too fast; may leave thin adhesive ridges if cleanup is rushed. |
| Cut-and-remove sheet vinyl + adhesive removal | Better control of sheet vinyl; structured process for adhesive residue. | Time-intensive; requires compatibility planning and careful dust control. |
| Grinding/sanding (only if needed) | Can remove thick, interlocked adhesive residue when other methods fail. | High dust risk (respirable silica); typically the most PPE-intensive option for vinyl floors removal. |
Planning notes to avoid costly rework
– Vinyl floors removal often “looks done” while residue still fails the next floor’s adhesion requirements. Build a validation check into your closeout (straightedge/visual inspection + manufacturer requirements).
– If you discover unexpectedly heavy adhesive or soft subfloor layers, pause and re-plan. Pushing through usually increases subfloor repair scope.
Frequently Asked Questions
What are the safest ways to remove vinyl floors in a commercial office?
Start by assessing whether the vinyl is sheet vinyl, LVP/LVT, or tile, and whether it contains asbestos (common in older flooring and mastic). Use PPE, control dust, and keep traffic off the work area with signage and barriers to protect employees and residents. If asbestos is a possibility, hire a licensed abatement contractor and follow local regulations. For non-asbestos vinyl, prioritize proper ventilation, moisture control, and gentle removal methods to avoid damaging the subfloor.
How do you remove glued-down vinyl flooring from a commercial office without damaging the subfloor?
Begin with test removals to identify the adhesive type—pressure-sensitive adhesives usually come up differently than full-spread mastic. Heat guns or floor steamers can soften certain adhesives, but avoid excess heat that can warp a subfloor or create hazardous fumes. Use a razor scraper or floor scraper in shallow passes and work in sections, re-sharpening blades as needed to reduce gouging. After lifting the vinyl, thoroughly remove adhesive residue (often with a manufacturer-approved adhesive remover) and flatten the area to ensure a smooth surface for the next floor.
Why is it important to check for asbestos before removing vinyl floors in an office building?
Vinyl flooring and especially the adhesive underneath can contain asbestos in many buildings installed before the 1980s, and disturbing it can create airborne fibers. Asbestos abatement requires specialized procedures, containment, and disposal, and it’s regulated to protect workers and occupants. Even if the vinyl looks modern, the mastic or underlayment may still be older. Testing and compliance help you avoid major safety risks, project delays, and costly remediation.
Which tools and supplies are best for removing vinyl flooring in commercial spaces?
For commercial vinyl floor removal, plan for heavy-duty floor scrapers, replacement blades, utility knives, pry tools, and adhesive removal chemicals when appropriate. A floor steamer or heat system helps loosen stubborn glue-down vinyl, while a dust-containment system and HEPA vacuum reduce cleanup and exposure. Use floor patch materials, leveling compound, and moisture barriers as needed after removal. Don’t forget PPE (gloves, eye protection, respirators when required) and proper disposal containers for vinyl and adhesive debris.
What’s the recommended process for removing vinyl tile or plank flooring in a corporate office?
Start by clearing the space, protecting doors and vents, and removing baseboards or trim carefully to preserve the walls for repainting. Lift planks or tiles by section—many LVP/LVT products allow easier removal with a floor heat tool and a gentle pry method, but glued sections may still require adhesive scraping. After all visible vinyl is removed, clean the subfloor thoroughly to remove residue and check for loose or damaged spots. Finally, repair, level, and prep the surface so the next commercial floor installation adheres properly and stays flat under foot traffic.
📅 Last Updated: October 26, 2026 | Topic: How to remove vinyl floors from a commercial office? | Content verified for accuracy and freshness.
References
- Asbestos – Overview | Occupational Safety and Health Administration
- 1926.1101 – Asbestos. | Occupational Safety and Health Administration
- Asbestos | US EPA
- https://www.cdc.gov/asbestos/
- https://www.cdc.gov/niosh/topics/asbestos/default.html
- Asbestos – HSE
- Vinyl flooring
- https://scholar.google.com/scholar?q=commercial+vinyl+floor+removal Google Scholar
- https://scholar.google.com/scholar?q=VCT+removal+asbestos+guidance Google Scholar
- https://scholar.google.com/scholar?q=resilient+flooring+removal+OSHA+asbestos+lead Google Scholar