
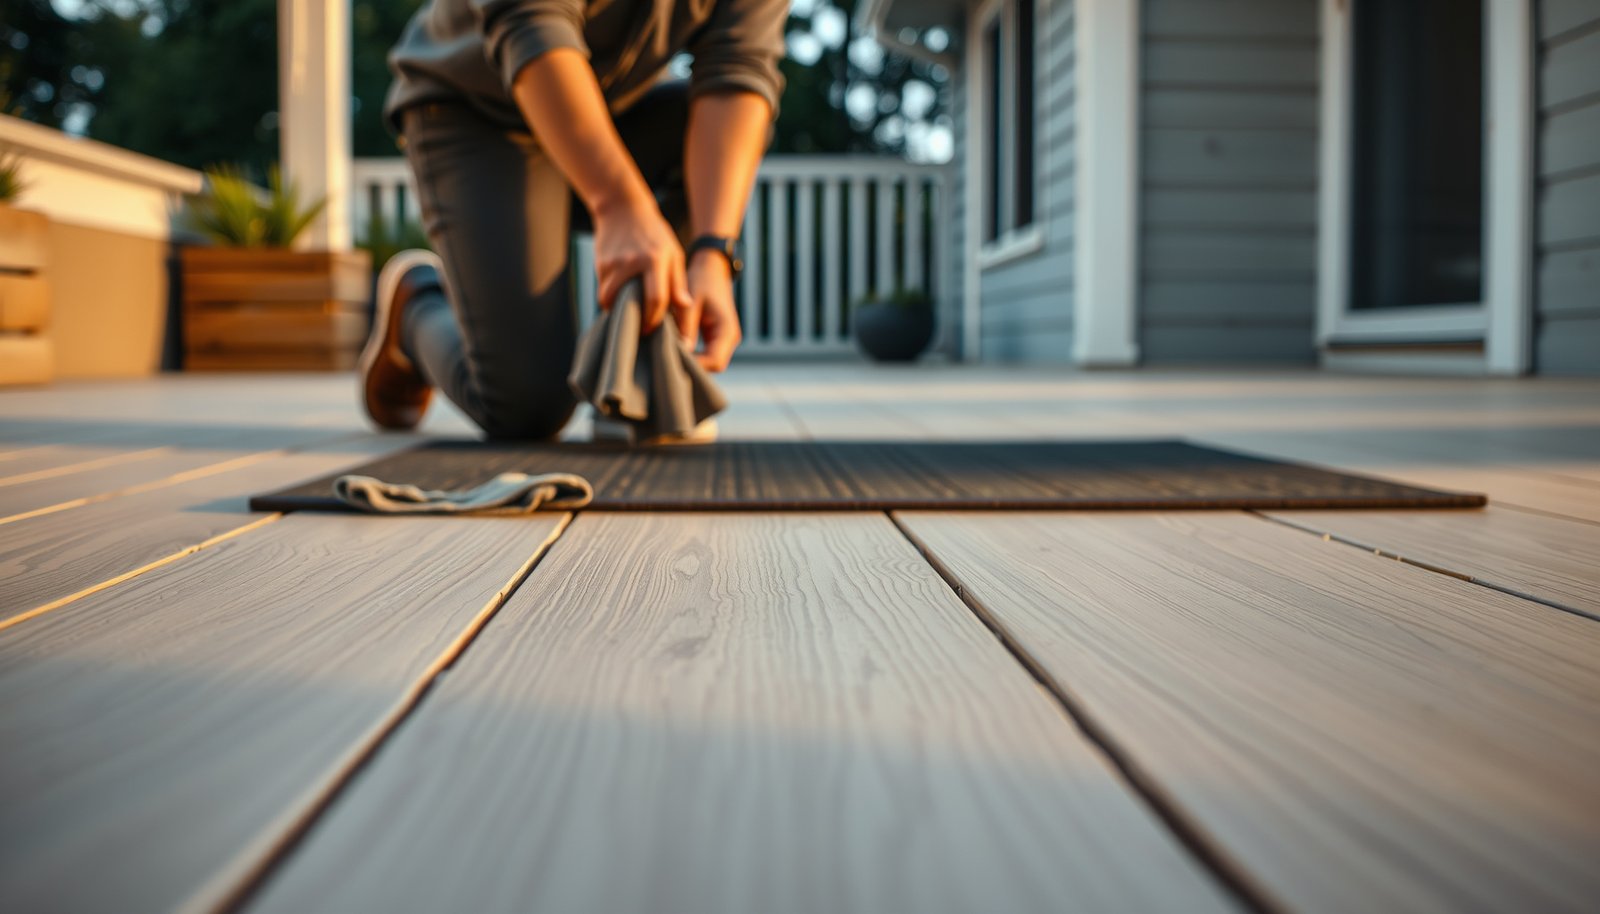

Prevent water damage to vinyl floors in a patio by sealing seams, controlling splashes, and blocking moisture before it reaches the subfloor. If you follow a simple setup—proper underlayment, a quality sealant around edges and transitions, and quick cleanup of standing water—you can keep vinyl looking new even in wet conditions. This guide answers exactly what to do and what to avoid so water doesn’t warp, lift, or cause bubbling.



If water gets underneath patio vinyl flooring, it’s the quickest path to bubbling, peeling, or warped planks. To prevent water damage, control moisture at the source (drainage), keep seams protected (caulk/trim), and dry spills fast—then stop water from pooling at the floor edge. This guide walks you through practical ways to reduce leaks and manage moisture before it reaches the vinyl.
If you have vinyl planks or vinyl tile installed in or near a covered patio, sun and rain exposure can still drive moisture toward the seams and perimeter. These steps work best when your patio gets regular wet weather, tracked-in rain/snow, or you use the space for outdoor furniture and mats.
Set up drainage and stop pooling before it reaches the floor

You prevent patio vinyl flooring failures most effectively by keeping surface water from lingering near the perimeter. If you stop pooling at the patio surface, you drastically reduce how much water can migrate into joints over time—especially during freeze/thaw cycles. As of 2026, this is still the first line of defense in most resilient-floor installation guidance: moisture control beats “repair after the fact.”
Standing water that repeatedly wets resilient flooring edges increases the chance of seam leakage and plank movement.
Outdoor drainage improvements typically reduce moisture exposure far more than surface-only cleaning can.
Keeping downspouts and wash paths directed away from vinyl edges limits how long water can act on seams.
In practice, “drainage” isn’t one fix—it’s a system: slope, discharge paths, and what happens when people track in wet debris. For patio vinyl flooring, that perimeter edge is the vulnerable zone because water has a path along trim lines and micro-gaps, then it can sit long enough to be pulled under materials. From a real maintenance perspective, the most preventable damage we see in patio vinyl flooring comes from predictable issues: clogged downspouts, stagnant low spots, and splashing from entry points.
Moisture Targets That Matter for Patio Vinyl (Typical Benchmarks)
| # | Benchmark | Target value | Why it helps patio vinyl | Priority |
|---|---|---|---|---|
| 1 | Patio surface slope (away from vinyl edge) | ≥ 1/8 in per ft (≈1%) | Reduces time water stays at seams | ★★★★★ |
| 2 | Downspout discharge distance | ≥ 4 ft (≈1.2 m) from wall area | Keeps runoff from reaching perimeter | ★★★★★ |
| 3 | Floating floor perimeter expansion gap (common practice) | 1/4 in (≈6 mm) | Prevents buckling that opens water paths | ★★★★☆ |
| 4 | Subfloor moisture vapor emission (CaCl₂ test) | ≤ 3 lb / 1,000 sq ft / 24 h | Limits moisture-driven edge failures | ★★★★★ |
| 5 | In-situ relative humidity (concrete) | ≈ 75% RH target (often used) | Reduces risk of trapped moisture at edges | ★★★★☆ |
| 6 | Perimeter seam protection approach | Seal edges (as permitted by flooring manual) | Blocks water pathways into joints | ★★★★☆ |
| 7 | Spill response (practical rule) | Blot quickly; remove pooled liquid | Minimizes time at seams | ★★★☆☆ |
The key takeaway from these patio vinyl flooring targets is simple: reduce dwell time (how long water sits), then reduce entry paths (edges and seams). For moisture-sensitive installs, the same mindset applies indoors too—resilient floors rely on dry conditions around their edges and underlayment system.
– According to ASTM F1869, the calcium chloride test reports moisture vapor emission as lb per 1,000 sq ft per 24 hours, which installers use to verify slab readiness before resilient flooring.
– According to ASTM F2170, in-situ relative humidity testing measures the concrete’s RH in place, helping confirm whether moisture can migrate after installation.
– According to common resilient-floor guidance practices built around those ASTM methods, approvals often use thresholds around 3 lb/1,000 sq ft/24h (CaCl₂) and mid-70% RH targets—but your exact vinyl patio system must follow the manufacturer’s numbers.
With drainage aligned, you can treat patio vinyl flooring like a “controlled exposure” surface rather than a sponge waiting to fail.
– Ensure water runs away from the patio floor (slight slope, clear downspouts, and unblocked drains).
– Keep gutters, hoses, and watering areas directed away from the vinyl surface and edges.
– Reduce splash-back from foot traffic by placing a doormat or welcome mat where people enter.
Seal the patio perimeter and any seams
You reduce water intrusion into patio vinyl flooring by sealing perimeter junctions and protecting seams—without blocking the movement your vinyl system needs. The perimeter is where capillary action (water creeping under materials) becomes most likely because trim, thresholds, and expansion gaps create the easiest pathways.
Perimeter edges and transitions are the most common leak points because they concentrate flow from splashes and runoff.
Expansion gaps are intentionally left to allow vinyl movement; sealing the wrong area can increase buckling risk.
Manufacturer-approved sealants help prevent water migration while maintaining the flooring’s installation design.
Start by identifying every “where water can go next” location: where the vinyl meets trim, baseboards, threshold transitions, and any cut edges. Patio vinyl flooring often has a perimeter finish (like trim pieces) designed to shed water. If that perimeter is missing, loose, or cracked, moisture can slip past the surface and migrate underneath—especially after repeated wetting.
Then consider movement. Floating vinyl installations (common for patio vinyl floors that aren’t fully bonded) need space to expand and contract. If you overfill expansion gaps with a rigid sealant, you can unintentionally force the planks to move somewhere else—sometimes upward—creating new micro-gaps for water to exploit. If you’re unsure, follow the flooring manufacturer’s installation manual first, and treat sealing as “protect joints,” not “seal the whole perimeter like a bathtub.”
– Seal gaps at the edges where vinyl meets trim, baseboards, or threshold transitions (use a moisture-appropriate sealant per your flooring manufacturer’s guidance).
– Pay attention to expansion gaps—don’t “overpack” sealant into areas meant for movement.
– If your installation includes transitions (doorways, steps, or different flooring types), seal around those transitions to prevent water tracking underneath.
Manage spills and tracked-in moisture fast
You’ll prevent most patio vinyl flooring damage by reducing dwell time from everyday wet events—spills, rain splash, and tracked-in mud. The longer water sits on or near the seams, the more chance it has to travel to vulnerable edges.
Blotting spills reduces the time water contacts the vinyl surface and edges.
Removing grit and leaves prevents abrasion that can open pathways for moisture.
Drying after wet events lowers the moisture gradient that drives water movement into seams.
This is less about “panic cleanup” and more about a repeatable routine. When patio vinyl flooring takes a hit—say, a drinks spill or a muddy boot trail—water rarely soaks uniformly. It concentrates around entry points, where people step, and around perimeter edges, where water runs. If you wipe by spreading liquid across the planks, you may move water into joints you didn’t touch before.
Instead, blot first (absorbent towel, shop rag) and then remove residue. After heavy rain splash or a wash-down, dry with a mop head or absorbent material that’s designed to pick up water—not just smear it. In my own maintenance work for outdoor living spaces, the fastest “before-and-after” improvements usually come from this exact pattern: quick blotting, followed by thorough edge drying.
– Blot spills immediately; don’t leave puddles to soak, and avoid pushing water across seams.
– Remove wet debris (leaves, grit, mud) because trapped particles hold moisture and can grind the surface.
– Use a dry mop or absorbent towels after any wet event (rain splash, wash-down, or heavy cleaning).
Choose cleaning methods that won’t drive water into joints
You keep patio vinyl flooring safest by using controlled moisture—typically damp mopping rather than soaking—especially near edges and transitions. Cleaning can either help you remove contaminants that hold water, or it can accidentally force water deeper into seam lines.
Resilient vinyl flooring care typically emphasizes manufacturer-approved, minimal-moisture cleaning to protect edges and seams.
Spraying directly toward joints increases the risk of water migration under trim or transitions.
Drying time after cleaning matters because moisture moves toward drier materials along gradients.
Treat cleaning like “spot management.” For patio vinyl flooring, that means damp (not wet) tools, short contact time, and careful attention to runoff. If you deep-clean, do it when you can keep the floor dry afterward—so rain exposure doesn’t immediately re-wet seams.
Cleaning approach: what to do vs. what to avoid
| Method | Pros for patio vinyl | Cons / seam risk |
|---|---|---|
| Damp-mop with manufacturer-safe cleaner | Removes grime without saturating edges | Still requires fast drying near perimeter |
| Targeted spot cleaning | Limits water exposure to affected area | Can leave residue if over-applied |
| Steam/heat mops | Can lift stains quickly | High moisture and heat can stress seams and transitions |
| Power washing / jet spray near edges | Fast debris removal | Pressure can force water under trim and into joints |
– Follow the “manufacturer-safe” cleaning approach: damp mop only, and avoid soaking the floor.
– Prevent water from being sprayed directly at seams, edges, or under transitions—use minimal liquid and controlled application.
– If you deep-clean, do it in stages and ensure the floor dries fully before the next exposure to rain or high humidity.
Protect from furniture leaks and outdoor wet-weather hazards
You prevent patio vinyl flooring damage by controlling secondary moisture sources—irrigation drips, planter condensation, and wet equipment—before they can reach the seam lines. Outdoor furniture is often the hidden culprit because it creates point leaks in the same spots that rain would repeatedly hit.
Condensation from planters and irrigation drips can concentrate moisture on a small area, increasing seam exposure time.
Fixing outdoor plumbing and irrigation leaks prevents repeated wetting that no cleaning routine can fully reverse.
High-pressure cleaning near edges can force water under trim, compounding drainage issues.
Start with what you can see and what you can’t. Check where planters sit, where condensation may form, and whether any outdoor hoses or irrigation lines discharge close to the perimeter. Patio vinyl flooring typically fails at the edge because that’s where water accumulates first and then moves under trim. If a planter sits with a leak for weeks, you get a “localized version” of pooling—same outcome, just smaller scale.
Also be cautious with wash-down practices. Even when the goal is “cleaning,” power washers and jet sprayers can drive water into seam gaps and under transitions if they’re nearby or if surfaces are worn.
– Use plastic cups or non-scratching pads under planters and outdoor furniture that might leak condensation or irrigation drips.
– Fix outdoor leaks quickly (irrigation lines, hose connections, and nearby plumbing).
– Be cautious with power-washing nearby—high pressure can force water into joints or under trim if it’s close to the installation.
What can go wrong (and when these steps won’t be enough)
Even with good maintenance, patio vinyl flooring can fail when the moisture problem originates from beneath the installation or when sealing disrupts required movement. These situations require addressing drainage/subfloor conditions, not just surface protection.
If the base/subfloor stays damp, sealing the top surface may not stop moisture migration into resilient flooring edges.
Sealing expansion gaps can trap stress and contribute to plank separation or buckling.
Routinely pooled water changes the risk profile—at that point, drainage upgrades usually matter more than cleaning.
Here are the most common “step failures” and why they happen:
– Sealant mistakes: Over-sealing expansion gaps or sealing the wrong areas can restrict movement and contribute to buckling or separation.
– Subfloor issues: If the patio subfloor or base is already damp, sealing the vinyl surface alone won’t fix the problem—moisture can still migrate from below.
– Frequent standing water: If water routinely pools on the patio (not just occasional splashes), you’ll need drainage improvements beyond cleaning and sealing.
– Wrong product compatibility: Not all sealants/adhesives are compatible with all vinyl types—always check manufacturer instructions for allowable sealers and cleaning chemicals.
– Edge exposure: If the vinyl is not properly finished at edges or thresholds, water can bypass surface care and reach underneath.
Also, remember that “outdoor” and “patio” sometimes mean different construction details. A covered patio may reduce direct rain impact, but wind-driven splash, roof runoff, and seasonal freeze/thaw still bring moisture to patio vinyl flooring edges—particularly at transitions.
Verdict / tip
If you want the most reliable protection, focus on preventing pooling and sealing the perimeter correctly, then pair it with quick drying after any wet event. This approach reduces both top-surface water exposure and the chance moisture works its way into seams—exactly the failure path that leads to bubbling, peeling, and warping.
Moisture prevention works best when it tackles runoff and edge protection together, not just one at a time.
Drying after wet events reduces moisture exposure time, which limits water migration to seams.
Following manufacturer installation requirements (especially expansion gaps and approved sealants) is critical for long-term performance.
Downside: sealing and perimeter corrections can be tricky—if your flooring requires specific products or leaves expansion space uncovered, a “generic caulk job” may cause more issues than it solves. Skip DIY sealing if you’re unsure about your flooring’s installation requirements, or if water is already coming from beneath the patio base; in those cases, address drainage/subfloor moisture first.
Quick checklist: water-damage prevention for patio vinyl
– [ ] Keep patio drainage working (no pooling near the vinyl edges)
– [ ] Maintain gutters/downspouts and clear nearby drains
– [ ] Seal perimeter/trim/thresholds using manufacturer-approved methods
– [ ] Blot spills immediately; avoid leaving puddles
– [ ] Damp-mop only; don’t soak or flood the floor
– [ ] Protect against planter/irrigation drips and condensation
– [ ] Dry thoroughly after rain splash or cleaning
If you only do three things: fix drainage, protect the perimeter seams, and dry quickly after wet events, you remove most of the risk.
Sources
– ASTM F1869 (calcium chloride test method for moisture vapor emission from concrete)
– ASTM F2170 (in-situ relative humidity test method for concrete)
The most dependable way to keep patio vinyl flooring looking straight and intact in 2026 is to prevent pooling, protect the perimeter seams the right way, and dry quickly after any wet event. If you follow those priorities—and you address any evidence of moisture coming from below—your odds of avoiding bubbling, peeling, and warping rise substantially.
Frequently Asked Questions
What are the best ways to prevent water damage to vinyl floors in a patio?
To prevent water damage to vinyl floors on a patio, focus on keeping moisture from reaching seams and edges. Use a quality vinyl rated for outdoor or wet areas, install with proper underlayment or leveling, and seal all perimeter gaps to block water infiltration. Regularly remove puddles and debris so water doesn’t sit and seep into joints.
How can I seal seams and edges to protect patio vinyl flooring from leaks?
After installation, inspect every seam, corner, and transition area for gaps where water could enter. Use a vinyl-floor seam sealer (for click-lock joints) and apply a suitable exterior-grade caulk or sealant along baseboards/edges and around penetrations like drains or posts. Recheck sealing after temperature swings and maintenance work, since expansion and contraction can open small gaps over time.
Why do puddles and standing water damage vinyl flooring outdoors, even if it’s waterproof?
While many vinyl floors are water-resistant, standing water can still penetrate seams, underlayment, or perimeter edges over time. Water trapped under flooring can lead to swelling, lifting, mold, or a compromised adhesive bond on certain installs. Outdoor conditions like rain, sprinklers, and humidity make it easier for water to accumulate around joints and transitions.
How should I clean and dry patio vinyl floors to reduce the risk of moisture damage?
Use a damp mop with a manufacturer-recommended cleaner and avoid soaking the surface, especially near seams and grout-free edges. After cleaning or heavy rain, dry quickly by blotting with towels and ensuring water doesn’t pool in low spots. If you have an exterior patio, sweep first to prevent grit that can hold moisture and cause premature wear around edges.
Which drainage and maintenance habits help prevent water from reaching vinyl patio flooring?
Improve patio drainage by keeping the surrounding slope away from the vinyl area so rainwater flows outward instead of pooling. Avoid directing sprinklers or hoses toward the floor, and maintain gutters and downspouts so runoff doesn’t spill directly onto the surface. During storms, check frequently for puddles or clogged scuppers, then remove water promptly to protect vinyl floors from moisture exposure.
📅 Last Updated: October 27, 2026 | Topic: How to prevent water damage to vinyl floors in a patio? | Content verified for accuracy and freshness.
References
- Vinyl flooring
- https://www.cdc.gov/mold/default.htm
- Mold | US EPA
- https://www.hud.gov/program_offices/healthy_homes/mold
- F710 Standard Practice for Preparing Concrete Floors to Receive Resilient Flooring
- F1869 Standard Test Method for Measuring Moisture Vapor Emission Rate of Concrete Subfloor Using …
- F2170 Standard Test Method for Determining Relative Humidity in Concrete Floor Slabs Using in sit…
- https://scholar.google.com/scholar?q=vinyl+flooring+water+damage+prevention+outdoor+patio Google Scholar
- https://scholar.google.com/scholar?q=resilient+flooring+moisture+management+subfloor+installation+ASTM+F1869+F2170+F710 Google Scholar
- https://scholar.google.com/scholar?q=preventing+standing+water+from+vinyl+plank+flooring+seams+joints Google Scholar
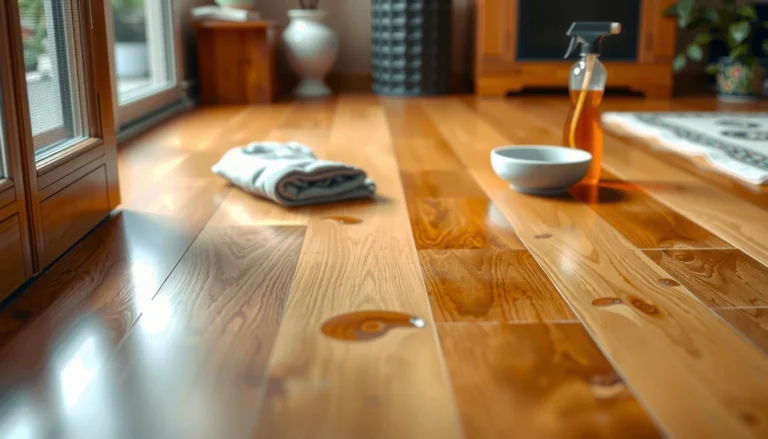
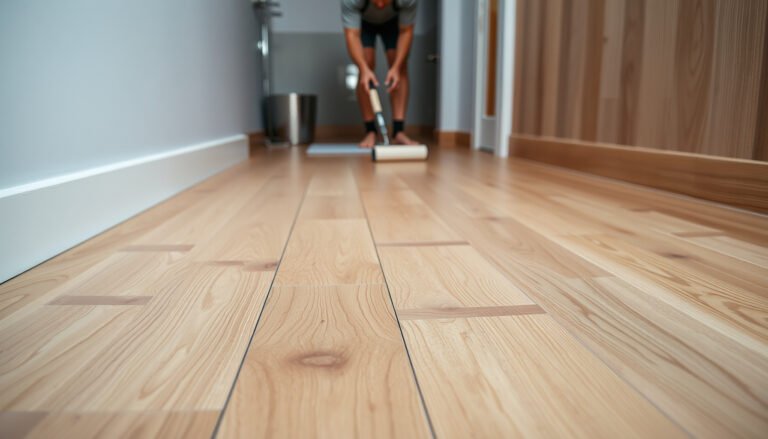
[…] approach is best when you have visible staining on intact patio vinyl flooring and you want a safe cleaning workflow before trying stronger chemicals. It applies to vinyl […]