
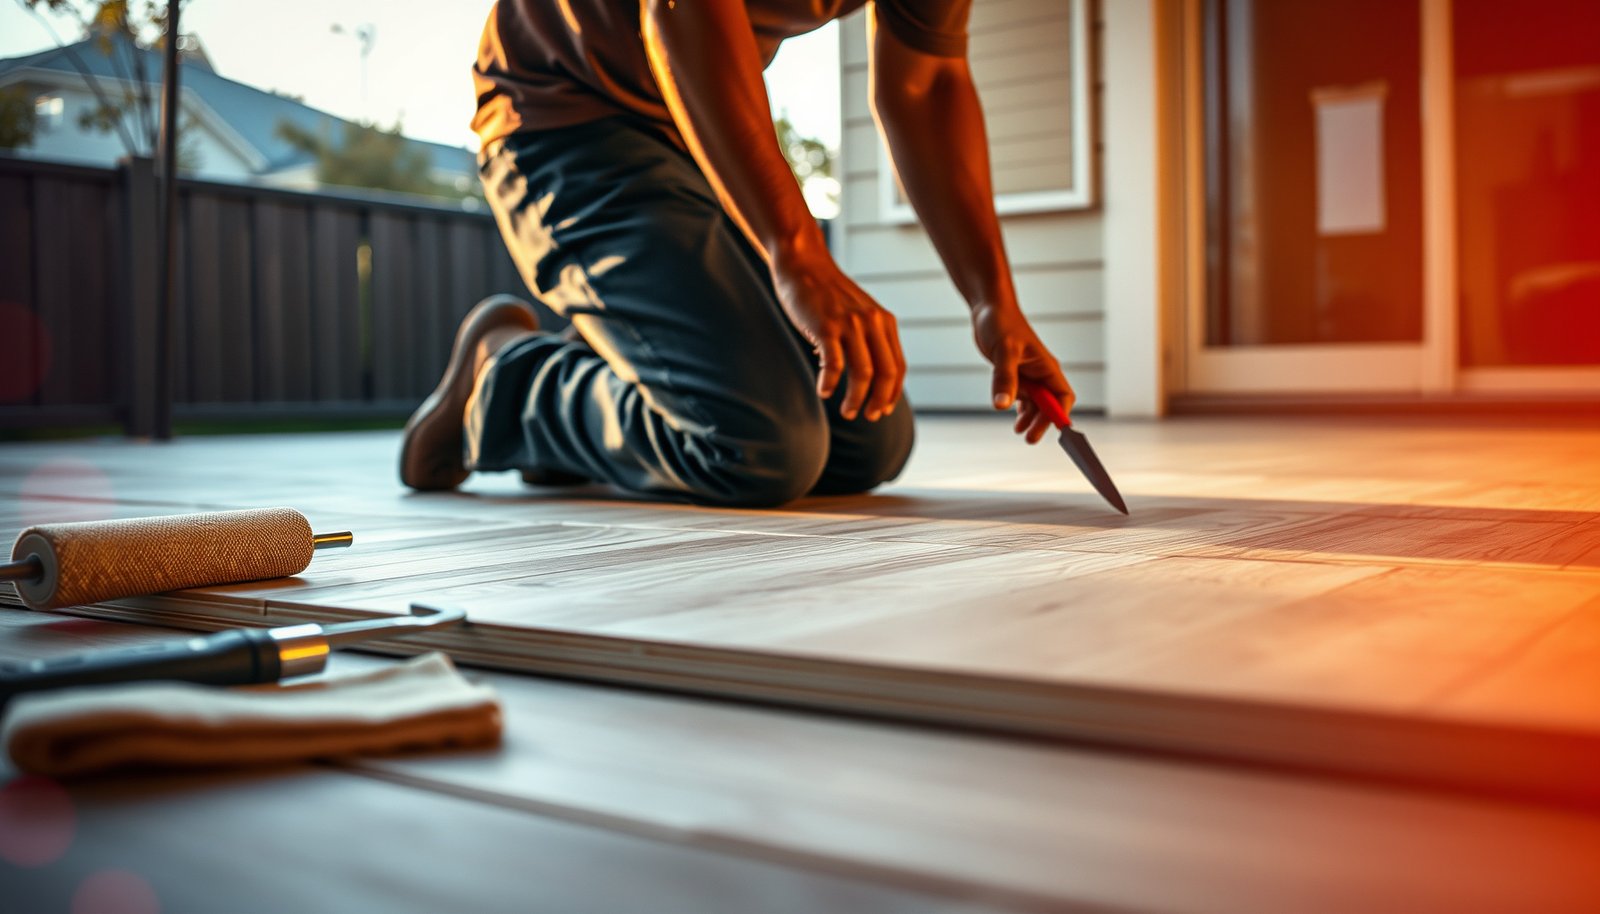

If you need to know how to prepare vinyl floors for a patio, follow this step-by-step prep plan for a surface that won’t lift, buckle, or fail early. You’ll be guided through the exact order—checking moisture and subfloor flatness, deep-cleaning, making repairs, and installing the right underlayment or leveling as needed—so the vinyl performs outdoors as intended. By the end, you’ll have clear, practical benchmarks that confirm your patio-ready prep is done correctly.




Yes—vinyl can work on a patio, but only when your specific product is rated for outdoor exposure and moisture, and when the patio substrate is cleaned, leveled, and moisture-controlled. After you confirm the rating, the “real” success depends on eliminating standing water, meeting flatness tolerances, and installing with the expansion/perimeter details the manufacturer specifies—because outdoor slabs move and get wet as seasons change.
Vinyl floors can only work on a patio if the specific product is rated for outdoor exposure and moisture. After confirming that, prep the surface by cleaning it thoroughly, making it flat/level, and controlling moisture (plus planning drainage at the patio area). This article will walk you through what to check and the exact prep steps that matter most before you install.
If you’re converting a porch/patio area to vinyl plank or vinyl tile, this is for you—especially if you’re dealing with concrete, pavers, or an uneven slab where water can pool. The steps below focus on making the substrate stable and the installation more resistant to moisture and movement.
Step 1: Confirm your vinyl is actually patio/outdoor-rated
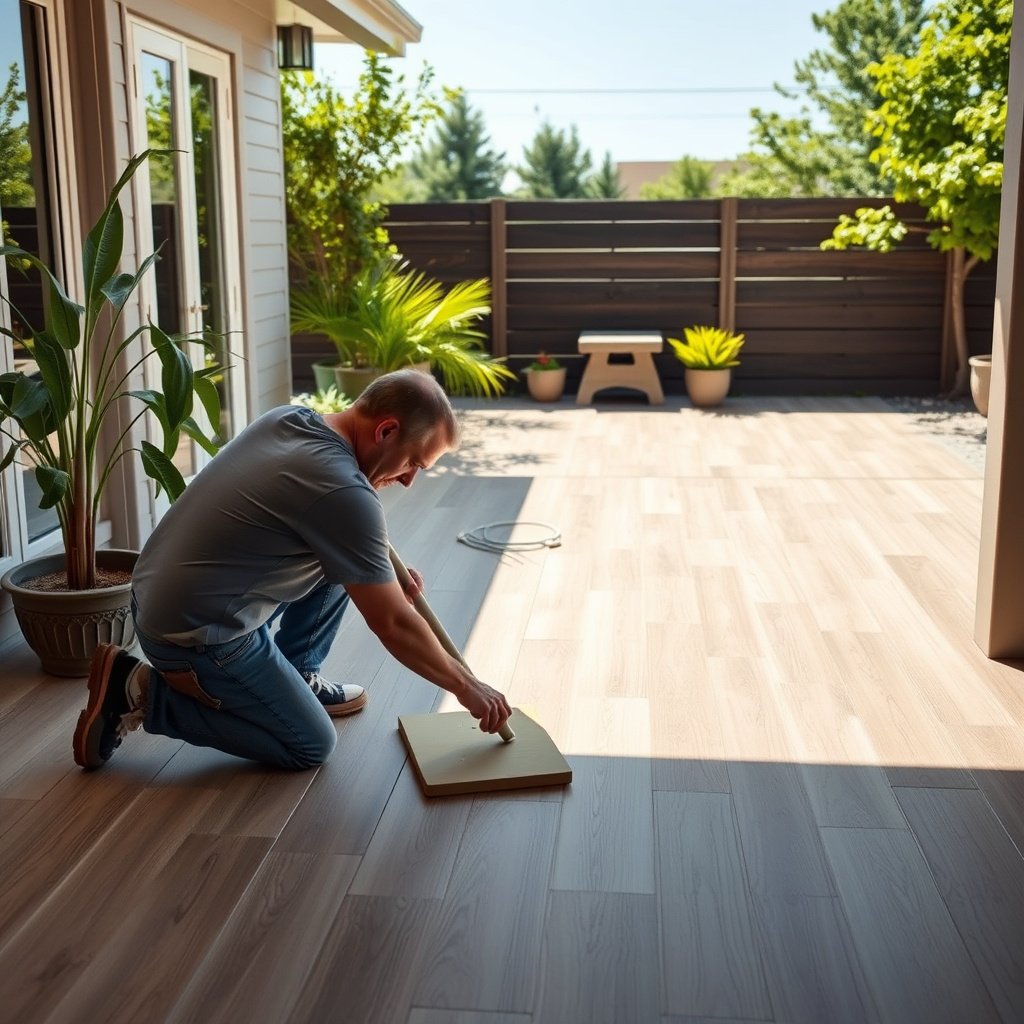
Outdoor-rated vinyl is the deciding factor—without it, preparation can’t fully “fix” UV and moisture exposure. In 2026, the safest approach is to verify the label and installation guide for outdoor/patio approval before you buy underlayment, patch, or primers.
Outdoor vinyl and patio-approved installation guides explicitly address UV exposure and moisture conditions, which interior-only products may not cover.
Moisture testing for resilient/vinyl over concrete is commonly governed by ASTM methods such as ASTM F2170 (in-situ relative humidity) and ASTM F1869 (calcium chloride). ASTM F2170; ASTM F1869
If your vinyl is click-lock floating, manufacturers often require different underlayment and perimeter/expansion procedures than glue-down systems that bond to the substrate.
What to verify (do this before any floor work)
– Check the product label and instructions for words like *outdoor*, *patio*, *exterior*, *UV resistant*, or *suitable for wet environments*. Many vinyl products are marketed for interior floors only even if they look “water resistant.”
– Identify your installation type:
– Click-lock (floating): typically relies on perimeter spacing and an underlayment system designed for movement.
– Glue-down: relies more heavily on adhesive compatibility, moisture limits, and substrate porosity.
– Underlayment compatibility: outdoor-rated systems may require an approved underlayment (or no underlayment at all). If you guess here, you can trap moisture and worsen joint failure over time.
Common expert-level pitfall: people buy outdoor “look-alike” vinyl, then install it over an underlayment meant for interior comfort—this increases the odds of edge lift and seam gapping once the patio gets wet and cools down.
Step 2: Remove everything and deep-clean the patio surface
Deep cleaning is your foundation—vinyl prep fails when dirt, sealers, or adhesive residue prevent uniform bonding and leveling. For outdoor patios, you also need to remove organic growth and film buildup that can keep patch/leveler from adhering correctly.Surface contaminants (dirt, loose debris, paint overspray, and adhesive residues) can interfere with patch leveling and—if glue-down—adhesion to the substrate.
Concrete and exterior slabs should be allowed to fully dry after cleaning; trapped moisture can later show up as lifting, bubbling, or joint movement in resilient flooring systems.
What “deep-clean” means in practice
– Strip the site down to sound substrate:
– sweep/vacuum loose debris
– remove paint overspray, sealers, and failing coatings
– remove adhesive residue or thinset ridges that won’t be flattened later
– Degrease if needed (patios near grills, driveways, or garages): follow cleaner compatibility in the vinyl/substrate guidance so you don’t leave residue behind.
– Dry time matters: if you install on a patio that’s still damp, the first heavy rain cycle or cool night can drive moisture movement into the assembly.
If your patio has pavers
Vinyl over pavers can be viable only when the system instructions allow it and the base is stable. The cleaning step still matters—but you’re also removing:
– sand that’s loose or migrating
– biological growth (mildew/lichen) that can continue to “feed” moisture issues after installation
Step 3: Fix moisture risk and drainage issues before you level
Moisture control is not optional—vinyl outdoors fails most often because water gets trapped or migrates through the substrate. Before you patch, you need to address standing water and confirm moisture limits using the method your flooring guide expects.
If the patio holds puddles or directs runoff into low areas, resilient flooring can experience edge lift and seam stress even with a correct underlayment.
ASTM F2170 measures in-situ relative humidity (RH) in concrete using probes, which many resilient flooring systems use to determine acceptance limits. ASTM F2170
ASTM F1869 uses calcium chloride to estimate moisture vapor emission from concrete, providing a quantitative moisture check before installing moisture-sensitive floor systems. ASTM F1869
What to do first (before patching)
– Eliminate standing water:
– identify low spots that collect water after rain
– correct drainage away from the installation zone where possible
– Repair cracks/holes:
– fill voids with a patch/repair material compatible with both your substrate and your vinyl system
– don’t rely on “flexy” patching products that never fully cure
– Use the manufacturer’s moisture testing method:
– for concrete, use the moisture test approach the vinyl guide names (commonly ASTM F2170 or ASTM F1869)
– don’t guess the limit—vinyl systems often specify RH or MVER thresholds in their warranty requirements
Concrete moisture: why “dry to the touch” isn’t enough
Outdoor concrete can look dry while still carrying moisture internally. That matters because resilient materials can respond to vapor drive by lifting edges or loosening joints—especially at perimeter zones where water intrusion is greatest.
Step 4: Level and smooth—vinyl hates bumps and flex
Flatness is where many patio projects stumble—vinyl needs a stable, smooth substrate because bumps and flex convert into stress at seams. Even small unevenness can cause telegraphing, joint separation, or click-lock noise over repeated outdoor temperature swings.
ASTM E1155 provides a standard practice for evaluating floor flatness, which aligns with the concept of “maximum deviation” tolerances used in resilient floor installations. ASTM E1155
ASTM F710 is widely referenced for evaluating and preparing concrete subfloors using patching/leveling materials intended to achieve a suitable smoothness and flatness for resilient coverings. ASTM F710
Leveling workflow that actually works
– Measure flatness, don’t eyeball it:
– use a long straightedge/level to locate high ridges and low depressions
– confirm your vinyl’s required tolerance (the installation guide gives the target)
– Grind high spots:
– remove old mortar ridges, adhesive ridges, or concrete humps
– Fill low areas:
– use an appropriate patch/compound rated for your substrate and thickness range
– follow cure times so you don’t trap moisture under vinyl
– Re-check flatness after patching:
– outdoor patios can be unforgiving; the second measurement often reveals missed transition zones near cracks or drains
Why smoothing is extra important outdoors
Patio vinyl experiences:
– freeze/thaw expansion and contraction (in colder climates)
– wet/dry cycles from rain and sprinklers
– UV-driven expansion and contraction
Those movements amplify the consequences of a substrate that isn’t flat.
Step 5: Acclimate, plan layout, and protect edges
Outdoor installation is about controlling movement, not just laying boards—so acclimation, layout planning, and edge protection are essential. As of 2026, a good patio layout can reduce seam exposure to rain runoff and prevent perimeter failures.
Many resilient flooring instructions require acclimation to the installation environment to stabilize material temperature and reduce early expansion/contraction stress.
Perimeter expansion gaps and proper edge treatment help accommodate dimensional change in vinyl as temperature and moisture shift, which is especially relevant outdoors.
Acclimate vinyl (if the guide requires it)
– Follow the stated temperature/time window in the manufacturer documentation.
– Don’t acclimate in a humid “tent” where moisture can condense—aim for the conditions the patio will experience.
Plan the layout like a water-management plan
– Avoid tiny end pieces that can become vulnerable during movement cycles.
– Keep seams away from the wettest runoff path:
– where rain drains along a wall or near a downspout, seams take the brunt of repeated wetting and drying.
– Dry-fit boards to visualize how expansion gaps land at corners and transitions.
Protect the perimeter and edges
Patios move and get wet. Your best protection is an approved perimeter approach:
– expansion gap placement
– sealing details (if allowed)
– required transition strips at doors, steps, or adjacent flooring
What can go wrong (and how to avoid it)
Outdoor vinyl often fails for predictable reasons: incorrect product rating, unstable or non-flat substrates, and moisture/drainage problems. If you plan for these failure modes up front, your patio project becomes much more reliable.
– Using interior-only vinyl outdoors: interior products can warp, gap, or deteriorate when exposed to UV and moisture cycling.
– Ignoring flatness: even small unevenness can cause separation at seams and click-lock joints.
– Skipping moisture checks: concrete and exterior slabs can retain moisture beyond what many vinyl systems tolerate.
– Blocking drainage: leveling that creates a “bathtub” effect can cause water to pool and migrate into the installation zone.
– Wrong underlayment: incompatible underlayment layers can trap vapor or change the way the floor flexes.
Quick compare: click-lock floating vs glue-down on a patio
- Click-lock floating vinyl
- Pros: often easier to install; movement is managed with perimeter gaps when the system is outdoor-approved.
- Cons: requires excellent substrate flatness to prevent seam stress; edge detailing is critical outdoors.
- Glue-down vinyl
- Pros: can improve stability on a smooth, properly prepped slab when moisture and adhesive compatibility are correct.
- Cons: more sensitive to moisture limits and adhesive/substrate chemistry; wrong adhesive or moisture levels can cause bond failure.
Verdict / tip
If your vinyl is explicitly rated for patio/outdoor use and you can ensure proper drainage, verified moisture limits, and the required flatness tolerance, patio vinyl prep is worth doing—carefully. The downside is that outdoor conditions (standing water, freeze/thaw, UV, and more frequent wet/dry cycling) increase failure risk even with good prep, and some vinyl types simply aren’t meant for these environments.
Consider skipping vinyl on a patio if your surface regularly collects water, you can’t confirm the manufacturer’s moisture/flatness requirements, or your product documentation doesn’t support outdoor exposure—especially if you’re installing over concrete with unknown moisture history.
Quick checklist (save this)
| Prep step | What to verify |
|---|---|
| Outdoor rating | Product instructions explicitly allow patio/outdoor exposure |
| Surface clean | No dirt, loose debris, paint/sealer/adhesive residue |
| Moisture control | Moisture test + limits (per manufacturer method) |
| Flatness | Substrate meets the product’s flatness tolerance |
| Repairs | Cracks/holes filled with compatible materials |
| Acclimation | Required temperature/time prep completed |
| Edges/perimeter | Follow approved expansion + sealing approach |
Key moisture and flatness test standards used for resilient/vinyl prep (U.S.)
| # | Standard (ASTM) | What it evaluates | Typical substrate | Usefulness rating |
|---|---|---|---|---|
| 1 | ASTM F2170 | In-situ RH (probe method) | Concrete | ★★★★★ |
| 2 | ASTM F1869 | Moisture vapor emission (CaCl₂) | Concrete | ★★★★★ |
| 3 | ASTM E1155 | Floor flatness measurement | Various substrates | ★★★★☆ |
| 4 | ASTM F710 | Assessing/patching for underlayments | Concrete & underlayments | ★★★★☆ |
| 5 | ASTM D4263 | Plastic sheet moisture test | Concrete | ★★★☆☆ |
| 6 | ASTM C1583 | Surface profile testing (for coatings) | Concrete | ★★★★☆ |
| 7 | ASTM C457 | Unit mass / thickness-related checks | Concrete & mortar | ★★☆☆☆ |
> Note: These standards are frequently referenced in resilient flooring preparation workflows, but your vinyl’s installation guide ultimately governs what you must test and what limits you must meet. In 2026, always verify the exact accepted method(s) and thresholds stated by the manufacturer.
Sources
– ASTM F2170 — Standard Test Method for Determining Relative Humidity in Concrete Floors Using in situ Probes (moisture testing method)
– ASTM F1869 — Standard Test Method for Measuring Moisture Vapor Emission Rate of Concrete Subfloor Using Anhydrous Calcium Chloride (MVER method)
– ASTM E1155 — Standard Practice for Determining Floor Flatness and Levelness Using Floor Surface Profiling Methods (flatness evaluation)
– ASTM F710 — Standard Practice for Preparing Concrete Floors to Receive Resilient Flooring (surface prep concepts)
Preparing vinyl floors for a patio comes down to three outcomes: the right outdoor-rated product, a substrate that’s clean and measurably flat, and a moisture/drainage plan you can defend with the testing method your flooring guide expects. If you can’t confirm outdoor compatibility or you have ongoing standing-water conditions, vinyl will likely become a maintenance problem rather than a long-term finish.
Frequently Asked Questions
What should I do to prepare vinyl floors for a patio before installation?
Start by checking that the patio surface is structurally sound and free of dust, paint overspray, loose material, and debris. Clean the area thoroughly, then allow it to dry completely so moisture doesn’t interfere with adhesive or underlayment performance. If your vinyl is a click-lock type, confirm the substrate is flat and stable; if it’s glue-down, follow the manufacturer’s moisture and bonding requirements.
How do I level and smooth the patio surface for vinyl flooring?
Use a straightedge to identify dips, bumps, or uneven concrete, then grind high spots and fill low areas with a suitable patch or self-leveling compound. Let any leveling product cure fully before installing to avoid telegraphing imperfections through the vinyl. Aim for a smooth, even surface because patio conditions can magnify irregularities and reduce vinyl floor longevity.
Why is moisture and weather exposure prep important for patio vinyl floors?
Vinyl flooring on patios must handle temperature swings, humidity, rain, and potential condensation, so moisture management is critical. Before installing, test the substrate moisture (especially for concrete) and ensure drainage around the patio is functioning so water doesn’t pool. Proper preparation helps prevent lifting, bubbling, mold/mildew issues, and premature wear from freeze-thaw or prolonged dampness.
Best underlayment or surface prep method for vinyl floors on an outdoor patio?
The “best” option depends on whether your vinyl is designed for outdoor or direct-sun conditions; always use the underlayment and prep products recommended by the flooring manufacturer. Many outdoor vinyl systems work best with a dry, smooth, rigid substrate and minimal compressible layers to reduce movement and separation. If the product is peel-and-stick or glue-down, focus on achieving excellent adhesion by using the correct primer/adhesive (if required) and ensuring the surface is clean and properly cured.
Which vinyl flooring type is easiest to prep for patio use?
For patio applications, many homeowners find rigid core click-lock vinyl easier to prep because it emphasizes a flat, stable surface and often relies less on full adhesive bonding. Glue-down vinyl can work well too, but it typically requires stricter attention to moisture levels, surface porosity, and adhesive compatibility outdoors. Whichever type you choose, confirm it’s rated for outdoor patio exposure, then follow the exact substrate preparation steps to ensure a long-lasting, water-resistant installation.
📅 Last Updated: October 27, 2026 | Topic: How to prepare a vinyl floors for patio? | Content verified for accuracy and freshness.
References
- Vinyl flooring
- RFCI – Resilient Flooring Covering Institute
- Mold | US EPA
- https://www.cdc.gov/mold/default.htm
- https://www.armstrongflooring.com/support/installing.html
- https://scholar.google.com/scholar?q=vinyl+flooring+preparation+for+outdoor+patio+subfloor+moisture+leveling Google Scholar
- https://scholar.google.com/scholar?q=luxury+vinyl+plank+outdoor+installation+guidelines+temperature+acclimation Google Scholar
- https://scholar.google.com/scholar?q=resilient+flooring+installation+guidelines+subfloor+preparation+moisture Google Scholar



[…] As of 2026, this is still the first line of defense in most resilient-floor installation guidance: moisture control beats “repair after the […]