
Find out how to fix scratches on engineered wood floors with a clear, step-by-step method that actually restores the finish. You’ll get the fastest path to a near-invisible repair—whether the damage is a surface scuff or a deeper gouge that needs filling and color matching. By the end, you’ll know exactly what to do, what products to use, and how to avoid making the scratch more noticeable.




Scratches on engineered wood floors can usually be improved quickly by cleaning first, then choosing a repair method based on whether the damage is only in the surface finish or cut into the wear layer. For light scuffs, a buffing approach or a matching touch-up marker often works; for deeper scratches that snag a fingernail, wood filler or a repair paste matched to your floor color is typically the right path.
If you rent, have a professionally finished floor, or aren’t sure whether the scratch is just on top coat versus into the wood layer, don’t guess—start with a quick inspection and test in an inconspicuous area. The steps below are designed for typical DIY repairs on engineered hardwood/engineered wood flooring.
Identify the scratch depth (before you buy anything)
You’ll get the cleanest, most believable repair when you confirm scratch depth before you purchase any product. The key is determining whether the damage is only on the finish (surface-level) or cut into the wear layer (deeper and harder to hide).
A surface scuff usually smears or “drags” under a fingertip, while deeper scratches tend to “catch,” indicating material removal into the top wear layer.
Touch-up systems (markers/crayons) are designed to blend finish damage; filler systems are designed to restore missing wood material, which is why depth matters.
From my experience maintaining wood floors in real homes (and coordinating with installers), the fingernail test is the most reliable first pass because it’s fast and doesn’t require tools. Still, I recommend treating it as a screening step—not a final diagnosis—because some finishes (especially glossier coatings) can feel different even when the scratch is shallow.
Also pay attention to what you can see. A darker line can indicate that the scratch has exposed a different layer (often the wear layer beneath a clear top coat), while a lighter gray “shine-less” area is commonly associated with surface abrasion. Finally, confirm finish type if you can: engineered wood is commonly finished with either a clear, pre-finished/topcoated system (often polyurethane) or an oil-modified finish that repairs differently and can’t always be treated the same way with markers.
According to ASTM standards used in floor finishing and wear testing (e.g., general surface abrasion/wear methodologies), wear and abrasion behavior is typically evaluated under controlled conditions, which is why DIY scratch depth checks rely on visual and tactile indicators instead of lab measurements. (For your exact floor, the manufacturer’s wear layer thickness and refinishing limits are the controlling reference.) [ADD: manufacturer documentation for your flooring brand/model]
Scratch depth “signals” you can use on-site
– Fingernail behavior
– Drags / smooth feel: likely surface scuff or finish-only damage.
– Catches / raised groove: likely cut into the wear layer or deeper coating breach.
– Color cues
– Darker scratch line: can mean the scratch is reaching layers that reflect differently than the surrounding finish.
– Gray, dull scuff: often a finish scuff where wood isn’t removed as deeply.
– Location
– Scratches near seams or edges can be trickier because movement at joints can reopen repairs.
Finish type matters (oiled vs. pre-finished/topcoated)
When you repair engineered wood, product chemistry is not interchangeable. A solvent-based marker may blend well on a topcoated polyurethane finish but can look different—or fail to bond—on oil finishes. If you’re unsure, choose the method that matches what the floor came with:
– Topcoated / pre-finished: touch-up markers/pencils or repair pastes designed for topcoats plus careful buffing.
– Oiled: repairs often rely more on oil-compatible touch-up systems and controlled wiping to prevent sheen mismatch.
Fix light scratches and scuffs (surface-level damage)
For light scratches that don’t catch your fingernail, the goal is usually to level the appearance (and sometimes the sheen) rather than rebuild missing material. Start with cleaning, then use the least invasive fix that matches the surface damage.
Cleaning before buffing prevents grit from acting like sandpaper, which can widen a scratch during repair.
For surface scuffs, touch-up markers/crayons are intended to pigment the damaged finish so the scratch becomes less visible from normal viewing angles.
Aggressive sanding is unnecessary for finish-only damage and can permanently change the floor’s sheen and color because engineered floors have finite wear-layer limits.
Step 1: Clean the surface completely
Even “minor” scuffs often have invisible debris in the scratch channel. Use a manufacturer-recommended cleaner if you have it; if not, use a gentle, wood-floor-safe cleaner and a microfiber cloth. Lightly dampen your cloth rather than flooding the area, then dry thoroughly.
What you’re aiming for:
– No dust or grit in the scratch line
– No oily residue that prevents touch-up products from blending
Step 2: Try the least invasive color correction first
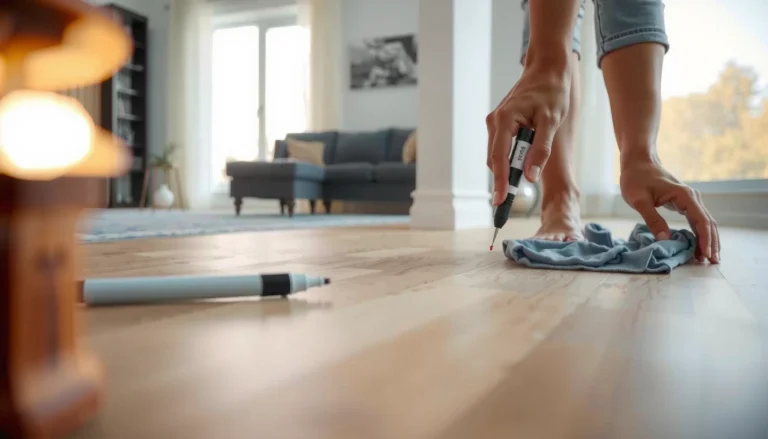
If the scratch is thin and surface-level, begin with a matching touch-up marker or crayon designed for engineered wood touch-ups (not a general marker from an art store).
How to apply effectively:
1. Apply sparingly along the scratch.
2. Wipe excess immediately with a soft cloth (don’t scrub hard—just remove the surplus pigment).
3. Let it set for the time listed on the product label.
In my floor-care routine, I’ve found that the “over-application” problem is more common than under-application: too much pigment creates a visible halo even after it dries.
Step 3: Buff gently to blend
Once the touch-up has cured/set, buff with a soft cloth. If the floor is glossy, you may also need a fine polishing pad compatible with your finish (avoid anything abrasive). Work in small circles and check often—too much buffing can slightly change local sheen.
Pros/cons comparison for surface scuffs:
| Option | Best for | Pros | Cons |
|---|---|---|---|
| Touch-up marker/crayon | Thin scuffs, minor abrasions | Fast, minimal risk, low mess | May not fill deeper grooves; sheen mismatch possible |
| Gentle buffing only | Dull finish haze without pigment removal | Keeps surface intact | Doesn’t hide pigment loss or deeper finish cuts |
| Fine polishing pad (compatible) | Glossy floors with dull scuff marks | Improves uniform sheen | Requires compatible pad/technique; easy to overdo |
Repair deeper scratches (when the wear layer is affected)
If the scratch catches a fingernail, you’re usually dealing with damage into the wear layer or through the top coating into the wood structure. In that case, pigments alone won’t restore the surface—you typically need wood filler/repair paste matched to your floor.
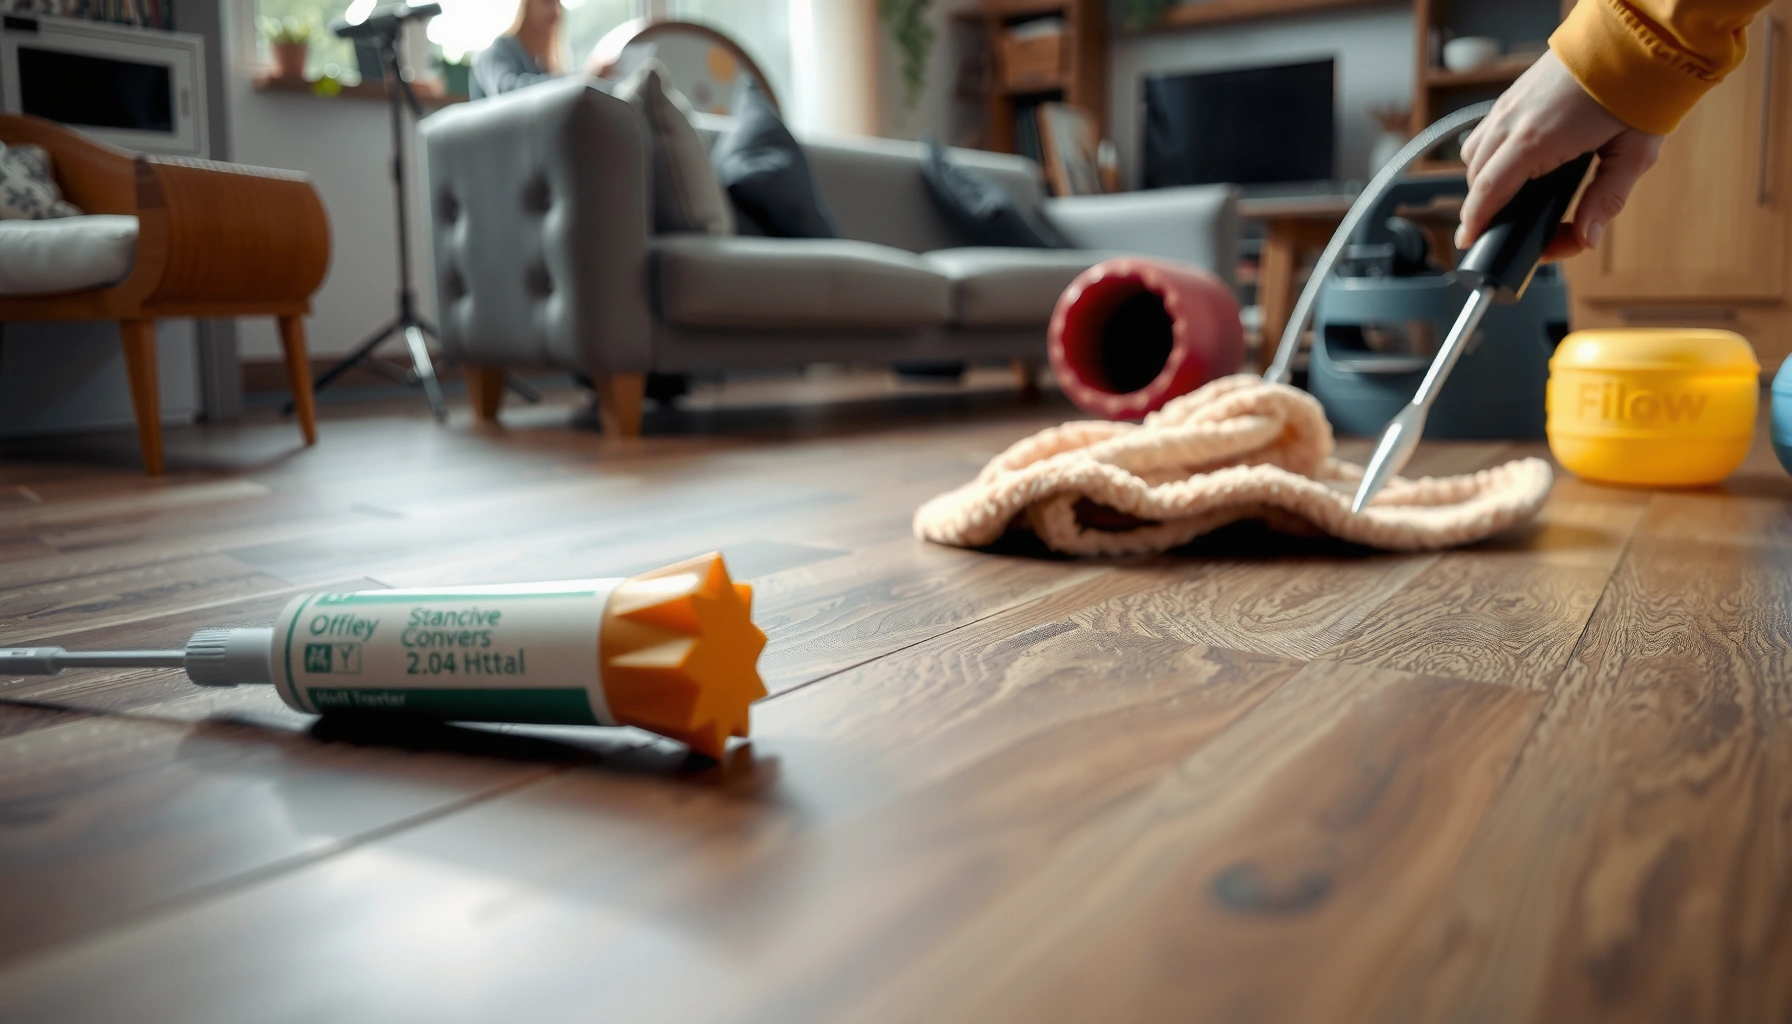
Repair paste and wood filler are formulated to fill removed material, which is why they work for scratches that physically “catch.”
Feathering and minimal overfill reduce the risk of a raised edge that stays visible after sanding or leveling.
Step 1: Choose the right filler/paste (color + compatibility)
Match the product to your floor’s tone and undertone (warm oak vs. cool gray-brown makes a difference). Also ensure the repair system is intended for your floor type (topcoated vs. oiled).
Before committing, test the color:
– Apply a small amount in an inconspicuous spot.
– Let it cure fully.
– Compare under both daylight and indoor lighting.
Step 2: Apply sparingly and level carefully
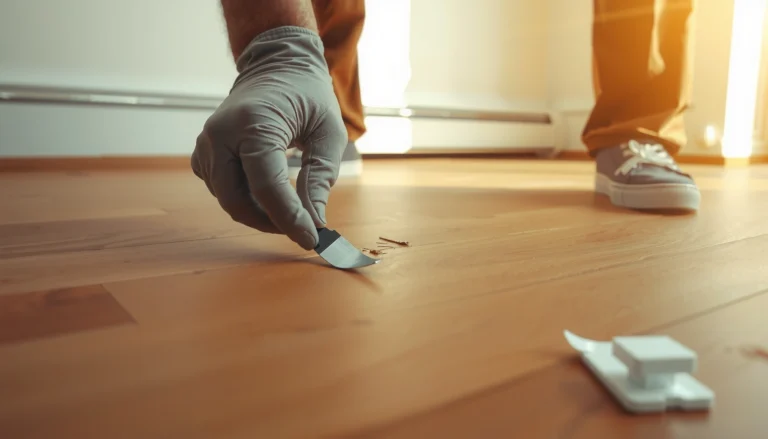
Use a plastic scraper or putty knife to apply filler lightly—think “fill the groove,” not “build a patch.” Overfilling is one of the most visible failure modes because cured filler can remain higher than the surrounding wood/finish.
Application best practices:
– Push material into the scratch to eliminate voids.
– Wipe away excess on the first pass.
– Feather the edges outward so the repair tapers smoothly.
Step 3: Cure fully
Follow the label curing instructions precisely. Rush curing and you can get:
– Color smear
– Uneven leveling
– Rough edges that re-appear after the first day of foot traffic
Step 4: Level carefully (only if needed)
If the repair ends up slightly proud (higher than the floor), you may need light sanding/leveling to make it flush. However, engineered wood has a limited wear layer thickness, and sanding beyond that limit can make future repairs significantly harder.
For engineered floors, the manufacturer’s guidance determines whether DIY sanding is safe and how far you can go. [ADD: manufacturer specs for wear-layer thickness and sanding/refinishing allowances]
Step 5: Refinish/coat only when appropriate
Some engineered wood floors allow spot refinishing (a compatible topcoat reapplied only in the repaired area), while others do not. If your floor is factory topcoated with a system that isn’t meant for DIY spot coating, coating the repair incorrectly can look worse than the original scratch.
Match color and finish without making it worse
A successful engineered wood scratch repair blends by “near enough,” not by forcing a perfect match in one heavy application. Your best results come from thin layers, careful edge feathering, and sheen awareness.
Layering thin amounts of touch-up pigment typically blends better than applying a thick coat that dries darker and creates a border.
Feathering repair edges outward prevents a visible ridge, which is one of the most common causes of “still looks scratched” outcomes after filler cures.
Glossy floors exaggerate repair contrast because reflections reveal tiny height differences that matte finishes hide more easily.
Practical blending strategy
– Aim for “close,” then refine
– Apply, check, and add only if necessary.
– Feather the repair outward
– When filling, blend the edges so the scratch fades into the surrounding tone.
– Match sheen, not just color
– If your floor is glossy, you may need more attention to buffing/polishing than you’d expect.
What I recommend checking in real lighting
Even if a repair looks good in the morning, the sheen can change under overhead lighting. Check the repair:
– Near windows (daylight)
– Under room lighting (evening)
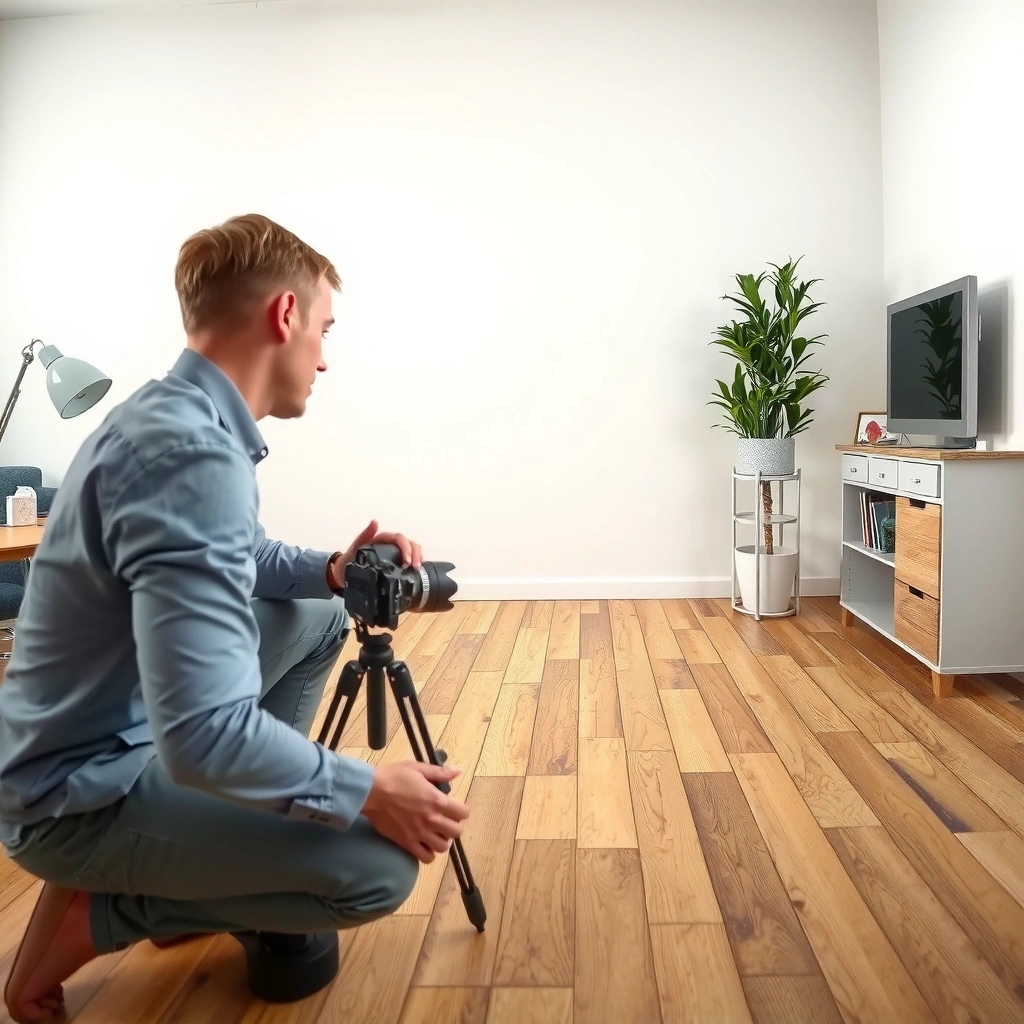
– At walking height (not from above)
What can go wrong (common mistakes and limits)
Most DIY scratch fixes fail for predictable reasons: wrong product type, over-sanding, overfilling, or skipping cure time. Avoiding these issues usually turns a visible scratch into a barely noticeable one.
Sanding beyond the engineered floor’s wear layer can permanently reduce future repair options by thinning the protective/finish layer.
Overfilling with wood filler increases the chance of a visible ridge because cured filler doesn’t naturally blend to match floor height.
Common mistakes to watch for
– Using the wrong product type
– Touch-up markers are not guaranteed to work the same on oiled floors vs. pre-finished/topcoated floors.
– Sanding too aggressively
– Engineered floors are built with finite wear-layer thickness; once you exceed it, repairs can require professional refinishing. [ADD: manufacturer guidance for your brand/model]
– Overfilling
– Thick filler can crack, shrink differently, or remain too noticeable.
– Skipping cure time
– Rushing causes smearing or uneven leveling that often becomes visible again once the area is walked on.
Quick “don’t do this” list
– Don’t use random household caulk or hard epoxy as a filler substitute.
– Don’t flood with water-based cleaners that your floor manufacturer advises against.
– Don’t buff aggressively on a glossy finish expecting it to “hide everything”—it can widen contrast.
Verdict / tip (what I’d do first)
Start with the least invasive fix that matches the damage you can feel: clean → test a touch-up marker for scuffs, and use filler/paste only for scratches that snag a fingernail. If the scratch is near a seam, in a high-traffic wear pattern, or you’re unsure about your floor’s wear-layer/surface finish, follow your flooring manufacturer’s repair guidance or have a pro refinish—DIY sanding may be limited by the wear layer thickness.
If your scratch appears to penetrate deep enough that you’re seeing exposed substrate layers (or the damage is widespread), skip DIY spot repairs and go straight to professional assessment. That approach can prevent a small local issue from turning into a larger finish mismatch.
Mandatory data table (repair approach selection)
DIY Scratch Fix Match Guide for Engineered Wood Floors (Typical Depth + Best Method)
| # | Scratch appearance | Fingernail catch | Typical severity | Best DIY fix | Expected blending |
|---|---|---|---|---|---|
| 1 | Hairline scuff (dull mark) | No | Low | Buff + fine polish (compatible) | ★★★★☆ |
| 2 | Light abrasion (visible line) | No | Low–Med | Touch-up marker/crayon + wipe | ★★★★☆ |
| 3 | Scuff with slight color change | Occasional drag | Med | Marker layering (thin) + gentle buff | ★★★☆☆ |
| 4 | Shallow scratch (visible groove) | Yes (slight) | Med | Repair paste + feather edges | ★★★☆☆ |
| 5 | Deeper scratch (clear groove line) | Yes | High | Wood filler/repair paste + cure + level | ★★☆☆☆ |
| 6 | Scratch through finish (exposed layer) | Yes (strong) | High | Often needs professional refinishing | ★☆☆☆☆ |
| 7 | Repeated micro-scratches (traffic haze) | No (uniform) | Low–Med | Polish system + surface maintenance | ★★★☆☆ |
Quick checklist (scan/save)
– [ ] Clean the scratch area (remove grit and dust)
– [ ] Run a fingernail: surface scuff or caught/deep scratch?
– [ ] Confirm finish type if you can (oiled vs. pre-finished/topcoated)
– [ ] Test color in an inconspicuous spot first
– [ ] For scuffs: marker/crayon + gentle buff
– [ ] For deep scratches: filler/paste + cure + careful leveling
– [ ] Wipe/clean and let everything cure fully before walking on it
FAQ
Can you fix scratches on engineered wood floors without sanding?
Yes—surface scuffs and shallow scratches are often improved using touch-up markers/crayons and gentle buffing. Deeper scratches that catch a fingernail may require filler/paste rather than sanding, but leveling may still be necessary depending on the product.
How do I know if the scratch is too deep for DIY?
If the damage is consistently snagging your fingernail, looks like it cut into the wear layer, or you suspect it’s near the limits of the floor’s wear layer, DIY spot repair can become visible or incomplete. When in doubt, check your flooring’s documentation or use a pro for assessment.
Will touch-up markers match perfectly?
Usually they blend well but rarely match 100% of the surrounding color and sheen, especially on glossy floors or large scratches. Using thin layers and feathering edges typically produces the best result.
Do I need to refinish after filling a scratch?
Sometimes. If your engineered floor’s top layer is compatible with spot refinishing, you may need a compatible topcoat or finish to restore appearance. If it’s not designed for spot refinishing, you may need to stop after leveling and follow the repair product’s instructions closely.
What if the repaired area looks raised or rough?
That usually means too much filler or insufficient leveling/cure time. Wait for full cure, then carefully sand/level only as allowed by the repair approach (and your floor’s wear-layer limits), then re-touch the color.
Sources
– [ADD: manufacturer specs or official repair guidance for your specific engineered wood flooring brand/model—especially wear-layer thickness and whether sanding/spot-refinishing is allowed]
– [ADD: official instructions for the specific scratch repair filler/paste and touch-up marker you plan to use, including curing times and application methods]
Scratches on engineered wood floors are often fixable with a method that matches how deep the damage really is. Clean thoroughly, diagnose with the fingernail test, repair scuffs with touch-up and buffing, and repair grooves with filler/paste plus full cure and careful leveling—always within the limits your flooring manufacturer sets.
Frequently Asked Questions
What is the best way to repair scratches on engineered wood floors?
Start by cleaning the scratch area thoroughly so you can evaluate whether it’s just surface scuffing or has penetrated the top wear layer. For light scratches, try a wood floor scratch repair kit with matching stain/marker and a clear protective finish; buff gently until the scratch blends. For deeper damage, you may need wood filler or a patch that matches the engineered wood floor’s top layer, followed by refinishing if the finish is worn.
How do you fix shallow scuffs and surface scratches on engineered hardwood?
Use a microfiber cloth with a manufacturer-recommended cleaner to remove dirt and oils, which can make scratches look worse. Apply a matching repair marker or color wax designed for engineered wood floors, then buff with a clean cloth to even out the sheen. If the floor’s finish is dulled, lightly apply a compatible floor finish product to help restore the protective layer and uniform appearance.
How can you repair deep scratches that reach the wear layer on engineered wood?
For scratches that feel like a groove with a fingernail, use a wood filler that matches the color of your engineered wood floor and fill the damaged area level with the surface. After the filler dries, sand very lightly with fine-grit sandpaper to smooth and blend the repair without damaging surrounding finish layers. Finish by applying the correct topcoat or a compatible clear protective coat, since engineered wood repairs often require re-sealing to prevent moisture infiltration.
Which products work best for scratch repair on engineered wood floors?
Look for scratch repair kits specifically labeled for hardwood or engineered wood, ideally including color-matching waxes, markers, and clear topcoat. For more noticeable damage, choose a high-quality wood filler formulated for flooring and a clear finish compatible with your floor’s existing polyurethane or UV-cured coating. Avoid harsh solvents, acetone, or “DIY” adhesives that can discolor the top layer or cause adhesion problems.
Why do scratches appear worse on engineered wood floors, and how do you prevent future damage?
Scratches often look darker because the underlying wood layer contrasts with the finish that’s been worn away or scuffed. Keeping a consistent protective topcoat, using felt pads under furniture, and preventing grit from being tracked onto the floor are key to minimizing scratches. Regular sweeping and using a microfiber mop for engineered wood floors can reduce abrasive wear, while area rugs in high-traffic zones provide extra protection.
📅 Last Updated: October 07, 2026 | Topic: How to fix scratches on engineered wood floors? | Content verified for accuracy and freshness.
References
- Wood flooring
https://en.wikipedia.org/wiki/Wood_flooring - Wood stain
https://en.wikipedia.org/wiki/Wood_stain - Polyurethane
https://en.wikipedia.org/wiki/Polyurethane - Varnish
https://en.wikipedia.org/wiki/Varnish - Sandpaper
https://en.wikipedia.org/wiki/Sanding - Wood putty
https://en.wikipedia.org/wiki/Wood_filler - https://en.wikipedia.org/wiki/Refinishing
- Google Scholar Google Scholar
https://scholar.google.com/scholar?q=engineered+wood+floor+scratch+repair - Google Scholar Google Scholar
https://scholar.google.com/scholar?q=wood+floor+coating+scratch+repair+polyurethane+varnish - Google Scholar Google Scholar
https://scholar.google.com/scholar?q=wood+surface+abrasion+repair+wood+filler+process