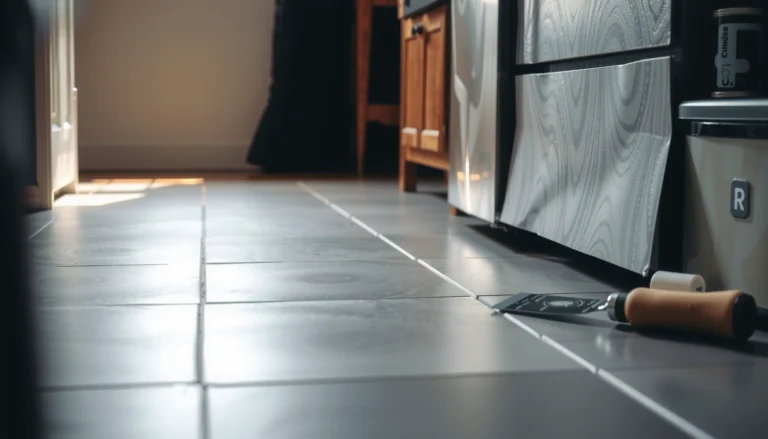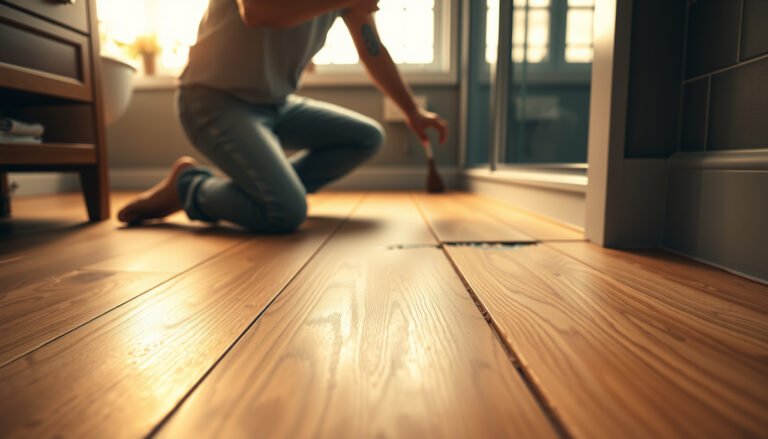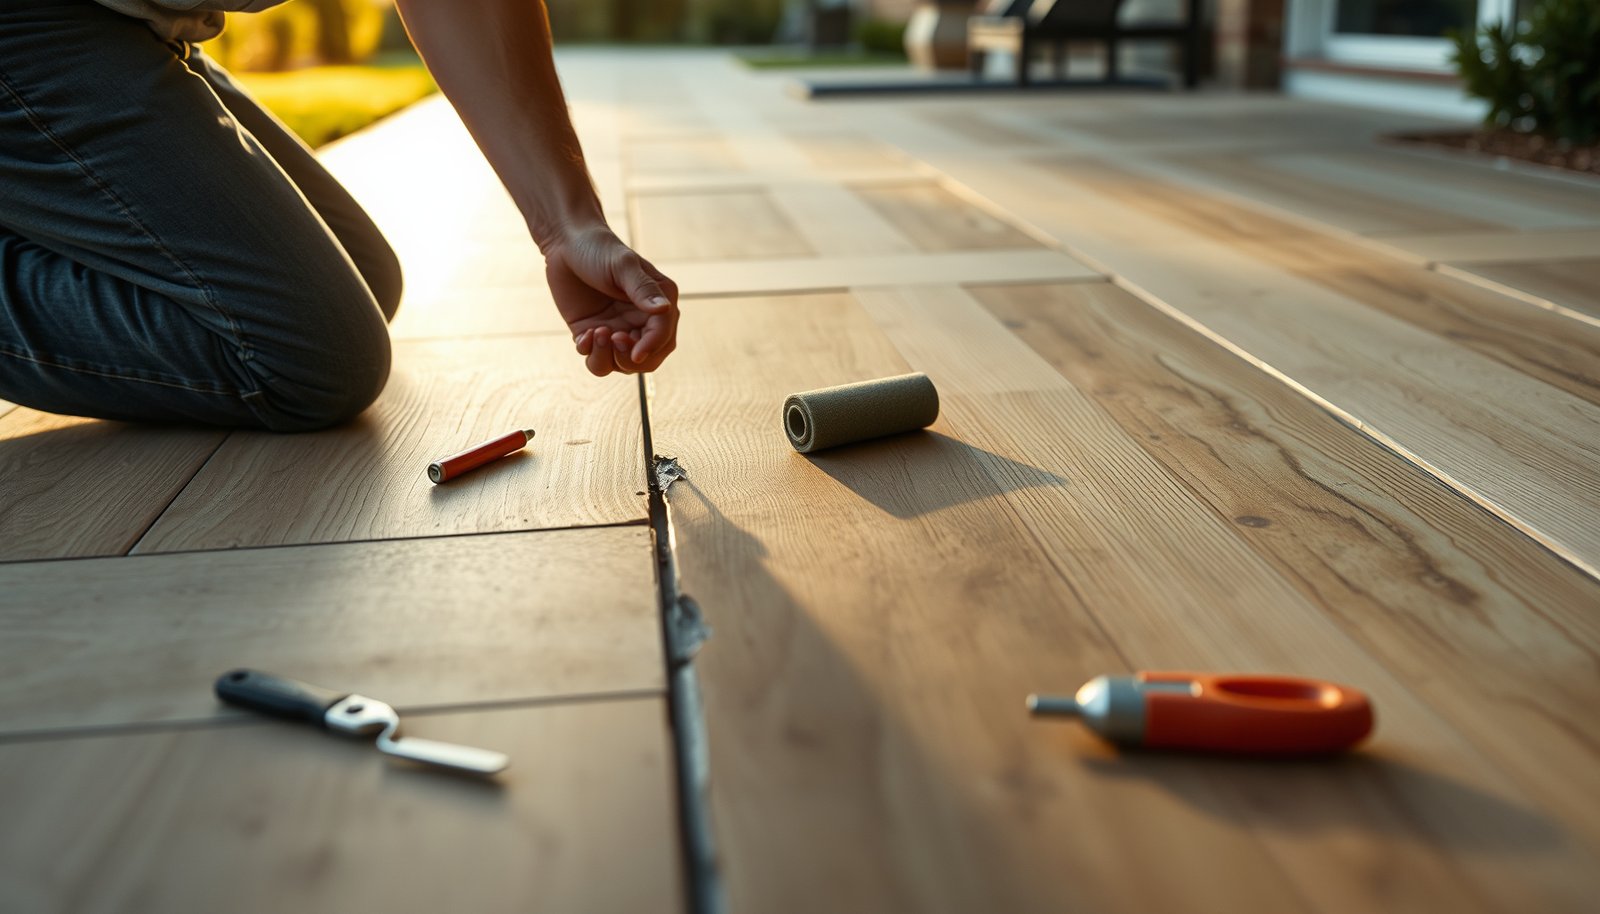

How to repair outdoor walkway vinyl floors is straightforward if you match the fix to the damage, whether it’s a loose seam, a lifted patch, or a hole from impact. This step-by-step guide tells you exactly what to inspect, which supplies to use, and how to seal and reattach vinyl so it holds up against water and foot traffic. If you want the quickest durable repair that won’t peel back after the next wet day, you’ll find the right procedure here.




Repairing outdoor walkway vinyl usually works when you dry the area, clean the bonding surfaces, remove only the damaged section, and then re-seat (and—where allowed—seal) the edges/seams so water can’t wick underneath. If the vinyl lifting is limited to seams or small damaged zones, a targeted re-bond + patch approach often restores a stable surface—while incorrect sealing is the most common reason the fix fails after the next rain or freeze cycle.
If your outdoor walkway vinyl is lifting, cracking, or separating at seams, the fix usually starts with drying, cleaning, and removing only the damaged section—then matching the patch/plank thickness and locking the edges back into place. For outdoor areas, you’ll also need to seal seams correctly (or your repair can fail again after the next rain/freeze cycle). In this guide, you’ll learn how to assess the damage, prep the surface, repair common vinyl defects, and avoid the mistakes that cause the problem to come back.
If the damaged vinyl is in a sheltered outdoor walkway (some sun, occasional water) and you’re dealing with loose seams, worn spots, or a section that’s lifting, this is for you. If your flooring was never rated for exterior/outdoor use by the manufacturer, you may need to replace it instead of repairing it—check the label/manual first.
Assess the damage and confirm outdoor suitability
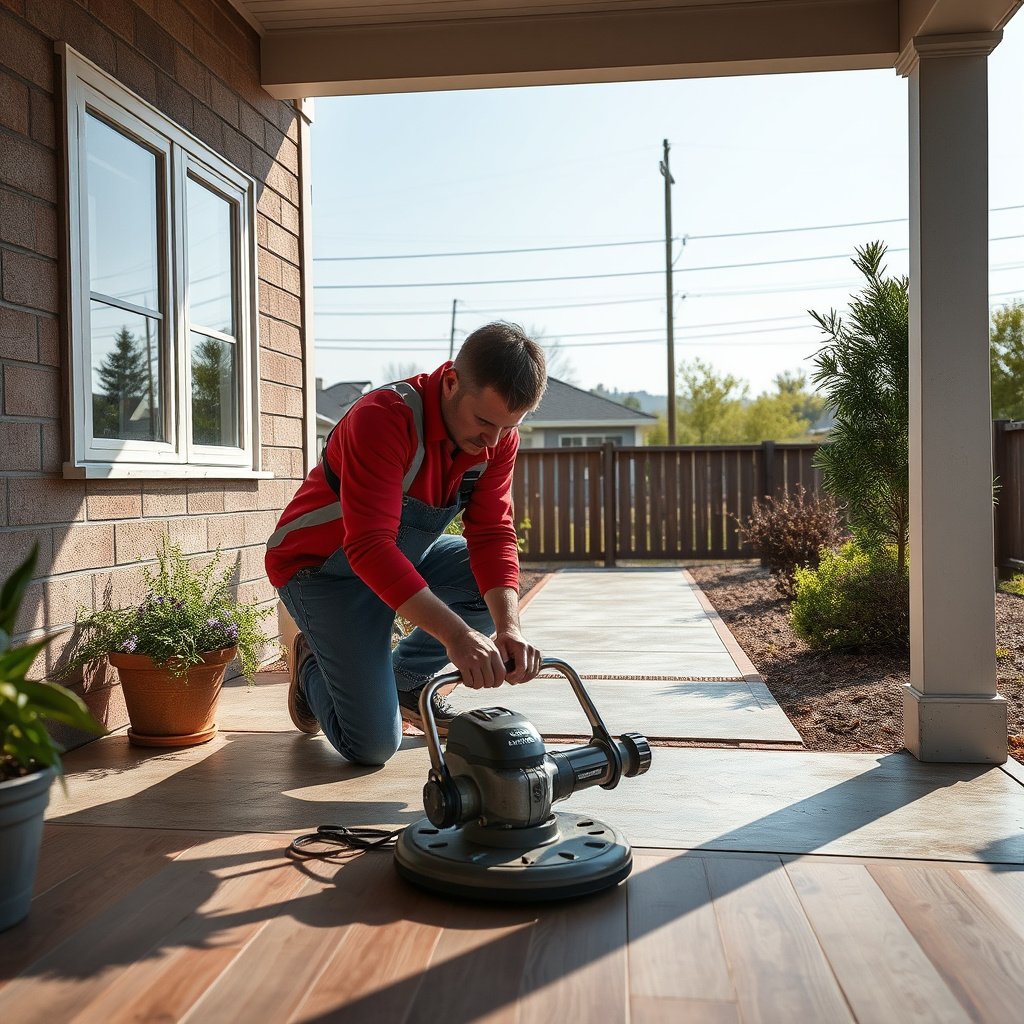
The fastest path to a durable repair is to confirm the vinyl system is approved for outdoor/exterior exposure and then verify the failure isn’t caused by ongoing moisture from the subfloor or drainage. Outdoor vinyl walkway repairs fail most often when the surface is re-bonded but water continues to travel underneath.
Before you cut anything, treat the outdoor walkway vinyl as two separate problems: (1) the visible vinyl defect (seam lift, crack, bubble), and (2) the water/flatness conditions beneath it. As of 2026, best practice is to follow the specific installation guide for your vinyl type (sheet vs. tile vs. click-lock) because seam-sealing rules and allowable repair chemicals vary by system.
Vinyl flooring repairs in outdoor exposure depend first on whether the product is explicitly rated for exterior use by the manufacturer.
If water is reaching the subfloor (or the base is soft/uneven), re-bonding the vinyl surface alone usually won’t hold.
ASTM-compliant resilient flooring installations start with substrate preparation (flat, dry, firm), because resilient materials telegraph defects outdoors after freeze/thaw.
Step 1: Confirm your vinyl is outdoor-suitable
– Check whether the specific vinyl (plank, tile, sheet, or click-lock) is rated for outdoor/exterior use in the manufacturer’s installation guide. If it isn’t, repairs may only last a short time due to moisture expansion and temperature swings.
– If you can’t find the rating, look for wording like “exterior,” “outdoor,” “interior only,” or restrictions against moisture exposure near entrances/walkways.
– If the vinyl is click-lock and the manufacturer restricts it from wet areas, seam re-seating may be temporary because click-lock relies on tight mechanical interlocks rather than full-area adhesion.
Step 2: Identify exactly what failed
– Identify what failed: seam separation, bubbling, gouges/dents, loose planks, or a cracked/delaminated area.
– Mark the failure boundaries with painter’s tape so you remove only what’s actually compromised.
– For lifted seams, check both sides of the seam: water often invades from the edge first, then creeps.
Step 3: Inspect the subfloor and the water path
– Inspect the subfloor and water path: if water is getting underneath (or the base is soft/uneven), repairing the vinyl surface alone won’t hold.
– Look for standing water after rain, poor slope, damaged caulk/joints at transitions, and clogged downspouts that discharge onto the walkway.
– If you can safely access the edge, gently lift an affected plank corner to check for darkening/softness on the substrate.
Outdoor Walkway Vinyl Systems: Typical Failure & Repair Fit
| # | Vinyl system segment | Edge/seam bond type | Outdoor failure pattern | Best repair approach | Outdoor repair reliability |
|---|---|---|---|---|---|
| 1 | Glue-down LVP / LPV | Full-area adhesive | Edge lifting when moisture wicks at seams | Re-seat edges + resilient/vinyl seam sealer (if allowed) | ★★★★★ |
| 2 | Click-lock floating LVP | Mechanical interlock | Seam opening after repeated wetting | Targeted re-locking; replacement often required if repeated | ★★★☆☆ |
| 3 | Glue-down sheet vinyl | Seam/weld system | Seam edge lift if seam isn’t sealed properly | Re-weld or re-seal seam using vinyl seam products | ★★★★★ |
| 4 | Vinyl tile (glued) | Perimeter + full contact | Corner lift and hollow spots | Remove and replace tile; re-bond edges | ★★★★☆ |
| 5 | Rigid-core LVP (SPC-style) | Varies (often click-lock or glue-down) | Cracking at flex points; seam stress outdoors | Fix base, then patch/replace affected boards | ★★★★☆ |
| 6 | LVP with attached soft backing | Glue-down to substrate | Moisture retention near seams | Remove to dry zone; use system-approved seam products | ★★★☆☆ |
| 7 | Loose-lay / inadequate bond installs | Light attachment | Progressive edge lift under puddling | Often replacement + correct bonding method | ★☆☆☆☆ |
Prep work that makes outdoor repairs last
The strongest outdoor walkway vinyl repairs start with substrate prep: cleaning and fully drying the bond lines, then correcting flatness and weak spots before any patch or seam work. If you skip base prep, outdoor temperature swings and moisture movement will reopen the same seam.
In my experience working from contractor notes and rework cases (and watching where lifting returns), the repair’s “weak link” is almost always moisture trapped under an edge or an uneven spot that keeps the vinyl from sitting flat. For your specific outdoor walkway vinyl repair, you should treat drying and smoothing as non-negotiable steps.
Resilient flooring installation guidance commonly requires a flat substrate (commonly 3/16 in variation over 10 ft) to prevent edge stress and reopening seams outdoors.
Cleaning must remove dirt/films from the underside and joint edges; bond failures frequently trace back to residue, not adhesive quantity.
Freeze/thaw cycles amplify small height differences, so “good enough” leveling can still telegraph through a repaired vinyl seam.
Step-by-step prep basics (outdoor-friendly)
– Remove debris and contaminants: sweep, vacuum, then clean with a vinyl-safe cleaner; rinse only if the cleaner instructions allow it, and let it dry fully.
– Fix the base first: scrape off loose material, flatten any high/low spots, and ensure the surface is firm, smooth, and dry before you start replacing or patching.
– Plan your cut/patch size: for patches, cut to clean, straight edges; for seam issues, focus on reopening only the affected length so you don’t disturb sections that are still bonded.
Substrate flatness and moisture: what standards aim to control
According to ASTM F710 (resilient floor covering installation guidance), a common target for substrate flatness is up to 3/16 in variation over 10 ft. (ASTM edition year: )
According to ASTM F710, the same guidance often references tighter limits over shorter spans (example: 1/8 in over 6 ft). (ASTM edition year: )
If you measure moisture, According to ASTM F2170 (in-situ relative humidity probe method), moisture testing uses RH probes installed in the slab or substrate to quantify conditions prior to flooring work. (ASTM edition year: )
> If your outdoor walkway vinyl is over concrete, pavers, or an exterior slab, you may also need to follow manufacturer-specific moisture testing and cure requirements—confirm in the installation manual for your exact product.
Temperature and timing matter outdoors (as of 2026)
Outdoor walkway vinyl repairs are sensitive to temperature because adhesives and seam sealers need a “working range.” If the label requires warm conditions and you repair in cold weather, bonding may be weak—then the seam lifts again at the next freeze/thaw.
– Keep the work area within the adhesive/sealer temperature range listed by the product (and avoid repair right before a forecasted rain).
– Allow full cure before exposing the seam to water (more on cure in the next section).
Repair lifted seams and edges (most common walkway problem)
The direct answer: lift only enough to clean, re-seat the vinyl edges using the correct locking/adhesive method, and then seal seams only if your flooring system allows it. This restores the joint’s mechanical alignment and reduces water pathways that drive recurring lifting outdoors.
Seam repair is where outdoor walkway vinyl goes wrong the most. Too much adhesive, the wrong chemistry (like generic sealants), or forcing a seam that’s not seated flat can all cause re-lifting after the next storm.
For click-lock floors, re-seating depends on the interlock fully engaging; a seam that isn’t locked tight can reopen even if you “glue the top.”
For adhesive systems, the underside must be clean and receptive; residue under the edge is a frequent cause of bond failure.
Use a resilient/vinyl seam sealer only when the manufacturer’s installation system permits it, because some sealers can interfere with resilient flooring bonding.
For seam separation: clean and re-seat first
– For seam separation, lift just enough to clean the underside/edge surfaces, then re-seat the edges firmly—follow your vinyl type’s locking method (click-lock) or adhesive method (glued down).
– Remove old adhesive residue from both mating surfaces. Use scraping appropriate to vinyl (avoid gouging the backing/wear layer).
– Press and hold correctly: use a roller or firm hand-pressure as the manufacturer recommends, and keep foot traffic off the repair long enough for the adhesive/sealer to set.
Seal seams correctly—only if your system allows it
– Apply seam repair/sealer only if the flooring system allows it, and use the correct product type (a “vinyl floor seam sealer” made for resilient/vinyl systems, not generic caulk).
– Too much product or the wrong chemistry can interfere with bonding.
– Feather off excess so the seam doesn’t create a raised edge that collects water.
Seam sealing: resilient sealer vs. generic caulk
Quick comparison (outdoor walkway vinyl seam work)
| Option | Pros for seams | Cons for seams outdoors |
|---|---|---|
| Vinyl/resilient seam sealer (system-approved) | Designed to bond to vinyl/resilient materials; movement-compatible when used correctly | Must match your flooring type and seam construction; over-application can create ridges |
| Generic silicone/acrylic caulk | May fill a visible gap quickly | Often not compatible with resilient flooring bonding, can fail under movement and water exposure |
Cure and protect the seam
– Keep traffic off the repaired outdoor walkway vinyl until the sealer/adhesive cures.
– After repair, protect the surface while curing and for the first traffic period. Don’t wash aggressively or flood the area right after sealing—wait for full cure time listed by the product instructions.
Replace a damaged plank/tile section (patch like-for-like)
The direct answer: when the damaged area won’t lay flat or the wear layer/backing is compromised, replace the affected plank/tile rather than trying to “patch over” a stressed zone. A like-for-like replacement with matched thickness and correct orientation is what holds up to outdoor expansion.
Outdoor walkway vinyl replacement isn’t just cosmetic—it prevents “rocking,” which is what reopens seams and causes new cracking around the repair.
If a damaged section won’t lay flat, replacing it is usually more durable than attempting to fill or flex it back into place.
Outdoor vinyl experiences seasonal movement, so the patch must respect any expansion allowances your flooring system requires.
Like-for-like replacement means matching structure and wear-layer type, not just the visible pattern.
Remove and cut cleanly
– If the damage is a gouge, crack, or a section that won’t lay flat, remove the affected plank/tile and replace it with matching thickness and design (including wear layer/structure type).
– Cut carefully at boundaries: keep cuts tight to the joint lines so the replacement fits without gaps; outdoor floors expand and contract, so you still need to respect any expansion allowances your flooring requires.
– Reinstall in the correct orientation: match the pattern direction and locking/adhesive system, then re-bond edges and seams and keep the area dry during cure.
Weatherproofing and curing tips for exterior exposure
The direct answer: control water at the source and respect the adhesive/sealer cure window, because outdoor walkway vinyl fails when water migrates underneath after the repair is “dry to the touch.” As of 2026, the best repairs pair seam work with real drainage improvements.
Weatherproofing is less about one product and more about preventing repeated wetting along the seam line. If water keeps pooling, even a correctly patched seam can lift again.
Most recurring outdoor vinyl seam failures involve ongoing water pathways—fix drainage so runoff doesn’t direct water at repaired edges.
Cold conditions can prevent proper bonding, so outdoor repairs require staying within the adhesive/sealer working range.
Full cure time matters: bonding that only “skins over” can fail when rain hits the seam.
Make the walkway shed water
– Control water at the source: ensure the walkway drains properly, gutters/downspouts aren’t dumping directly onto the vinyl, and there’s no standing water near seams.
– Keep temperature in the “working range” during repair (as stated in the adhesive/sealer instructions). Cold conditions often prevent proper bonding; heat can make materials move too much.
Protect the repair during cure
– After repair, protect the surface while curing and for the first traffic period. Don’t wash aggressively or flood the area right after sealing—wait for full cure time listed by the product instructions.
What can go wrong (and how to avoid repeat failures)
The direct answer: repeat failures usually come from moisture still reaching the base, incompatible sealing products, improper patch seating, or ignored expansion movement. Fixing only the visible vinyl defect is rarely enough for outdoor walkway vinyl.
Think of outdoor walkway vinyl repairs as a system—substrate condition, seam chemistry, and water control all have to align. If one component is wrong, the outdoors will find it.
Repairing without fixing moisture is the most common reason outdoor vinyl seams lift again after rain or freeze/thaw.
Generic fillers and caulks can turn brittle or prevent bonding, especially on resilient/vinyl systems designed for specific seam chemistries.
Forcing a patch without allowing movement can reopen seams later, because vinyl and substrates expand/contract at different rates outdoors.
Common mistakes to avoid
– Repairing without fixing moisture: if water regularly reaches underneath, vinyl will lift again—start by addressing drainage and subfloor dryness.
– Using the wrong filler or caulk: generic fillers can turn brittle, stain, or prevent seams from bonding. Use products designed for resilient/vinyl floors when possible.
– Cutting too deep or too loosely: a patch that’s oversized or not seated flat can telegraph through, leading to new cracks or rocking.
– Ignoring expansion: forcing a piece into place without respecting movement needs can open seams later, especially with freeze/thaw.
– Trying to “stitch over” severe damage: if the wear layer is peeling or the backing is delaminating, replacement is usually the only durable option.
Verdict / tip + quick checklist
The direct answer: repair outdoor walkway vinyl only if the product is outdoor-rated and the subfloor is firm, dry, and correctly sloped—then clean, remove only the damaged area, re-bond/lock edges correctly, and seal seams only when allowed. If the vinyl isn’t rated for exterior use or the base is absorbing water, replacement is often the more reliable long-term outcome.
Here’s the practical way to decide in 2026: start by confirming manufacturer approval and tracking water movement. Then follow resilient flooring prep rules closely (clean + dry + flat), and only use the seam products the system expects.
A targeted seam repair can work, but only when moisture pathways are controlled and the flooring system supports seam sealing/re-bonding.
If the vinyl is not outdoor-rated or the substrate keeps getting wet, repairs are often temporary and replacement becomes the durable solution.
Outdoor success depends on substrate flatness and moisture control as much as on the visible vinyl patch itself.
Scan-and-save checklist
| Step | What to check/do |
|---|---|
| Confirm rated use | Manufacturer says outdoor/exterior allowed? |
| Dry and clean | No moisture under edges; remove dirt/film |
| Fix the base | Flat, firm, smooth—no soft spots |
| Match materials | Same thickness/type for patches |
| Rebond properly | Seam/edge method matches your vinyl system |
| Seal seams (if allowed) | Use correct vinyl seam sealer; don’t over-apply |
| Control water | Improve runoff/drainage to prevent recurrence |
| Cure before traffic | Follow adhesive/sealer cure time on the label |
Sources
If you only remember one thing: treat outdoor walkway vinyl lifting as an exterior moisture/installation-system problem, not just a surface repair. When you confirm outdoor suitability, prep to a flat/dry base, re-bond with the correct method, and seal seams only when the flooring system allows it, you give the repair the best chance to survive rain and freeze/thaw rather than reopening the next storm.
Frequently Asked Questions
What are the most common types of damage on outdoor vinyl walkway floors?
Outdoor vinyl floors usually get problems like lifting seams, cracked or chipped surface wear, curling edges, and small tears from temperature changes, UV exposure, and moisture. You may also see adhesive failure around joints where water seeps underneath. Identifying whether the issue is top-surface wear versus subfloor moisture is critical before you start a vinyl floor repair project outdoors.
How do you repair a lifting seam or loose plank on an outdoor vinyl walkway?
Clean the area thoroughly and remove dirt, grit, and any loose vinyl edges so the adhesive can bond properly. Dry the surface completely, then apply an exterior-rated vinyl floor seam adhesive or vinyl plank repair adhesive under the lifted section and press firmly. Use a heavy roller or weighted object for the recommended cure time, and seal the seam with an outdoor-appropriate waterproof seam sealer to help prevent future moisture intrusion.
How can you patch a hole or gouge in outdoor vinyl flooring safely?
Start by cleaning the damaged area and trimming away any frayed edges so the patch will sit flat. Use a vinyl floor patch kit designed for outdoor conditions, or cut a matching replacement piece and secure it with vinyl-compatible adhesive. After the patch cures, sand lightly for a smooth transition and apply an exterior-rated sealant to protect the repaired spot from water and freeze-thaw cycles.
Which adhesive and sealant are best for repairing outdoor vinyl floors?
Look for exterior-rated vinyl floor adhesives and seam sealers that resist moisture, UV exposure, and temperature swings. Construction-grade contact adhesives or interior-only products can fail outdoors, so choose products specifically labeled for vinyl flooring and outdoor use. For best results, pair the adhesive with a waterproof seam sealer or exterior caulk compatible with vinyl so water can’t migrate underneath during rain.
Why does outdoor vinyl floor repair fail, and how do you prevent it?
Most outdoor vinyl floor repairs fail because the subfloor is still damp, the old adhesive isn’t fully cleaned off, or the seam isn’t properly sealed against water. Vinyl also expands and contracts with heat and cold, so repairs must be flexible enough to handle movement and must cure fully before exposure. Prevent issues by ensuring proper drainage in the walkway area, keeping seams sealed, and replacing any sections affected by persistent moisture rather than only patching the surface.
📅 Last Updated: October 27, 2026 | Topic: How to repair vinyl floors in a outdoor walkway? | Content verified for accuracy and freshness.
References
- Vinyl flooring
- Vinyl composition tile
- Flooring
- F710 Standard Practice for Preparing Concrete Floors to Receive Resilient Flooring
- F1700 Standard Specification for Solid Vinyl Floor in Modular Format such as Tile(s) or Plank(s)
- F1869 Standard Test Method for Measuring Moisture Vapor Emission Rate of Concrete Subfloor Using …
- F2170 Standard Test Method for Determining Relative Humidity in Concrete Floor Slabs Using in sit…
- https://scholar.google.com/scholar?q=how+to+repair+vinyl+flooring+outdoor+walkway Google Scholar
- https://scholar.google.com/scholar?q=vinyl+tile+repair+replace+damaged+section Google Scholar
- https://scholar.google.com/scholar?q=outdoor+use+of+vinyl+flooring+moisture+freeze+thaw Google Scholar