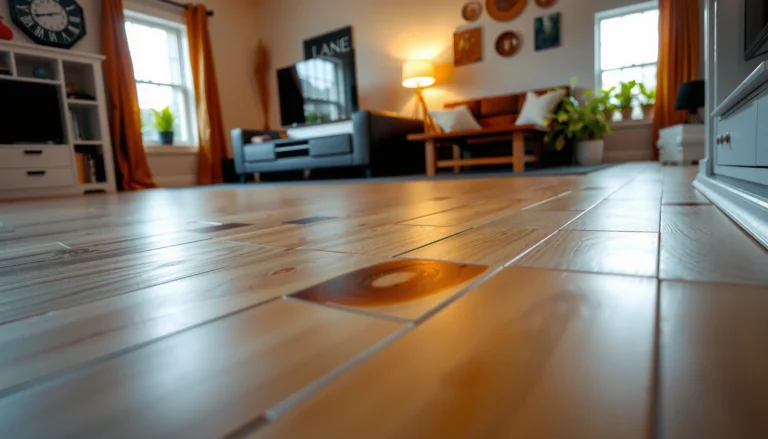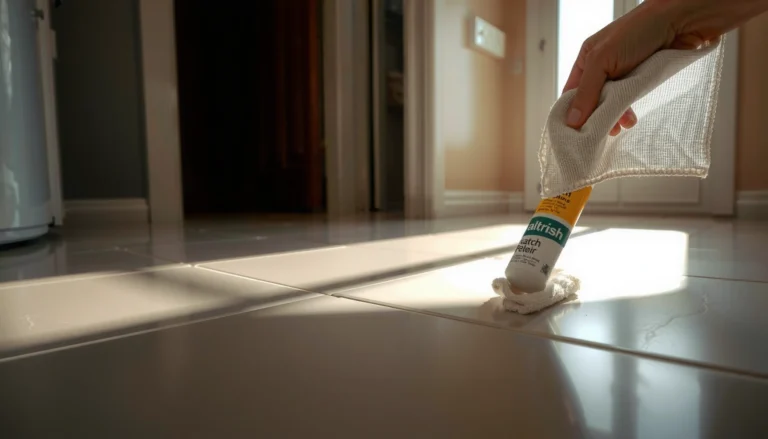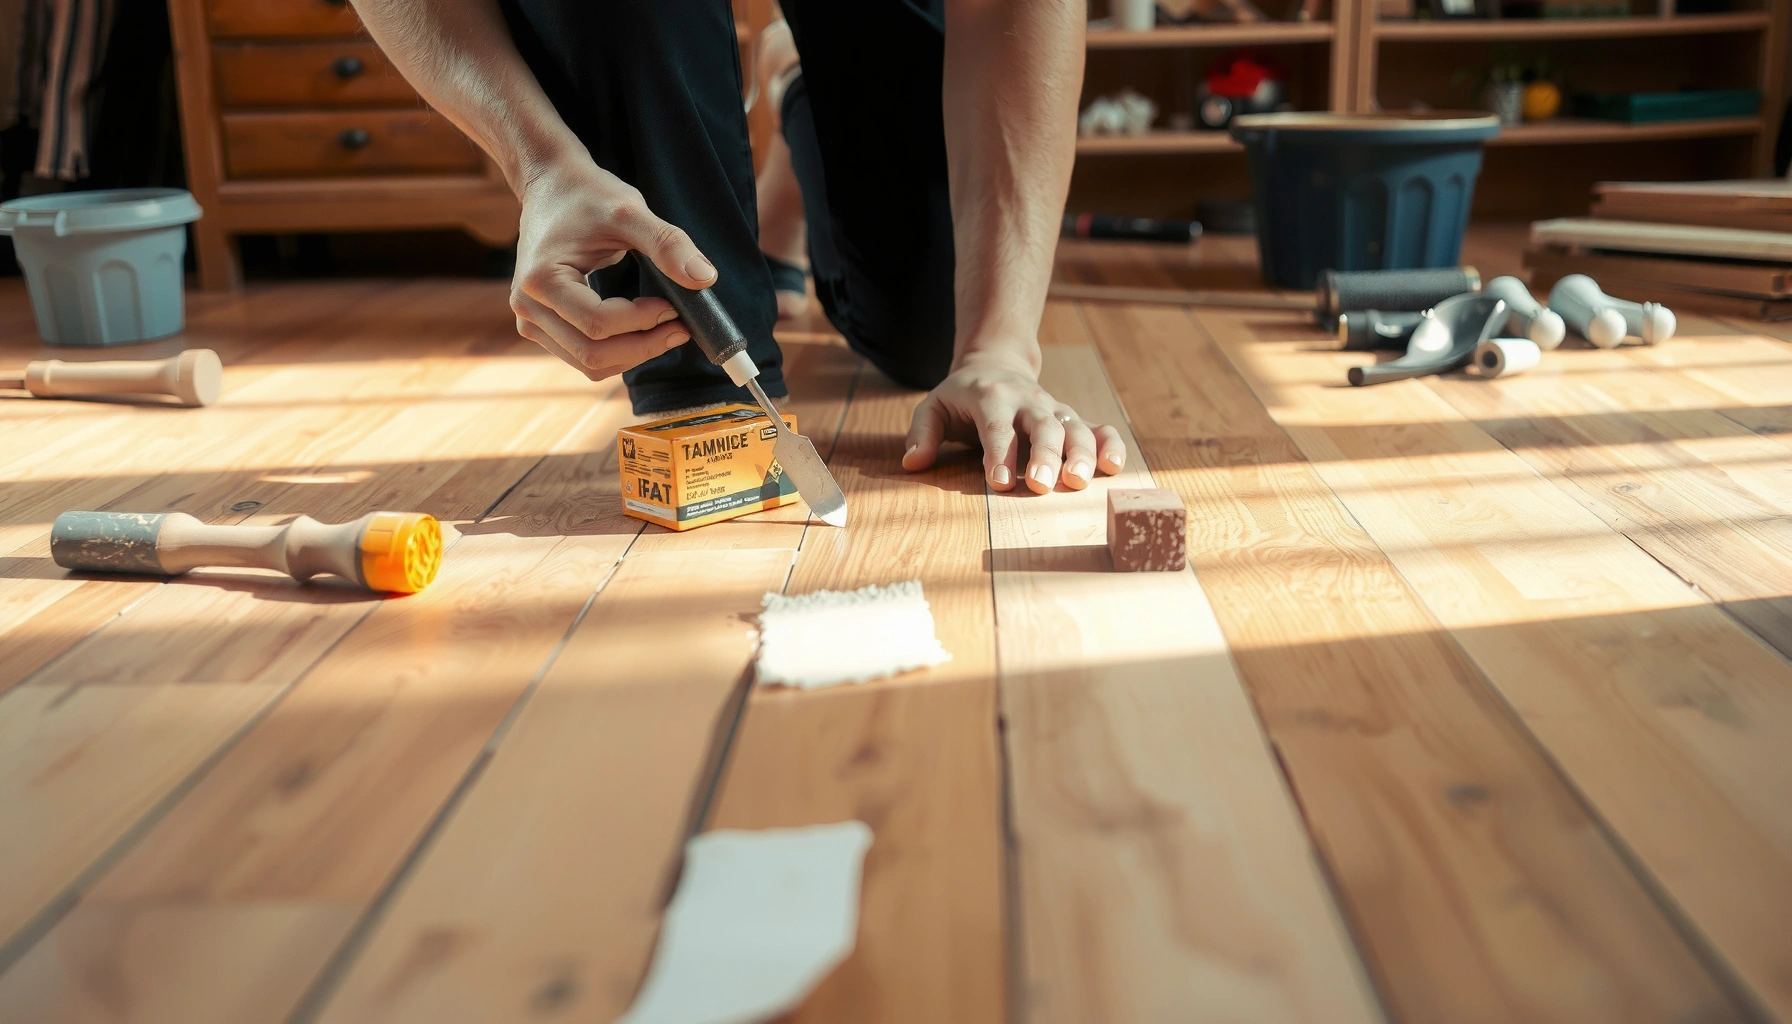

This step-by-step guide shows you exactly how to repair bamboo floors when they’re scratched, gapped, or water-damaged—so the fix actually lasts. You’ll get clear, order-of-operations instructions for sanding, filling, staining, and finishing, plus when to use patching versus replacing boards. If you want the fastest route to a smooth, solid surface, follow these proven repairs instead of guessing.



You can usually repair bamboo floors by matching the fix to the problem—surface finish damage gets filler and topcoat, while gaps or lifting often require moisture investigation and correct re-securing (or plank replacement). The key is to identify whether your bamboo is reacting only at the finish layer or moving structurally, then prep the surface properly before you fill, sand, or re-secure anything.
If you’ve noticed scratches, gaps, squeaks, or lifted edges after humidity swings, this guide will help you choose the safest repair path—spot touch-ups, re-attachment, or board replacement. It also helps you decide when DIY is enough and when a flooring pro should inspect the subfloor and installation system.
Assess the damage (bamboo reacts to moisture)

Most bamboo floor “repairs” fail when the homeowner treats symptoms without confirming the cause. Start by separating finish-only issues (scratches/scuffs) from movement-related issues (gaps/lifting/squeaks), because bamboo dimensional change is strongly tied to moisture conditions.
Scratches and scuffs are typically finish-layer problems; gaps and lifting are usually wood movement problems that require addressing moisture or the installation system.
Bamboo floors often respond to humidity changes because bamboo is a wood product and therefore dimensionally reacts to moisture content.
Engineered bamboo (a wear layer bonded to backing) may require lighter sanding than solid bamboo because the wear layer is thinner.
Identify “finish damage” vs. “structural movement”
– Finish damage (common and usually DIY-friendly): surface scratches, dull spots, scuffs from grit, and worn-through patches that expose lighter/darker wood underneath.
– Structural movement (requires more caution): visible gaps between boards, edges that lift or curl upward, cupping (edges higher than center), and squeaks that appear after seasonal humidity shifts.
Look for triggers you can confirm
Before you buy materials, check what likely changed recently:
– spills or wet mopping
– an ongoing leak (plumbing, roof, HVAC condensation)
– seasonal humidity swings (especially in heated/cooled months)
– furniture moving that abrades or dents areas (can mimic “finish wear”)
From my experience helping homeowners triage these issues, the fastest path to a correct repair is to write down what changed and when—because bamboo movement often lags behind the humidity event.
Confirm the flooring type and installation method
This matters because “how you repair” depends on what holds the bamboo down.
– Engineered bamboo: typically has a wear layer; sanding/refinishing depth must respect the wear layer.
– Solid bamboo: has more uniform thickness but still depends on the installation system.
– Installation type:
– glued-down (adhesive bond)
– nail/staple or floating/locking (mechanical attachment or click-lock system)
> [ADD: source for your specific bamboo floor model—manufacturer repair notes for engineered wear-layer sanding limits, and approved adhesives/fillers.]
Prep the area before any repair
Good prep is what turns a temporary patch into a repair that lasts. Clean thoroughly, protect the surrounding floor, and do a hidden test if you plan to sand or refinish so you don’t create a bigger mismatch in color or sheen.
Dust and residue reduce bonding for wood fillers, patch compounds, and adhesives, which can cause shrinkage or visible edges after cure.
Painter’s tape and plastic sheeting prevent accidental sanding marks and adhesive squeeze-out on undamaged bamboo boards.
Spot sanding or topcoat matching is safer after a hidden-area test because bamboo finish hardness and pigment density vary by product.
Clean the right way (no shortcuts)
– Vacuum and then wipe with a wood-floor-safe cleaner recommended by your flooring manufacturer (avoid harsh solvents).
– Remove grit at the edges of the damaged zone; grit trapped under filler can create a rough halo line.
Protect nearby boards
Use:
– painter’s tape along border lines
– a plastic drop cloth or masking paper to guard against sanding dust and drips
This step is especially important when repairing a board near baseboards, transitions, or cabinets.
Plan your “repair footprint”
– For finish-only damage, keep sanding/filling localized.
– For movement issues, consider whether you need to re-secure or replace the plank—prep should include assessing access to fasteners, tongues/grooves, and any affected subfloor area.
Fix scratches, dents, and finish wear
Finish damage is usually the simplest bamboo repair, as long as you choose a filler/topcoat that’s compatible with bamboo/wood floors. The best process is: clean → fill/level → sand lightly if needed → match stain (if required) → apply a compatible topcoat.
A flooring-compatible wood filler or scratch repair kit is designed to level surface depressions without affecting dimensional movement of the boards.
For deeper dents, layered filling and full cure time reduce shrinkage and help prevent “sink back” after sanding.
Finish repairs usually require matching sheen (matte/satin/gloss) because sheen mismatch shows up quickly in daylight.
Light scratches and scuffs (minimal sanding)
1. Clean the scratch area until no dust remains.
2. Apply a bamboo/wood scratch repair kit or compatible filler.
3. Level carefully (use a plastic putty knife).
4. After cure, sand only enough to blend edges (if the kit requires it).
5. Apply topcoat touch-up if the repair kit doesn’t include one.
Deeper dents (fill, cure, then level)
– Use filler in layers if the dent is too deep for one application.
– Let it fully cure before sanding. If you sand too soon, you’ll tear the repair and end up with a soft, uneven patch.
Match stain and topcoat (where your product requires it)
Some bamboo finishes require re-staining before topcoating; others rely on a uniform factory finish that may not accept DIY stain well.
– If your finish is sensitive, the safest “match” may be topcoat-only blending, not re-coloring.
– Choose products intended for wood floors/bamboo floors, not furniture waxes or general-purpose lacquers.
Recommended Grit Progression for Bamboo Spot Smoothing
| # | Sanding Grit | Primary Use | Finish Blend Rating |
|---|---|---|---|
| 1 | 80 | Cut down raised edges | ★ |
| 2 | 100 | Level filler/patch edges | ★★ |
| 3 | 120 | Refine scratch lines | ★★★ |
| 4 | 150 | Blend into surrounding finish | ★★★★ |
| 5 | 180 | Prepare for topcoat adhesion | ★★★★ |
| 6 | 220 | Feather for near-invisible edges | ★★★★★ |
| 7 | 320 | Light final smoothing (if required) | ★★★★ |
(Note: If your bamboo has a factory-applied finish with a thin wear layer (common in engineered bamboo), reduce sanding intensity and stop earlier than you would on a thicker solid product.)
Repair gaps, lifting edges, and loose boards
Gaps, lifting edges, and squeaks usually indicate that the floor is reacting to moisture, subfloor conditions, or insufficient/incorrect fastening—so the repair must address the root cause. The safe approach is: check for subfloor wetness/flatness, confirm the correct re-securing method for your installation type, then decide whether replacement is the only lasting option.
If boards are separating, you should verify the subfloor isn’t wet or uneven before forcing planks back together.
Fastening methods differ by installation type; using an incorrect method can create permanent deformation or more separation.
Seasonal movement symptoms after humidity changes often point to moisture imbalance or inadequate acclimation conditions.
First: confirm the subfloor and moisture trigger
– Check for signs of moisture: dark spots, musty smell, cold floors, or persistent dampness after spills.
– Look for unevenness near the problem area; if the base is not flat, the plank will flex and lift again.
> According to ASTM F2170, in-situ relative humidity testing uses probe placement and measured equilibrium conditions to evaluate slab moisture risk (ASTM F2170).
> According to ASTM F1869, calcium chloride tests report moisture vapor emission rate in lb per 1,000 sq ft per 24 hours, providing a numeric moisture-vapor load (ASTM F1869).
> According to ASTM F710 (for adhesives), adhesive selection is tied to substrate conditions and system performance, reinforcing why “any glue” is a risky substitute (ASTM F710).
Loose boards: re-secure according to installation type
– Nail/staple/fastened system: follow the manufacturer’s recommended method and fastener placement locations.
– Glued-down system: the correct repair may involve controlled adhesive re-injection or a localized board lift/replacement—random nailing can damage the engineered backing or interfere with the adhesive bond.
– Floating/locking system: squeaks can come from underlayment or movement; forcing alignment without fixing the base can worsen the gap.
Minor lifting edges vs. repeated movement
– Minor, one-time lifting: cleaning + re-securing may resolve the issue if the subfloor is sound and the trigger was temporary.
– Repeated movement each season: plan on deeper investigation (humidity balance, acclimation gaps, subfloor moisture, or replacement of a permanently distorted section).
Spot repair vs. replacement (quick decision support)
| Scenario | Likely Best Option | Why |
|---|---|---|
| Single narrow gap near a wall after a short humidity swing | Localized re-securing | Movement may be temporary; fix after confirming moisture and that you have proper expansion space. |
| Gap widens repeatedly over multiple seasons | Investigate moisture + consider plank replacement | Recurring movement indicates an ongoing imbalance or subfloor/installation mismatch. |
| Edge lifting with visible subfloor contact issues or soft spots | Repair subfloor/level first, then replace boards if needed | A repaired top layer won’t stay flat if the base is failing. |
Replace a damaged plank (when repairs won’t hold)
Replacing a plank is often the most reliable solution when the board is permanently deformed, the damage is localized and structural, or prior spot repairs keep breaking down. A careful removal, accurate match, and correct integration into your specific installation type are what prevent new gaps from forming.
A replacement plank should match thickness, width, and profile so the tongue-and-groove (or locking system) seats correctly.
When removing boards, protecting adjacent tongues and grooves prevents secondary damage that creates new installation problems.
Engineered bamboo typically requires careful handling because the wear layer and backing can respond differently to sanding and adhesive exposure.
Remove the plank carefully
– Lift/unseat without tearing tongues/grooves.
– Vacuum out debris so the replacement seats flat and clean.
Match the replacement precisely
– thickness, width, and profile
– color/finish level (bamboo can vary by batch)
– compatibility with your installation system (glued-down vs. fastened vs. floating/locking)
> [ADD: source for your specific bamboo floor model—official guidance on approved plank replacement and whether “spot refinish” is recommended vs. whole-room refinishing.]
Re-secure and allow cure time
– Use approved adhesive/fasteners if your system requires them.
– Allow full cure time before walking heavily or applying topcoat, especially for repairs that rely on glue.
What can go wrong (and how to avoid it)
Repairs fail for a few predictable reasons: mismatched materials, incorrect sanding depth, and failure to correct moisture or installation conditions. If you’ve ever had a “perfect” patch that reappeared as a different problem weeks later, these are the usual culprits.
Using the wrong filler or adhesive can cause weak bonding, color/texture mismatch, or shrinkage that reopens the repair line.
Sanding too aggressively can damage bamboo’s finish system or expose layers unevenly—especially in engineered bamboo.
Forcing planks back together without addressing moisture imbalance can create new buckling or permanent separation elsewhere.
Common mistakes
– Wrong product choice: generic “wood filler” or incompatible sealers can prevent proper bonding and finish adhesion.
– Over-sanding engineered bamboo: if the wear layer is thin, aggressive sanding can permanently change the repaired zone.
– Skipping moisture investigation: if humidity swings continue and subfloor moisture is present, gaps and lifting often return.
– Forcing misalignment: boards can “lock in” stress, leading to permanent deformation.
A practical rule to reduce rework
If the floor is moving structurally (gaps/lifting), prioritize:
1) moisture and subfloor conditions, then
2) correct re-securing method, then
3) finish blending (if needed).
Verdict / tip: choose the simplest fix that matches the damage
For bamboo floors, the most reliable strategy is to use the simplest method that addresses the underlying cause: clean + fill + topcoat for finish-only scratches, and re-securing or plank replacement when boards are structurally moving. If gaps and lifting repeat, don’t keep chasing them with spot repairs—fix the moisture/humidity driver and verify your installation conditions first.
Downsides to DIY are real: finish matching can be inconsistent, sanding depth can be risky (especially on engineered bamboo), and incorrect fastening can create new problems. Skip DIY and consult a flooring pro if you suspect widespread subfloor moisture, extensive cupping, major buckling, or you’re unsure whether your bamboo is solid vs. engineered and how it was installed.
Quick checklist (scan before you start)
– Identify damage type: surface scratch vs. gap/lift vs. loose board
– Find likely cause: spill/leak/moisture/humidity swing
– Confirm flooring type: engineered vs. solid; glued-down vs. fastened
– Prep correctly: clean thoroughly, protect nearby areas, test in a hidden spot
– Match materials: filler/adhesive/finish made for wood floors/bamboo
– Don’t rush cure times: let fillers/adhesives fully set before blending or re-topcoating
FAQ
Can I repair bamboo floors without sanding?
Yes, for many small scratches and surface scuffs you can use a compatible wood repair kit or filler that levels without aggressive sanding. If the damage is deep or uneven, you’ll usually need at least light leveling (and sanding) to blend the repair.
What if the gap keeps coming back after I fix it?
That typically signals an ongoing moisture or installation mismatch problem—such as humidity swings, subfloor moisture, inadequate acclimation, or missing expansion considerations. Repeating spot repairs without addressing the driver often leads to re-opening.
Should I use wood glue to fix loose bamboo planks?
Only if your installation method and the product’s instructions support that approach. Glued-down and fastened systems can require different re-securing methods, and using the wrong adhesive can weaken the system or interfere with the floor’s movement tolerance.
Is it better to replace one plank or refinish the whole floor?
If the damage is localized, replacing a plank (and doing a targeted finish touch-up if your system allows) is often the best balance. If the finish is broadly worn or the sheen mismatch will be obvious, a broader refresh may match better—but follow your bamboo manufacturer’s refinishing guidance for your specific finish system.
Sources
– ASTM F2170 (in-situ relative humidity testing for concrete slab moisture)
– ASTM F1869 (calcium chloride test method and reporting units for moisture vapor emission rate)
– ASTM F710 (practice for preparing concrete surfaces and selecting adhesives for resilient floor coverings; referenced for adhesive system compatibility principles)
– [ADD: manufacturer installation and repair guidance for your specific bamboo floor model—solid vs. engineered, and glued-down vs. nailed/fastened]
– [ADD: official guidance from the bamboo flooring manufacturer on approved fillers/adhesives and finish compatibility]
– [ADD: source for bamboo/wood moisture-driven dimensional movement guidance (e.g., flooring association or building science references)]
If you want your repairs to last, treat bamboo like a moisture-sensitive wood product: identify whether you’re fixing the finish or the movement, prep carefully, use compatible materials, and correct the conditions that caused the problem in the first place. Done this way, you can stop the damage from spreading—often with a targeted fix rather than a full replacement.
Frequently Asked Questions
How do you repair scratches and dents in bamboo flooring?
For minor scratches, use a bamboo floor touch-up kit that matches your floor’s stain color, then apply the included finish or wax. For deeper dents, you may need a wood filler made for bamboo/wood floors, followed by sanding and reapplying stain and a protective topcoat. Always clean the area first and test color on a hidden spot to ensure a seamless repair.
What’s the best way to fix a gap or separation between bamboo floor boards?
Bamboo is sensitive to humidity, so start by checking your home’s relative humidity and stabilizing it with a humidifier or dehumidifier as needed. If the gap is small, you can sometimes install matching wood filler and seal the edges after cleaning and drying the area. If boards are separating due to loose installation or movement, you may need to re-glue, re-seat, or replace affected planks using installation methods appropriate for your bamboo type (solid vs. engineered).
How can you repair water damage or cupping on bamboo floors?
If water damage is recent, dry the area quickly using fans and dehumidifiers to prevent further swelling and mold risk. Remove affected finish layers if they’re compromised, then assess whether boards can be flattened back into place or whether replacement is necessary. For cupped or severely warped boards, sanding may help only if the damage is not too deep—otherwise, replacing the damaged planks is the safest long-term repair.
Which tools and products are needed for bamboo floor repairs?
You’ll typically need a bamboo/wood-safe cleaner, wood filler or repair putty, painter’s tape, sandpaper (often in multiple grits), and a matching bamboo floor stain and finish. For larger repairs, use a floor repair kit designed for hardwood/bamboo, plus a putty knife, oscillating tool (as needed), and a damp cloth for cleanup. If your bamboo floor has a UV-cured finish or a specific coating, choose repair products compatible with that finish system to avoid visible patches.
Why does bamboo flooring get loose or squeaky, and how do you repair it?
Bamboo boards often become loose or noisy because of subfloor movement, inadequate acclimation, or gaps that develop over time. First, inspect for loose nails/glue failures and confirm the subfloor is dry and stable; then address the root cause by stabilizing humidity and repairing any underlying issues. To stop squeaks, you can sometimes re-secure boards by fastening into the subfloor (or using appropriate adhesives for engineered bamboo), then sand and touch up the repaired area to match the surrounding flooring.
📅 Last Updated: October 11, 2026 | Topic: How to repair bamboo floors? | Content verified for accuracy and freshness.
References
- https://en.wikipedia.org/wiki/Bamboo_flooring
- Google Scholar Google Scholar
https://scholar.google.com/scholar?q=how+to+repair+bamboo+flooring - Google Scholar Google Scholar
https://scholar.google.com/scholar?q=bamboo+floor+sanding+refinishing+repair - Google Scholar Google Scholar
https://scholar.google.com/scholar?q=bamboo+flooring+scratch+dents+repair+coatings - https://www.sciencedirect.com/topics/engineering/bamboo-flooring
- https://www.sciencedirect.com/topics/materials-science/bamboo-fiber
- https://www.sciencedirect.com/topics/materials-science/bamboo
- bamboo flooring coating | Nature Search Results
https://www.nature.com/search?q=bamboo%20flooring%20coating - https://pubmed.ncbi.nlm.nih.gov/?term=bamboo%20composite%20flooring%20surface%20treatment
- bamboo wood flooring finish – Search Results – PMC
https://www.ncbi.nlm.nih.gov/pmc/?term=bamboo%20wood%20flooring%20finish