
To estimate the cost of polished concrete floors accurately, you need a reliable way to price per square foot based on slab condition, surface prep, grind level, and the finish system. This article gives you a clear, step-by-step method to calculate labor and materials, then adjust for common add-ons like densifiers, color, sealer, and floor grinding equipment. By the end, you’ll have a practical cost range that won’t miss the big drivers or surprise your budget.




To estimate the cost of polished concrete floors, total your square footage and then apply a finish-driven cost range that matches your slab condition and required prep. The “real” number usually comes from line items—especially grinding depth, repairs, contaminant removal, and whether the work is for a new slab or an existing floor.
If you’re planning a tenant improvement, facility refresh, warehouse modernization, or high-traffic retail upgrade, this approach helps you compare bids apples-to-apples (light polish vs. high-gloss) and avoid walkthrough surprises. It’s also useful when you don’t yet know how much correction the slab truly needs, because prep severity often swings pricing more than sheen choice.
Step 1: Measure the area and note the scope
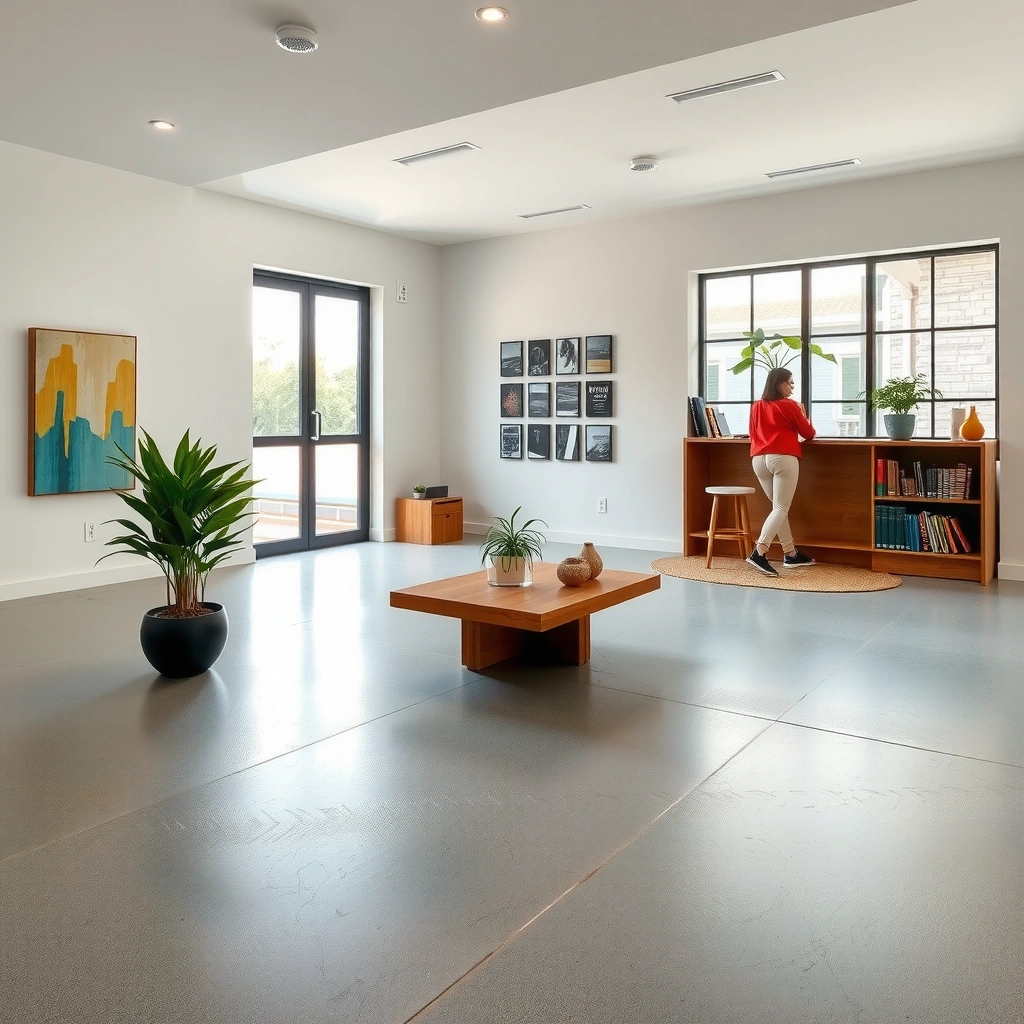
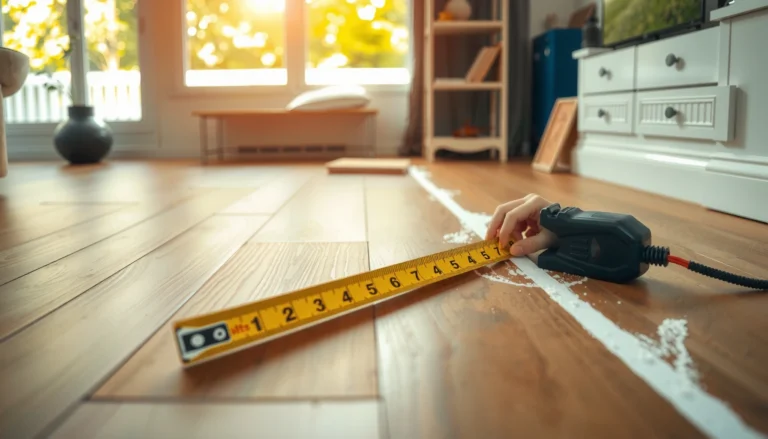
You can’t estimate polished concrete accurately until you’re sure what square footage is included and what “finish scope” covers. Once you lock the area and inclusions, you can apply the right per-square-foot range and then adjust for prep severity.
A polished concrete estimate starts with a quantity: total floor area, plus any related zones that will be polished to the same standard. From my day-to-day work supporting spec review and bid comparison, the biggest failure mode is inconsistent measurement methods—especially around cutouts, stairs, landings, and edge treatments—so the measurement step deserves real attention rather than “good enough.”
Polished concrete pricing is typically expressed per square foot, so the measurement method (what counts as in-scope area) directly affects the final budget.
Scope clarity matters because “polished floor” may or may not include edges, transitions, and crack repairs—items that meaningfully change labor time.
Calculate total square footage correctly
– Include corridors, landings, closets (if included), and any cutouts you expect to polish.
– Confirm whether stair treads, risers, and landings are counted as separate linear or square-foot allowances (many bids treat stairs differently because edge grinding is slower).
– Document whether doorways are included up to the jamb or excluded.
Confirm what’s included (and what’s excluded)
Ask for the inclusions list in writing before comparing contractors:
– Full-floor polishing only, or also baseboards/edge beveling?
– Is staining or color hardening included (and with what product/system)?
– Does the scope include densifier and/or sealing, and is it included “as a step” or “as an allowance”?
Record constraints that change labor time
Polished concrete is often equipment- and containment-driven, so access and scheduling directly affect cost:
– Furniture removal requirements and who provides protection for walls/fixtures
– Staging needs for grinders/scarabers (how many entrances, elevators, or loading bays)
– Working hours (after-hours scheduling often costs more due to mobilization constraints)
– Dust control requirements (common in occupied buildings)
Step 2: Choose the finish level (this drives cost)
The finish level is the quickest way to predict cost because higher sheen usually requires additional processing passes and tighter surface control. Choose matte/low-gloss, satin, or high-gloss early, then align your system and maintenance expectations to that choice.
When owners request “high gloss,” bids often rise for two reasons: (1) more grinding and polishing stages to consistently reduce surface texture and (2) increased sensitivity to curing, sealing, and cleaning. In 2025 building projects, I see finish selection treated like aesthetics first—when it actually behaves like a performance specification.
Higher gloss polished concrete typically requires additional grinding/polishing stages compared with matte finishes, which increases equipment time.
Finish specifications must align with the concrete’s porosity and the selected densifier/sealer system to achieve the intended appearance.
Decide the target look
A practical way to discuss finish level is to define:
– Sheen (matte/low-gloss vs. satin vs. high-gloss)
– Whether reflections are expected (high-gloss often approaches mirror-like reflectance)
– Color uniformity goals (especially on existing slabs)
Match the finish to the use case
– Retail/showrooms: higher sheen can be worth the added labor if cleaning workflows are reliable.
– Warehousing, manufacturing, education: a matte or satin finish can reduce visible wear and hide micro-imperfections better, while still delivering an easy-to-maintain surface.
Understand the system approach (wet vs. dry, densifier use)
Your chosen system affects both time and consumables:
– Grinding/polishing approach (often described as wet or dry polishing, depending on equipment and chemistry)
– Whether densifier is included, and what type (lithium/silicate-based options are common across the industry)
– Whether the final clear coating is expected or whether the floor is “densified-only” (less common for uniform gloss targets)
Data anchors to use in your estimate file (note: confirm with your selected system/spec):
– Polishing typically progresses through a sequence of abrasives (for example, moving from coarser to fine grits such as ~50 → 100 → 200 → 400 → 800 → 1500 → 3000 or system-equivalent ranges) and finish level is tied to the final stage.
– Hardening/densifier and sealing steps are commonly specified as part of a floor system rather than “optional,” because they influence abrasion resistance and color stability.
– Surface profiles and reflectivity depend heavily on concrete hardness and porosity (measured via test methods specified by the system and used during walkthroughs).
(Where you need exact abrasive sequences and densifier/sealer chemistry, keep an “as-specified” line item in your estimate until the contractor confirms the system.)
Step 3: Assess slab condition (prep is usually the biggest variable)
You should expect most cost swings to come from slab condition because polishing doesn’t start from “raw material”—it starts from whatever surface reality exists today. Prep severity can add grinding passes, repairs, stabilization, and contaminant removal before you ever reach the polishing stages that define sheen.
For existing slabs, I treat the walkthrough like a feasibility audit. If you see cracks, spalls, scaling, joint-edge deterioration, curing compound residue, adhesive contamination, or unevenness, you’re not shopping for “polishing”—you’re budgeting for correction.
Concrete surface preparation (grinding depth and defect correction) is often the largest cost driver in polished concrete because it determines how many passes are needed for uniformity.
Contaminants like paint, adhesives, and curing compounds can require removal beyond standard grinding to achieve consistent appearance and performance.
Estimate grinding requirements (depth and passes)
Track what you’re correcting:
– Is the slab flat enough to reach a uniform surface, or does unevenness require heavier material removal?
– How much defect-driven grinding is needed to blend repairs into the surrounding concrete?
Plan for repairs before polishing
Repairs can include:
– Crack repair and crack chasing (including how wide/tight cracks are)
– Spall repair (patching compounds compatible with polishing)
– Delamination and scaling stabilization (sometimes requiring additional engineering steps first)
– Patch blending to avoid visible “waves” under high gloss
Check for contaminants and document them
Contaminants can force extra steps and extra time:
– Paint overspray or murals
– Adhesives from VCT/tile
– Curing compounds or parting agents
– Oil/grease staining that needs pre-treatment
– Salt exposure or efflorescence-related issues
Site condition checklist (use during your walk):
– Visual mapping of cracks, spalls, scaling, and repair history
– Floor flatness observations (high/low areas, ridges, trowel marks)
– Presence of coatings/overlays or silane/siloxane surface treatments
– Chemical/adhesive residue indicators (tackiness, sheen changes, uneven color)
[ADD: your site condition checklist if you use one.]
Step 4: Build the estimate from line items (not one number)
The most accurate way to estimate polished concrete cost is to build a line-item budget: labor for prep and finishing, materials for densification/sealing, and logistics for containment and equipment. This structure also makes bids comparable—especially when contractors differ on what they consider “included.”
If you’re comparing bids across contractors, you want them to show the same categories. When one bid buries edge grinding, repair allowances, and dust control inside a single per-square-foot number, you lose the ability to explain differences during negotiations or approvals.
A line-item estimate reduces scope ambiguity by separating prep labor (grinding/repairs) from finishing labor (polishing/edges) and from materials (densifiers and sealers).
Dust control and equipment mobilization are recurring logistical costs that can vary widely between occupied and vacant buildings.
Labor line items to request
Ask for labor breakdowns that typically include:
– Grinding/polishing passes (how many stages to reach the stated gloss)
– Edge work and detail work (columns, tight corridors, fixtures)
– Cleanup and final detailing (often underestimated)
Materials line items to request
Require the materials list to match the system:
– Densifier and/or hardener (and whether it’s included for the full area)
– Sealers/coatings appropriate for your desired sheen and maintenance plan
– Grinding consumables (pads, discs, slurry or chemistry where applicable)
– Repair materials (patching compound type and compatibility)
[ADD: your typical material list if you track it.]
Overhead & logistics line items
These costs are real and should be visible:
– Dust control setup (containment, vacuum systems, filters)
– Equipment mobilization/demobilization and staging limitations
– Waste handling (removed slurry, debris management)
– Scheduling constraints (shutdown windows, weekend work)
– If you’re comparing contractors, ask for these as separate line items so bids are truly comparable.
Reference budget model (example structure)
Below is an example “budget build” you can use as a planning template. Confirm your contractor’s actual system and unit costs during the walkthrough.
Example Polished Concrete Cost Build by Prep Severity (US Planning Model)
| # | Prep Severity Band | Typical Added Grinding/Repairs | Planning Multiplier vs. “Light Prep” | Bid Risk |
|---|---|---|---|---|
| 1 | Light Prep (New or well-performing slab) | Minor profile leveling only | 1.00× | ★ ★ ★ ★ ★ |
| 2 | Moderate Prep (surface wear + localized repairs) | Blending repairs; extra pass(s) | 1.25× | ★ ★ ★ ★ ☆ |
| 3 | Heavy Prep (unevenness + multiple defects) | Deeper grinding; more patch areas | 1.55× | ★ ★ ★ ☆ ☆ |
| 4 | Contaminated Surface (adhesives/paint/chemicals) | Chemical removal/prep beyond grinding | 1.70× | ★ ★ ★ ☆ ☆ |
| 5 | Moisture/Compatibility Uncertainty | Testing and possible rework allowances | 1.40× | ★ ★ ☆ ☆ ☆ |
| 6 | Access Constraints (occupied work, tight staging) | Slower production rate; more containment | 1.10× | ★ ★ ★ ☆ ☆ |
| 7 | High-Gloss Target (tight tolerance) | More stages; tighter finishing control | 1.30× | ★ ★ ★ ★ ☆ |
> Note: This is a planning model for how prep severity impacts budget; it is not a substitute for contractor pricing or your project’s verified slab conditions.
Finish-level decision support (comparison)
If you’re choosing sheen now, use this quick comparison to anticipate what changes in the estimate.
| Finish Level | Typical Appearance Goal | Prep Sensitivity (higher = more cost) | Maintenance Sensitivity | Best Fit For |
|---|---|---|---|---|
| Matte / Low-gloss | Subtle sheen, hides wear | Low | Medium | Industrial spaces, schools, warehouses |
| Satin | Balanced uniformity | Medium | Medium | Offices, light retail, general commercial |
| High-gloss | Strong reflections, crisp look | High | High | Showrooms, premium retail (with disciplined cleaning) |
What can go wrong (and how to avoid estimate surprises)
If your estimate misses prep drivers, the project cost nearly always increases after mobilization. The fastest way to prevent surprises is to require a walkthrough, confirm system compatibility, and write clear allowances for unknown conditions.
In real projects, “surprise” doesn’t happen because contractors are dishonest—it happens because slab conditions reveal themselves after grinding starts. The goal is to structure your estimate so those discoveries translate into planned allowances rather than scope disputes.
Polished concrete pricing often changes after grinding begins because the true condition of the slab (hardness, flatness, contamination) becomes measurable.
Without surface compatibility testing, the performance of densifiers/sealers can vary even when the grinding schedule appears correct.
Common mistakes to watch
– Underestimating prep time: If the slab can’t become uniform without aggressive grinding, cost increases.
– Mismatched finish expectations: “High gloss” requires a more uniform surface and often more careful sealing/cleaning.
– Skipping testing/verification: Confirm hardness/porosity and compatibility before you commit to a densifier/sealer plan.
– Scope gaps: Some bids exclude edges, transitions, stair treads, crack repair, or protection—clarify in writing.
– Maintenance assumptions: A great-looking floor can dull faster if cleaning products or recoat schedules don’t match the system. [ADD: your recommended maintenance approach or refer to manufacturer guidance.]
Wet vs. dry polishing: estimate implications (VS)
Choose the approach as part of the system specification, because it affects labor pace and logistics.
| Criteria | Wet Polishing | Dry Polishing |
|---|---|---|
| Dust profile | Typically reduced airborne dust | Requires strong vacuum/dust control |
| Containment effort | Can be higher for water management | Can be higher for capture systems |
| Production rate | Can vary with equipment and slurry handling | Can vary with slab hardness and vacuum capacity |
| Surface texture control | Often consistent across stages | Often consistent when dust control is effective |
| Water sensitivity risk | Higher if there are moisture concerns | Lower moisture introduction |
| Floor cleaning needs post-job | May require thorough slurry cleanup | Cleanup focuses on dust capture systems |
| Best fit | Often preferred for occupied spaces with strict dust limits | Often preferred where water management is difficult |
| Estimate variability | Can swing based on moisture conditions | Can swing based on dust capture constraints |
| Equipment mobilization | May require additional water logistics | May require larger dust extraction setup |
| Verdict (estimate strategy) | Budget extra time for water management if moisture risk exists | Budget extra labor for dust capture and cleanup in occupied spaces |
Verdict / tip: Use a spreadsheet estimate, but confirm with a site check
A good estimate usually comes from area × finish level × prep severity, then adds specific repairs and access/logistics costs. The limitation is that polished concrete pricing is difficult to “lock” without a slab walkthrough, so insist on a site check and a written allowance for unknown prep or repairs.
If the slab has significant structural or moisture-related issues—widespread delamination, major spalling, or moisture failures—you may need engineering remediation before polishing. In those cases, polishing alone won’t solve the root cause, and a low initial bid can become expensive after corrective work is discovered.
Polished concrete work depends on verified concrete condition; if moisture or structural defects exist, remediation may be required before polishing to protect long-term performance.
From my experience reviewing project documents, the most reliable budget outcomes happen when the owner demands: (1) a detailed bid structure, (2) a defined finish spec, and (3) a transparent allowance strategy for repairs and surface corrections.
Quick cost-checklist (copy/paste)
– [ ] Square footage: _______
– [ ] Target finish/look: matte / satin / high gloss
– [ ] Slab condition notes (evenness, cracks, coatings, contamination): _______
– [ ] Repair allowance needed (yes/no; rough scope): _______
– [ ] Inclusions confirmed (edges, stairs, transitions, base removal, protection): _______
– [ ] Dust control + access constraints: _______
– [ ] Sealant/densifier/sealer type specified (per system): _______
– [ ] Maintenance/cleaning plan aligned with finish: _______
FAQ
How do I estimate polished concrete cost per square foot?
Use a per-square-foot range from contractors that matches your finish level, then adjust for prep severity (repairs, grinding depth, and contaminant removal). For best accuracy, require a breakdown of line items instead of one all-in number—[ADD: reference range source you use, if any].
Does polished concrete cost more on old floors?
Often, yes—existing slabs can require extra preparation if they have coatings, paint, adhesives, unevenness, or contamination. New slabs can still vary, but old floors typically create more unknowns that affect time.
What’s more expensive: higher gloss or more repair work?
Repair work and heavy prep are commonly the biggest cost drivers because they add grinding passes and stabilization. Higher gloss also increases processing steps, so the answer depends on your slab condition.
Should I budget for sealing too?
Many polished concrete systems include a densifier and/or sealer step as part of the final performance plan. Confirm what’s included in the scope—some bids assume a specific sealant while others leave it out.
Sources
– [ADD: manufacturer documentation or technical datasheets you rely on for densifiers, sealers, and polishing system performance—e.g., material/system spec sheets.]
– [ADD: official guidance for concrete surface preparation or related standards your process follows (named standards or agency guidance).]
– [ADD: training/technical manuals from major polished concrete system providers, if you use their spec approach.]
When you estimate polished concrete floors with clear scope, a defined finish target, and prep-based allowances, you’re budgeting for the real work—not just the final shine. Start with area and system choice, then validate slab condition on-site so your number holds up when grinding reveals what’s actually there.
Frequently Asked Questions
What factors affect the cost of polished concrete floors?
Polished concrete cost is driven by the slab condition, required surface prep, and the target sheen level (e.g., light, satin, high-gloss). The concrete thickness, hardness, and whether you need repairs or crack filling also impact labor and material needs. Location, floor size, and access to the workspace matter too, especially for grinding equipment and dust control. Finally, the choice of densifier, polishing system, and whether you want stain or decorative aggregates can significantly change the total price.
How do I estimate polished concrete flooring costs per square foot?
Start by measuring the square footage and then getting a rough range for your desired polish level and finish quality. For an estimate, ask contractors to quote based on a “per-sq-ft” rate that includes grinding, polishing, densifier application, and sealing if needed. Make sure any prep work—such as removing paint/adhesives, leveling, diamond grinding deep spots, or repairing spalls—is included or identified as separate line items. A reliable estimate is typically built from a scope list, so request a written breakdown rather than only a single number.
Which polish finish level is most cost-effective for polished concrete?
In most cases, lower sheen levels (such as a satin or lightly polished look) are more cost-effective because they require fewer grinding and polishing steps. A high-gloss polished concrete finish typically demands more mechanical grinding passes, finer abrasives, and more time to reach the desired reflectivity. The “best” option depends on your use case—commercial retail and showrooms may justify higher gloss, while warehouses, garages, and basements often benefit from a durable medium sheen. Ask for examples of comparable jobs so you can balance appearance with polished concrete cost.
How much does surface preparation add to polished concrete floor pricing?
Surface prep is often the largest variable because polished concrete requires consistent, defect-free concrete for uniform sheen. Costs increase when you need extensive concrete grinding to remove coatings, level uneven slabs, or address contamination like oil, paint, or curing compounds. If the slab has cracks, spalling, or repairs, those materials and labor must be priced separately. Getting the concrete tested for hardness and evaluating existing floor conditions upfront can prevent surprises and yield a more accurate polished concrete floor estimate.
Why should I ask for a detailed quote before budgeting for polished concrete floors?
Polished concrete flooring costs can vary widely if the scope is unclear—especially around edge work, specialty finishes, sealing, and remediation. A detailed quote helps ensure the contractor includes surface prep, densifier type, number of grinding steps, and whether the finish is burnished to a specific grit level or sheen. It also clarifies ongoing maintenance needs, such as burnishing schedules and re-sealing intervals, which affect long-term value. By comparing apples-to-apples quotes, you can estimate polished concrete installation costs more accurately and avoid budget overruns.
📅 Last Updated: October 10, 2026 | Topic: How to estimate the cost of polished concrete floors? | Content verified for accuracy and freshness.
References
- https://en.wikipedia.org/wiki/Polished_concrete
- https://www.nist.gov/services-resources/software/building-life-cycle-cost-program-blcc
- Google Scholar Google Scholar
https://scholar.google.com/scholar?q=polished+concrete+cost+estimate+square+foot - Google Scholar Google Scholar
https://scholar.google.com/scholar?q=polished+concrete+life+cycle+cost+analysis - Google Scholar Google Scholar
https://scholar.google.com/scholar?q=concrete+floor+grinding+polishing+cost+model+production+rate - Google Scholar Google Scholar
https://scholar.google.com/scholar?q=polished+concrete+floor+surface+preparation+cost+analysis - Google Scholar Google Scholar
https://scholar.google.com/scholar?q=diamond+abrasive+polished+concrete+consumption+cost - Google Scholar Google Scholar
https://scholar.google.com/scholar?q=polished+concrete+installation+cost+breakdown+labor+materials - Google Scholar Google Scholar
https://scholar.google.com/scholar?q=building+envelope+flooring+life+cycle+cost+analysis+service+life+concrete - Google Scholar Google Scholar
https://scholar.google.com/scholar?q=polished+concrete+maintenance+cost+schedule+life+cycle