
Dents in wood-look tile floors can usually be fixed by re-leveling the damaged area and replacing the affected tile section if the surface glaze is cracked or deeply pressed. This repair guide walks you through the fastest, cleanest method to restore the look—starting with how to assess dent depth and finish damage. If the tile is only slightly compressed, you may be able to smooth and re-set it without a full replacement.




Fixing a “dent” in a wood-look tile floor usually means repairing a chip, spall, or grout-line damage on the surface—not reshaping the tile itself. For small surface chips, you can clean and fill with a two-part tile/epoxy repair compound, then level and blend; for cracked tiles or loose/broken edges, replacement is the most durable fix.
Most “dents” in wood-look tile floors are actually chips, spalls, or grout damage on the surface—not true dents in the tile itself. For small chips, clean and fill with a two-part tile/epoxy repair compound, then level and blend. If the tile is cracked or the damage goes deeper than the glaze, replacing that tile is the most durable fix.
This is for homeowners and DIYers dealing with one-off damage from dropped objects, chair/wheel impacts, or minor edge spalling on porcelain/ceramic wood-look tile. It’s especially relevant when the floor still feels solid underneath and you can identify whether the problem is in the tile, grout, or both.
Assess the dent: tile chip, grout gap, or loose tile?
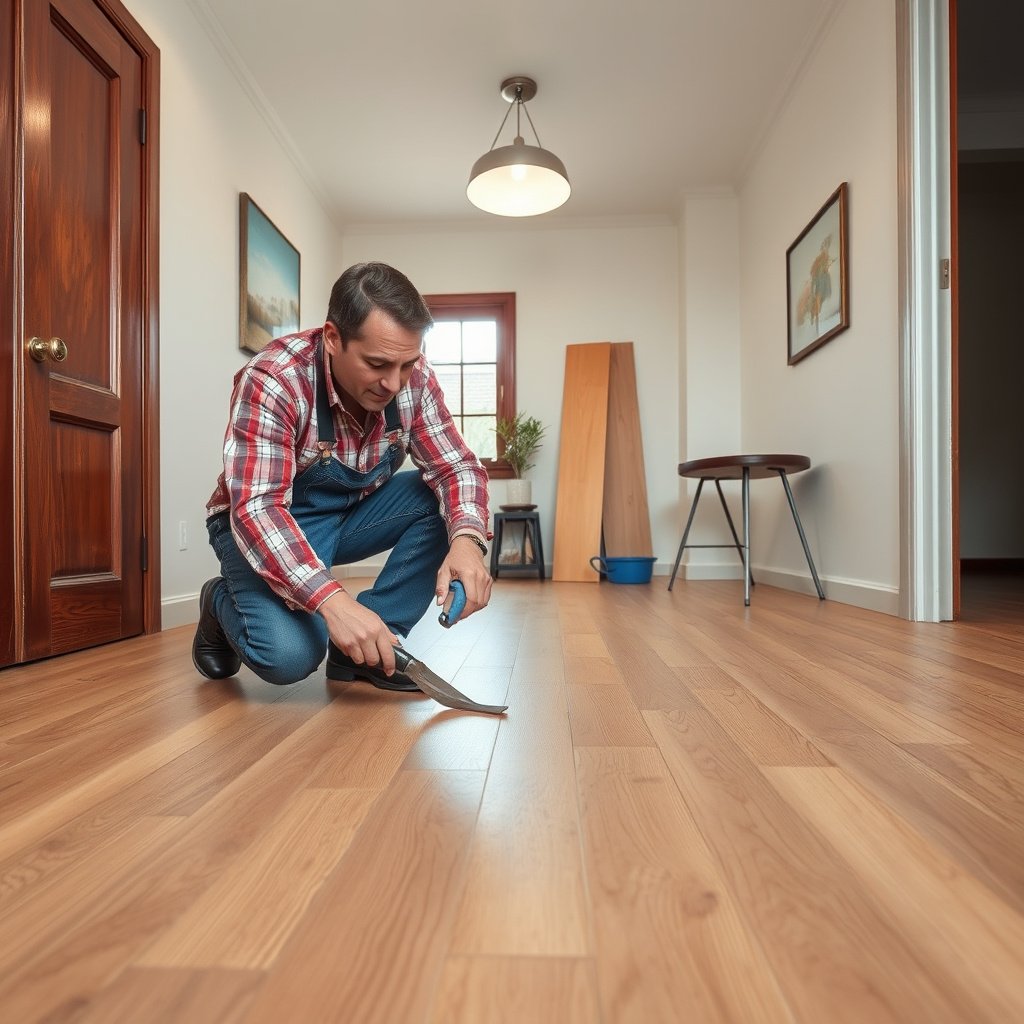
Before you buy any filler, the quickest path to a long-lasting wood-look tile repair is correctly identifying what layer failed (glaze, tile body, grout, or bond). In practice, most “dents” are not plastic deformation; they’re localized surface failure plus possible grout breakdown, and that distinction controls whether you fill, regrout, patch, or replace.
A hollow sound when you tap around a wood-look tile “dent” is a strong indicator the tile’s bond has failed, not just the glaze.
Porcelain tiles are “impervious” by standard definition, so repair adhesion depends heavily on surface prep and the right chemistry—not on the tile being “soft.”
Decide what failed (tile vs. grout vs. bond)
1. Look closely for the failure boundary.
– If you see a missing chunk in the glaze (a chip or spall), you’re likely repairing the surface.
– If you see missing grout or a cracked grout “strip” around the tile edge, you’re mainly regrouting.
– If the tile is cracked or the edge is repeatedly breaking, the issue may be movement, bond failure, or subfloor instability.
2. Tap-test the area around the wood-look tile.
Using your knuckle or the handle of a screwdriver, gently tap around the perimeter. A hollow or different-sounding tone relative to neighboring tiles often means the tile is no longer well bonded. That’s when patching a chip can fail again quickly, because the problem is under the wood-look tile.
3. Check for movement and unevenness.
– If tiles rock, even slightly, stop and plan for removal/reinstallation.
– If the spot is simply rough, a surface-level repair is usually enough.
4. Confirm whether it’s porcelain or ceramic (if you can).
Many wood-look floors are glazed porcelain. Porcelain’s key difference is low water absorption: According to ASTM C373, porcelain tile has water absorption ≤ 0.5% by weight (year: standard practice; source: ASTM C373). That “hard, low-porosity” behavior is one reason tile-rated epoxy repairs work best when properly prepped.
Repair Path Map for Wood-Look Tile “Dents” (What to Fix First)
| # | Damage scenario | Primary failure layer | Most durable fix | Typical risk of recurrence | Durability rating |
|---|---|---|---|---|---|
| 1 | Small glazed chip (no cracking) | Glaze surface | Two-part tile/epoxy repair + level | Low | ★★★★☆ |
| 2 | Spall at tile edge, isolated | Glaze edge + thin tile body | Patch with tile-rated epoxy filler | Medium | ★★★☆☆ |
| 3 | Missing grout strip (no tile movement) | Grout joint | Remove loose grout + regrout | Low–Medium | ★★★★☆ |
| 4 | Repeated edge break on same corner | Tile edge + stress concentration | Replace tile (not just patch) | High | ★★☆☆☆ |
| 5 | Hairline crack with no rocking | Tile body | Replacement is most reliable | Medium–High | ★★★☆☆ |
| 6 | Hollow-sounding tile (bond failure) | Thinset bond / setting layer | Remove, reset, and regrout | High | ★★★★☆ |
| 7 | Subfloor movement nearby | Substrate stability | Correct substrate plan first | Very High | ★☆☆☆☆ |
Fix small dents/chips with a tile repair filler
For small chips in wood-look tile (especially those limited to the glaze), the best results come from a two-part tile/epoxy repair compound plus careful leveling after full cure. This approach restores a smooth underfoot surface and reduces the “catch points” that make chips grow.
Tile-rated two-part epoxy repair systems are designed to bond to hard, low-porosity ceramic surfaces when the surface is mechanically cleaned and degreased.
Overfilling slightly “proud” of the wood-look tile surface is a practical strategy because you can level down without thinning the repair prematurely.
What you’ll do (glaze-level chip workflow)
1. Remove debris and loose edges.
Scrape off any crumbly glaze fragments, then vacuum the area thoroughly. For wood-look tile, the goal is to eliminate weak boundaries before epoxy meets the surface.
2. Clean using the compound’s recommended method.
Follow the repair product instructions for the cleaner/solvent (common choices include specific degreasers). This matters because skin oils and waxes can prevent adhesion.
3. Tape and protect surrounding wood-look tile.
Apply painter’s tape around the chip so you can control spread. Press tape edges firmly to avoid wicking.
4. Fill slightly proud of the surface.
Use a putty knife or application tool to fill the chip so the repair mound is just above the finished plane. For a small chip, you’re aiming for a flush blend after leveling—not a “low crater.”
5. Let it cure fully, then level carefully.
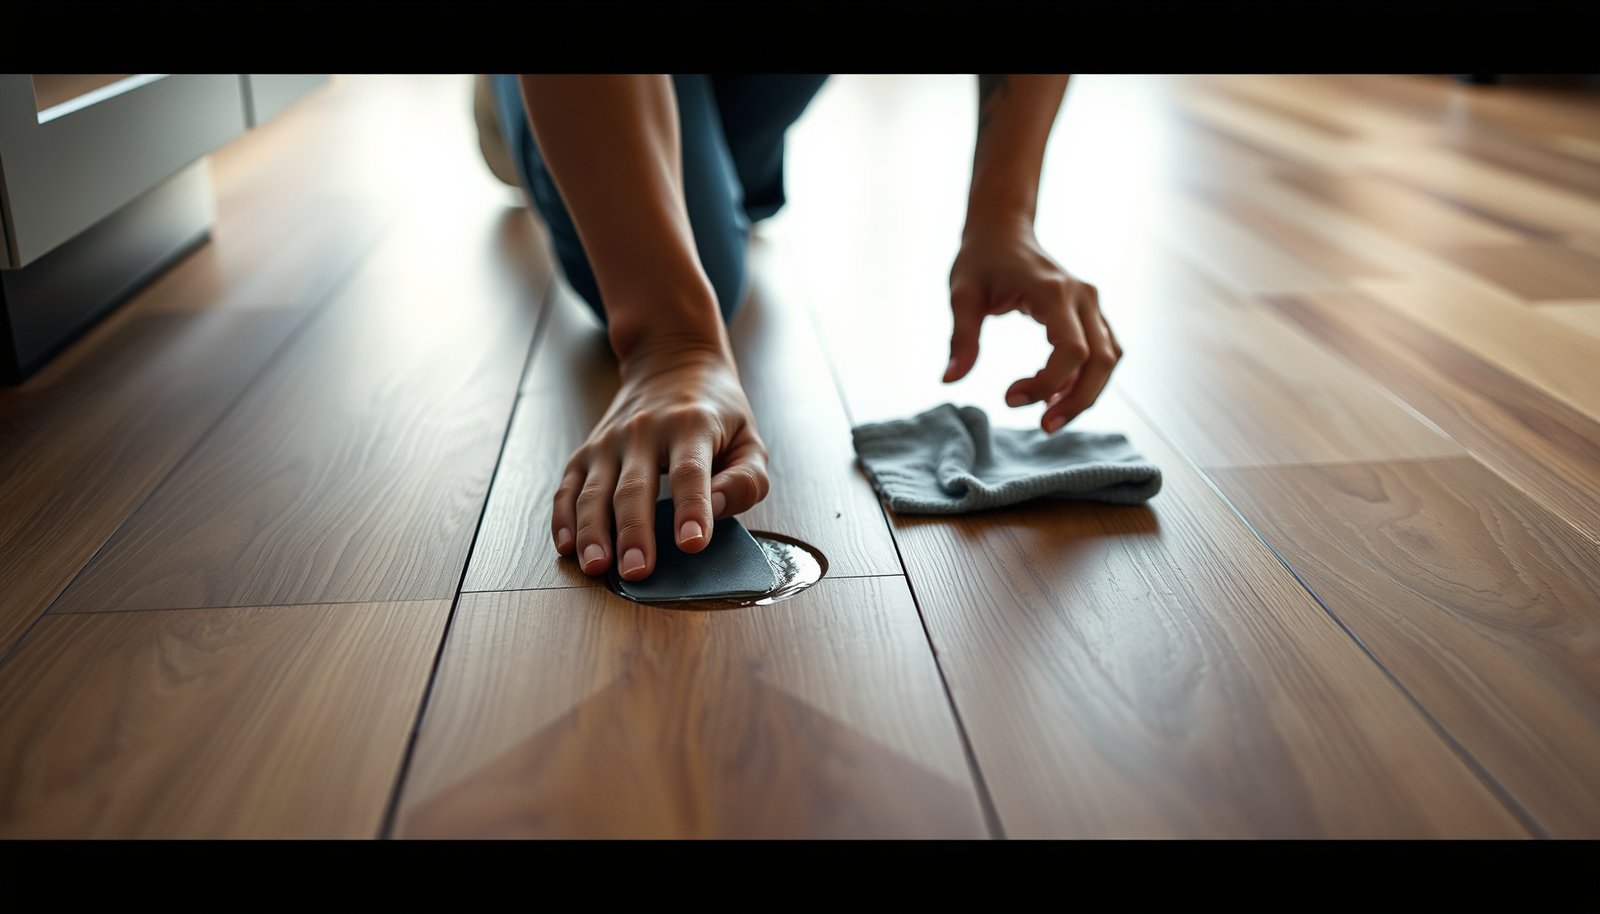
Once cured, level only the repair using an abrasive pad or stone/leveling tool suited for hard tile. Re-check by running a fingertip across the wood-look tile: it should feel smooth.
Common leveling mistake
In my experience with wood-look tile repairs, the most frequent DIY failure isn’t mixing—it’s rushing the cure and then grinding a partially cured epoxy, which can leave a soft edge that collects dirt. If you’re unsure, default to the cure time stated on the epoxy repair compound’s TDS.
Repair deeper gouges or damaged grout lines
If the damage is mostly missing grout or a chipped edge that creates a broken joint, your “dent fix” is really a grout repair and stress-management problem. For wood-look tile floors, the most important step is removing loose material so the new grout bonds to solid edges.
When grout lines fail on a wood-look tile floor, removing loose grout to sound substrate is typically more durable than trying to “skim over” the break.
Not all grout types behave the same: epoxy grout systems are often designed to be less absorbent and may change whether sealing is required.
Repair logic: grout first, then tile edge
– If the grout is missing:
1) Remove loose grout to stable, clean edges.
2) Vacuum dust thoroughly.
3) Regrout using the correct grout type for your floor conditions.
– Choose grout type correctly.
Some situations call for epoxy grout (for improved stain resistance or certain installation requirements). Cementitious grout is common, but you must match the product to the original installation specs if you want consistent performance.
– Seal only if your grout type requires it.
Many cementitious grouts require sealing; epoxy grouts often do not. Use the grout manufacturer’s guidance (this is one of the easiest places for DIYers to accidentally under- or over-treat the wood-look tile floor).
Tile edge spalls at corners
If a chip is at a corner/edge and keeps breaking, the issue may be repeated impact or a stress concentration around the joint. Patching can work once, but recurring failures often justify tile replacement to restore the full support conditions.
Replace cracked or seriously damaged wood-look tiles
When a wood-look tile is cracked, rocking, or hollow-sounding, patching the surface won’t stop recurrence—you need to remove and reset the tile. Replacement is the most durable method because it restores the bonded assembly, not just the appearance.
A hollow-sounding tile suggests a failed bond; cosmetic filler on wood-look tile glaze won’t correct the underlying setting failure.
ANSI guidance emphasizes proper mortar coverage and embedding for floors; replacing a compromised tile is the practical way to restore that system.
Step-by-step replacement approach
1. Cut out along grout lines to avoid spreading damage.
Use an oscillating multi-tool (commonly used for tile removal). Cut through grout first, then remove the tile carefully.
2. Remove old mortar/thinset from the substrate.
Scrape down until the surface is clean and you can evaluate flatness.
3. Verify the substrate is flat enough for reinstallation.
Wood-look tile floors show flatness issues quickly because tile joints and “graphical” grain patterns make unevenness more obvious.
4. Set the new tile with manufacturer-recommended thinset.
Use the setting mortar/thinset specified for porcelain/ceramic tile and your conditions. Ensure full embedment per installation standards (commonly, ANSI requires high coverage; for floors, According to ANSI A108 standards used with A108.5-type guidance, mortar coverage targets are typically 95% for floors—verify the exact requirement in your tile/set method documentation).
5. Regrout and allow full cure before normal walking.
Follow the thinset and grout cure/walk-time instructions. ()
Many DIY repairs fail because someone walks on the wood-look tile too soon, disturbing the setting mortar.
What can go wrong (and why repairs sometimes fail)
Most wood-look tile “dent repairs” fail for predictable reasons: wrong chemistry, contaminated surfaces, insufficient cure time, or an unresolved movement problem. If you correct those root causes, the same repair materials can last for years.
Repair compounds can detach from glazed ceramic surfaces if contaminants (wax, oils, or dust) remain, because adhesion is only as strong as the prep.
Leveling too early can create a concavity in the repaired wood-look tile area, which then collects debris and makes the spot feel rough again underfoot.
Pros/cons: patching vs. tile replacement for wood-look damage
| Option | Pros (why it works) | Cons (why it can fail) |
|---|---|---|
| Epoxy/tile filler patch | Fast, minimal disruption; good for glaze chips when the tile is stable. | Won’t fix movement or bond failure; visible mismatch possible. |
| Regrout (missing joint) | Restores joint integrity and prevents edge chipping from spreading. | If the underlying tile bond is failing, grout won’t solve the cause. |
| Tile replacement | Most durable; corrects cracked/loose assembly and restores flatness. | Higher effort; requires matching tile format, thinset, and grout cure schedule. |
The most common failure modes
– Using the wrong filler.
Wood putty/spackle often won’t bond reliably to glazed wood-look tile and can pop out under traffic.
– Skipping proper cleaning.
Loose debris and oily residue break adhesion. For wood-look tile floors, even a thin contaminant layer can cause failure at the repair interface.
– Rushing cure time.
Leveling or walking early can leave low spots that feel rough and trap dirt.
– Ignoring the root cause.
If the tile is loose or the subfloor moves, wood-look tile will keep breaking at the same edge—even after a visually good patch.
Verdict / tip: when to DIY vs. when to replace (or call a pro)
For wood-look tile floors, DIY is best when the tile is solid and the damage is limited to a small surface chip or localized grout loss. If the tile is cracked, hollow, rocking, or the damage repeats at the same edge, replacement is the smarter (and usually cheaper long-term) choice.
DIY patch repairs on wood-look tile are most reliable when the tile feels solid and the failure is limited to the glaze or grout joint—not the bond.
If the wood-look tile “dent” is spreading at edges or the tile sounds hollow, replacement is usually the only way to remove the failed assembly.
A realistic DIY decision rule
DIY is usually worth it if all of these are true:
– The wood-look tile feels solid (no rocking).
– The damage is a small chip/spall or a minor grout gap.
– You can tolerate a close-but-not-identical blend in texture and color.
Skip DIY (plan on replacement) if any of these apply:
– The wood-look tile is cracked or shows repeated edge spalling.
– The tile sounds hollow or has noticeable unevenness.
– You can’t confidently match the tile thickness/height and grout profile.
Warranty and documentation warning
Don’t attempt this if your flooring is under warranty where repairs could complicate claims ().
Save this checklist (quick scan)
Use this quick scan to decide what action you should take on your wood-look tile floor before mixing materials or cutting grout.
The fastest way to prevent repeated wood-look tile damage is to identify whether the failure is in the glaze, grout, or the tile’s bond layer.
When the wood-look tile feels stable and the damage is shallow, a tile-rated epoxy repair is the most direct cosmetic fix.
| What you see | Likely cause | Best fix | DIY difficulty |
|---|---|---|---|
| Small chip in glaze | Impact | Two-part tile/epoxy repair + level | Medium |
| Missing grout strip | Grout wear or break | Remove loose grout + regrout (match type) | Medium |
| Spalling at an edge | Repeated stress/impact | Patch if minor; replace if recurring | Medium–High |
| Cracked tile / hollow sound | Loose bond or deeper failure | Replace tile | High |
Checklist before you start
– [ ] Confirm whether damage is in the tile glaze, tile body, or grout
– [ ] Check if the tile is solid (no rocking)
– [ ] Choose a filler/repair product meant for tile/ceramic/porcelain
– [ ] Clean thoroughly and follow the product’s cure time
– [ ] Match grout type and only seal if the instructions require it
Frequently Asked Questions
How can I fix dents in wood-look tile floors without replacing the tiles?
Small dents are often surface depressions in the tile glaze or grout, so start by cleaning the area thoroughly and drying it completely. If the tile is only scratched or lightly dulled, you may be able to restore the look with color-matched wood-look tile repair compound or a tile refinishing kit designed for glazed surfaces. For deeper dents that affect the tile body or edges, replacement is usually the only permanent fix because the tile may be structurally compromised.
What’s the best way to repair a dent in wood-look porcelain or ceramic tile?
For porcelain or ceramic tile dents, assess whether the dent is cosmetic or structural by checking for sharp edges, looseness, or visible cracks. If it’s just a surface dent, use a two-part epoxy tile repair product, apply it to the dent, and level it flush with the surrounding surface before curing. After it sets, sand lightly and finish with a color-matched stain or marker made for tile repairs to blend the wood-look pattern.
Why do wood-look tile floors get dents, and how can I prevent them after repair?
Dents usually happen from heavy objects, point pressure (like dropped furniture legs), or impacts that chip the glaze while leaving the tile visually “mostly intact.” To prevent recurrence, use felt or rubber pads under furniture, add protective mats in high-traffic zones, and avoid dragging appliances across the floor. Regularly inspect for loose tiles—movement can turn minor impacts into dents by stressing the subfloor and tile setting layer.
How do I remove a dent mark on wood-look tile if it looks like the finish is damaged?
Start by cleaning the dent area with a pH-neutral cleaner so residue doesn’t interfere with repair materials. If the dent is mostly a scuffed or dull spot, a professional-style tile polishing compound may improve the sheen, but it won’t fill missing material. For true depressions, apply a wood-look tile repair filler (epoxy or cement-based patch depending on the tile type), then feather the edges so the repaired area doesn’t look like a raised “spot.”
Which materials and tools are best for fixing dents in wood-look tile floors?
The most common tools include a grout/texture-matching filler or two-part epoxy tile repair kit, a small putty knife or plastic spreader, fine-grit sandpaper, and a grout or tile color marker for blending the wood-grain look. Use masking tape to protect the surrounding tile and a lint-free cloth for cleaning. Choose a repair product labeled for porcelain or ceramic tile surfaces (and for “glazed tile” if applicable) to improve adhesion and durability.
📅 Last Updated: October 16, 2026 | Topic: How to fix dents in wood-look tile floors? | Content verified for accuracy and freshness.