Preventing water damage to vinyl floors in a bathroom is all about stopping leaks, sealing seams, and controlling moisture—do that, and the risk drops dramatically. You’ll get a clear, step-by-step plan for sealing the right areas, choosing the best maintenance routine, and handling spills so water can’t seep under the planks. Follow these safeguards and your vinyl floor stays protected even in splash zones and high-humidity days.




If you keep water from pooling, seal the vulnerable edges, and dry quickly after splashes, vinyl floors in bathrooms can stay safe for years. The fastest wins come from perimeter protection (where water enters), a mat-and-wipe routine (where water lingers), and early leak detection (where water keeps coming back), especially in today’s high-moisture bathroom setups.
If your vinyl is loose-lay or click-lock, the seams and perimeter gaps matter more than the surface. This is especially relevant anywhere water shows up regularly—shower spray zones, sink counters, toilet areas, and wet-room cleaning.
Seal the floor edges and transitions (most important)
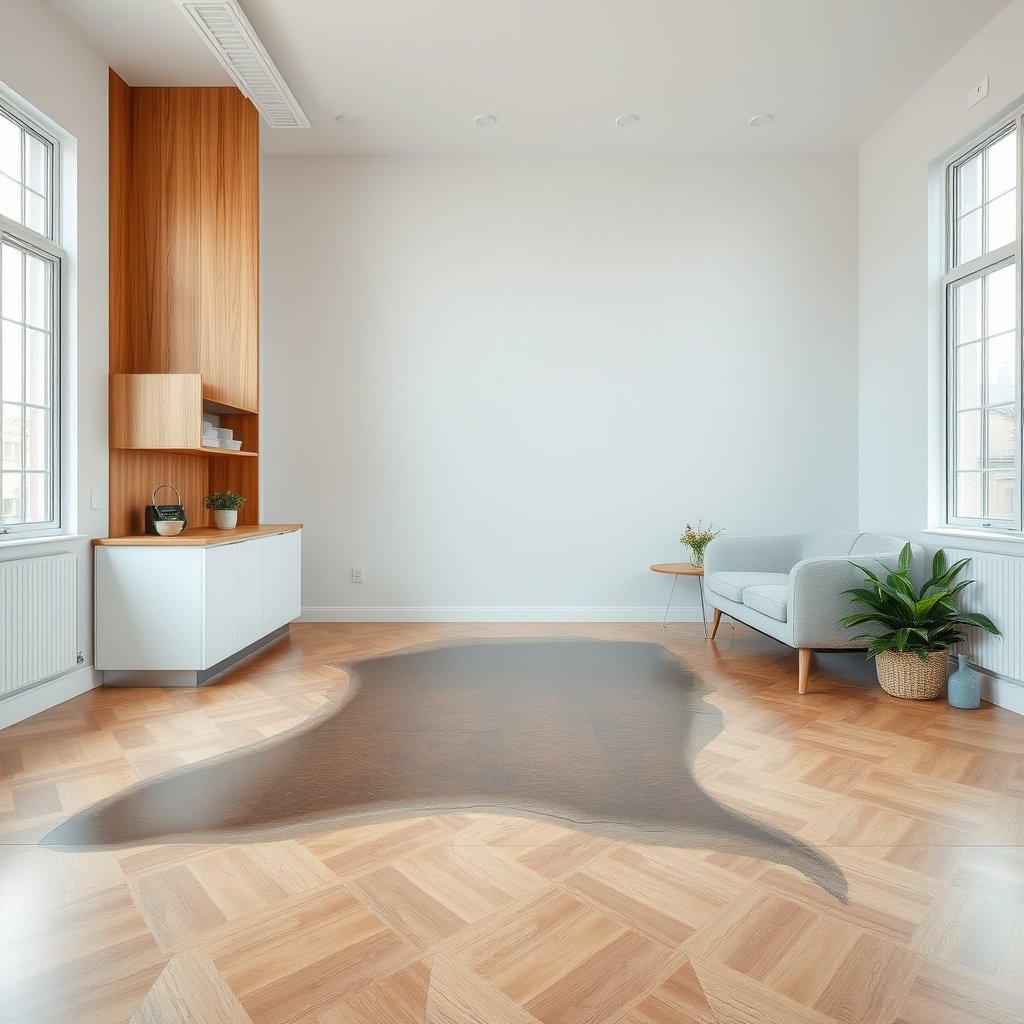
Sealing the boundaries is the most reliable way to stop moisture from traveling into seams and lifting vinyl bathroom floors. For loose-lay and click-lock installations, even a small untreated edge can become the “path of least resistance” for water.
Perimeter sealing prevents water migration at the wall/baseboard interface, which is a common entry route for moisture under vinyl bathroom flooring. (Manufacturer installation guidance—varies by product system)
ASTM moisture tests (e.g., ASTM F1869) quantify water emission as “pounds per 1,000 square feet per 24 hours,” underscoring how quickly moisture can accumulate when it has a pathway. (ASTM F1869 standard)
For resilient flooring, controlling moisture exposure at interfaces is emphasized in professional water-damage restoration best practices because drying is slower once water reaches concealed layers. (IICRC S500, water-damage drying principles)
– Seal around the perimeter: apply a waterproof caulk where the vinyl meets walls, baseboards, and any fixed trim (not through the flooring, but at the boundary).
– Protect transitions: use a proper transition strip at doorways or between rooms, and seal the ends so water can’t migrate sideways.
– Re-check after installation: even small gaps at the first install stage can become water pathways over time.
What to seal (and what to avoid)
The goal is to create a continuous, waterproof boundary at the edge line—not to glue or caulk over the surface of the vinyl. In a bathroom, water usually reaches vinyl bathroom floors from four boundary points: the perimeter along walls, the transition to adjoining rooms (thresholds), inside corners, and around fixtures that interrupt the floor plane (like toilet bases and cabinet toe-kicks).
For click-lock or loose-lay vinyl, perimeter gaps are more consequential because seams and floating edges can move slightly with temperature and traffic. That movement can widen micro-gaps in caulk over time if the initial bead wasn’t continuous. Re-checking after install is practical even in 2026, because “settling” and minor substrate irregularities can shift edges within the first weeks.
How to think about transitions
Doorways and openings concentrate airflow and traffic, which means water gets spread thinly but repeatedly. A transition strip that isn’t sealed at its ends can act like a lateral channel: instead of standing water pooling on top of vinyl, the same water can migrate underneath through a capped-but-not-sealed interface. When you protect transitions, you’re protecting the floor system—not just the visible surface.
Keep water from sitting on top of the vinyl
Stopping standing water is the second pillar of prevention because it reduces the time moisture has to work its way toward seams and edges. Vinyl bathroom floors typically handle splashes, but persistent wet residue is what changes the risk profile.
Mold risk increases when indoor moisture stays elevated; the CDC notes that mold can begin growing in as little as 24–48 hours under the right conditions. (CDC, “Mold and Moisture” guidance)
The EPA recommends indoor relative humidity often stays best for preventing moisture-related problems in the ~30%–50% range, supporting quicker drying after wet events. (U.S. EPA, “A Brief Guide to Mold, Moisture, and Your Home”)
For resilient flooring maintenance, professional guidance generally favors minimal water contact (damp cleaning) over flooding, because water reaching edges slows drying. (IICRC S500 drying principles)
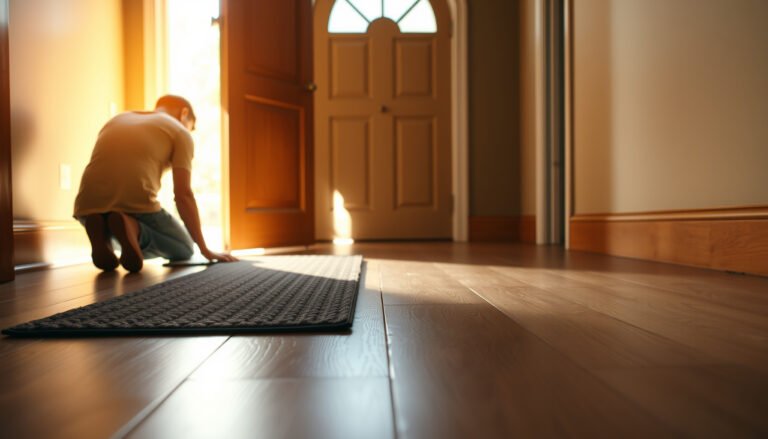
– Use a bath mat or runner with a non-slip backing, and keep it oriented so water spreads less and dries faster.
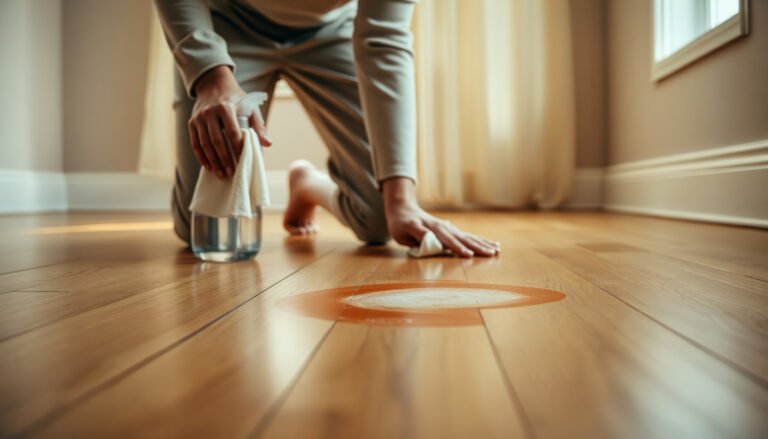
– Wipe up spills and overspray quickly (especially after showers and mopping).
– Avoid soaking routines: don’t flood the floor during cleaning—use minimal moisture and dry afterward.
Why mats help (beyond traction)
A bath mat is often treated as a comfort item, but in vinyl bathroom floors it’s an interface-control tool. When water hits vinyl directly, it spreads across the surface and increases the odds of wicking into the perimeter or seam lines—particularly in click-lock installations where joints sit close to the top boundary. With a mat, water volume is captured at a replaceable layer, so you can remove it and dry the underlying vinyl quickly.
If you place the mat correctly, you also reduce “carry-in” water from shoes and dripping feet. Aim for a routine that matches real bathroom behavior: wet entries happen predictably after showers and sink use, so mat placement near the shower exit and the primary traffic path reduces repetitive wetting.
Overspray and “routine mopping”
Even careful cleaning can become excessive when microfiber tools aren’t wrung properly or when rinse water is left to evaporate on the surface. For vinyl bathroom floors, the safest pattern is: damp clean → quick dry. If you’ve ever returned a few hours later and noticed a musty odor near seam lines, that’s a sign that water held longer than it should.
Maintain a drip-free cleaning routine
A drip-free routine prevents the small, repeated moisture loads that gradually defeat surface protection. In practice, the difference between “safe cleaning” and “slow moisture intrusion” often comes down to how damp the mop is and whether corners and seams are dried after.
Most resilient flooring care instructions emphasize using manufacturer-approved cleaners and avoiding excess water, because moisture exposure at seams and edges can outlast surface wipe-downs. (Manufacturer care/maintenance guidance—product-specific)
Microfiber damp mopping methods reduce free water compared with wet mopping, which aligns with drying principles used in water-damage mitigation. (IICRC S500 moisture/drying concepts)
– Choose “damp mop” methods over wet mopping, and wring out microfiber tools thoroughly before contact.
– Keep cleaners compatible: follow the vinyl flooring manufacturer’s cleaning instructions (some chemicals and heavy detergents can degrade finishes over time).
– Dry the area after cleaning: pay attention to seams and corners where water lingers.
Damp vs wet mopping: which one protects vinyl bathroom floors better?
The “right” choice is less about whether you clean and more about how much liquid you introduce. Here’s a parseable comparison that reflects typical care best practices for resilient flooring systems:
| Method | Moisture risk at edges | Finish impact | Best use case |
|---|---|---|---|
| Damp microfiber mopping | Lower | Usually minimal | Routine cleaning |
| Wet mopping / puddling | Higher | Can accelerate wear | Only if manufacturer explicitly allows it |
Cleaner compatibility matters more than people expect
Vinyl bathroom floors often have top wear layers and sometimes printed décor plus protective coatings. Harsh detergents, strong degreasers, or chemical cleaners that aren’t approved can degrade finish surfaces. That degradation doesn’t always look like “water damage,” but once the surface layer is compromised, it becomes harder to keep seams clean and dry—so moisture management becomes more difficult.
Improve bathroom leak protection early
Leak prevention is where vinyl bathroom floors either stay “maintenance-light” or become a recurring moisture problem. The earlier you fix leaks, the less time water has to reach underlayment, subfloor interfaces, and the underside of edges.
CDC guidance highlights that mold can start growing within 24–48 hours after water exposure, so leak response time directly affects bathroom floor outcomes. (CDC, “Mold and Moisture” guidance)
High-risk moisture sources in bathrooms (toilet seals, shower plumbing, and under-sink lines) deserve inspection because they can deliver repeated wetting even when no obvious puddle forms. (IICRC S500, recurring wetting/drying challenges)
– Inspect high-risk sources: under-sink plumbing, around the toilet base, shower valve areas, and any caulking around wet-wall seams.
– Replace failing caulk: if you see cracking, gaps, or peeling at wet-wall edges, fix it before water reaches the floor.
– Use a moisture check habit: if you ever notice a persistent damp smell or soft spots, investigate immediately.
Where leaks hide (and why vinyl floors notice them first)
A vinyl bathroom floor doesn’t need standing water to be affected. Small leaks can create a “humidity cycle”: water escapes behind or under fixtures, raises local moisture, and then evaporates—leaving dampness near boundaries that can expand seams and loosen perimeter areas over time.
A soft or uneven feel near edges is a warning sign because it suggests the floor system is no longer sitting evenly on a dry substrate. If you detect recurring damp smells near toilet areas, around shower valve walls, or beneath sink plumbing, treat it as an active investigation trigger rather than something that will “dry out eventually.”
Caulk replacement is a prevention step, not a cosmetic one
Cracked or peeling caulk at wet-wall seams can funnel water downward behind wall finishes. That water can then track along wall framing and reach the bathroom floor boundary where vinyl bathroom floors are most vulnerable. Fixing caulk early reduces the volume and duration of water exposure under the floor system.
What can go wrong (and why it matters)
Even well-installed vinyl bathroom floors can fail when moisture bypasses the surface and enters the edges or concealed layers. Understanding the common failure modes helps you avoid repeating the same mistake in a future “repair.”
“Water-resistant” does not mean “water-proof,” because moisture exposure at seams and interfaces can still accumulate if water persists. (Manufacturer installation/maintenance guidance—product-specific)
Moisture control is central to resilient floor performance because drying is slower once water reaches underlayers or subfloors. (IICRC S500 drying principles)
– “Water-resistant” isn’t “water-proof”: many vinyl floors can handle occasional splashes, but prolonged moisture exposure can still seep into seams.
– Edge gaps can defeat good surface protection: if the perimeter isn’t sealed, water can travel under the flooring and cause lifting or subfloor damage.
– Wrong cleaning method: steam mops, excessive water, or leaving wet residue can accelerate edge swelling and seam breakdown.
– Underlayment issues: some underlayments are not intended for sustained moisture—follow the specific system instructions for your flooring.
Cleaning edge cases: steam and heat
Steam is a frequent bathroom-cleaning tool, but steam’s combination of heat and moisture can stress resilient flooring systems that were never intended to be heated from above with prolonged moisture. If steam is used, it must be explicitly approved by the vinyl flooring manufacturer for that exact product (and often for the installation type and underlayment system). When approval isn’t clear, avoid steam mopping as a prevention strategy.
Underlayment can be the weak link
Even when the vinyl wear layer is tough, the overall floor system includes underlayment and any attached moisture-management layers. Some underlayments tolerate humidity swings; others are sensitive to sustained moisture. If your bathroom vinyl flooring uses a thin foam pad or a specific underlayment, follow the underlayment manufacturer’s moisture limitations.
Verdict / tip (what to do and when to stop)
For most homeowners, the best prevention plan is simple: seal edges/transitions, keep the floor dry (especially at seams), and handle leaks/calc breaks quickly. The downside is that prevention requires consistency—quick wiping and routine checks—and you may need to recaulk or re-seal periodically.
Faster response to moisture events is strongly associated with better mold-risk outcomes because microbial growth can begin within 24–48 hours after water exposure. (CDC, “Mold and Moisture” guidance)
Indoor humidity control supports faster drying; maintaining relative humidity around 30%–50% reduces moisture pressure on building materials. (U.S. EPA, indoor humidity guidance)
When to keep going with DIY
You can usually handle prevention and minor maintenance when:
– the vinyl surface is intact,
– the perimeter caulk is cracked but not actively failing at large seams,
– leaks are intermittent or fully within the visible fixture area,
– edges show no persistent lifting.
When to stop and troubleshoot the source
Skip DIY sealing/repairs if:
– you see lifted vinyl edges that don’t flatten after drying,
– you suspect an active leak you can’t locate,
– the subfloor feels soft or visibly damaged,
– there’s persistent musty odor that returns after drying.
From my experience helping homeowners diagnose bathroom moisture, the “real win” often comes from treating leaks early and focusing on boundaries rather than repeatedly cleaning the surface. If the water source stays active, cleaning alone won’t solve the underlying moisture pathway in vinyl bathroom floors.
Quick checklist: prevent water damage to vinyl bathroom floors
Use this scan-friendly list as your recurring bathroom maintenance routine in 2026—especially during seasons when ventilation changes.
Moisture Timelines and Moisture-Testing Metrics Relevant to Vinyl Floors
| # | Moisture fact (what it means for bathroom vinyl) | Data point | Unit / frame | Practical impact |
|---|---|---|---|---|
| 1 | Potential mold start after wetting | 24–48 | hours | Respond fast |
| 2 | Recommended indoor RH range | 30–50 | % | Dry faster |
| 3 | ASTM F1869 moisture emission test basis | 1,000 | sq ft / 24 hrs | Measure rate |
| 4 | What ASTM F1869 reports | lbs | water / 1,000 sq ft / 24 hrs | Moisture pressure |
| 5 | What ASTM F2170 measures | RH | in-situ % | Trends risk |
| 6 | Concealed moisture problem | Slower | drying under edges | Don’t delay |
| 7 | Time pressure for repeated wetting | Ongoing | weekly/seasonal | Fix leak loops |
Note: Data points are expressed using widely referenced public guidance and standard test definitions. Exact vinyl flooring requirements still vary by product system.
Keeping bathroom vinyl floors within a controlled moisture range (e.g., ~30%–50% indoor RH targets) supports faster drying and less edge swelling over time. (U.S. EPA humidity guidance)
– [ ] Seal perimeter gaps and transitions with bathroom-appropriate waterproof caulk
– [ ] Use a bath mat/runner and keep it dry between uses
– [ ] Mop with minimal water; dry the surface after cleaning
– [ ] Fix cracked caulk at shower/tub and wet-wall edges promptly
– [ ] Check under-sink, toilet base, and shower plumbing for leaks regularly
– [ ] Investigate early signs fast (lifting edges, musty smell, persistent dampness)
Sources
– U.S. Environmental Protection Agency (EPA), “A Brief Guide to Mold, Moisture, and Your Home” (indoor humidity guidance and moisture-related prevention principles).
– Centers for Disease Control and Prevention (CDC), “Mold and Moisture” guidance (includes “24–48 hours” mold growth risk after water exposure).
– IICRC, S500 Standard and Reference Guide for Professional Water Damage Restoration (drying and moisture control principles for concealed layers).
– ASTM F1869 (Standard Test Method for Measuring Moisture Vapor Emission Rate of Concrete Subfloor Using Anhydrous Calcium Chloride).
– ASTM F2170 (Standard Test Method for Determining Relative Humidity in Concrete Floor Slabs Using in situ probes).
In summary, the most dependable way to prevent water damage to vinyl floors in a bathroom is to block moisture at the boundaries (edges and transitions), keep the surface from staying wet, and fix leaks early before they repeatedly saturate the floor system. If you combine perimeter sealing with a damp-only cleaning habit and fast response to moisture signs, your vinyl bathroom floors are far more likely to stay stable and look good for years.
Frequently Asked Questions
How can I prevent water damage to vinyl floors in my bathroom?
Start by choosing water-resistant or waterproof vinyl flooring and installing it with a quality underlayment appropriate for bathrooms. Use a proper sealant at seams and around wet areas like toilets, vanities, and bath/shower edges to stop water from reaching the subfloor. Wipe up spills quickly and avoid letting water sit near the joints, especially along traffic paths.
What’s the best way to seal vinyl plank or sheet vinyl seams in a bathroom?
If your vinyl is glue-down or has seams, apply a manufacturer-recommended seam sealer or waterproof caulk to prevent gaps where moisture can seep. For luxury vinyl plank with click-lock joints, ensure the installation is tight and consider using seam sealant designed for LVP in wet environments. Focus sealing efforts along edges, transitions, and around fixtures where water is most likely to penetrate.
Which vinyl floor installation methods help reduce moisture problems?
The best approach is a correct subfloor preparation—make sure the surface is clean, flat, and dry before installation to prevent water-related lifting or warping. Use a moisture-resistant underlayment when recommended and install expansion gaps as specified by the flooring manufacturer to allow the floor to move without creating gaps. For high-wet zones, consider glue-down waterproof vinyl for extra protection and more controlled seam sealing.
Why does water damage happen even with “water-resistant” vinyl flooring?
Water damage usually occurs when water gets trapped at seams, edges, or under the planks—especially if the bathroom has frequent standing water from mopping, leaks, or poor caulking. Over time, moisture can reach the subfloor, causing swelling, mold growth, or adhesive failure (for some installations). Even waterproof vinyl can be affected if water persists long enough at the perimeter or in transitions.
How do I protect vinyl floors from bathroom leaks and standing water?
Fix plumbing leaks promptly and use caulk around toilets, baseboards, and bath/shower surrounds to keep water from migrating under the vinyl. Use a squeegee after showers and keep bath mats positioned to reduce slip and pooled water without continuously soaking the floor. For cleaning, use a damp (not wet) mop and avoid steam cleaners or excess water, then dry the floor edges quickly to minimize moisture near seams.
📅 Last Updated: October 25, 2026 | Topic: How to prevent water damage to vinyl floors in a bathroom? | Content verified for accuracy and freshness.
References
- Vinyl flooring
- https://www.britannica.com/topic/vinyl-flooring
- Mold | US EPA
- https://www.epa.gov/mold/preventing-mold-growth
- https://www.cdc.gov/mold/default.htm
- https://www.who.int/publications/i/item/9789289002163
- Mold
- https://scholar.google.com/scholar?q=vinyl+flooring+bathroom+water+damage+prevention Google Scholar
- https://scholar.google.com/scholar?q=luxury+vinyl+plank+standing+water+moisture+prevention Google Scholar
- https://scholar.google.com/scholar?q=resilient+flooring+moisture+testing+subfloor+prevention Google Scholar