
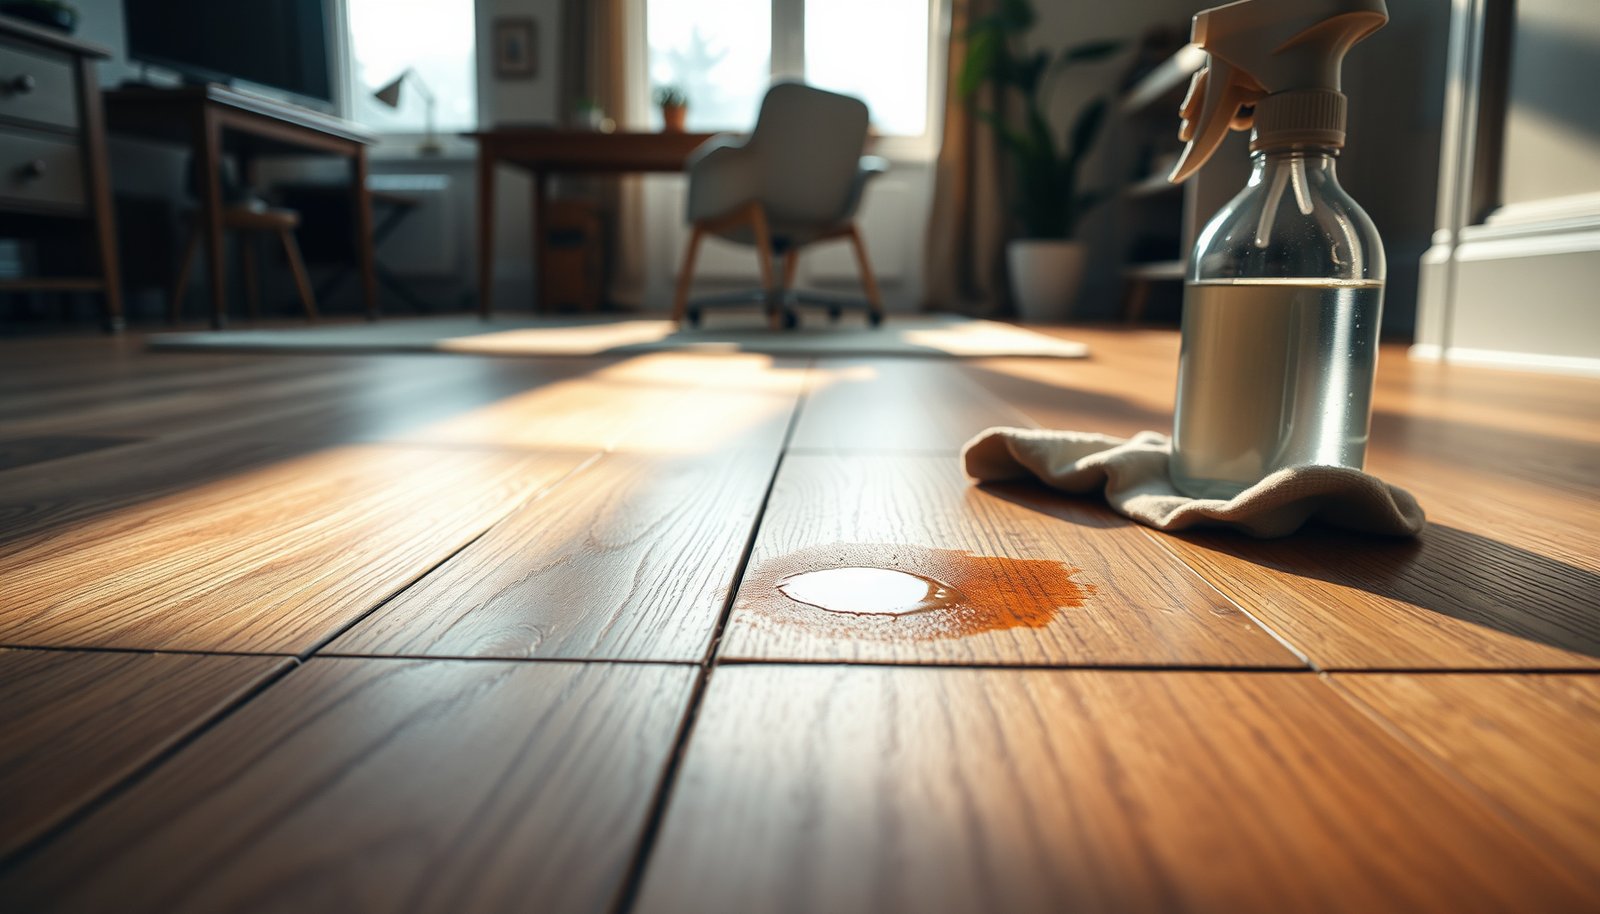

Stains on engineered wood floors in a home office don’t have to ruin your finish—use the right cleaner and technique and you can usually remove them without dulling the surface. This guide gives you a direct, step-by-step method for the most common stain types, including water spots, scuffs, and dark discoloration. You’ll learn exactly what to do first, what to avoid, and how to finish with a uniform, streak-free result.



If your engineered wood floor has a stain, the safest way to remove it is to start with the gentlest option your finish tolerates: blot, then clean using a pH-neutral wood floor cleaner (minimal moisture). For stubborn marks (like dark rings, coffee, or ink), you’ll usually need a controlled spot-treatment after testing on a hidden area—never soaking or sanding on a whim. Keep reading for step-by-step methods that match common home-office stains.
If this is your home office and the problem is a spill, tracked debris, or a dark ring left under a chair mat or desk object, these steps apply to most engineered wood floors. The biggest variable is your top finish (urethane/UV/cotton-matte style), so you’ll want to follow your flooring manufacturer’s care guidance where possible.
Identify the stain type (and what likely caused it)
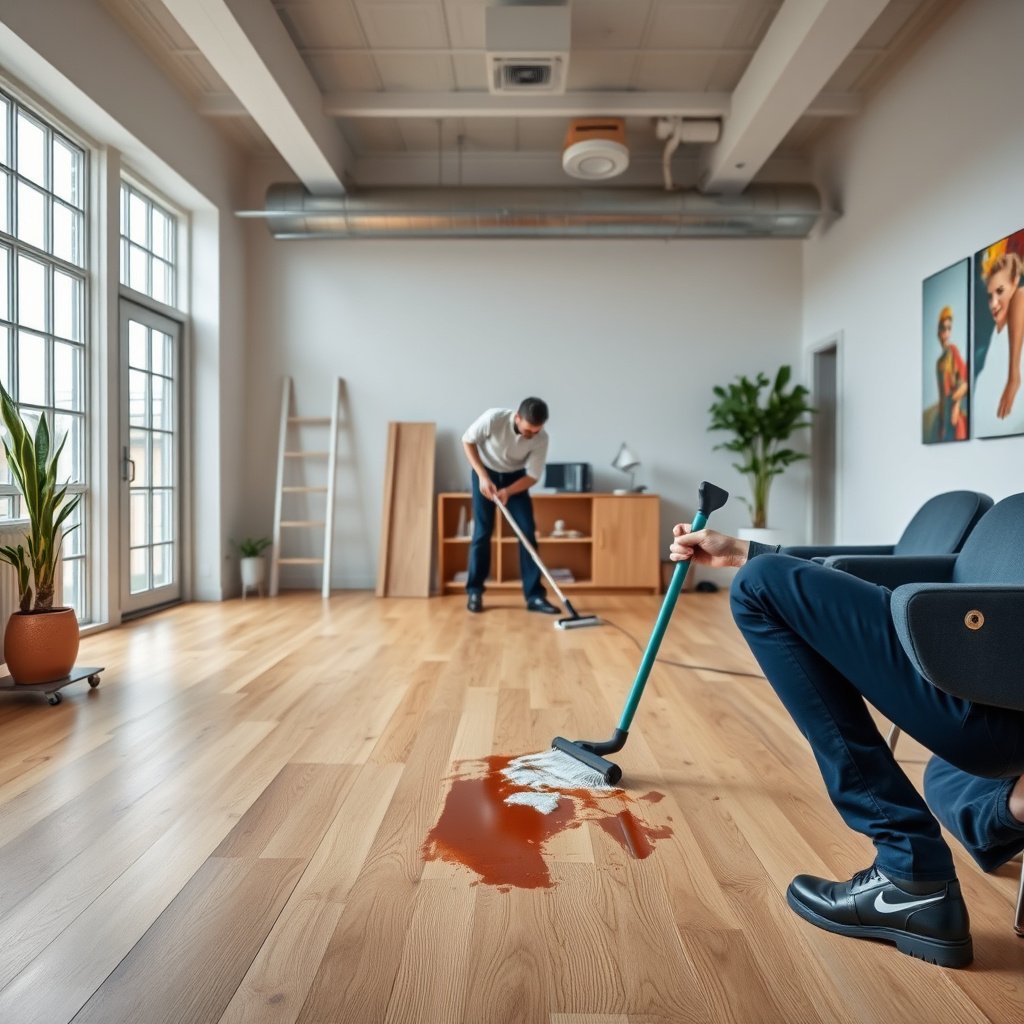
You remove engineered wood floor stains faster when you identify the stain category first—because each type responds differently to minimal-moisture cleaning. In practice, water exposure, food/coffee compounds, grease/soot, and ink/dye behave very differently on finished surfaces.
Water rings usually come from moisture migrating into or beneath the finish film, so the “ring” shape is often the drying pattern rather than a true surface dirt spot. National Wood Flooring Association (NWFA) —
Finished engineered wood floors are sealed with a top coat intended to resist everyday cleaning chemicals, but extreme pH or abrasives can dull or haze the surface.
If the mark is raised, flaking, or “etched” (matte/rough compared with surrounding areas), the issue may be finish damage—not just staining—so aggressive cleaners can worsen it.
– Look for clues: water rings (often from moisture), food/coffee stains (brown/tan), grease (smudgy), or ink/dye (darker, sharper marks).
– Think about the context: chair wheels, plant pots, wet cleaning, and standing water are common in home offices.
– If the stain is raised, flaking, or the surface looks “etched,” stop and review the floor’s finish care—aggressive cleaners can make damage worse.
Quick classification tips for engineered wood floors
Most engineered wood floors share a similar “sealed surface” strategy, but the behavior you see can still help you triage:
– Moisture rings: Often darker at the edge with a lighter center where the finish dried unevenly.
– Coffee/tea: Usually brown-tan tones that spread slightly when dampened (before they dry again).
– Grease/soot: Looks like a smear or shadow; it often transfers to a white microfiber when you wipe.
– Ink/dye: Tends to have higher contrast and may keep returning faintly after the first cleaning because dye can migrate.
Also, keep humidity and temperature in mind for engineered wood floors. According to NWFA guidance, maintaining indoor conditions helps reduce movement that can make stain removal harder—commonly cited ranges are 35–55% relative humidity and 60–80°F. National Wood Flooring Association (NWFA) —
Prep safely: tools, cleaners, and a hidden test spot
The safest route for engineered wood floor stain removal is to minimize moisture, use microfiber, and test the finish compatibility before any spot treatment. For most problems, you should start with a pH-neutral wood floor cleaner and dampen the cloth—not the floor.
Most professional floor-care guidance emphasizes minimal moisture for finished wood floors because excess water increases the risk of swelling at seams and edge damage over time. NWFA —
“pH-neutral” generally means near **pH 7** (often roughly **pH 6–8**) and is used to reduce the chance of finish dulling from acidic or alkaline cleaners.
Microfiber is preferred because it lifts particles without the cut-and-groove action that abrasives can create in a polyurethane/UV top coat.
– Use soft microfiber cloths/pads and a pH-neutral cleaner labeled for finished wood floors; avoid steel wool or abrasive pads.
– Test any stain remover on an inconspicuous area first, then wait for it to fully dry to confirm the finish isn’t dulling or lightening.
– Keep moisture controlled: dampen the cloth, not the floor—engineered wood still isn’t meant to be soaked.
What to have ready for engineered wood floors (safe “kit”)
For a typical home-office stain, you’ll get the best results with:
– Clean microfiber cloths (2–3) so you can progress from “loosen” to “lift residue” without spreading.
– A pH-neutral wood floor cleaner (finish-compatible). If your manufacturer lists a specific brand or cleaner class, use that first.
– A plastic cup/bottle for controlled application to the cloth (not direct pouring).
– Painter’s tape (optional) to mask edges of a tight spot while you work on engineered wood floors.
One practical test spot method (works on most engineered wood floors)
– Choose a hidden area: behind a chair leg, desk edge, or rug corner.
– Apply cleaner to a microfiber cloth (damp, not dripping).
– Gently blot/wipe for the same time you plan to use on the stained area.
– Let it dry fully, then compare sheen and color to the surrounding engineered wood floors.
If the test spot looks hazier or lighter, stop and switch strategies—your top finish is reacting.
pH Risk Guide for Common DIY Cleaners on Finished Engineered Wood Floors
| # | DIY cleaner / category | Typical concentration | Typical pH (approx.) | Finish safety (1–5 ★) |
|---|---|---|---|---|
| 1 | pH-neutral wood floor cleaner | Ready-to-use | 6.5–7.5 | ★★★★★ |
| 2 | Distilled water (for damp microfiber) | Use sparingly | ~7.0 | ★★★★☆ |
| 3 | White vinegar (for “DIY ring” ideas) | 5% acetic acid | 2.4–3.0 | ★☆☆☆☆ |
| 4 | Baking soda slurry | Saturated paste | 8.3–8.5 | ★★☆☆☆ |
| 5 | Household bleach (chlorine) | 5–6% sodium hypochlorite | 11–13 | ★☆☆☆☆ |
| 6 | Household ammonia solution | ~5–10% | 11.5–12.5 | ★☆☆☆☆ |
| 7 | Hydrogen peroxide (common ~3%) | 3% H₂O₂ | ~4.0–5.0 | ★★☆☆☆ |
Remove common stains using the least-aggressive method first
You usually remove engineered wood floor stains by starting with blotting and gentle, controlled cleaning—then escalating only if the stain clearly lifts. This approach protects the top finish layer (your engineered wood floor’s first line of defense) while still addressing the stain source.
Blotting removes fresh spills before they migrate, reducing the chance of a “ring” effect after the engineered wood floor dries. NWFA —
For sealed wood floors, wiping with a damp microfiber and a pH-neutral cleaner is preferred over scrubbing because scrubbing can increase finish haze.
If a stain lifts partially, continuing with stronger chemicals often spreads discoloration or changes sheen rather than restoring the original finish.
– Start with blotting (for fresh spills) and gentle cleaning: lightly damp microfiber + pH-neutral wood floor cleaner, working with the grain.
– For sticky spots (tape residue, spills that dried): use a small amount of the same pH-neutral cleaner and repeat until the residue lifts—don’t scrub hard.
– If the stain lifts partially, stop and reassess—going straight to stronger chemicals often spreads discoloration or changes sheen.
Step-by-step: what to do on engineered wood floors (most common office stains)
1. Remove debris first: vacuum (soft bristles) or sweep with a dust mop so you don’t grind particles into the finish layer.
2. Blot, don’t wipe for fresh spills: place a clean microfiber on top and press—lift to remove liquid. Repeat with a clean section of cloth.
3. Spot-clean with minimal moisture: dampen microfiber, apply pH-neutral cleaner to the cloth, and gently wipe in the direction of the grain.
4. Re-blot and dry: after the stain area looks lighter, dry with a dry microfiber to avoid lingering moisture on engineered wood floors.
Chair mats and desk objects: the “slow stain” pattern
In home offices, you often don’t see the stain immediately under a mat. Instead, engineered wood floors can show dull patches where wheels, rubber, or grit repeatedly contact the finish. For those, focus on:
– Removing trapped grit around edges (without soaking).
– Using pH-neutral cleaner on a cloth and doing short passes rather than wetting a large area.
Treat stubborn spots and dark rings carefully
You can sometimes improve engineered wood floor dark rings and set-in marks, but you must treat them as a finish-compatibility problem, not a “strong chemical” problem. The goal is controlled spot treatment with repeated, finish-safe attempts—stopping early if sheen changes.
Dark rings from moisture typically require patience because the discoloration can be tied to how the finish dried, not just surface dirt. NWFA —
Ink and dye stains may respond differently because dyes can penetrate deeper than surface grime, so solvent-based DIY methods can damage some finish chemistries.
Engineered wood floors vary by top-finish system (urethane, UV-cured, oil-modified). Spot methods should follow the finish system’s cleaning chart or manufacturer instructions.
– Dark rings from moisture: try repeated, minimal-moisture spot cleaning with pH-neutral cleaner first; if that fails, you may need a manufacturer-approved spot method rather than a DIY “miracle” chemical.
– Ink/dye marks: many DIY attempts use alcohol/solvents, which can also affect the finish—only attempt after a successful test patch, or use a product specifically intended for the kind of finish you have.
– Ongoing discoloration: if the stain won’t come out after careful cleaning, the best next step is usually professional floor refinishing or replacement of affected planks (especially if staining has penetrated the finish layer).
Finish-compatibility decision: pros/cons before you escalate
When engineered wood floor stain removal gets stubborn, it helps to decide based on finish risk. Here’s a practical comparison framework you can use:
- Repeated pH-neutral spot cleaning
- Pros: usually finish-safe; reduces spread; controlled moisture.
- Cons: may not remove deep “ring” or dye migration.
- Manufacturer-approved remover/spot method
- Pros: designed for your finish chemistry; highest chance of restoring appearance without haze.
- Cons: may require specific products and careful timing; still needs test spot.
- DIY solvents (alcohol/strong chemicals)
- Pros: sometimes lifts dye/ink.
- Cons: can soften, dull, or permanently change sheen on certain engineered wood finishes.
What can go wrong (and when to stop)
You can damage engineered wood floors even when your stain looks like it’s improving—so you need clear stop criteria. The most common problems are moisture overuse, finish dulling/hazing, and finish etching that doesn’t “clean out” later.
Excess water exposure can contribute to swelling at seams and edge areas even if the stain temporarily looks better. NWFA —
Harsh chemicals (bleach, strong ammonia) can alter the finish chemistry and lead to lasting discoloration or haze on sealed floors.
If a spot treatment causes whitening, tackiness, peeling, or roughness on the engineered wood floor surface, continuing the same method can worsen permanent finish failure.
– Using too much water can cause swelling/edge damage over time, even if the stain looks “gone” initially.
– Harsh chemicals (bleach, strong ammonia, abrasive pads) can lighten the finish, create haze, or permanently change the surface.
– If you see finish damage (whitening, tackiness, peeling, roughness) after a spot attempt, stop immediately and check the manufacturer’s warranty/repair guidance.
When “it looks clean” isn’t actually repaired
On engineered wood floors, some stain-removal attempts change only the surface appearance, leaving:
– a slightly dull sheen patch (especially on matte finishes),
– a halo ring from uneven drying,
– or a residual dye that reappears after the area dries.
If the mark returns after drying, treat that as an engineered wood floor compatibility warning—not a cue to keep scrubbing.
Verdict / tip: the “safe win” approach for engineered wood
The best overall strategy for engineered wood floor stains is gentle, repeated spot cleaning with a pH-neutral cleaner and controlled moisture—using a test patch before you escalate. This protects the finish layer, which is what you can least afford to permanently alter.
For finished engineered wood floors, start with the gentlest finish-safe method (blotting and pH-neutral cleaning) because it minimizes both discoloration spread and sheen damage. NWFA —
Engineered wood floors vary by top finish type; manufacturer care instructions generally override DIY recipes when stains are persistent.
If your engineered wood floor shows finish changes after a spot attempt, the safest next move is to pause and get manufacturer or professional guidance.
– Best overall strategy: gentle, repeated spot cleaning with a pH-neutral cleaner and controlled moisture, with a test patch before any stronger step.
– Downside: stubborn stains (especially deep rings, ink/dye penetration, or finish etching) may not fully lift without professional help, and repeated attempts can still leave uneven sheen.
– Skip DIY treatment if your manufacturer explicitly warns against certain chemicals, if the floor is already damaged, or if the stain is near seams where moisture intrusion risk is higher.
Quick scan checklist (save this)
– Before you clean: Identify the stain (water/coffee/grease/ink) and check the manufacturer care instructions.
– What to use first: pH-neutral wood floor cleaner + dampened microfiber (not soaking).
– When to stop: If the finish dulls/whitens or the stain spreads after a test spot, pause and switch strategies (or get help).
Frequently Asked Questions
What’s the safest way to remove a stain from engineered wood floors in a home office?
Start by identifying the stain type (water ring, food, grease, or scuff transfer) because engineered wood requires gentle, surface-safe cleaners. Use a soft microfiber cloth and a diluted cleaner recommended for wood floors, applying it with light pressure to avoid damaging the finish. Always test any product in a hidden area first, then blot dry immediately to prevent moisture from seeping into seams.
How do you remove water stains or dark rings from engineered wood floors?
Blot up any remaining moisture, then use a damp microfiber cloth with a small amount of distilled water to lift the ring lightly. For persistent marks, try a wood-finish–safe remover or a paste of baking soda and water applied briefly, then wipe and dry thoroughly. Avoid soaking the area and never use harsh steam or excess water, since engineered wood can swell at the edges over time.
How can you clean oil, coffee, or ink stains from engineered wood without damaging the finish?
For coffee or food, wipe promptly with a slightly damp cloth and a gentle pH-neutral cleaner designed for hardwood or engineered wood floors. For oil-based stains, use a manufacturer-safe degreaser very sparingly on a cloth (not poured directly), then wipe with clean water-dampened cloth and dry completely. For ink or marker, dab with a recommended wood-floor spot treatment or rubbing alcohol on a cotton swab lightly, testing first and stopping once the stain lifts.
Which cleaning products are best for stain removal on engineered wood floors in a home office?
The best options are pH-neutral, wood-floor–approved cleaners that won’t strip the protective coating on engineered hardwood. Look for products specifically labeled for “engineered wood” or “finished hardwood” and avoid abrasive scrubbers, ammonia, bleach, and vinegar-heavy solutions that can dull or react with the finish. For spot care, use microfiber cloths and follow the label directions exactly, including dilution ratios and dwell times.
Why do some stains on engineered wood floors keep coming back, and how do you prevent re-staining?
Stains may return when the contamination is trapped in the finish or when residual cleaner or oils remain on the surface, attracting dirt again. Prevention starts with quick blotting, using the right cleaner for the stain type, and keeping humidity stable in your home office to reduce expansion/contraction of the wood. Place desk mats, use felt pads under chairs, and regularly dust with a microfiber mop to minimize surface buildup that can discolor over time.
📅 Last Updated: October 19, 2026 | Topic: How to remove stains from engineered wood floors in a home office? | Content verified for accuracy and freshness.
References
- Engineered wood
- Wood flooring
- Wood flooring
- Wood stain
- https://en.wikipedia.org/wiki/Water_mark
- Varnish
- Polyurethane
- https://scholar.google.com/scholar?q=how+to+remove+stains+from+engineered+wood+floors Google Scholar
- https://scholar.google.com/scholar?q=water+stain+removal+from+wood+floors Google Scholar
- https://scholar.google.com/scholar?q=engineered+wood+floor+spot+cleaning+chemical+compatibility Google Scholar


