
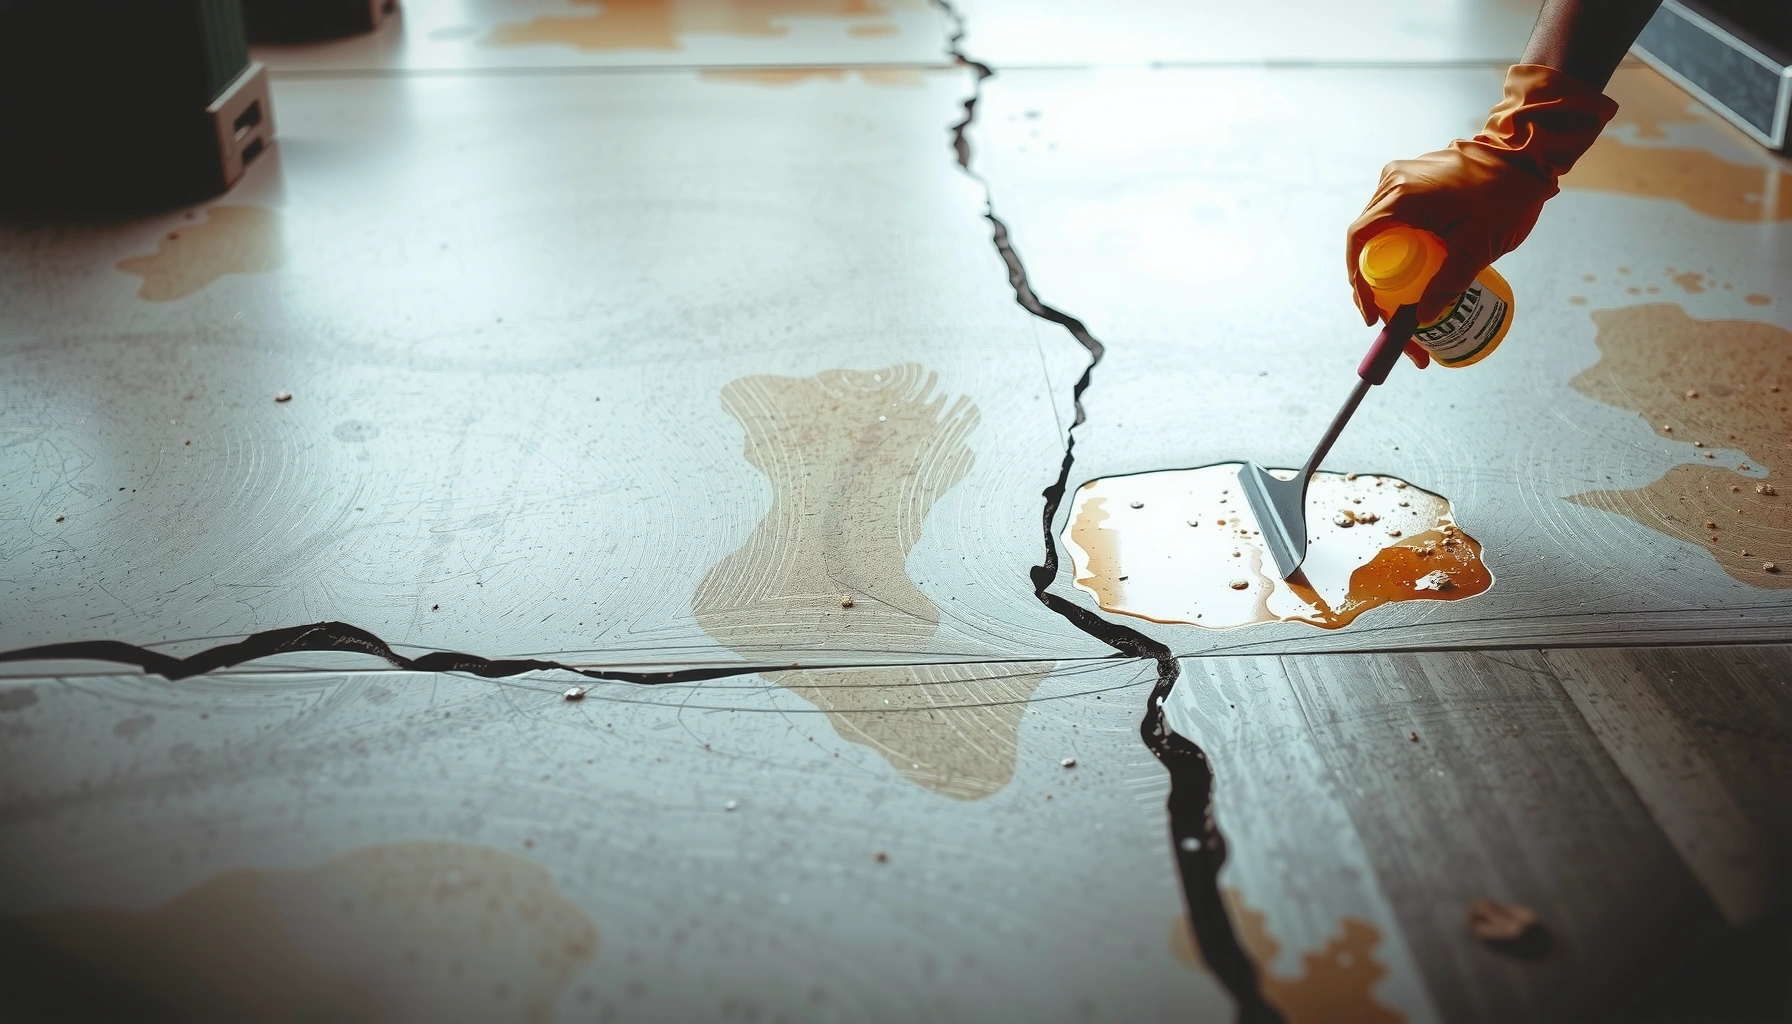

Need to remove paint from patio floors fast, without damaging the surface? Start with the paint type: scraping and pressure washing work best on water-based latex, while solvent-based paint needs chemical paint stripper for the cleanest, most complete removal. Follow a simple step-by-step method—test first, apply the right remover, then scrape, wash, and neutralize—to get the patio back to bare concrete or tile with minimal risk.



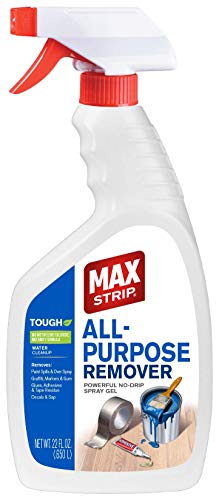
Removing paint from patio floors is mostly about using the right method for the paint type—start with gentle cleaning and low-angle scraping, then move to a paint-type-matched chemical stripper or carefully controlled heat only if needed. Most failed cleanups happen when people skip prep (so grime and paint sludge mix) or pick the wrong remover for latex vs. oil-based paint—so this guide helps you test safely and avoid damaging concrete, brick, or stone.
If you’re dealing with paint drips, overspray, or old patio markings on concrete, pavers, brick, or natural stone, you’re in the right place. This is especially useful when the paint has cured for weeks or months and normal washing won’t touch it.
Clear the patio and protect the surface first
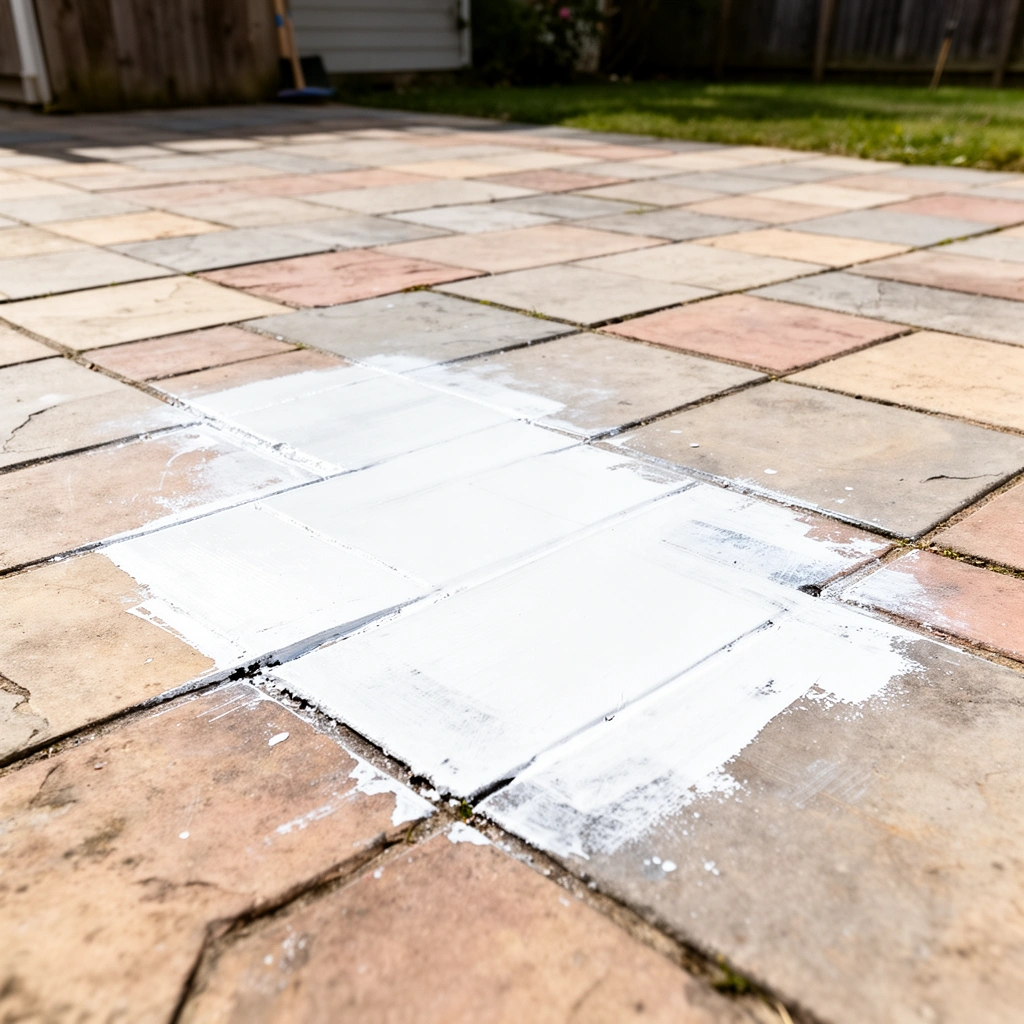
You’ll get better results when you start clean and control where runoff goes. Begin by removing debris and degreasing the surface so your tools and chemicals target paint—not mud, pollen, or patio oils that can interfere with stripping.
Before you apply anything, check the patio layout for weak points like expansion joints, hairline cracks, and loose mortar. If you have nearby plants, siding, or outdoor electrical outlets, protect them early so you don’t transfer solvents/stripper residue where it shouldn’t go. Also remember that many paint-removal products require a wet dwell time; if you can’t keep the area controlled, you’ll lose dwell time and increase the chance of stains.
A degreasing pre-wash reduces the chance that paint sludge redeposits into pores while stripping.
Masking plants, siding, and joints is essential because many strippers and solvents can soften adjacent finishes.
Controlling runoff helps prevent paint residue from staining other patio sections or entering storm drains.
According to [ADD: EPA guidance on stormwater and disposal/cleanup best practices for homeowners], protecting storm drains during surface cleanups reduces environmental contamination risk.
– Sweep loose debris, then wash with a degreasing patio cleaner. Focus on corners and textured areas where overspray often hides.
– Rinse thoroughly and let the surface dry enough for scraping (not bone-dry if you’ll apply a stripper immediately—follow the stripper label).
– Protect surrounding areas with plastic sheeting and painter’s tape. Cover expansion joints and any adjacent vertical surfaces to prevent chemical contact.
– Keep runoff contained. If you’re using a solvent/stripper, plan to work in sections that you can capture and rinse without spreading residue.
Identify the paint type before choosing a remover
You’ll avoid wasted effort (and surface damage) by identifying latex vs. oil-based paint before you pick a remover. Latex paint typically responds better to water and detergents; oil-based paint usually resists water and needs stronger chemistry.
Start with whatever documentation you can find: leftover paint cans, product labels, or prior maintenance notes. If you don’t know what was used, don’t guess—do a small test in a hidden area. In my view (based on standard paint chemistry behavior), paint type determines both solvency and how deeply the coating bonds to concrete or pavers.
Latex (water-based) paint is generally formulated to clean up with water while oil-based paint is formulated to resist water.
A patch test lets you observe whether paint softens with mild methods before committing to stronger removers.
Concrete and pavers vary in porosity, so the same paint type can behave differently across the patio.
According to [ADD: ASTM/industry references explaining water-based vs. oil-based paint cleaning behavior], latex paints are water-cleanup materials, while oil-based coatings generally require organic solvents for effective dissolution.
Practical paint-type test (safe, small, and reversible):
1. Choose a hidden spot (under a grill, along a wall edge, or behind a planter).
2. Try warm water + a detergent degreaser and gentle scraping after softening.
3. Observe:
– If the paint becomes tacky/peels with mild methods, it’s likely latex.
– If it barely changes, it’s likely oil-based or a multi-layer coating.
Safety note: Stop the test if you see bubbling, significant discoloration, or surface softening of sealers—some patio sealants react with strippers.
Remove fresh or lightly cured paint (start simple)
You can often remove fresh or lightly cured latex paint with mechanical scraping plus detergent and warm water. For many drips and overspray edges, patience with repeated softening beats jumping straight to harsh chemicals.
Fresh paint is mechanically weaker and chemically less crosslinked, so it responds to repeated cycles: soften → lift → rinse → repeat. For patios, your goal is to lift paint without gouging or abrading the surface—concrete and especially pavers can be finished in ways that are easy to ruin.
Low-angle scraping limits gouging because it removes paint film rather than attacking the substrate.
Repeated softening cycles are usually more effective than a single aggressive pass.
For latex paint, warm water and detergent can be enough when the coating has not fully crosslinked.
Step-by-step (latex-leaning scenarios):
– Scrape carefully with a plastic scraper first. If the paint sits on a smooth finish, you can use a sharp razor-style tool *kept almost flat*—avoid digging.
– Keep the area wet with warm, soapy water. Blot or re-wet as the paint softens, then scrape again.
– Rinse with clean water and wipe up residue so you’re not spreading paint sludge.
– If you reach a point where scraping removes paint film but leaves a stubborn stain, stop and switch strategies (don’t keep grinding harder).
When “lightly cured” is still too cured:
– If the paint has cured for many weeks/months, latex may still be difficult to dissolve fully—mechanical removal may work for the bulk, but staining can persist. At that point, chemical or heat becomes more likely.
Remove dried, stubborn paint (chemical or heat approach)
You’ll usually need a paint stripper/solvent matched to the paint type when paint is fully dried and has bonded to patio texture. The key is correct dwell time and correct post-treatment (rinsing, neutralizing, or residue removal) per the label.
Dried paint behaves like a coating film that has adhered and possibly penetrated surface pores. Chemical removers work by softening and breaking down the binding resins, then letting you lift loosened material with scraping and controlled rinsing. Heat can help soften certain coatings, but it’s easy to damage sealed surfaces and can drive residue deeper.
Most paint strippers require a specific dwell time so the solvent/chemistry can penetrate and soften the coating.
After stripping, proper rinsing/neutralization prevents lingering residue that can attract dirt or stain.
Heat can soften coatings but may also damage sealers and increase the risk of residue re-bonding to porous stone.
Step-by-step chemical stripping (general framework):
1. Select the stripper matched to the paint type (latex vs. oil-based) and compatible with concrete/stone per the product instructions.
2. Apply to a manageable section and keep the surface wet for the dwell time specified on the label.
3. Scrape softened paint with a plastic scraper first, then refine with a low-abrasion method recommended for the product.
4. Neutralize/rinse exactly as directed. Some products require neutralization before final rinsing; others require specific disposal of waste slurry.
5. Repeat in sections rather than trying to “win” in one application.
Step-by-step heat support (use cautiously):
– Use heat only if you know (or strongly suspect) the patio is unsealed or heat-compatible.
– Work in small sections, keep the heat controlled, and immediately remove softened paint.
– Avoid concentrating heat on one spot—thermal stress can worsen cracking or surface scaling.
A practical comparison: when to choose chemistry vs. heat
| Factor | Chemical stripper | Heat-assisted removal |
|---|---|---|
| Best for | Fully cured latex and many oil-based coatings (product-dependent) | Thin layers or paint films that soften without deep resin penetration |
| Surface risk | Etching/discoloration if dwell time or chemistry is wrong | Sealer failure, surface spalling, and residue redeposition risk |
| Control | High when applied correctly with proper dwell time | Moderate—harder to control temperature gradients on patios |
| Cleanup | Requires rinsing/neutralization per label + proper waste handling | Usually requires scraping + thorough residue cleaning |
What can go wrong (and how to avoid it)
The most common failure modes are surface damage, widespread staining, and safety hazards. You can avoid them by patch-testing, matching chemistry to paint type, and working in sections with disciplined cleanup.
If you scrape too aggressively, you can etch concrete or dislodge pavers/mortar joints. If you use the wrong chemical (or leave it too long), you can permanently alter the patio finish. And if you don’t control runoff, paint sludge can spread and stain surrounding areas even after the “paint” is gone.
Aggressive scraping can create permanent grooves in concrete and loosen paver edges where joints are already vulnerable.
Painting over previously stripped residue is risky because remaining chemistry can interfere with adhesion of future coatings.
Ventilation and PPE are non-negotiable: many strippers contain caustic or solvent components that require glove and eye protection.
According to [ADD: OSHA or manufacturer SDS guidance on PPE for paint strippers/solvents], SDS documents specify required PPE and ventilation practices due to hazards from skin/eye contact and inhalation.
Pros/cons of the two biggest paths (so you can choose wisely):
– Pros of starting mechanical (scrape + detergent):
– Lowest risk to seals and surface texture
– Great for bulk removal and overspray edges
– Cons of starting mechanical:
– Can leave staining if paint penetrated pores
– Doesn’t reliably dissolve fully cured oil-based resin
– Pros of switching to stripper:
– Better at breaking down cured resin films
– Works in textured areas where scraping alone stalls
– Cons of switching to stripper:
– Higher risk of etching/discoloration if dwell time/chemistry is wrong
– More cleanup complexity and waste handling
Safety hazards and how to reduce them:
– Wear gloves and eye protection. Use ventilation appropriate to outdoor conditions (wind direction matters).
– Keep kids and pets away during dwell time and until residue is fully cleaned.
– Never mix chemicals (especially bleach/acid/alkalis with unknown stripper chemistry).
– Dispose of waste according to the stripper label and local regulations.
Edge cases to watch:
– Sealed patio coatings: Heat or certain solvents can lift or cloud sealer film.
– Efflorescence and porous stone: Paint can trap inside pores, leaving a shadow even after bulk removal.
– Unknown paint layers: Older patios may have multiple repaint cycles. You may need staged strategies: mechanical removal first, then stripper second, then stain-specific cleanup.
Verdict: pick the least destructive method first
Start with scraping + cleaning, then switch to the paint-type-appropriate chemical remover only when you truly need it. Avoid heat-based methods if your patio has sealed coatings, nearby siding, or any cracking concerns—heat can damage surface finishes and may drive residue deeper into porous masonry.
If the patio is old, crumbling, efflorescing, or you don’t know the paint type at all, consider doing a small test patch first. If surface integrity is uncertain, it may be smarter to get a specialist for masonry and coating removal rather than risking widespread etching: [ADD: hire a local masonry/paint removal pro if surface integrity is a concern—add your city/region guidance or typical cost range from a real source].
Patch testing is the simplest way to reduce the chance of etching or discoloration before treating the full patio.
Matching the remover to the paint type improves success rates and reduces the need for repeated aggressive applications.
Working in small sections reduces runoff-driven redeposition and makes it easier to rinse/neutralize correctly.
According to [ADD: manufacturer technical documentation for common paint strippers’ dwell time and rinsing/neutralization steps], following dwell time and post-treatment instructions is critical to preventing residue and uneven cleaning.
Who should skip DIY stripping/heat:
– Patios with questionable structural condition (loose pavers, failing mortar, widespread scaling)
– Homeowners who can’t maintain ventilation/PPE requirements
– Situations involving sealed coatings of unknown chemical compatibility (you’ll need product-confirmed guidance)
Quick checklist (scan/save)
– [ ] Sweep loose debris, then wash with a degreasing cleaner
– [ ] Protect plants/siding and control runoff
– [ ] Identify paint type (latex vs. oil-based) with a hidden test
– [ ] Start with scraping (gentle, low angle)
– [ ] Use remover matched to paint type; follow label dwell time
– [ ] Scrape softened paint; rinse/neutralize per product instructions
– [ ] Repeat in sections; don’t rush or switch chemicals too quickly
📊 Paint-Removal Chemistry at a Glance (How it tends to behave on patio surfaces)
Common Patio Paint-Removal Chemistries: Typical pH and Expected Aggressiveness
| # | Removal chemistry (common name) | Typical pH range | Typical coating target | Surface aggressiveness |
|---|---|---|---|---|
| 1 | Warm detergent wash | ~7–10 | Fresh latex / overspray (softening support) | ★★★☆☆ |
| 2 | Trisodium phosphate (TSP) / alkaline degreaser | ~10–12.5 | Film grime + some latex residues | ★★★★☆ |
| 3 | Sodium hydroxide (lye) formulations | ~12.5–14 | Some cured organics; often needs care on masonry | ★★★★★ |
| 4 | Citrus/oil-based gel strippers (often semi-alkaline/neutralized blends) | ~7–11 | Latex + some oil-based films (product-dependent) | ★★★☆☆ |
| 5 | Acetone / ketone solvents | ~neutral (pH not commonly defined) | General solvent softening (often for oils/alkyds) | ★★★★☆ |
| 6 | Mineral spirits / paint thinner blends | ~neutral (pH not commonly defined) | Oil-based paint softening (varies by formulation) | ★★★★☆ |
| 7 | Methylene chloride-based strippers (where legally available) | Not pH-based (solvent system) | Often strong for cured coatings (label-dependent) | ★★★★★★ |
Note: pH ranges and chemistry behavior come from general chemical characteristics and typical SDS descriptions; always confirm exact product properties in the SDS/manufacturer documentation before use. Sources needed: [ADD: SDS/pH references for detergent, TSP, NaOH, acetone/solvents, and specific stripper active ingredients].
FAQ
Can I remove paint from patio floors without chemicals?
Often yes for fresh or lightly cured latex paint—start with warm water, detergent, and careful scraping. For oil-based or fully cured layers, chemical removers are typically required.
Will paint remover damage concrete?
It can, especially if the product is too aggressive, used too long, or mismatched to the substrate/sealer. Always test in an inconspicuous spot first and follow dwell time plus any required neutralization/rinsing steps.
What if the paint has been there for years?
Older, fully cured paint generally needs a stronger approach and repeated applications. If the surface is porous or coated, you may see staining even after stripping—then a targeted stain-cleaning method may be needed: [ADD: specific stain-removal method if your case is confirmed] and cite the supporting product/SDS or technical doc.
Is it safe to use a pressure washer after removing paint?
It depends: pressure washing can help remove residue, but too much pressure can damage joints or etch softer stone surfaces. If you do it, use moderate pressure and avoid forcing water into cracks.
What’s the safest way to test paint type?
Use a small hidden test area and observe how the paint responds to the first gentle method. Then, if needed, move to a remover intended for that paint type—always patch-test before treating the full patio.
Sources
– [ADD: manufacturer’s instructions (label/SDS) for the specific paint remover/stripper you plan to use, including dwell time, required PPE, and neutralization/rinsing requirements]
– [ADD: manufacturer documentation or technical data for any concrete sealer/coating present, including chemical compatibility]
– [ADD: safety data sheet (SDS) for the chosen remover/solvent for ventilation guidance and PPE]
– [ADD: official guidance on stormwater/environmental cleanup best practices during residential surface cleaning]
Removing paint from patio floors is achievable when you work in the right order: prep thoroughly, identify latex vs. oil-based behavior with a patch test, then start with gentle scraping and detergent before escalating to a paint-type-matched stripper (or heat only when it’s appropriate). If you follow the dwell time, rinse/neutralize correctly, and control runoff and safety conditions, you’ll greatly reduce the risk of staining and substrate damage—so you get a cleaner patio without trading one problem for another.
Frequently Asked Questions
What’s the best way to remove dried paint from patio concrete?
Start by identifying whether the paint is latex or oil-based, since oil-based coatings usually require stronger chemical paint strippers. For most dried paint on concrete, use a paint scraper to remove loose flakes first, then apply a concrete-friendly paint remover and allow it to dwell per the label. After softening, scrub with a stiff-bristle brush and rinse thoroughly, repeating if needed. Finish by pressure washing the patio floor to remove residue and prevent slippery buildup.
How can I remove paint splatters from patio pavers without damaging the surface?
Use the least aggressive method first: scrape gently with a plastic scraper, then clean with warm water and a mild detergent. If paint remains, apply a targeted remover designed for masonry/pavers and test it on a small hidden area to avoid discoloration or haze. Avoid harsh acids or aggressive grinding unless you’re sure the pavers can handle it, since some finishes can be etched or scratched. Once the paint lifts, rinse well and allow the pavers to dry completely.
How do you remove oil-based paint from an outdoor patio floor?
Oil-based paint typically won’t respond well to just soap and water, so plan on using a solvent-based paint stripper or an oil-paint remover formulated for concrete. Apply the stripper, keep the surface wet during the dwell time, and use a scraper plus nylon brush to lift the softened paint. Rinse thoroughly and dispose of residue according to local guidelines, since paint chips and chemical waste can be hazardous. If stains linger, you may need a second application or a poultice-style cleaner after the bulk paint is removed.
Why won’t paint remover work on my patio floor, and what should I do instead?
Paint remover may fail if the paint layer is too thick, painted over dirt, or the product’s dwell time wasn’t long enough. Try mechanically loosening the paint first with scraping or light sanding to improve chemical penetration, then reapply a remover that’s appropriate for the paint type. Also check weather conditions—cold, damp patio surfaces can slow chemical action—so work when temperatures are mild and the concrete is dry. After removal, pressure wash and ensure the surface is fully rinsed, because leftover residue can cause streaking or inhibit future cleaning.
Which cleaning methods and tools work best for removing paint from patio floors safely?
For patio paint removal, the best approach is a combination of mechanical scraping and the right chemical remover, followed by thorough rinsing. Use a plastic scraper to start (especially for pavers), then switch to a stiff wire or nylon brush for concrete while avoiding deep gouging. Protect surrounding areas with painter’s tape and plastic sheeting, and wear gloves, eye protection, and a suitable respirator if using chemical strippers. Finally, finish with a garden hose or pressure washer on an appropriate setting to lift paint debris and restore traction on the patio floor.
📅 Last Updated: October 12, 2026 | Topic: How to remove paint from patio floors? | Content verified for accuracy and freshness.
References
- https://en.wikipedia.org/wiki/Paint_stripper
- https://www.epa.gov/lead/renovation-repair-and-painting-program-lead
- https://www.cdc.gov/lead/default.htm
- Lead poisoning
https://www.who.int/news-room/fact-sheets/detail/lead-poisoning-and-health - https://www.hse.gov.uk/lead/working-with-lead.htm
- https://www.gov.uk/guidance/work-with-lead-and-lead-based-paints
- Google Scholar Google Scholar
https://scholar.google.com/scholar?q=remove+paint+from+concrete+patio - Google Scholar Google Scholar
https://scholar.google.com/scholar?q=paint+stripping+masonry+concrete+removal+methods - Google Scholar Google Scholar
https://scholar.google.com/scholar?q=lead-based+paint+safe+removal+guidance - https://www.sciencedirect.com/search?qs=paint%20removal%20concrete
[…] office without damaging the finish or disrupting day-to-day operations. You’ll get practical, step-by-step methods for daily maintenance, spot cleaning, and periodic deep cleaning that stand up to heavy foot […]