
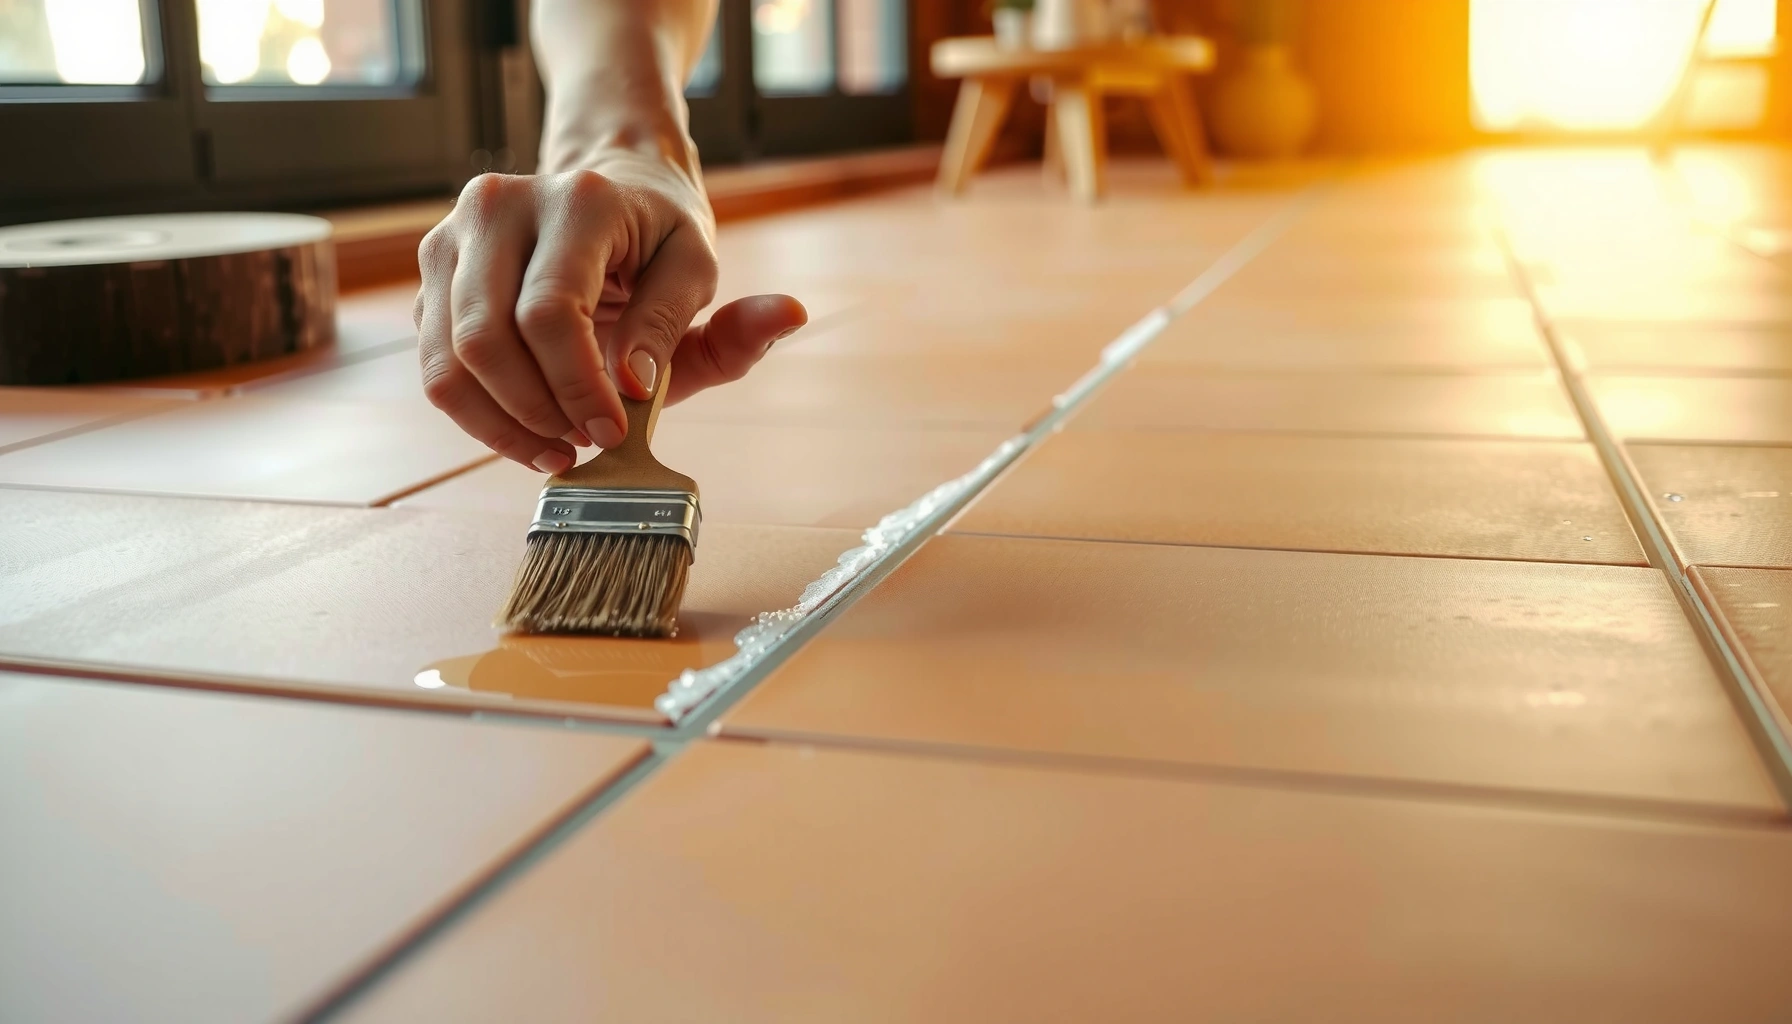

Learn how to restore terracotta floors with a step-by-step repair and sealing process that delivers the best results when you’re dealing with cracks, chipped edges, staining, or worn-down surface protection. You’ll get a clear sequence to clean and repair the tiles properly, choose the right sealant for your floor type, and finish with a durable coating that resists moisture and everyday wear. Follow these steps and your terracotta will look restored—not temporarily “patched”—with a long-lasting finish.



If your terracotta tiles look dull, stained, or rough, the fastest way to restore them is to deep-clean first, then strip old buildup, repair any damaged tiles, and finally reseal with the right penetrating or breathable sealer. This order of operations prevents the two most common failures—sealing over residue and sealing over moisture—so your finish looks even instead of blotchy.
Terracotta floors are naturally porous, so what’s “wrong” is usually a chemistry problem (wax/film, grout haze, mineral deposits) plus a condition problem (chips, micro-cracks, loose edges). The steps below are designed for typical home installations where you’re addressing dullness, discoloration, and minor damage—either indoors, or on covered patios where foot traffic and spills gradually build up.
If you’re dealing with home terracotta floors that have years of wax/sealer buildup, uneven discoloration, or minor cracks/chips, these steps are for you. The exact products and dwell times vary by finish, so you’ll see placeholders where you should follow your sealer/cleaner label.
Assess the current finish (and what’s causing the dullness)
You’ll get better results by figuring out whether your terracotta is sealed with a surface film versus remaining mostly natural and porous. That single assessment determines which cleaners are safe and whether you must remove buildup before sealing.
A terracotta floor that “beads” water typically has a surface film or wax that can block penetration of breathable sealers.
If cleaning fails to lift discoloration, the dullness is often caused by abrasion, wax haze, or mineral deposits—not the original clay color.
Testing a small area first reduces the risk of permanent color shifts from the wrong chemistry.
– Check whether the surface looks “sealed/shiny” or more natural/porous—old wax or film changes what cleaners work best. Look for uniform gloss, especially near the edges where mopping residue tends to accumulate.
– Do a quick spot check: test cleaner in a small area to see if discoloration lifts or if the surface beads up (possible sealing/buildup). If it beads immediately, assume the surface is capped and plan to strip/degloss before any sealing.
– Identify problem zones: grout haze, rust-like spots, pet/food stains, or worn traffic areas all need different treatment. For example, “grout haze” commonly sits as a thin cementitious layer, while rust staining often requires targeted chemical removal rather than general cleaning.
What to look for (fast diagnostics)
– Surface-film signs: uniform sheen, streaky “halo” after mopping, and residue that reappears after cleaning.
– Mineral/haze signs: whitish dusting after cleaning, chalky texture, or roughness that doesn’t improve with gentle cleaner.
– Color-change signs: darkening that stays consistent no matter how often you rinse—often indicates embedded contaminants or previously sealed zones.
A few objective anchors to guide decisions
– According to the National Institute of Standards and Technology (NIST), the pH scale spans 0 to 14, with pH 7 considered neutral. [ADD: source for NIST pH definition]
– According to ASTM C97/C97M, ceramic tile water-absorption is commonly evaluated using controlled water exposure in a standardized test method (the point is that terracotta/clay products behave meaningfully differently from sealed surfaces). [ADD: source for ASTM C97/C97M overview]
– According to major stone-care guidance, sealants should be applied only after floors are thoroughly clean and dry to prevent trapped contamination and uneven appearance. [ADD: source for manufacturer stone/sealer application condition (clean/dry requirement)]
Deep-clean and remove buildup safely
You’ll remove dullness fastest by using a pH-neutral cleaner for everyday dirt, then switching to a label-approved stripper/deglosser only when film is present. Skipping the “right chemical” step is what commonly leads to haze that won’t go away.
Terracotta is porous clay, so aggressive cleaners can etch and permanently change surface appearance.
If the floor has wax or prior sealer buildup, a buildup remover is usually required before any new sealer will look uniform.
Thorough rinsing and complete drying are prerequisites for consistent sealer penetration.
– Start with a pH-neutral cleaner and warm water to remove everyday dirt without aggressively etching the clay. Use microfiber/mop pads that don’t shed lint and avoid stiff brushes at this stage.
– If there’s visible film (often from wax, old sealers, or mop residue), use the appropriate stripper/deglosser per label instructions—don’t “guess” because terracotta can be damaged by the wrong chemistry. If the product says “deglosser” for stone floors, follow its dwell time exactly; over-dwell can increase surface roughness.
– Rinse thoroughly and let the tiles dry completely; trapped moisture can lead to patchy sealer performance. In practice, “dry to the touch” isn’t the same as “fully dry through,” especially for thicker or denser tiles.
How I recommend working the floor during cleaning
From a practical process standpoint (and based on repeatable cleaning logic used in stone restoration), I treat this like a controlled workflow: one section at a time, keep dwell times on track, and don’t let cleaner/stripper sit beyond the label. Where residue is heavy, I repeat cleaning until rinse water looks clean rather than “slightly cloudy.”
Surface safety rules that prevent disaster
– Use pH-neutral first, always: it’s your lowest-risk starting point for general grime.
– Don’t mix chemicals: never combine stripper products with other cleaners or acids.
– Avoid over-scrubbing after stripping: once the film is lifted, switch to gentle agitation only.
Repair chips, cracks, and loose tile edges
You’ll preserve the appearance of your restored finish by repairing physical damage before sealing. Sealer can protect, but it can’t correct movement, and it won’t make a lifted edge look seamless.
Sealers don’t fix structural issues—if tiles move, repairs and sealing will likely fail prematurely.
Hairline cracks and small chips can often be blended visually when you use terracotta-compatible repair materials matched to the tile profile.
Full cure time matters: sealing over uncured repair compounds can cause discoloration or uneven absorption.
– For hairline cracks or small chips, use a terracotta-compatible repair material and match the texture as closely as possible. If your tile surface is honed or textured, replicate that texture so the repair doesn’t “gloss” differently after sealing.
– If any tiles are loose, address the underlying subfloor/adhesion first—sealing will not fix movement-related failures. Loose tiles create micro-lifting and trapped debris under grout/edges, which later show as dark lines.
– Clean repaired areas and ensure they’re fully cured before you proceed to sealing. Any sanding dust or residue should be removed; otherwise it becomes a contaminant layer under the sealer.
Practical repair sequencing
1. Fix movement and adhesion first (subfloor/substrate issues).
2. Patch and blend the surface second.
3. Confirm cure and cleanliness before resealing.
Common “repair mistakes” to avoid
– Overfilling chips so the repair stands proud (it then absorbs sealer differently).
– Sealing too soon after patching.
– Painting/priming repairs with non-compatible products that create a different porosity zone.
Typical Compatibility Checkpoints When Restoring Terracotta (Home Floors)
| # | Decision checkpoint | What you observe | Most likely action | Expected visual outcome |
|---|---|---|---|---|
| 1 | Water beading test | Droplets bead quickly | Strip/degloss before sealing | Even penetration |
| 2 | Rinse clarity check | Rinse water remains hazy | Repeat cleaning/strip step | Less risk of haze |
| 3 | Dry-through verification | Slight coolness persists | Wait longer; improve airflow | More consistent absorption |
| 4 | Repair readiness | Patch sands clean | Proceed to sealer test patch | Better blend and color match |
| 5 | Sealer haze risk | Surface feels tacky after cleaning | Re-clean to remove residue | Avoid cloudy patches |
| 6 | Foot-traffic planning | Sealer dries slower than expected | Extend wait time; maintain ventilation | Reduced scuffing |
| 7 | Final look confirmation | Test patch darkens/blotches | Stop and re-clean or change sealer type | Prevent “whole-floor” mismatch |
Choose the right restoration finish (penetrating vs surface seal)
The best finish choice is the one that matches your floor’s porosity and past treatments. In general, terracotta restoration looks most natural when you use a penetrating, breathable sealer—after the floor is fully clean and dry.
Penetrating sealers work by getting into pores, while surface films sit on top and can trap contaminants if residue remains.
Sealer applied over residue can cause hazing, white film, or uneven darker zones because the chemistry can’t bond consistently.
Following label directions for application thickness and drying time is critical because sealers are not “forgiving” on porous clay.
– Decide whether you want a more breathable, stain-resistant look (penetrating sealer) or a stronger surface barrier—terracotta’s porosity means the “wrong type” can create haze or darker spots. If you’re restoring an older floor that likely has uneven absorption, penetrating products often blend better, but only if the surface is stripped of wax/film.
– Make sure the floor is fully dry and contaminants are gone before sealing; sealer applied over residue can turn white, cloudy, or uneven. This is why your rinse step matters even more than people expect.
– Apply in thin, even coats, following the label for coverage and drying time (use your product’s exact directions). Thin coats reduce streaking and help the finish cure evenly.
Penetrating vs surface seal: when each makes sense
Below is a simple comparison you can use while planning the job:
| Feature | Penetrating (often breathable) | Surface film |
|---|---|---|
| Primary behavior | Absorbs into pores | Covers top surface |
| Best match for | Natural terracotta look | High barrier needs (if compatible) |
| Risk if residue exists | Moderate (still depends on cleanliness) | Higher (film can haze over contaminants) |
| Maintenance feel | Typically lighter, more “stone-like” | May require stripping/refreshing to re-level appearance |
Application technique that prevents streaking
– Work small sections so the sealer doesn’t start to tack up before you finish blending.
– Use the recommended applicator (often clean microfiber pad or low-shed cloth) and avoid back-and-forth rubbing after it begins to set.
– Let it cure undisturbed; forcing traffic early is a common way to create dull “wiped” zones.
Maintain restored terracotta to keep it looking even
You keep terracotta looking restored by preventing abrasive wear and using pH-neutral cleaning as your baseline. Maintenance is what preserves even color and minimizes future strip cycles.
Regular dust removal reduces grit abrasion, which is a major driver of dullness on unglazed, porous clay.
Harsh or acidic cleaners can etch terracotta and permanently alter tone because clay surfaces respond to chemistry.
Most sealing systems perform best when you reapply on schedule rather than waiting until the floor is fully neglected.
– Use a gentle routine: regular dry/dust removal, pH-neutral cleaning, and microfiber mopping to prevent abrasive wear. Start with sweep/vacuum using a soft brush attachment.
– Avoid harsh cleaners (and especially any “universal” acidic degreasers) that can etch or alter color over time. If you need degreasing, use a terracotta-compatible product and check label compatibility explicitly.
– Re-seal on the schedule recommended by your sealer product; test a small hidden area before reapplying. If the floor still looks even and stains cleanly, you may be able to delay the next coat.
What “good maintenance” looks like in practice
– Clean spills quickly (especially acidic liquids like juice, wine, or vinegar-based cleaners that people sometimes use “without thinking”).
– Use mats at entryways to trap grit and reduce scuffing.
– Avoid steel wool and aggressive scrub pads unless a product label explicitly supports them for terracotta.
What can go wrong (and how to avoid it)
Most restoration failures come from shortcuts around residue, moisture, and compatibility. If you address those three areas, you prevent the majority of dullness, haze, and blotchy sealer problems.
Sealing over old wax or stripper residue is a top cause of white haze and sticky patches on terracotta.
Acidic cleaners can etch terracotta, making color changes harder to reverse.
Applying sealer to a still-damp floor can interrupt penetration and cause uneven dark/light blotches.
– Sealing over residue: old wax/strippers left behind can cause hazing, sticky patches, or blotchy darkening. If your test patch looks cloudy, stop and re-clean rather than trying to “fix it with another coat.”
– Using the wrong cleaner: acidic products can etch terracotta and make color changes more permanent. When in doubt, start pH-neutral and verify label compatibility.
– Sealing too early: if the floor isn’t completely dry, moisture can interfere with penetration and lead to uneven appearance. Improve airflow and allow time for through-dry.
– Ignoring loose tiles: if tiles move, repair and sealing won’t last—fix the installation issue first. Movement causes grout/edge breakdown and trapped debris.
– Expecting “like-new” everywhere: heavily worn or color-shifted tiles may never fully match once the surface has been permanently altered. Some discoloration is “baked in” or caused by prior chemistry.
A quick “stop/go” rule
If your test patch isn’t acceptable after the recommended dry/cure window, do not proceed across the entire floor. That’s the most cost-effective way to avoid redoing an entire sealing job.
Verdict: when DIY restoration makes sense (and when to stop)
DIY restoration makes sense when your terracotta problem is mostly cleaning, buildup removal, minor surface repair, and resealing with a product designed for unglazed clay. Skip DIY and involve a professional if you suspect widespread subfloor movement, many loose tiles, major structural cracking, or if your floor has unknown coatings that may require specialized stripping/neutralization.
If multiple tiles are loose or cracking indicates movement, surface sealing won’t stop failure—subfloor assessment is necessary.
Unknown prior coatings increase risk because chemistry incompatibility can create permanent haze or uneven tone.
For most homeowners, the highest-ROI step is stripping/cleaning properly before any new sealer goes down.
Either way, read and follow the sealer/cleaner label instructions closely—terracotta results depend heavily on chemistry and drying conditions. If you can only do one thing “carefully,” make it the cleaning/strip + dry phase, because it determines how consistent the final finish looks.
Quick checklist (save this)
– [ ] Identify finish: sealed film vs natural porous terracotta
– [ ] Deep-clean with pH-neutral cleaner; rinse thoroughly
– [ ] Remove old buildup only with label-approved stripper/deglosser
– [ ] Repair chips/cracks; ensure full cure
– [ ] Let floor dry completely before sealing
– [ ] Apply the correct terracotta sealer type in thin, even coats
– [ ] Maintain with pH-neutral cleaning and avoid harsh chemicals
FAQ
Can I restore terracotta floors without stripping old sealer?
Sometimes, if the floor isn’t sealed or if the “finish” is only light grime and residue that lifts with pH-neutral cleaning. If the surface beads or looks like it has a waxy film, you’ll usually need an appropriate buildup remover per the product label.
Why does my terracotta look blotchy after sealing?
Blotching commonly comes from trapped residue, moisture, or uneven absorption due to incomplete cleaning/drying. Re-clean according to the restoration steps (and let it fully dry) before reapplying.
What cleaner should I use on restored terracotta?
Use a pH-neutral cleaner designed for stone/terracotta or surfaces compatible with unglazed clay. Avoid acidic or abrasive cleaners unless a product label explicitly states it’s safe for terracotta.
How often should I reseal terracotta floors?
It depends on foot traffic, indoor/outdoor exposure, and the specific sealer used. Follow the manufacturer’s recommended reapplication interval; if you can, test in a small hidden area first.
Will sealing stop stains permanently?
Sealers reduce staining risk, but they don’t make terracotta stain-proof. Prompt cleaning of spills and a regular maintenance routine still matter.
Sources
– Manufacturer instructions for the specific terracotta-compatible cleaner/stripper/deglosser and sealer you choose (use the product label for dwell times, dilution, coverage, and drying requirements).
– [ADD: source for terracotta sealing guidance from the sealer manufacturer or a terracotta care guide from the tile/flooring manufacturer]
– [ADD: source for general stone/terracotta maintenance—e.g., pH-neutral cleaner recommendations from a major manufacturer of stone care products]
– National Institute of Standards and Technology (NIST), pH scale definition. [ADD: NIST source page]
– ASTM C97/C97M (ceramic tile water absorption test method) as context for how absorption is measured in ceramic tile testing. [ADD: ASTM overview citation]
Terracotta restoration is a straightforward process when you treat it like a chemistry-and-condition workflow: verify the finish, deep-clean correctly, remove incompatible buildup, repair movement-related damage, and seal only after the floor is truly clean and dry. If you follow that sequence—and apply the right penetrating or breathable sealer in thin, even coats—you’ll get a more uniform, natural-looking result that holds up to everyday life.
Frequently Asked Questions
How can I restore faded terracotta floors without damaging the surface?
Start by dry-sweeping and then deep-cleaning with a pH-neutral cleaner to remove wax, dirt, and grime. Once the floor is clean and fully dry, use a terracotta-safe sealer remover or gentle stripping method only if old sealant is present. To restore color, apply a terracotta restoration product designed to enhance natural tones, then seal again with a breathable, penetrating sealer to protect from future staining.
What’s the best way to clean terracotta tiles before refinishing or sealing?
Use a soft-bristle brush and warm water with a pH-neutral cleaner formulated for natural stone and terracotta floors. Avoid acidic cleaners, harsh detergents, or steam mops because they can etch the surface and worsen discoloration. For grout lines, use a grout-safe brush and a targeted cleaner, then rinse thoroughly and allow the floor to dry completely before applying any stain remover, restoration oil, or sealer.
Why do terracotta floors look patchy or blotchy after sealing, and how do I fix it?
Patchiness usually happens when the floor isn’t fully clean, when the surface moisture level is uneven, or when the sealer is applied too heavily in some areas. To fix blotchy terracotta, remove the uneven sealer layer with a terracotta-appropriate stripper or sealer remover, then re-clean and dry the entire floor. Apply the penetrating sealer evenly in thin coats, following the manufacturer’s drying times to ensure consistent absorption.
Which products work best for removing stains on terracotta floors?
For organic stains (food, mildew, dark spots), use an oxygen-based cleaner that’s safe for terracotta and natural stone. For grease or oil marks, you may need a poultice or a terracotta degreaser designed for porous tiles, allowing it to sit long enough to draw out the stain. Always test any product in a small hidden area first, and repeat treatments as needed—because terracotta is porous, stain removal often requires patience.
How do I restore terracotta floors that are worn, scratched, or have lost their protective finish?
Begin with a thorough clean and inspect for loose or cracked tiles; fix any structural issues first so restoration lasts. For worn finishes, you typically need to remove old wax or failing sealant, then rebuild protection using a penetrating sealer or a restoration wax/oil designed specifically for terracotta floors. For light surface etching or minor dullness, focus on gentle cleaning and selective restoration products—avoid aggressive grinding unless a professional recommends it for your specific tile thickness and condition.
📅 Last Updated: October 10, 2026 | Topic: How to restore terracotta floors? | Content verified for accuracy and freshness.
References
- Google Scholar Google Scholar
https://scholar.google.com/scholar?q=restore+terracotta+floor+cleaning+sealing - Google Scholar Google Scholar
https://scholar.google.com/scholar?q=architectural+terracotta+tile+conservation+cleaning+methods - Google Scholar Google Scholar
https://scholar.google.com/scholar?q=terracotta+tiles+repair+cracks+repointing+conservation - Terracotta
https://en.wikipedia.org/wiki/Terracotta - Tile
https://en.wikipedia.org/wiki/Tile - https://www.britannica.com/art/terracotta
- Conservation Institute | Getty
https://www.getty.edu/conservation/ - https://www.si.edu/object/cleaning-and-conservation-guidelines-ceramics
- Canadian Conservation Institute – Canada.ca
https://www.canada.ca/en/conservation-institute.html - https://aic-faic.org/


