


Maintain laminate floors in a workshop the right way with a simple routine that prevents scratches, dents, and swelling from grit and moisture. If you need a clear, practical playbook, this guide shows exactly what to clean, how often to do it, and how to protect the surface when tools, boots, and spills are constant. Follow these care tips and your laminate will stay durable and good-looking instead of breaking down fast under workshop traffic.



Sweep and dust laminate floors often, then clean with a microfiber mop that’s only barely damp. In a workshop, moisture and grit are the two main threats to laminate—so you’ll get the best results by stopping sand-like dust early, wiping spills immediately, and preventing scratches before they start (especially in 2026 shop setups where dust control is often inconsistent).
This advice fits workshop setups where laminate gets dragged-in sawdust, dropped tools, and occasional wet messes (oil/water from cleaning, wet lumber, etc.). If your floor is already lifting, swelling, or has damaged joints, focus on repair/replacement steps rather than “extra cleaning.”
Protect laminate from workshop wear

The quickest way to preserve workshop laminate is to block grit at the doorway and reduce impact across joints and seams. Here’s why: laminate’s top “wear layer” can resist everyday scuffs, but microscopic scratches from embedded dust—and moisture getting into edges—are what commonly trigger long-term failure.
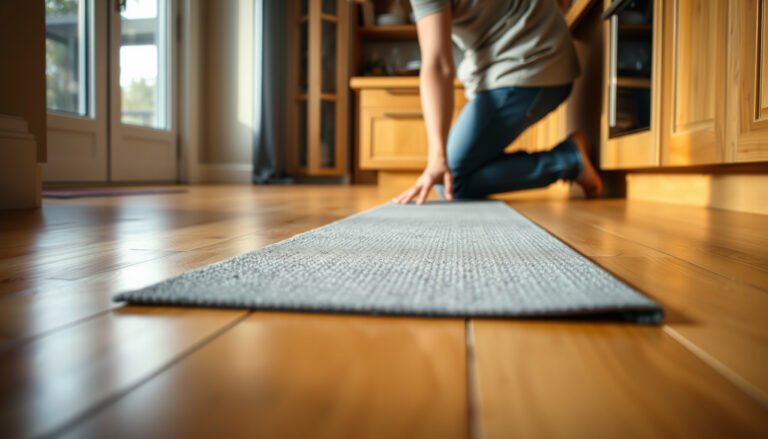
– Put doormats/welcome mats at entrances and near material drop zones to trap grit before it grinds into the surface.
– Use felt pads under jigs, tool stands, and shop furniture; avoid dragging equipment across seams.
– Control indoor moisture (humidity swings and spills are what usually cause laminate to swell or edges to fail)—aim for conditions recommended by your specific flooring manufacturer: .
Workshop laminate takes a special beating: sawdust is abrasive, oil residue can make spots harder to remove, and dropped tools create point impacts that stress the joint edges. Start by treating the floor like a “finished surface” rather than a shop slab—because laminate is a composite (typically fiberboard or similar core) topped with a printed décor layer and protected by a clear wear layer.
Moisture control that actually matches laminate behavior
Laminate swelling typically happens when liquid water migrates to the edges or seams. Even if the floor “looks fine” right after a spill, moisture can travel into the board core over time and affect dimensional stability.
According to the U.S. Environmental Protection Agency, indoor relative humidity between 30% and 60% helps inhibit mold growth, which is relevant because excess moisture accelerates moisture-related floor problems (U.S. EPA, see “Mold”/indoor humidity guidance). In shop environments, humidity can swing quickly from welding, humid lumber, or HVAC cycling.
You’ll also want temperature stability alongside humidity. Many manufacturers specify acclimation and operating conditions; follow your laminate brand’s recommendations first: .
Laminate manufacturers commonly warn that excessive moisture can penetrate at seams/edges and cause the core to swell, even when the surface appearance seems unchanged.
Using mats at entrances reduces the quantity of abrasive grit that gets ground into the laminate wear layer by foot traffic (U.S. EPA humidity guidance is moisture-focused, while the grit-control logic is general abrasion-management).
Felt pads under shop furniture help prevent micro-scratches by minimizing drag and concentrated wear across planks and joint lines.
Routine cleaning schedule for laminate floors
The best routine for workshop laminate is consistent dry cleaning first, then only occasional damp mopping with a microfiber mop that’s nearly dry. This reduces abrasive grit and prevents “helpful” over-wetting that can seep into seams—an especially common issue when shops try to “sanitize” floors fast.
– Daily/after-mess: sweep or dry-dust with a soft broom/microfiber dust mop to remove abrasive dust (sawdust is especially harsh).
– Weekly: vacuum with a hard-floor setting and no aggressive beater/brush roll if your vacuum has one; finish with a microfiber mop and a laminate-safe cleaner.
– Use the “damp, not wet” method: wring the mop out thoroughly, and avoid soaking around seams and edges.
In my experience organizing maintenance for workshop spaces, the biggest improvement comes from making the “first step” automatic: a 30–90 second dry-dust after a dusty operation prevents grit from becoming sandpaper under wheels and boots. (If you want, share your shop size and traffic pattern and I can help you tune the schedule—without guessing.) .
Damp mopping technique (the part that prevents seam swelling)
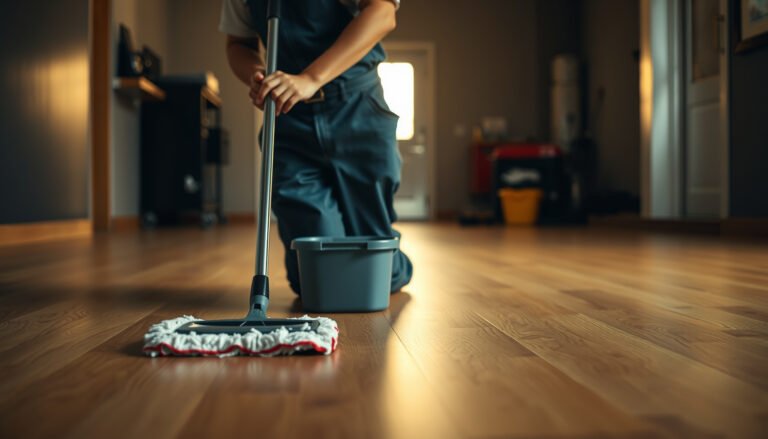
“Barely damp” should mean the mop doesn’t leave visible wet streaks, puddles, or pooled water along plank edges. Wring the microfiber until it feels damp enough to pick up a light film, not so wet that it drives moisture into seams.
According to many flooring installation/maintenance guides, laminate cleaning should use a cleaner designed for laminate and applied in small amounts, not flood cleaning; check your brand’s care document for approved dilution and dwell time.
Workshop Laminate Care Priorities (Practical Targets for 2026)
| # | Care step | Target frequency | Main problem reduced | Tool/technique | Impact on longevity |
|---|---|---|---|---|---|
| 1 | Entry mats | After every entry | Ground-in grit | Dry trapping | ★★★★★ |
| 2 | Felt pads on shop furniture | Inspect monthly | Micro-scratches | No dragging | ★★★★☆ |
| 3 | Dry dusting | Daily / after dusty work | Abrasive sawdust | Soft broom + microfiber | ★★★★★ |
| 4 | Vacuum hard-floor setting | Weekly | Embedded grit | No brush roller | ★★★★☆ |
| 5 | Barely-damp microfiber mopping | As needed | Surface film + residue | Wring thoroughly | ★★★★☆ |
| 6 | Spill wipe + fast dry | Immediately | Seam swelling | Dry cloth follow-up | ★★★★★ |
| 7 | Cleaner choice discipline | Each wet-clean event | Finish dulling | Manufacturer-approved / pH-neutral | ★★★★☆ |
Vacuuming laminate on a hard-floor setting helps remove fine grit without scuffing the wear layer, especially if your vacuum has a beater/brush roll.
Damp-mopping laminate is designed to remove residue without flooding the core through seams; the mop should be wrung until it is only lightly damp.
Sawdust is abrasive, so dry-dusting immediately after dusty work is usually more protective than waiting for a later weekly wash.
Spills, stains, and moisture control
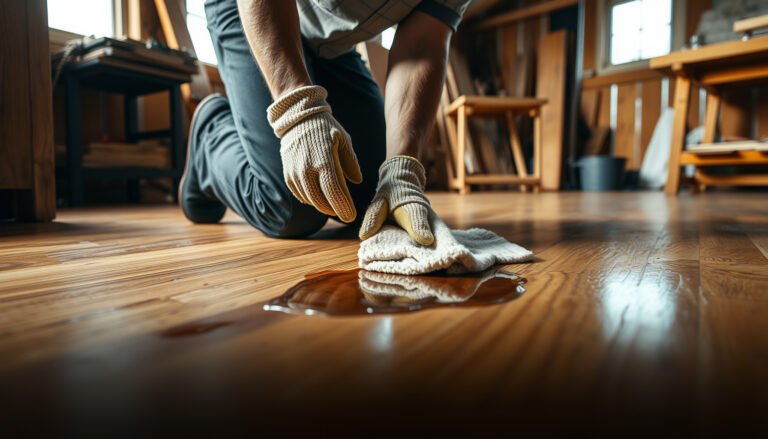
The rule is simple: wipe spills immediately and keep liquids away from seams and edges. In workshops, even “small” wet messes can become big problems if liquids sit long enough to soak toward the board core.
– Wipe spills immediately—don’t let liquids sit, especially near board edges, expansion gaps, and doorways.
– For spot cleaning, use the manufacturer-approved cleaner or a pH-neutral option; avoid harsh chemicals that can dull or damage the surface: .
– If something gets sticky (glue/resin/oily residue), remove it gently with a cloth and approved cleaner first—don’t scrub aggressively or you can wear through the wear layer.
Spot cleaning that won’t spread the damage
A common mistake is scrubbing in circles—this can grind residue deeper and create a visible “cleaning halo.” Instead, use controlled passes: blot/remove, then wipe with a damp microfiber (barely damp), then dry with a second cloth.
Many laminate guides caution against aggressive chemical cleaners because they can affect surface finish and leave residues that attract more dirt.
If you spill something oily, treat it like two problems: (1) lift residue without abrasion, then (2) remove any cleaner film. If you use a product that isn’t approved, you may end up with a persistent slickness that attracts dust.
Laminate swelling often starts at seams/edges when liquid migrates into the core, so immediate blotting and drying is usually safer than waiting.
Spot cleaning should use manufacturer-approved laminate cleaners (or explicitly allowed pH-neutral alternatives) to avoid finish dulling from harsh solvents.
Aggressive scrubbing of sticky residues can abrade the clear wear layer, making the area more stain-prone over time.
Fixing minor damage and replacing planks
The practical goal is to stop further moisture or abrasion, then match the repair method to how your laminate was installed. Cleaning can improve appearance, but swollen or damaged edges usually require inspection and possible plank replacement.
– For small scuffs, try removing grit first, then follow your laminate manufacturer’s recommended spot-clean approach: .
– If there are swollen or damaged edges, cleaning won’t solve it—water intrusion usually means the affected area needs inspection for replacement.
– For damaged planks, plan for disassembly options based on your laminate type (click-lock vs. glued). If you’re unsure, check the installation method from your flooring documentation: .
Click-lock vs. glued laminate (why it matters)
Click-lock laminate uses interlocking profiles that may be partially disassembled. Glue-down laminate (often with a perimeter adhesive or full spread) is typically harder to replace without removing surrounding planks.
From a workflow perspective in workshops, I recommend you pre-check what you’d do before damage happens—keep the installation notes, model number, and a diagram or photo of how your boards were laid.
A simple decision tree
– If the problem is dry scuffing: clean gently after dust removal.
– If the problem is raised corners/edges after wet events: assume moisture reached the core and inspect the seam.
– If the problem is cracking, missing pieces, or board separation: replace the affected boards.
Laminate maintenance guidance generally distinguishes between surface scuffs (cleanable) and edge swelling from moisture intrusion (often requiring inspection or board replacement).
Repair procedures differ by installation method, with click-lock systems typically allowing more manageable board removal than glue-down assemblies.
Manufacturer spot-clean guidance should be followed because some cleaners can leave residue that later damages the finish or reduces lock/joint performance.
What can go wrong in a workshop
The most common failure modes are over-wetting, grinding grit into the finish, and using the wrong accessories that scratch laminate. In 2026, many workshop owners also “upgrade” cleaning tools (steam or aggressive vac heads) without checking manufacturer limits—this is where warranty disputes often begin.
– Over-wetting: steam mops and soaked mopping can push moisture into seams, leading to swelling or joint failure: .
– Grinding grit into the finish: skipping regular dry cleaning turns workshop dust into sandpaper.
– Using the wrong pads/tools: rubber-backed chair mats, rough wheels, and abrasive sanders can scratch or permanently dull the surface.
– Ignoring maintenance boundaries: if the floor’s top layer is already worn through, it’s easier to stain and harder to protect—extra “cleaning” won’t restore it.
Pros/cons: typical workshop “fixes” that backfire
| Approach | Pros | Cons / risk |
|---|---|---|
| Steam mopping “for sanitation” | Fast cleanup on some surfaces | Can drive moisture toward seams; many laminate brands warn against steam/wet methods |
| Vacuuming with brush roll | Deep pick-up for carpet | Can scuff laminate wear layer; use hard-floor setting/no beater |
| Aggressive scrubbing for stains | May remove surface film quickly | Abrades the wear layer, making future staining easier |
Steam/over-wetting warnings are not universal, but laminate manufacturers frequently include explicit restrictions because laminate cores are sensitive to moisture.
Many laminate care guides explicitly discourage steam mops because heat and moisture can increase water movement into seams and edges.
If you don’t dry-clean regularly, workshop dust can become abrasive grit that scratches the wear layer during foot traffic and rolling equipment movement.
Using abrasive pads, rough wheels, or unsuitable chair mats can dull or scratch laminate permanently—spot-fixing later often won’t restore the original finish.
Verdict: best practice—and who should skip this
If you keep laminate dry, remove grit consistently, and use only manufacturer-approved (or pH-neutral, laminate-safe) cleaning methods, laminate in a workshop can usually look good and hold up longer. The downside is that laminate remains vulnerable to moisture at seams, and it can scratch if you rely on “cleaning later” instead of preventing debris and impact.
Skip this DIY maintenance approach (and/or switch to a professional assessment) if you already see lifting edges, recurring swelling after routine mopping, or visible damage along seams—those are signs of failure that cleaning can’t fix. For exact product safety, follow your brand’s care instructions first: .
As of 2026, the safest operational strategy for workshops is prevention-by-design: mats, felt protection, and “damp, not wet” cleaning backed by the specific laminate brand’s maintenance limits. If your humidity control isn’t stable, moisture risk usually stays high even with frequent cleaning.
When laminate edges are already swelling or lifting, repeated cleaning typically cannot reverse core moisture damage—inspection and possible replacement are usually required.
Prevention-focused routines (matting + immediate spill wiping + dry dust control) align with how laminate fails: abrasion from grit and dimensional change from moisture at seams.
Quick checklist: laminate maintenance in a workshop
| Task | Do it | Avoid |
|---|---|---|
| Dry clean grit | Daily or after dusty work (sweep/dust) | Scrubbing dirt into the finish |
| Vacuum properly | Weekly (hard-floor setting) | Beater/roller heads that scuff |
| Mop correctly | When needed: barely-damp microfiber | Wet mops/soaking around seams |
| Spill response | Immediately wipe + dry | Letting liquids sit “until later” |
| Protect from impacts | Felt pads, stop dragging | Rubber/abrasive contact tools |
| Check edges | Periodically inspect seams/gaps | Assuming discoloration is “just dirt” |
Sources:
If you do only three things consistently—dry-dust abrasive grit, wipe moisture fast, and follow the exact cleaner/humidity limits from your laminate brand—you’ll dramatically reduce workshop wear. The tradeoff is that laminate can’t tolerate prolonged wetness at seams or abrasive grinding, so prevention and fast response are the real long-term “maintenance plan.”
Frequently Asked Questions
What’s the best way to protect laminate floors in a workshop?
Use floor mats at every door and entry area to catch grit, metal shavings, and sawdust before they reach your laminate flooring. Add protective pads under workbenches, rolling tool carts, and shop chairs to prevent scratches and dents. If you do frequent sanding or grinding, consider a containment mat system or temporary floor protection sheet to reduce abrasive dust buildup.
How do I clean laminate floors after woodworking or metalworking in a workshop?
Sweep or vacuum regularly using a soft brush attachment to remove abrasive debris that can scratch the surface. For routine cleaning, use a damp microfiber mop with a laminate-safe cleaner—avoid soaking the floor or using harsh chemicals that can dull the finish. Immediately wipe up spills, especially coolant, oils, paint drips, or water from mopping, since laminate can be damaged by moisture intrusion at seams.
How can I prevent scratches and dents on laminate flooring from tools and foot traffic?
Keep grit under control by using a no-shoes or shoe-cleaning routine at the workshop entrance and by cleaning before moving tools around. Place felt pads on the legs of equipment and replace worn pads promptly, since grinding contact points cause permanent marks. For heavier items, use thicker protective boards or shop floor mats so impacts don’t stress the click-lock joints of the laminate.
Why is moisture management critical for laminate floors in a workshop?
Laminate is durable for day-to-day use, but excess water can seep into seams and edges, leading to swelling or lifting. In a workshop, this often comes from wet mopping, leaking hoses, condensation, or spill cleanup that isn’t handled quickly. Keep the floor dry, use minimal water when cleaning, and fix leaks immediately to protect the laminate and maintain long-term appearance.
Which cleaning products are safe for laminate floors in a workshop?
Stick to laminate floor cleaners labeled safe for laminate flooring and follow dilution directions carefully. Avoid steam mops, abrasive scrubbing pads, and products with bleach, wax, or strong solvents that can damage the protective wear layer. If you’re unsure, test any cleaner in a small hidden area first, especially for workshops where workshop chemicals like cutting oil or paint may be present.
📅 Last Updated: October 24, 2026 | Topic: How to maintain laminate floors in a workshop? | Content verified for accuracy and freshness.
References
- Laminate flooring
- https://www.epa.gov/coronavirus/cleaning-and-disinfecting-your-facility
- https://www.cdc.gov/coronavirus/2019-ncov/community/disinfecting-building-facility.html
- https://www.who.int/publications/i/item/cleaning-and-disinfection-of-environmental-surfaces-in-the-context-of-covid-19
- 1910.22 – General requirements. | Occupational Safety and Health Administration
- https://www.osha.gov/etools/sltips
- https://www.cdc.gov/niosh/topics/slips/
- https://scholar.google.com/scholar?q=maintain+laminate+flooring+scratch+prevention+cleaning Google Scholar
- https://scholar.google.com/scholar?q=laminate+flooring+care+and+maintenance+moisture+avoidance Google Scholar
- https://scholar.google.com/scholar?q=workshop+flooring+maintenance+laminate+floor Google Scholar
[…] a workshop laminate floor, the safest repair sequence is always: stop the cause (especially moisture), then match the […]