
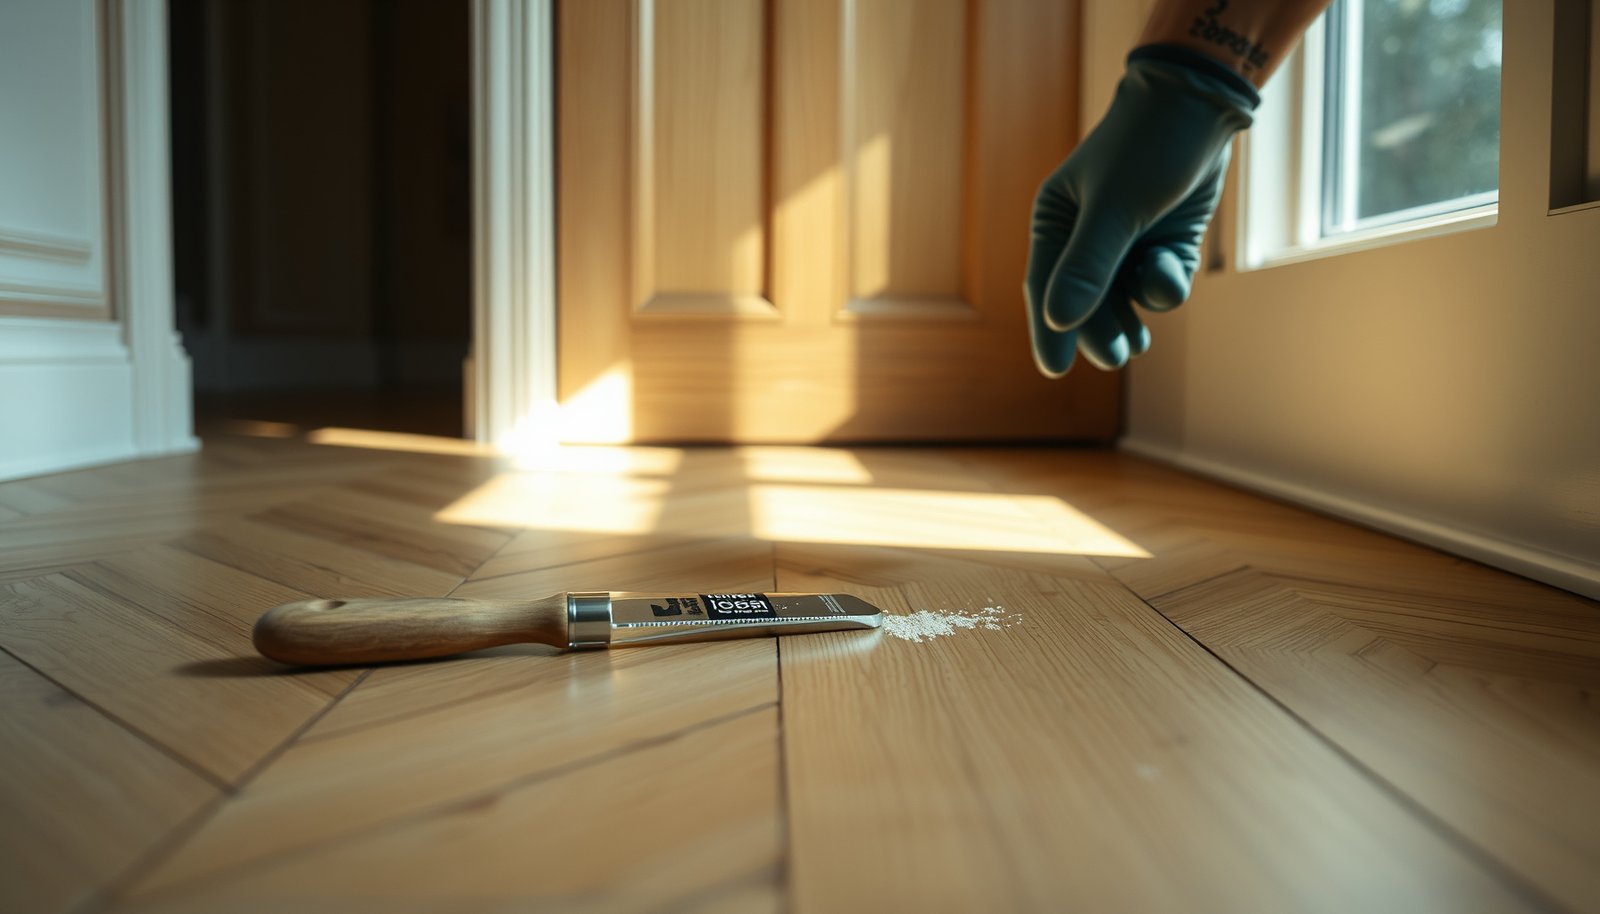

Looking for how to fix gaps in herringbone floors? The fastest, most reliable fix is to re-secure and re-glue the loose slats, then close the joint with correctly matched filler and tight spacing—before the gaps widen. If the boards have shrunk or the floor has moved, expect to stabilize the subfloor and recalibrate the lay before patching. Follow the right diagnosis first, and you’ll restore a tight herringbone pattern without a recurring rebuild.



If you’re seeing gaps in a herringbone floor, the quickest fix is to figure out whether the movement is seasonal (expansion/contraction) or caused by an installation issue (subfloor flatness, loose fastening, or damaged boards). Start by inspecting moisture conditions, checking for loose/raised planks, and then filling small gaps with an appropriate wood filler or patch compound—reserving board replacement or re-installation for wider, recurring separations. This guide walks you through what to check first, what materials to use, and when to stop DIY and call a pro.
If you have a wood (or engineered wood) herringbone floor with visible seams, lifting ends, or lines opening up between blocks, this is for you—especially if the gaps appeared after weather changes, a recent repair, or a period of low/high humidity. If the floor is severely buckled or the subfloor feels uneven, you’ll want to prioritize diagnosis over patching.
Diagnose why the gaps are happening first
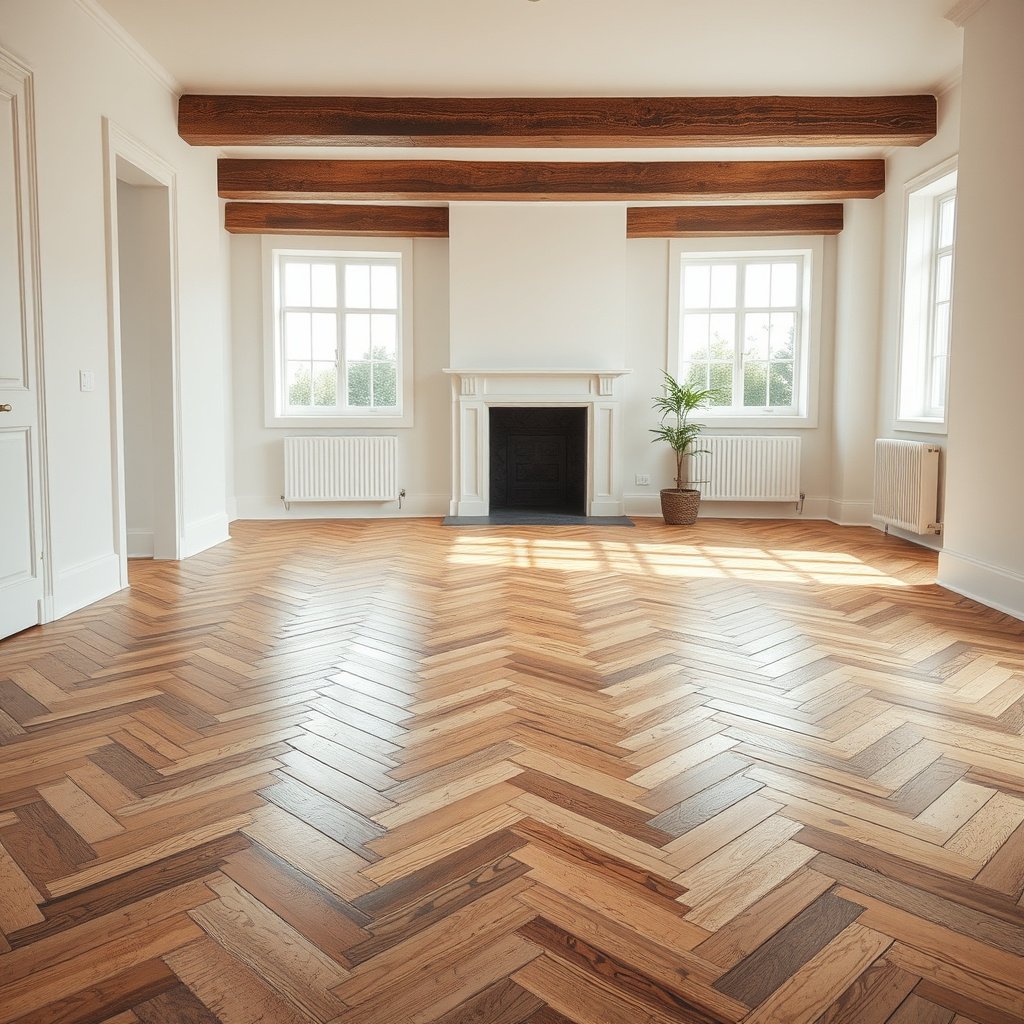
Diagnosing the cause first usually determines whether you can fix the gaps with filler or you need a structural correction. In most cases, herringbone wood flooring gaps are either moisture-driven seasonal movement or a fastening/installation problem that lets blocks shift.
If herringbone gaps noticeably widen and shrink across seasons, that pattern strongly indicates humidity-related expansion and contraction rather than a one-time installation defect.
Raised edges, hollow spots, and fasteners that didn’t bite typically point to subfloor or anchoring issues, which filler can’t permanently correct.
– Check whether the gaps change with the seasons; bigger movement often means humidity-related expansion/contraction rather than a one-time installation flaw.
– Look for telltales like raised edges, hollow spots when you walk, or fasteners that didn’t bite—these point to subfloor problems or poor fastening.
– Confirm the floor type and finish (solid vs engineered, prefinished vs site-finished), since repair products and methods can differ.
A practical way to “triage” herringbone floors is to observe three things in the same week: (1) gap width at multiple points (front door threshold vs interior, near vents vs away from them), (2) whether any individual block feels loose by gently pressing along the edges, and (3) whether the floor looks flat from multiple angles. From my experience, herringbone patterns can mask early movement—so the seams that look “only slightly open” may still correlate with a specific loose zone under the pattern.
Also confirm what kind of herringbone you have because the “rules” differ. Solid wood and engineered wood herringbone floors both respond to moisture, but engineered floors can behave differently depending on plank construction and the floating vs nailed method. Finish type matters too: a prefinished herringbone surface often limits how much sanding and spot-rework you can do without changing sheen or tone.
Control moisture and humidity to stop the “why”

Moisture control is the fastest path to preventing re-opened seams after you patch. Instead of chasing extremes, you stabilize indoor relative humidity so herringbone wood flooring can return to—and stay near—its equilibrium moisture condition.
The National Wood Flooring Association recommends maintaining indoor relative humidity in a 35%–55% range to reduce wood dimensional movement.
Large humidity swings make wood flooring move more than steady humidity does, so repaired seams are more likely to reopen if conditions fluctuate.
– Use a hygrometer to track indoor humidity (and keep it stable rather than chasing extremes); large swings make wood gaps return even after repairs.
– If the gap issue followed spills, leaks, mopping practices, or recent plumbing/HVAC changes, address the moisture source before touching the seams.
– Avoid adding heat or running dehumidifiers at aggressive settings—dramatic humidity shifts can worsen movement.
Start with a hygrometer and log readings at least twice a day for several days (morning and evening works). When you monitor herringbone wood flooring humidity, you’re looking for stability—not one perfect number. According to industry guidance summarized by the National Wood Flooring Association (NWFA), maintaining the home within a target RH range is the practical way to minimize expansion/contraction in wood flooring.
In my own maintenance checks, the most common “gotcha” is HVAC cycling: a forced-air system that kicks on hard in winter can pull indoor humidity down quickly, and the herringbone seams respond by opening. If the gaps started after plumbing work, a roof leak, a window replacement, or a vent re-route, treat that as a potential moisture source even if there’s no obvious standing water.
If you do need to adjust humidity, do it gradually. Sudden dehumidifier changes can trigger rapid shrinkage, while aggressive humidification can swell the surface and stress joints. The goal is to bring herringbone wood flooring to a stable moisture state, then address the visible gap.
Equilibrium Moisture Content (EMC) vs Indoor RH at ~70°F (Hardwood Floors)
| # | RH Band (Indoor) | Wood EMC | Common Floor Effect | EMC Δ vs 45% RH |
|---|---|---|---|---|
| 1 | 30% RH | 8.0% | Shrink tendency | -1.9% |
| 2 | 35% RH | 8.6% | Mild shrink | -1.3% |
| 3 | 40% RH | 9.3% | Approaching baseline | -0.6% |
| 4 | 45% RH | 9.9% | Near equilibrium | 0.0% |
| 5 | 50% RH | 10.6% | Swell tendency | +0.7% |
| 6 | 55% RH | 11.3% | Moderate swell | +1.4% |
| 7 | 60% RH | 12.0% | Higher swell risk | +2.1% |
Interpreting the data for herringbone seams
When RH drops below your floor’s equilibrium point, herringbone wood flooring tends to shrink and seams open; when RH rises, boards swell and gaps often tighten. The table above illustrates how EMC (equilibrium moisture content) changes across indoor RH bands—exactly why stabilizing indoor RH is usually step one before repair. For species- and climate-specific targets, follow your herringbone floor manufacturer’s acclimation and service recommendations.
Fix small gaps with filler and proper prep
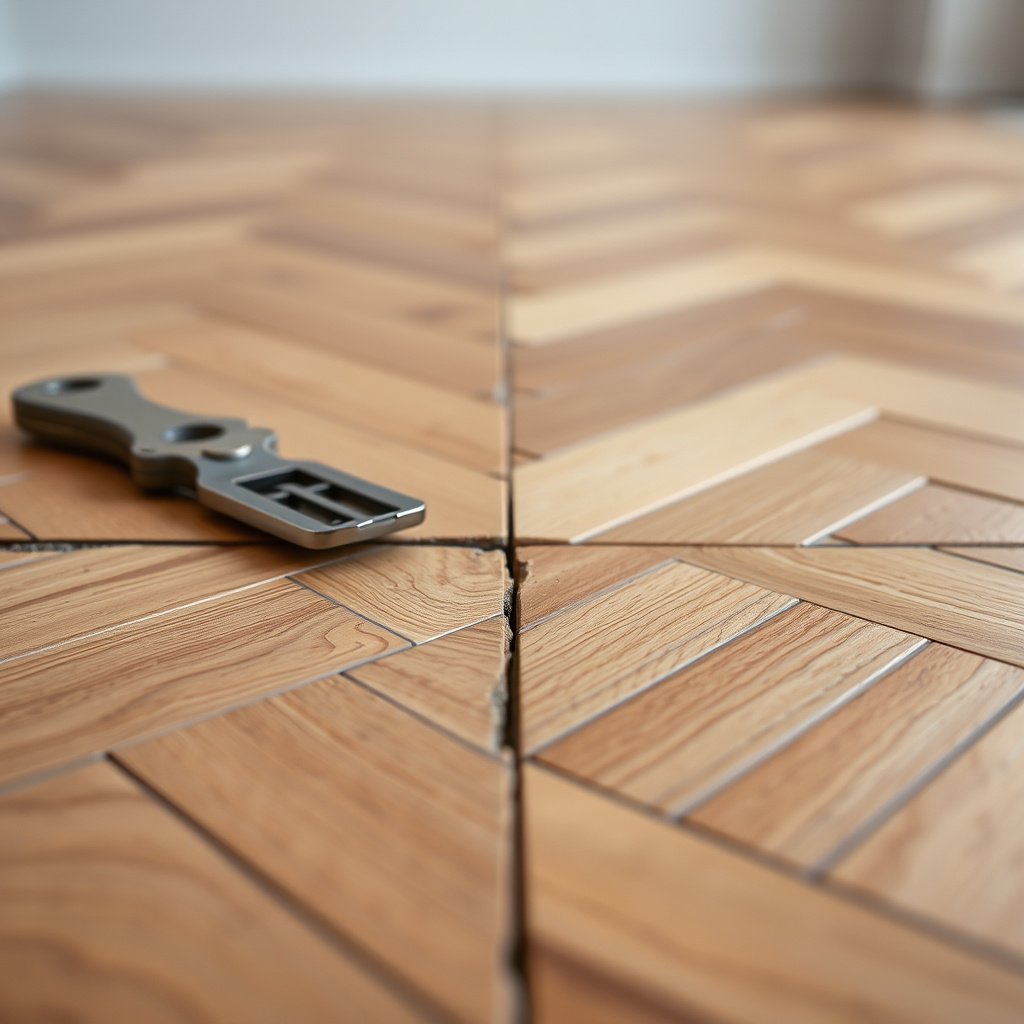
Small, stable gaps are often fixable with a compatible wood filler or patch compound—once you confirm the moisture issue is controlled. The key is prep and product compatibility, because filler that bonds poorly or doesn’t handle movement is the fastest way to get a recurring seam.
Filler bonds best when the gap is cleaned of dust, old flexible caulk, and debris so the repair material can mechanically key into the wood surface.
In wood flooring repairs, the “wrong” patch chemistry can shrink, stain, or telegraph through the finish after cure—even if it looks correct the first day.
– Clean the seam thoroughly so filler can bond: remove dust, old caulk, and any loose debris without widening the gap.
– Use a filler/patch matched to wood type and intended finish; for many small seams, a wood filler or compatible patch compound can level the surface.
– Let it cure fully, sand flush carefully (keep the herringbone pattern aligned), and refinish only if your product requires it for a consistent look.
Start with cleaning, not sanding. For herringbone wood flooring, sanding the seam edges too aggressively can enlarge the separation and make the repair harder to hide in the pattern. Use a vacuum with a crevice tool and wipe with an appropriate cleaner recommended by the filler manufacturer (or just a dry clean cloth if that’s all the product calls for). If previous repairs exist, remove anything that’s flexible (like caulk) that will prevent rigid filler from locking into the joint.
Next, choose your filler based on what the flooring finish demands. Water-based fillers, solvent-based fillers, and two-part patch compounds behave differently under stain and clear coats. With prefinished herringbone floors, the safest approach is generally to use the manufacturer-approved repair kit or a patch system that explicitly states it’s compatible with your finish type.
When applying filler, work in thin passes. Press the material into the seam so it fills fully without leaving voids. After cure (follow the container guidance exactly), sand flush carefully while staying mindful of the herringbone geometry—if you sand across the “V” lines, the pattern will look blurred even if the gap is gone.
If your gap is actively re-opening because RH is still swinging, filler can cure “perfectly” today and crack or pull away in a few weeks. That’s why moisture stabilization from the previous section isn’t optional for herringbone wood flooring repairs—it’s the foundation.
Deal with wider or recurring gaps (when filler isn’t enough)
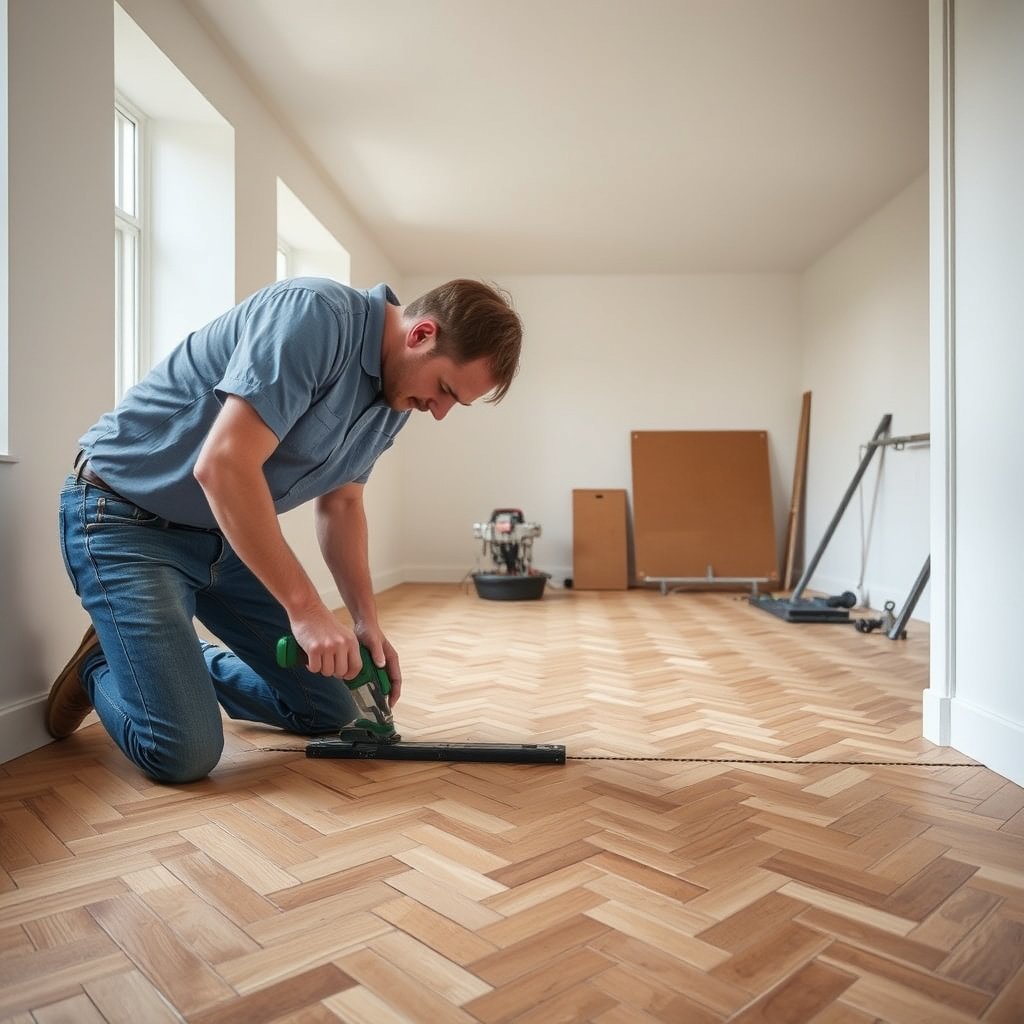
Wider, repeating gaps usually mean the floor is moving because of an anchoring or flatness problem, not just a cosmetic seam. In those cases, targeted rework (often board replacement or joint re-installation) is more reliable than continuing to fill.
When the gap keeps reappearing in the same location, it often indicates ongoing movement from subfloor flatness or fastening rather than a one-time seam failure.
If the floor is severely buckled or the subfloor is uneven, seam patching cannot restore structural flatness or correct board rocking.
– If the gap is too wide for filler to bridge cleanly, you may need a targeted approach like replacing affected planks or reworking the joint.
– If the gap keeps reappearing in the same places, re-check subfloor flatness and fastening; hidden movement often means the boards aren’t anchored correctly.
– For repeating separations along many lines, consider whether the installation followed proper acclimation and expansion-gap requirements at walls/transitions.
A practical rule: if filler can’t fully “hold” the edges of the separation, you’re not addressing the mechanical cause. For herringbone wood flooring, the joint geometry depends on tight edge matching; once the seam is drifting due to movement, rigid filler will tend to crack or get forced out.
Recurring gaps in the same lines point toward one (or more) of these: insufficient nailing/gluing (for nailed/glued-down), insufficient tension under floating sections, subfloor ridges that “lift” the pattern, or incomplete acclimation prior to install. If you suspect installation requirements weren’t met, don’t just patch—verify the basics.
From documentation-driven best practice, there are typical installation tolerance concepts. For example, subfloor flatness tolerances are commonly expressed as maximum deviation over a measured span (e.g., per NWFA guidance). National Wood Flooring Association (NWFA) installation documents describe the need for a sufficiently flat substrate to reduce movement in wood floors—this is especially important for patterned installs like herringbone where small rocking can open multiple seams.
If you find local board damage, water staining, or a seam line that runs through multiple adjacent blocks, board-level repair or re-installation is usually the correct path. For engineered herringbone wood flooring, also remember that repair feasibility depends on wear layer thickness and how many refinishes are possible.
What can go wrong (common mistakes and edge cases)
Skipping root-cause diagnosis is the most common reason gap repairs fail. When patching is done without stabilizing moisture or correcting subfloor/fastening issues, herringbone seams typically reopen—or the repair becomes visually obvious.
Filling a seam without fixing the underlying moisture imbalance can cause the seam to reopen after cure, especially across seasonal RH swings.
Sanding too aggressively around a herringbone seam can thin surrounding finish and make the repair line more visible due to sheen changes.
– Filling without correcting moisture can make the seam reopen after cure—sometimes within weeks, especially with seasonal humidity swings.
– Over-sanding or packing filler too deep can create weak spots that crack when the floor moves again.
– Using the wrong filler type (or one not compatible with your finish) can lead to shrinking, staining, or a visible “ring” around the repair.
– If the floor is cupped/buckled, patching gaps alone won’t solve the root cause; you may be dealing with moisture intrusion or a failing subfloor.
Here are additional edge cases to watch for in herringbone wood flooring:
1) Previous caulk-only repairs. If old flexible caulk exists in seams, rigid patch compounds may adhere poorly to the residue, leading to separation lines that reappear quickly.
2) Localized leaks. Even if the floor “looks dry” after cleanup, subfloor moisture can remain for weeks. When RH rises again, herringbone wood flooring may respond with renewed movement.
3) Pattern “telegraphing.” Because herringbone is visually structured, minor sanding differences show more than on plank layouts. Sheen matching becomes part of the repair, not an afterthought.
4) Finish limitations. Some prefinished systems can’t be sanded enough to blend spot repairs. If your herringbone floor is prefinished, a manufacturer-approved patch kit or professional refinishing approach may be required.
Verdict: what we’d recommend (and who should skip DIY)
For small, stable gaps that don’t return immediately after humidity stabilizes, DIY patching with the right filler and careful sanding can be a reasonable option. Skip DIY and call a flooring pro if gaps are widespread, the boards feel loose/raised, you suspect subfloor moisture, or you see signs of buckling/cupping—those scenarios usually require diagnosis, re-leveling, or board replacement rather than filling.
If multiple seams open across many lines or you detect board rocking/hollow areas, the likelihood of a fastening or substrate problem is high—DIY patching may not last.
Stabilizing indoor relative humidity is a key step because wood flooring dimensional movement responds to changes in moisture content over time.
| Option | Pros | Cons / Risk |
|---|---|---|
| DIY filler for small, stable seams |
|
|
| Professional diagnosis + rework |
|
|
Quick checklist before you start
– Measure/observe: Are the gaps wider at certain times of year?
– Inspect: Any raised edges, hollow spots, or loose boards?
– Check moisture: Fix any leaks and stabilize indoor humidity.
– Prep seams: Remove dust/old material so filler bonds.
– Test compatibility: Match filler/patch product to your flooring type and finish.
– Plan for recurrence: If gaps return, investigate subfloor/fastening, not just the seam.
Sources
If you remember one thing about fixing gaps in herringbone floors, make it this: stabilize moisture and confirm the floor is flat/secure before you patch. For small, calm seams, a compatible filler can deliver a clean result; for repeating separations or loose/uneven boards, the most durable fix is diagnosing and correcting the cause—not just disguising the symptom.
Frequently Asked Questions
How do I fill gaps in herringbone wood flooring without messing up the pattern?
First, clean the gap thoroughly and remove any dust or old finish so filler can bond to the wood. Use a wood floor filler or putty matched to your herringbone species, then apply it along the length of the gap using a putty knife and wipe off excess immediately. If the gap edges are slightly frayed, lightly sand before filling so the filler stays flush with the surrounding boards.
What’s the best way to repair herringbone floor gaps caused by seasonal wood movement?
Seasonal movement is common, so the key is controlling indoor humidity while you repair. Aim for stable conditions (often around 35–55% relative humidity) to reduce further shrinkage or expansion. After stabilizing humidity, repair gaps with a flexible wood filler or epoxy filler designed for flooring gaps, then sand smooth and refinish to blend with the existing finish.
Which filler should I use to fix gaps in herringbone floors—wood putty, epoxy, or caulk?
For small, shallow gaps, a paintable wood putty or wood filler can work well and is easy to sand. For wider gaps, consider a two-part epoxy wood filler because it’s stronger, more gap-filling, and less likely to shrink back out. Avoid standard caulk for true wood-to-wood gaps unless you’re using a product specifically intended for flooring expansion joints, since it can crack or look inconsistent after sanding and finishing.
How do I repair herringbone floor gaps between boards and along the edges of the room?
Start by checking whether the gap is within the field boards or at walls/doorways—edge gaps may be an expansion allowance rather than a defect. For between-board gaps, clean, then fill and sand carefully so the herringbone lines stay crisp and symmetrical. For edge areas, ensure the baseboard/quarter-round covers the expansion space; if you truly need to close it, consult a flooring pro because overfilling can cause buckling as wood expands.
Why do gaps appear in herringbone floors in the first place, and how can I prevent them after repair?
Gaps typically form from subfloor movement, improper acclimation of the wood, humidity swings, or missing fasteners causing boards to loosen. To prevent recurrence, verify the subfloor is stable and address any moisture issues (including using a vapor barrier if relevant). After fixing, maintain consistent HVAC settings and use area rugs thoughtfully to avoid localized humidity and wear that can widen gaps over time.
📅 Last Updated: October 15, 2026 | Topic: How to fix gaps in herringbone floors? | Content verified for accuracy and freshness.
References
- Wood flooring
- Parquet
- Herringbone
- https://en.wikipedia.org/wiki/Wood_shrinkage_and_swell
- Wood warping
- Expansion joint
- Wood putty
- https://scholar.google.com/scholar?q=fixing+gaps+in+wood+floors+expansion+joints Google Scholar
- https://scholar.google.com/scholar?q=herringbone+wood+floor+gap+repair+wood+movement Google Scholar
- https://scholar.google.com/scholar?q=parquet+floor+gap+filling+wood+filler+humidity Google Scholar


