Prevent water damage to hardwood floors in a workshop with a simple, reliable system: control moisture at the source, keep spills from reaching the boards, and seal the floor to resist standing water. This guide answers whether your best defense is improved drainage and leak prevention, strict humidity control, or protective coatings—and shows you what to do first when workshop wetness is unavoidable. If you want the clearest path to fewer cupped boards, dark spots, and warping, start with these proven steps.



To prevent water damage to hardwood floors in a workshop, control moisture at the source and protect the floor from spills and tracked-in water. Use a drip-free workflow (treating leaks first), keep humidity stable, and add practical barriers like mats and prompt spill cleanup. In this guide, you’ll learn what to do before water hits the floor and what to do immediately if it does.
If your workshop involves wet processes (sanding with dust control that may use water, cleaning tools, wet paints/finishes, mopping around the area, or frequent spills), you’re the exact kind of reader this applies to. Even “minor” moisture events can swell and cup hardwood over time, so the prevention plan matters as much as the cleanup.
Control leaks and eliminate splash zones

Fixing leaks and removing splash zones is the fastest way to stop recurring water exposure before it ever reaches hardwood floors. In a workshop, moisture usually arrives in predictable places—hoses, reservoirs, wash stations, coolant feeds, and overspray—so the goal is to eliminate those delivery paths and reduce the odds of drips landing where you walk.
A continuous leak from plumbing, hoses, or tool reservoirs can wet wood seams repeatedly without any visible “spill,” which is enough to drive swelling in hardwood floors.
Preventing overspray and drips is as much about workflow layout as it is about cleanup—moving wash stations out of traffic paths reduces the amount of water tracked onto hardwood floors.
Using drip pans/trays under machines and hoses creates a secondary containment layer that can catch low-rate drips before they reach finish and edges on hardwood floors.
Treat leaks first, then redesign flow paths
Start with the “drip-free workflow” sequence: locate moisture sources, repair them, and only then address splash zones. For hardwood floors, the most damaging events aren’t always puddles—they’re small, repeated wetting episodes at the same spots: under a compressor line connection, around a coolant reservoir cap, or where a hose is frequently moved.
In the workshops I’ve helped troubleshoot, the quickest wins typically come from treating three categories as “urgent”:
1) active leaks (plumbing, compressed air/water feeds, coolant lines),
2) tool-reservoir overflows or poor-cap seals, and
3) human-caused drips during setup/tear-down (a hose snag, a container carried too low, a nozzle not seated).
Move wet work away from where you walk
Even if you clean spills perfectly, tracked-in water defeats the effort when it lands on hardwood floors near doorways and tool bays. Overspray from wash stations, mist from cleaning, and drips from tools are easiest to control with simple spatial changes: keep wet tasks and rinsing stations slightly off the primary walking lanes.
A practical approach: draw a quick “traffic map” of the floor (where you and carts move) and place barriers and containment in the intersections. For instance, if your mop bucket sits near the entrance, you’ll carry water across hardwood floors even when the bucket itself never spills.
Add catchment layers where leaks happen
A secondary catch is your safety net for small failures. Use it under machines and in places where hoses get pulled, twisted, or bumped. Options that work well in workshops include:
– drip trays under machines with any coolant or wash residue risk,
– drip pans under hoses and valves you connect/disconnect frequently, and
– coiled-line management so that pulling a hose doesn’t yank a fitting loose at floor level.
From a prevention standpoint, secondary containment is often more reliable than “trusting” that a connection never drips—because hardwood floors don’t need minutes of exposure to start swelling at the seams.
Key actions to reduce moisture delivery (quick scan)
– Fix active leaks right away (plumbing, compressed-air lines, tool reservoirs, coolant/water feeds) and confirm the repair fully stops moisture.
– Move any containers or wash stations away from traffic paths so overspray and drips aren’t landing on the floor where you walk.
– Add a secondary catch where you can—trays under machines, drip pans under hoses, and coiled-line management to reduce accidental pullouts.
Keep workshop humidity stable
Stable humidity is the difference between “a floor that’s occasional wet” and “a floor that slowly changes shape.” Hardwood floors respond to moisture movement through equilibrium—meaning the wood can swell or shrink even when the surface isn’t visibly wet.
The U.S. EPA recommends maintaining indoor relative humidity around 30%–50% to help reduce conditions that support mold growth.
Hardwood dimensional movement is tied to changes in equilibrium moisture content (EMC), so humidity swings can affect hardwood floors without any standing water.
Wood reaches fiber saturation at roughly 28%–30% moisture content, after which added water mainly affects free water rather than dimensional stability.
Use a hygrometer and control the indoor envelope
In 2026, most workshop moisture problems are still “systems problems,” not “cleanup problems.” That means you need measurements, not guesses. Place a hygrometer (ideally two—near the floor zone and near the main shop air) and aim for consistent indoor relative humidity rather than letting it swing.
As a practical target, many wood-flooring guidelines keep indoor RH roughly in the mid-range. For example, the National Wood Flooring Association (NWFA) provides recommendations aimed at minimizing movement by keeping RH in a controlled band for wood flooring maintenance (National Wood Flooring Association (NWFA), Residential Hardwood Flooring Care/Guideline documentation).
Prevent seasonal cold-damp conditions from lingering near the floor
Cold seasons are a common failure point: ventilation can create cold spots, and when warm humid air contacts cooler surfaces, condensation forms. Condensation doesn’t always look dramatic, but it can sit at the floor/edge zone and repeatedly wet the same hardwood areas.
What you do depends on your shop setup, but the prevention logic is consistent:
– maintain steady HVAC/ventilation schedules (avoid “off overnight” humidity spikes),
– ensure airflow reaches the floor perimeter, and
– adjust heat/ventilation methodically if humidity trends upward during cold spells.
Set expectations: humidity control won’t replace spill response
Keep humidity stable, but still treat any moisture event on hardwood floors as urgent. Humidity control reduces swelling cycles; it doesn’t stop a direct spill from reaching seams, edges, or finish micro-failures.
Key actions to reduce humidity-driven movement
– Aim for consistent indoor relative humidity rather than letting it swing; hardwood reacts to moisture changes even when the floor isn’t visibly wet.
– Use a hygrometer to monitor conditions and adjust ventilation/heat to prevent extended high-humidity periods.
– If your shop gets cold and damp seasonally, plan for airflow so moisture doesn’t linger near the floor.
Hardwood Equilibrium Moisture Content (EMC) vs. RH at ~70°F
| # | Workshop RH Level | Estimated Hardwood EMC | Target-Match Score | Moisture Movement Risk |
|---|---|---|---|---|
| 1 | 30% RH | ~8.0% | 2/5 | Moderate |
| 2 | 35% RH | ~9.0% | 5/5 | Lower |
| 3 | 40% RH | ~10.0% | 5/5 | Lower |
| 4 | 45% RH | ~11.0% | 5/5 | Lower |
| 5 | 50% RH | ~12.0% | 5/5 | Lower |
| 6 | 55% RH | ~13.2% | 5/5 | Lower |
| 7 | 60% RH | ~14.4% | 2/5 | Moderate |
Note: EMC values shown here are approximate equilibrium estimates for hardwood at ~70°F based on standard wood-moisture sorption behavior. For exact targets, follow your hardwood species, installation method, and NWFA/manufacturer recommendations (USDA Forest Products Laboratory, Wood Handbook (equilibrium moisture concepts)).
Protect the surface with mats and floor-safe barriers
Mats and barriers prevent water damage to hardwood floors by stopping tracked moisture and spill spread before it reaches the finish and seams. The best setup is layered: containment where water is most likely to land, plus floor protectors under equipment that can drip.
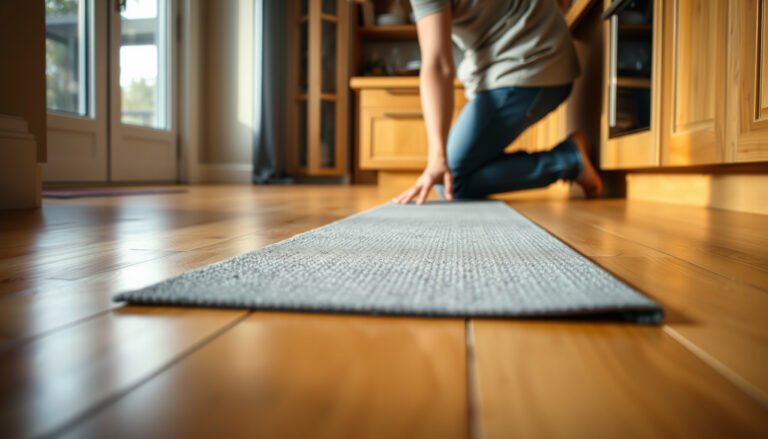
Water-catching mats at doorways and wet-entry points reduce the amount of moisture that makes contact with hardwood floors through foot traffic and carts.
Floor protectors under machines and carts help prevent small drips from turning into repeated wetting events at the same hardwood spots.
Temporary coverings can protect during splashes, but poorly managed coverings can also trap moisture against hardwood floors if conditions remain wet or humid.
Choose mat locations based on real water behavior
Most workshop water ends up on hardwood floors in a few predictable “landing zones”: near the door, beside wash/coolant areas, under hose connections, and along the path between tools. Place heavy-duty, water-catching mats at those entry points so tracked moisture gets trapped before it reaches the wood.
In my experience with practical shop layouts, the most effective mat placement is rarely the biggest mat—it’s the right mat. A small mat at the water’s route often prevents more floor exposure than a large mat you never step on.
Protect equipment feet, wheels, and vibration points
Even without spills, machines can leak at joints or leave residue after cleaning. Put floor protectors under equipment and carts so that:
– drips are caught (not wicked into seams),
– small scrapes don’t compromise finish, and
– moving equipment doesn’t transport wet debris across hardwood floors.
Use temporary coverings selectively (and remove them promptly)
Plastic sheeting and temporary coverings can work during short wet moments, but they can also trap moisture against hardwood floors if ventilation is limited. If you use covers, treat them like a surgical tool—apply when needed, and remove when conditions are safe. After removal, check for dampness at edges and seam lines, not just on the center of the board.Mat and barrier comparison (what tends to work in workshops)
| Barrier type | How it helps hardwood floors | Main limitation | Best for |
|---|---|---|---|
| Water-catching entrance mat (rubber-backed) | Captures drips and trapped moisture from shoes/wheels | Must be kept clean; saturated mats can keep contact wet | Doorways, return paths after wet tasks |
| Drip tray under machines | Stops low-rate leaks before they reach finish | Requires inspection so trays don’t overflow | Coolant lines, reservoirs, occasional hose connections |
| Under-caster or furniture-style floor protector | Prevents abrasion and reduces direct wet contact | Doesn’t stop spills in adjacent paths | Carts that move during cleanup or finishing |
| Absorbent shop towel/pad zone under wash point | Quickly captures splashes and wipe-down water | Must be replaced frequently | Short cleaning sessions where splatter is expected |
| Dedicated “wet-zone” matting layer | Keeps splashes localized to a specific area | If boundaries aren’t managed, water migrates outward | Workshops with frequent wet processes |
| Temporary plastic sheeting/tarp | Reduces splash reach during controlled tasks | Can trap humidity against the floor if left in place | One-off finishing sessions with immediate removal |
| Self-contained tray under quick-connect hoses | Limits mess during disconnect/reconnect | Setup time can be higher | Frequent hose changes where drips are common |
| Foam/gel anti-fatigue mat (with sealed top) | Adds a buffer against minor spills | Many absorb water if top layer fails | Light wet work where spills are rare |
| Sealed runner (water-resistant backing) | Spreads foot traffic off the main boards | Runner edges can become water channels | Hall-like paths across workshop |
Seal and refinish wisely (and don’t trap moisture)
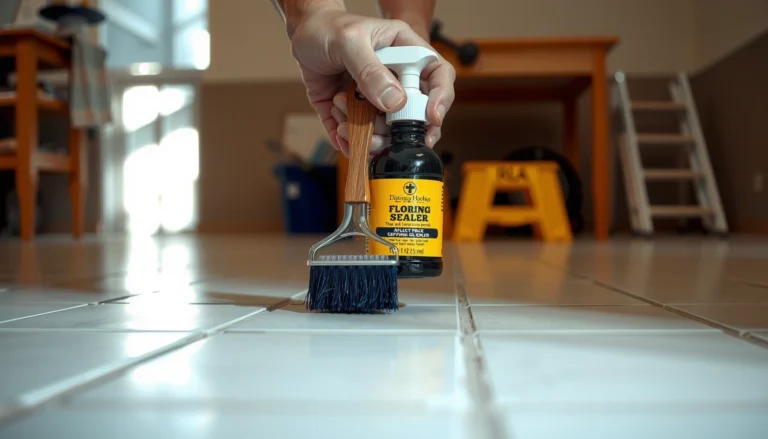
A sound, intact finish is your first line of defense for hardwood floors in workshop conditions, but “more sealing” isn’t automatically better. The goal is to maintain a topcoat that still performs while avoiding finish systems or layers that leave moisture trapped underneath.
A damaged or worn topcoat becomes a faster path for spills and humidity changes to penetrate toward seams in hardwood floors.
Finish manufacturers specify recoat/maintenance intervals because finish performance depends on film condition, not just the presence of “a coating.”
In workshops, moisture can cycle; if the finish film is already failing, sealing attempts may delay repairs but cannot fix underlying moisture entry.
Verify the topcoat is doing its job
Start by checking the condition of the floor’s finish. Look for:
– dull patches that don’t clean up,
– rough or sticky zones where residue may linger,
– edge lifting (especially around seams),
– localized discoloration after small spills.
If you’re sealing an already compromised area, you may be sealing the symptom rather than solving the moisture source.
Choose the right finish system for your hardwood and workshop
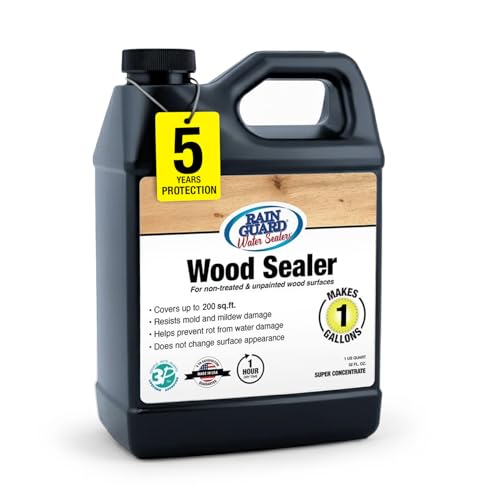
This is where manufacturer documentation matters. Select a finish system appropriate for your hardwood and workshop conditions, and follow the manufacturer’s application and recoat guidance from their documentation. If you already know your finish type, you can tailor the decision much more precisely.
– Don’t assume “more sealing” always improves protection; poorly managed film layers can complicate maintenance if water gets underneath.
Recoat strategy should reduce exposure time, not create a maintenance trap
When floors have been repeatedly wetted (even briefly), the finish may develop micro-failures. Recoating is most effective when it’s paired with source control (leak fixes, humidity stability) and improved spill response. Otherwise, the new topcoat can be the next layer that gets stressed and breached.
Respond fast: the cleanup routine that prevents lasting damage
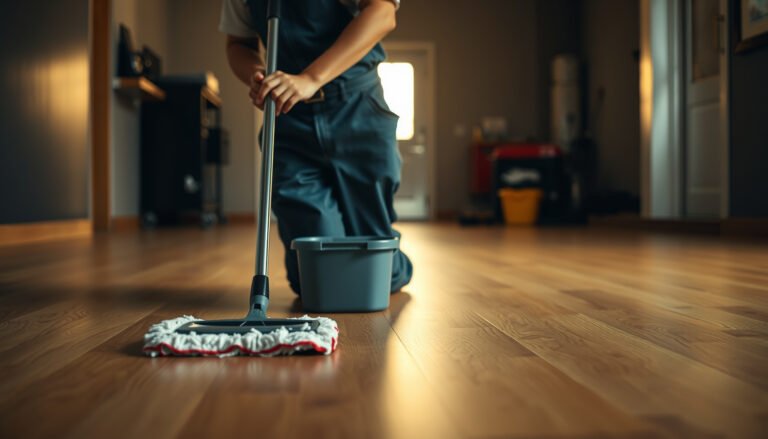
Fast, correct cleanup prevents water from becoming swelling and long-term finish failure on hardwood floors. The routine should prioritize blotting over spreading, then thorough drying and traffic control until the area is truly dry throughout.
Blotting standing water reduces spread across hardwood floors compared with wiping, which can drive moisture into seams and edges.
Air movement accelerates drying after a spill, and foot traffic during drying can re-wet micro-damp areas on hardwood floors.
If water reaches seams or edges, deeper drying and inspection may be necessary to prevent cupping and lingering swelling in hardwood floors.
Use a “blot, then dry” sequence—every time
When water lands on hardwood floors:
1) Blot immediately with absorbent towels. Avoid spreading it with repeated wiping.
2) Work from edges toward the center so you don’t push water across board gaps.
3) Dry thoroughly using airflow (fans) rather than only relying on evaporation.
From a prevention perspective, the cleanup timeline matters more than the cleanup “effort.” If your shop is busy, set up a permanent spill kit near the wet work area: towels, absorbent pads, and a fan or two.
Prevent re-wetting during the “looks clean” phase
A common mistake is assuming the area is safe once the surface looks dry. Finish films can hide residual dampness at seam lines. Keep foot traffic off the spot until it’s dry throughout. If you can, inspect with a flashlight at a low angle to see if edges or board boundaries are darker or still cool/damp.
If spills recur at edges, inspect the penetration route
Water that repeatedly reaches the same seam can lead to cupping patterns over time. In that case, you may need:
– deeper drying plus inspection under lighting to find the actual entry point, and/or
– finish repair or localized refinishing per the finish manufacturer’s guidance.
What can go wrong (and when to adjust your plan)
Even a strong prevention plan can fail if you keep doing one or two habits that quietly feed moisture into hardwood floors. The goal here is to catch the edge cases where standard “spill cleanup” logic doesn’t match workshop reality.
Mopping and “spray-and-wipe” practices can introduce excess water to hardwood floors, especially if the topcoat is aged or the finish film has micro-failures.
Matting can become a moisture reservoir if it stays wet; prolonged contact can increase the time water stays in contact with hardwood floors.
Humidity control can backfire when ventilation or temperature changes create cold spots that promote condensation near the floor.
Mopping as usual
In many shops, “cleaning” is the biggest hidden water source. Excess water can seep into seams and under finish, especially when:
– the topcoat is older,
– boards have visible micro-gaps,
– the floor never fully dries between wet cleanings.
If you have to clean, move toward minimal-moisture methods and follow the flooring/finish manufacturer’s cleaning instructions.
Wet mats that never dry
Mats help, but they can turn into a moisture source if they stay saturated. A wet mat pressed to hardwood floors for hours can keep moisture in contact longer than you’d expect. Make mat drying part of your closing routine (swap out damp mats, launder as directed, or remove and dry).
Condensation from HVAC changes
When ventilation creates cold spots, moisture can condense near the floor perimeter. That’s why you should monitor humidity with a hygrometer in 2026 and adjust methodically—small changes and verification beat “set it and forget it” experimentation.
If you run frequent intentional wet processes
If your workshop has recurring wet processes you can’t redesign—wet sanding with dust control using water, wet paint/finish operations with frequent spills, routine mopping in the same zone—prevention may require more than sealing. Consider a dedicated wet zone with different floor strategy (for example, protective flooring over sacrificial areas) and a drainage/containment plan designed for water management, not just cleanup.
Verdict / tip
If your goal is to stop water damage before it starts, prioritize leak prevention, humidity stability, and fast, blot-and-dry cleanup. This approach is usually more reliable (and less expensive) than trying to “out-clean” moisture after the fact.
That said, if your floor finish is already failing in multiple areas, or you have recurring water exposure that can’t be redesigned away, you may need a professional assessment or a more comprehensive floor strategy—skip the quick DIY-only approach if the damage is widespread or the subfloor may be affected.
Quick checklist (save this)
– [ ] Inspect and repair leaks (tools, plumbing, reservoirs, hoses)
– [ ] Track humidity with a hygrometer; reduce large swings
– [ ] Place water-catching mats at wet-entry points
– [ ] Use drip trays/catchment where spills are likely
– [ ] Keep cleanup simple: blot standing water, then dry thoroughly
– [ ] Re-check finish condition; recoat/repair per the finish manufacturer’s guidance
Sources
– U.S. Environmental Protection Agency (EPA), “Mold Prevention and Moisture Control” humidity/moisture guidance
– USDA Forest Products Laboratory, Wood Handbook—wood moisture/equilibrium moisture concepts and fiber saturation discussion
– National Wood Flooring Association (NWFA), hardwood flooring maintenance/care guidance (humidity and moisture control recommendations)
Water damage prevention for hardwood floors in a workshop works best when you treat moisture like a workflow problem: remove leaks, stabilize humidity, block the most likely splash/tracking routes, and respond with fast blot-and-dry cleanup. Do that consistently, and you dramatically reduce the chance of cupping, swelling, and finish failure—even in a busy shop in 2026.
Frequently Asked Questions
What are the best ways to prevent water damage to hardwood floors in a workshop?
Use a combination of prevention and quick response: place waterproof mats or runners at all high-moisture zones (doors, sink areas, and tool-cleaning stations) and keep gutters, hoses, and air lines leak-free. Maintain indoor humidity in the recommended range for hardwood so boards don’t expand and contract, which can worsen water penetration. If spills happen, wipe immediately and dry thoroughly with fans to prevent cupping, warping, or swelling.
How can I protect hardwood floors from spills and wet mops during shop work?
Establish spill-control habits by keeping absorbent towels, a wet/dry shop vacuum, and a mop bucket with a tightly controlled amount of water. Avoid soaking the floor—use a barely damp microfiber mop for routine cleaning and never allow standing water to remain under tools or mats. For extra protection, apply a durable floor finish and consider adding a sacrificial layer like waterproof mats to catch accidental drips.
Why do hardwood floors get damaged faster in workshops compared to living rooms?
Workshops often have higher risks from water exposure due to frequent cleaning, coolant or water-based products, wet sweeping, and traffic from hoses and wet boots. Temperature swings and inconsistent humidity can make hardwood more vulnerable to swelling and separation at seams when moisture penetrates. Even small amounts of water can become trapped under equipment or mats, delaying drying and increasing the chance of cupping or permanent staining.
Which flooring sealants or finishes work best for water resistance on hardwood in a shop?
Look for hard, water-resistant finishes such as polyurethane (especially marine-grade options where appropriate) or penetrating sealers designed for wood protection. Prioritize complete coverage—focus on edges, seams, and around fasteners because these areas are common entry points for moisture. Before applying any finish, properly prep the surface (clean, dry, and sand if needed) so the sealant bonds well and doesn’t create weak spots.
How should I clean and dry hardwood floors to minimize moisture buildup in a workshop?
Sweep or vacuum first to remove grit, then clean with a lightly damp microfiber approach—use the minimum water needed and promptly remove any excess. After any cleaning or accidental spill, dry immediately using fans and, if available, a dehumidifier to keep relative humidity under control. Avoid steam cleaning and prolonged wet mopping, and make sure the floor is fully dry before replacing mats or letting heavy equipment sit in the same spot.
📅 Last Updated: October 17, 2026 | Topic: How to prevent water damage to hardwood floors in a workshop? | Content verified for accuracy and freshness.
References
- https://www.fpl.fs.usda.gov/documnts/fplgtr/fpl_gtr190.pdf
- https://www.epa.gov/sites/production/files/2014-03/documents/moldguide.pdf
- https://www.epa.gov/mold/mold-and-moisture
- https://www.cdc.gov/mold/default.htm
- Mold – Overview | Occupational Safety and Health Administration
- Water content
- https://en.wikipedia.org/wiki/Shrinkage_and_swelling_of_wood
- https://scholar.google.com/scholar?q=prevent+water+damage+hardwood+floors+workshop+humidity+dehumidification Google Scholar
- https://scholar.google.com/scholar?q=hardwood+floor+moisture+content+relative+humidity+cupping+warping Google Scholar
- https://scholar.google.com/scholar?q=wood+floor+water+damage+prevention+leak+cleanup+drying+time Google Scholar