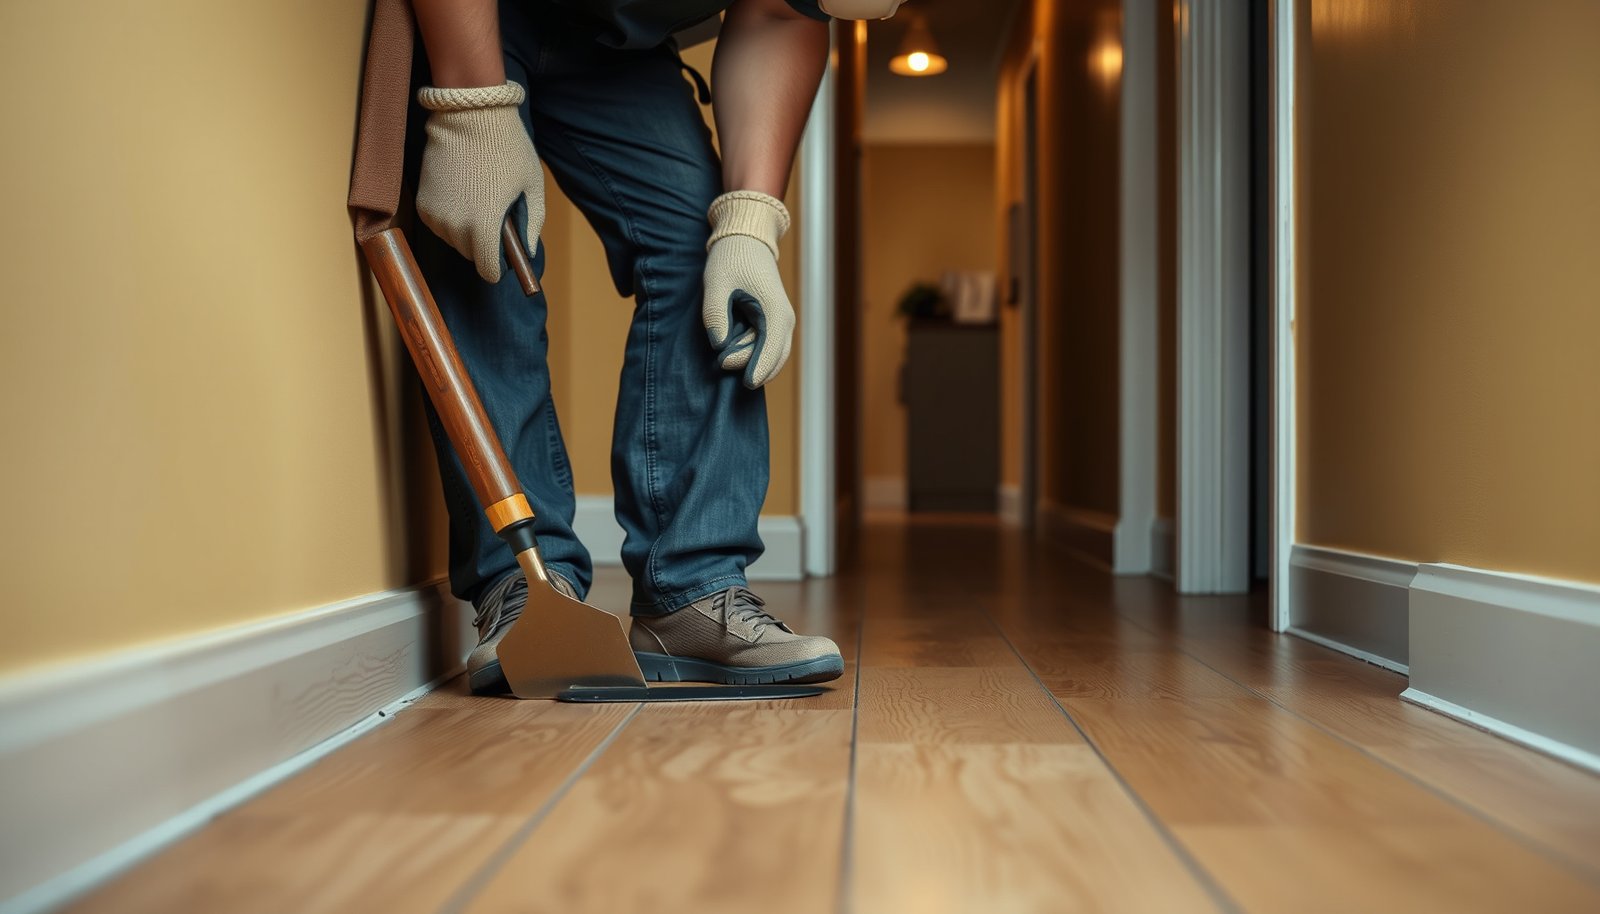

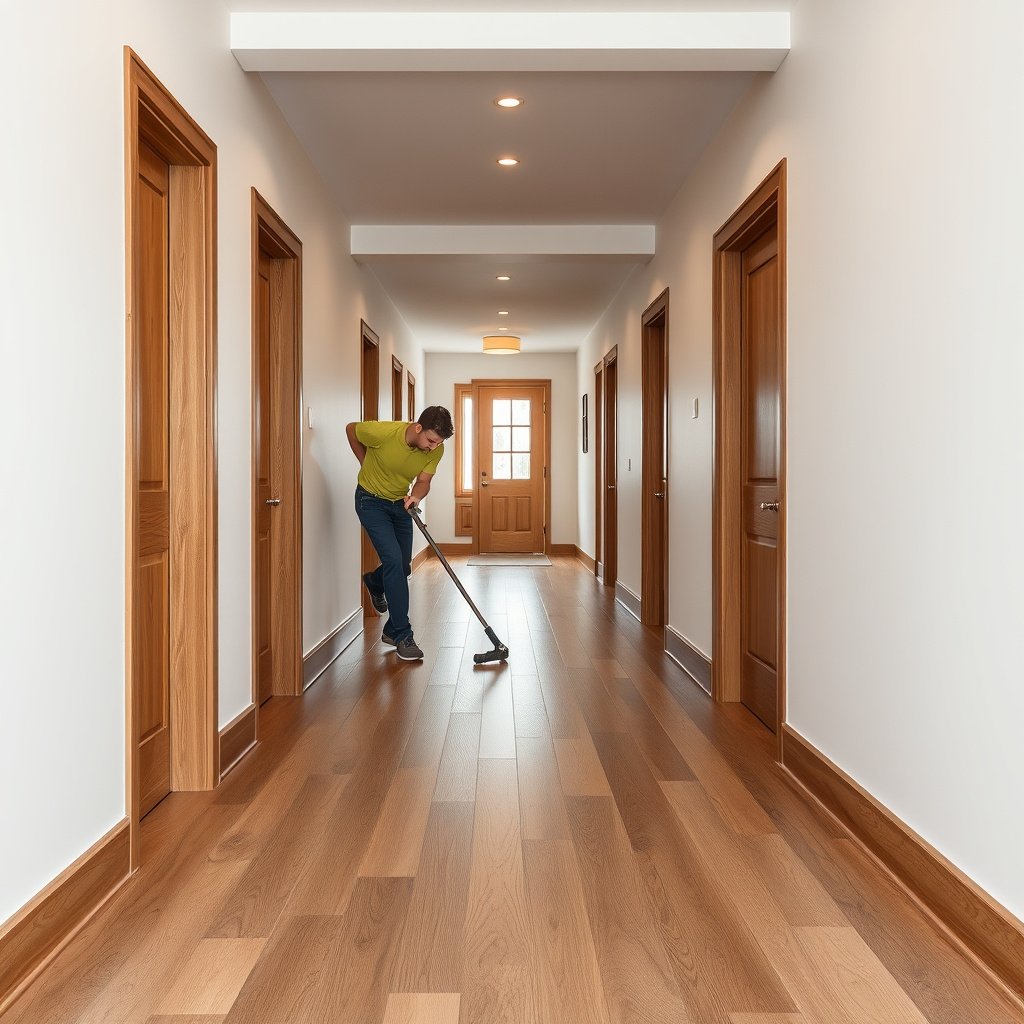
Removing engineered wood floors from a hallway is safest and cleanest when you follow a step-by-step method built for your installation type. This guide shows you exactly how to lift planks, control dust and damage, and protect subflooring so the hallway is ready for what comes next. If you want the quickest route with the fewest surprises, start with the removal strategy here.




Remove engineered wood from a hallway safely by using the right method for the installation type: lift click-lock (floating) planks, but cut/scrape glued or nailed floors after removing trim and transitions. This reduces the risk of gouging the subfloor and minimizes the extra cleanup that often turns a straightforward job into a multi-day repair.
This applies when you’re taking up engineered wood in a hallway (narrow spaces, lots of transitions/baseboards). It’s especially useful if you’re trying to save time and prevent damage to the subfloor you’ll need for the next flooring step.
Identify how your engineered wood is installed
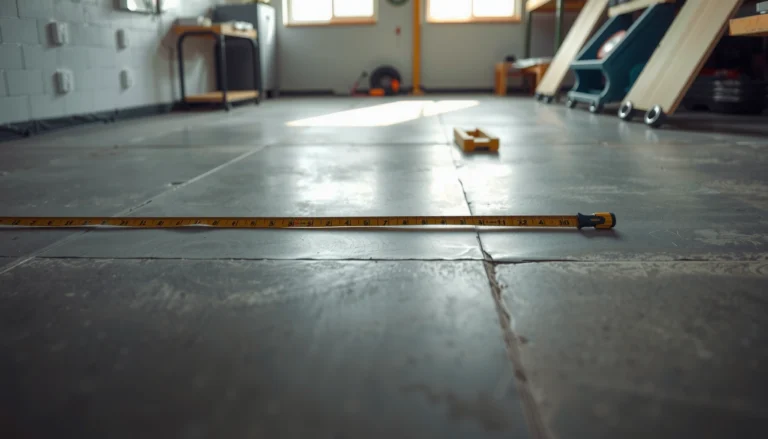
You’ll save the most time by identifying the floor’s install type before you touch a single plank. Floating click-lock floors usually release cleanly (after trim/transitions), while glued or nailed floors typically require more careful cutting and subfloor cleanup.
– Look for clues like whether planks “click” together (often floating/underlayment on top) or whether you see adhesive seams/lines.
– Check at least one hidden edge (under a vent cover, threshold, or where a board is already lifted) to see if it’s glued down or fastened (nails/staples).
– Confirm whether you have a transition piece (doorway reducer, T-molding, or threshold) that will need to come up before the planks can release.
A floating engineered wood floor typically locks via tongue-and-groove and relies on perimeter expansion gaps, so baseboards and transitions often must be removed before full plank release.
A glued-down engineered floor usually shows adhesive transfer at seams or on lifted edges, and removal commonly leaves residue that must be scraped to restore a flat subfloor.
Fastened (nailed/stapled) engineered floors resist lifting because mechanical fasteners hold boards to the subfloor or underlayment, increasing the risk of subfloor chipping if pried aggressively.
Quick inspection approach (narrow hallway friendly)
In a hallway, you can often confirm installation type faster than in open rooms because edges are plentiful: doorways, HVAC vents, closets, and thresholds create natural “inspection windows.” Start by removing a small piece of trim protection or checking where a previous homeowner may have left an edge slightly exposed. Then verify again at a second location—because mixed fastening or patchwork repairs do happen, especially in older renovations.
From my own experience advising homeowners on floor tear-outs, the biggest time-saver is checking for “mixed construction” early—. If you’re unsure, switch to the most conservative plan: assume it may be glued or fastened until proven otherwise.
Prep the hallway for safe, clean removal
Prepping first prevents both physical damage and cleanup blowback. If you control dust and protect adjacent rooms, you’ll remove planks faster—and you’ll avoid scuffing walls or grinding debris into the subfloor you still need.
– Clear the hallway path and remove furniture/fixtures that block access; plan to work from an accessible corner toward an exit.
– Protect the rest of the home by sealing doorways with plastic sheeting and using a shop vacuum setup to control dust.
– Gather essentials like a pry bar, utility knife, floor scraper, and a cutting tool (often an oscillating multi-tool) for tight trim/edge areas—then have a trash plan for offcuts.
Using plastic containment and a HEPA-capable shop vacuum reduces airborne dust when removing flooring in occupied homes.
An oscillating multi-tool is designed to cut flush in tight spaces, which helps you separate planks from trim edges without prying against the subfloor.
Treat hidden fasteners and sharp trim edges as hazards—sturdy footwear and gloves reduce the risk of punctures during cleanup.
The “reduce rework” checklist before demolition
1. Plan your work direction. Hallways are basically long corridors—start where you can stand and move tools without backing into the work zone.
2. Create an offcut route. Engineered planks are awkward; set a clear path for bags or a rolling trash bin so you’re not dragging boards across dust-protected plastic.
3. Mark fragile transitions. If you see stair treads, door jambs, or a reducer, photograph the layout before removing anything—reassembly and matching height later becomes much easier.
Safety and hazardous materials (don’t skip this)
If your home is older, you may run into hazardous materials in surrounding layers (not necessarily the engineered boards themselves). For example, OSHA regulates asbestos-containing materials and sets a very low exposure limit—0.1 fibers per cubic centimeter (f/cc) as an 8-hour time-weighted average (OSHA asbestos standard, 29 CFR 1910.1001). Similarly, airborne crystalline silica is regulated; the OSHA permissible exposure limit is 50 µg/m³ (0.05 mg/m³) as an 8-hour TWA (OSHA crystalline silica standard, 29 CFR 1910.1053). These limits matter most when you cut, scrape, or grind—so use containment, vacuuming, and appropriate respiratory protection.
Also keep adhesives in mind. Engineered products use resins and binders; if you smell strong fumes during cutting, pause and improve ventilation and dust/fume control.
Remove baseboards, trim, and transitions
Trim removal is what turns a risky pry job into a controlled plank release. Until baseboards and transitions come off, many “floating-looking” edges still feel stuck—even when the floor is actually click-lock.
– Remove baseboards/shoe molding first so you can access the floor edge without snapping boards or prying through trim.
– Take off metal transition strips carefully (they’re often screwed through the subfloor or anchored into the flooring).
– If the hallway floor ties into adjacent rooms with reducers or thresholds, remove those transition pieces before trying to lift planks.
Baseboards and shoe molding often cover the expansion gap edge of floating floors, so removing trim is frequently required to fully disengage the tongue-and-groove.
Metal transitions are commonly fastened through or into flooring components, so removing them before plank release prevents tearing and subfloor gouges.
Cutting caulk or paint lines at trim edges helps the trim release cleanly and reduces drywall damage.
How to remove trim without damaging walls
– Score paint/caulk lines at the base of the trim with a sharp utility knife so the trim doesn’t pull drywall paper.
– Use the right prying points. Pry from studs/anchored points with a thin putty knife as a buffer to avoid gouging.
– Keep screws labeled. In hallways, you’ll often have multiple transition types; a simple bag-and-label system saves hours.
Transitions: where “it won’t lift” usually starts
If your planks meet another floor type, doorway reducers and thresholds can lock the flooring in place. Even for floating installations, those pieces can block movement. Remove them first, then re-test for lift at the edge.
Remove the planks (by installation type)
Use the installation type to decide whether to lift, cut into sections, or scrape. The wrong method is the #1 cause of chipped edges, broken tongues, and subfloor damage.
– Click-lock / floating: Start at the edge with the expansion gap (you often can’t fully lift until trim is off). Lift the first row by disengaging the tongue-and-groove, then release subsequent rows as you work across the hallway.
– Nail/staple down: Use a scraper and carefully pry boards up, expecting fasteners to resist. If boards won’t release, you may need to cut them into manageable sections first to avoid ripping the subfloor.
– Glue down: Plan on more demolition than “deconstruction.” Use an oscillating multi-tool or carefully score-and-lift boards; expect adhesive to remain on the subfloor and require additional scraping/cleanup.
– Work method tip: Keep boards organized by row/direction so reassembly (if you’re reusing any pieces) stays consistent. If reuse isn’t planned, prioritize speed and subfloor preservation.
Floating click-lock floors generally release by disengaging the tongue-and-groove—forcing boards upright usually breaks tongues unless trim and transitions are removed.
Fastened engineered floors require fastener-aware removal; prying near nail/staple points increases the odds of pulling subfloor fibers.
Glued-down engineered floors almost always require adhesive removal to achieve a flat surface for the next floor, even when planks lift in larger pieces.
Pros/cons: the method choice that prevents damage
| Method | Pros | Cons / Risks |
|---|---|---|
| Click-lock (floating) | Best chance to remove boards intact with minimal subfloor cleanup. | Broken tongues if you start before trim is removed or if you pry too steeply. |
| Nailed/stapled | Often lifts in “layers” if you cut around fastener lines. | More subfloor risk from pry leverage; sharp fasteners remain after boards come up. |
| Glued down | Predictable separation if you plan on adhesive scraping. | Messy, time-consuming removal; adhesive thickness can affect next-floor flatness. |
A practical removal sequence (hallway workflow)
As of 2026, most manufacturer removal guidance emphasizes working from the release edge and avoiding direct leverage against the subfloor. So in a hallway, your sequence usually looks like this:
1. Free the perimeter (trim + transitions).
2. Start at the expansion gap side (floating) or the edge where separation is easiest.
3. Remove a manageable “row” width at a time to prevent board twisting.
4. Move outward systematically so you’re not stepping on loose boards.
Matching your cutting approach to the floor type
– Click-lock: Keep the blade/utility knife focused on disengaging tongues, not splitting boards lengthwise.
– Nail/staple: Expect boards to “hang” at fasteners; cut sections to relieve stress before prying.
– Glue down: Score and separate with a multi-tool where possible, then switch to controlled scraping for residue. If you rush, adhesive smears and becomes harder to flatten later.
Clean and prep the subfloor afterward
Cleaning isn’t optional—it’s what determines whether your next flooring installation lasts. After removal, aim for a surface that is flat, clean, and free of fasteners/adhesive ridges.
– Remove remaining staples/nails (use pliers/magnet checks), then scrape off any adhesive residue enough to create a flat surface for new flooring.
– Vacuum thoroughly and inspect for dips, ridges, or damaged spots; patch/level only where needed, using products appropriate for your subfloor material.
– If there’s a moisture barrier, underlayment, or remnants of old paper/plastic, decide whether to keep it or replace it based on what your next flooring installation requires—don’t assume it’s reusable.
Next-floor failures often come from an out-of-flat subfloor, so the goal after engineered removal is a smooth plane free of adhesive ridges and protruding fasteners.
Removing fasteners completely matters not only for safety but also because protrusions telegraph through underlayment and can prevent proper floor fastening/locking.
Moisture barriers and underlayments have product-specific compatibility; keep or replace them only according to the next floor’s installation instructions.
What “good enough” looks like (and what doesn’t)
From a practical teardown perspective, “good enough” usually means:
– no nail/staple heads or sharp points,
– no adhesive islands that lift a new floor panel,
– no lingering ridges that create deflection lines.
As you inspect, run your scraper blade lightly across the surface. If you catch on high spots, you’ll likely catch under the new flooring too. That’s where repair compounds or leveling systems (chosen for your subfloor type) come in.
Subfloor material and repair decisions
Different subfloors need different approaches:
– Plywood/OSB: replace damaged areas and avoid over-sanding that weakens edges.
– Concrete: remove residue without leaving loose dust, then prep with the right leveling/primer system.
– Underlayment remnants: keep only what your next flooring explicitly allows.
If you’re not sure what your next flooring needs, use the new floor manufacturer’s prep requirements as the authority—especially for moisture barriers and acceptable adhesive residue thickness.
What can go wrong (and how to avoid it)
Most removal problems come from using the right tool for the job—but the wrong method for the installation type. If you slow down at the seam lines and start from true release edges, you dramatically reduce damage.
– Chipped edges & broken tongues: This is common if you pry too aggressively or start before trim/transition pieces are removed. Remove the trim fully and start at a true release edge.
– Subfloor damage: Glued-down or fastened floors can pull chips out of plywood/OSB. Go slower near seams and avoid prying directly against the subfloor.
– Adhesive surprises: Glue residue thickness varies by manufacturer and installer. If you can’t get a flat surface after scraping, you may need to a leveling approach—otherwise new flooring can fail early.
– Fastener hazards: Nails/staples can leave sharp points. Always wear sturdy footwear and gloves during cleanup.
– Hidden conditions: If the home is older, materials in trim layers (not the engineered flooring itself) may include hazardous components; . When in doubt, test before disturbing.
Asbestos is regulated because exposure can occur when older floor materials are disturbed; OSHA sets a limit of 0.1 fibers/cc as an 8-hour TWA (OSHA 29 CFR 1910.1001).
Crystalline silica exposure can increase when cutting or scraping concrete or dusty materials; OSHA lists 50 µg/m³ (8-hour TWA) for respirable crystalline silica (OSHA 29 CFR 1910.1053).
If you find adhesive ridges that prevent flatness, leveling becomes necessary because many flooring systems fail when they’re installed over high spots or uneven residue.
Dust control reality check (especially in 2026)
As of 2026, many jurisdictions and contractors emphasize protecting indoor air quality during renovations. Even if your project is “just removing flooring,” scraping and cutting create fine particles that can travel far beyond the hallway. A practical approach is:
– contain the work area,
– vacuum continuously with a properly filtered shop vac setup,
– and choose respiratory protection consistent with the hazard.
To connect filter effectiveness to real removal work, here’s the minimum filtration performance for common NIOSH filter classifications.
NIOSH Particulate Filter Minimum Efficiency (0.3 µm)
| # | NIOSH filter class | Oil resistance | Dust-removal fit | Min efficiency @ 0.3 µm |
|---|---|---|---|---|
| 1 | N95 | Not resistant | ★★★☆☆ | ≥95% |
| 2 | R95 | Resistant | ★★★☆☆ | ≥95% |
| 3 | P95 | Oil proof | ★★★☆☆ | ≥95% |
| 4 | N99 | Not resistant | ★★★★☆ | ≥99% |
| 5 | R99 | Resistant | ★★★★☆ | ≥99% |
| 6 | P99 | Oil proof | ★★★★☆ | ≥99% |
| 7 | P100 | Oil proof | ★★★★★ | ≥99.97% |
These filtration efficiencies come from NIOSH particulate filter definitions (e.g., N95/P100 classifications) and are intended for selecting respirator filter performance for particulate hazards during dusty work.
A note on “glued vs nailed” surprises
It’s not uncommon to find a hybrid: click-lock construction with some perimeter fasteners, or partial glue spots near transitions. If your first row won’t disengage, don’t escalate with brute force. Instead:
– pause,
– inspect another hidden edge,
– and switch to a cutting-first approach where needed.
Quick tip + scan-and-save checklist
If you want the cleanest removal, prioritize identifying click-lock vs glue/nails first. The wrong method can turn a 2-hour job into a much longer cleanup—especially in narrow hallways with many baseboard lines.
– If you want the cleanest removal: prioritize identifying click-lock vs glue/nails first. The wrong method can turn a 2-hour job into a much longer cleanup.
– Downsides to expect: glued-down removal is messy, slow, and rarely “salvageable” plank-friendly; nail/staple removal can still damage the subfloor if you rush.
– Who should skip DIY: If you suspect asbestos-containing materials in surrounding layers, if the hallway has extensive built-ins you can’t remove safely, or if the subfloor is already compromised—consider hiring a flooring remover/installer.
Checklist (save this)
| Step | Quick check | Done? |
|---|---|---|
| Identify installation type | Click-lock vs glued vs nailed/stapled | [ ] |
| Protect the area | Plastic + vacuum dust control | [ ] |
| Remove baseboards/shoe + transitions | No trim blocks the edge | [ ] |
| Start from the release edge | Expansion gap/accessible corner | [ ] |
| Remove planks by method | Lift, cut, or scrape accordingly | [ ] |
| Clean subfloor | No nails, flat surface, adhesive removed as needed | [ ] |
| Prep for new flooring | Patch/level + re-check moisture/underlayment needs | [ ] |
Frequently Asked Questions
What’s the best way to remove engineered wood floors from a hallway without damaging the subfloor?
Start by assessing how the engineered wood is installed—glued-down, nail-down, or floating—because removal methods differ. Use a heat gun or floor scraper for adhesive and a pry bar/oscillating multi-tool to lift planks carefully, working from the nearest wall or doorway to avoid gouging subfloor. If the planks are nail-down, pull nails and use a floor scraper to remove remaining adhesive residue. Keep dust down by using a HEPA shop vac during scraping and cutting.
How do I remove glued-down engineered wood flooring in a hallway?
Begin by protecting vents, doors, and adjacent rooms, then cut the planks into manageable sections with a circular saw set to the depth of the plank plus a guide for control. Use a flooring scraper to lift pieces, and treat adhesive with a recommended adhesive remover or a heat method to soften the glue before scraping. Expect to spend extra time on the hallway subfloor cleanup, because leftover thinset/adhesive can prevent new flooring from installing flat. Finish by sanding or grinding high spots and vacuuming thoroughly.
How can I remove engineered wood planks that are floating-click installed?
Floating engineered wood typically comes apart in layers, so your goal is to release the locking joints rather than forcefully prying up. Remove baseboards and quarter-round first, then locate the edge where expansion gaps are hidden and start disassembly from that side. Tap a tapping block gently to separate the click-lock joints, and pull boards up in sequence to minimize breakage. After removal, check the underlayment and subfloor for moisture issues or debris before installing new flooring.
Which tools do I need to remove engineered wood floors from a narrow hallway?
For a hallway, focus on compact control tools: a pry bar with a flat end, a putty knife/floor scraper, an oscillating multi-tool for tight transitions, and a utility knife for cutting underlayment or trim. A heat gun and adhesive remover help when dealing with glued engineered wood, while a circular saw with a controlled depth setting can speed up sectioning planks. Use a shop vacuum with a HEPA filter to reduce dust, and keep knee protection on hand because work is often close to walls and corners. If the hallway is narrow, consider a demolition blade or slim oscillating accessory to cut nails and boards without widening damage.
Why is it important to remove engineered wood floors properly before installing new flooring?
Improper engineered wood floor removal can leave adhesive, nail remnants, or uneven spots that cause squeaks, gaps, or poor click-lock performance in new flooring. A properly prepped hallway subfloor also helps with moisture management, especially in areas with frequent foot traffic and temperature changes. By cleaning residue, leveling high points, and ensuring the surface is smooth and dry, you improve the longevity of the replacement floor and reduce the risk of future lifting or separation. Always verify subfloor flatness and follow the new flooring manufacturer’s preparation requirements.
📅 Last Updated: October 19, 2026 | Topic: How to remove engineered wood floors from a hallway? | Content verified for accuracy and freshness.
References
- Engineered wood
- Wood flooring
- https://www.epa.gov/lead/renovation-repair-and-painting-program
- https://www.epa.gov/asbestos
- https://www.cdc.gov/lead/prevention/index.html
- Asbestos – Overview | Occupational Safety and Health Administration
- Lead – Overview | Occupational Safety and Health Administration
- https://scholar.google.com/scholar?q=how+to+remove+engineered+wood+flooring Google Scholar
- https://scholar.google.com/scholar?q=remove+engineered+hardwood+floor+floating+click+lock Google Scholar
- https://scholar.google.com/scholar?q=glue+down+engineered+wood+floor+removal+adhesive+removal Google Scholar