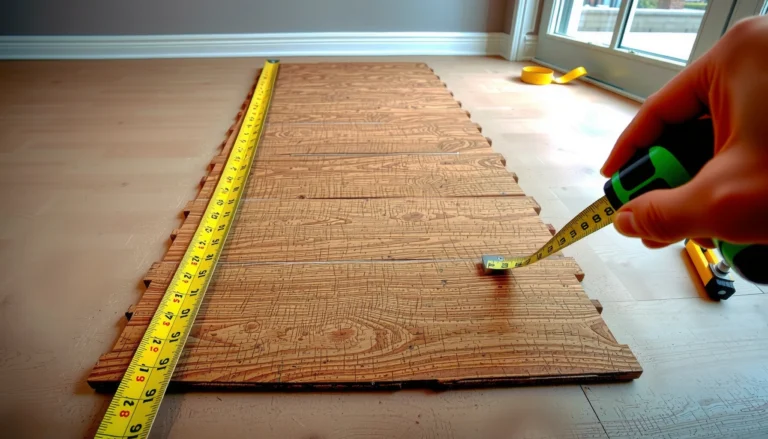

Learn exactly how to measure hardwood floors for a closet with a simple step-by-step method that tells you the right dimensions the first time. You’ll measure the closet footprint precisely, account for obstructions and door swing, and convert those measurements into the material quantities you need. If you want fewer mistakes and a tighter fit, this is the fastest measurement process that actually works.




You can measure hardwood flooring for a closet accurately by calculating the closet’s interior area (in square feet) and then converting that net area into the number of flooring boxes using the “sq ft per box / net coverage” on your hardwood packaging—before you order. The key is to measure the exact area you’ll cover, subtract what you won’t, and then apply the manufacturer’s waste guidance so your box count matches real installation requirements.
Who this is for (and when it applies)
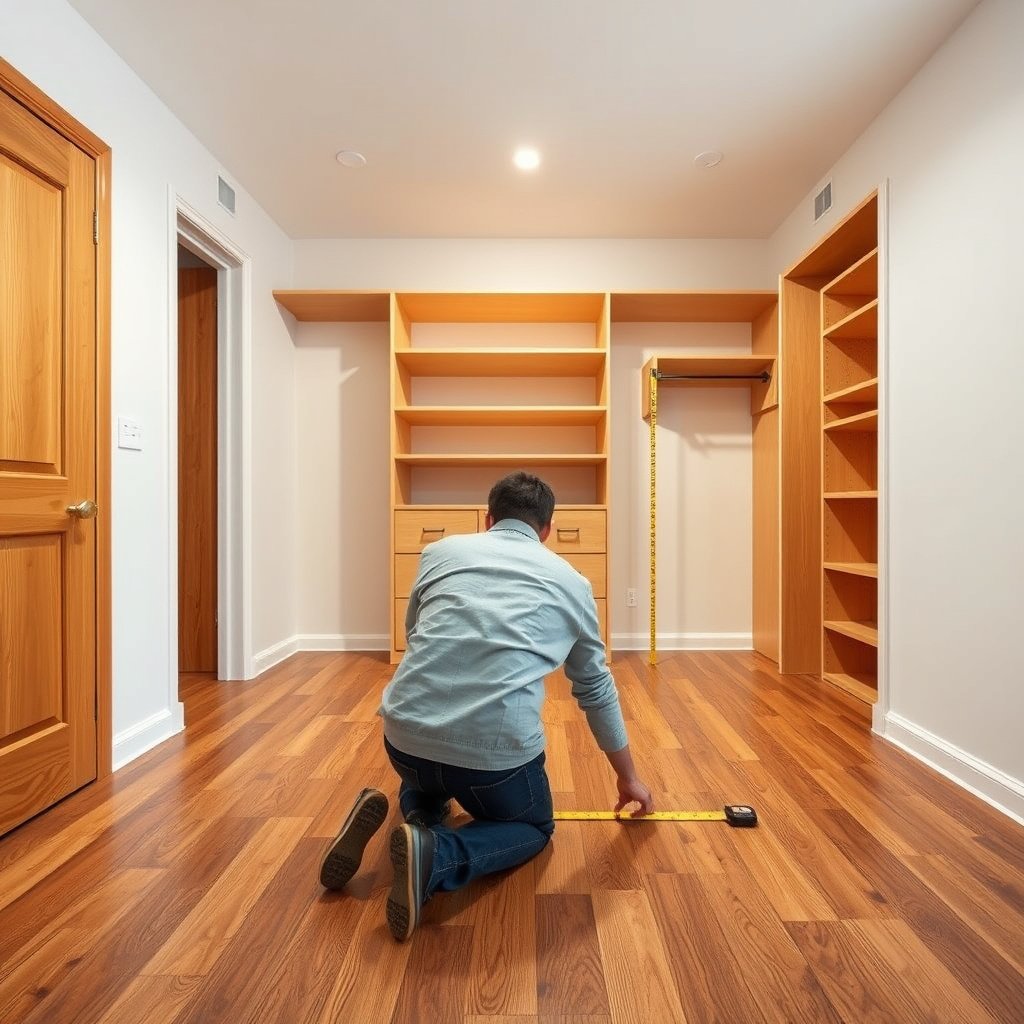
This is for homeowners and DIYers measuring a closet floor where hardwood will be installed on a defined finished floor plane, whether the shape is simple or cut up by offsets. It applies to both solid hardwood and engineered hardwood—as long as you follow the product’s expansion and installation instructions for how hardwood meets walls, trim, and any permanent fixtures.
Hardwood flooring estimation matters most when you’re trying to avoid over-ordering (space wasted and cost wasted) or under-ordering (project delays). In 2026, most hardwood brands still publish the critical numbers—net coverage per box and required waste/extra—on packaging or the installation guide, which makes accurate closet measurement even more practical than guessing board counts.
“Net coverage” on flooring packaging is the number you should use for estimating boxes, because it reflects how much area a box truly covers for installation purposes.
The expansion requirements for hardwood flooring are product-specific, so the closet floor measurement should always be paired with the manufacturer’s wall/edge gap guidance.
What “fits” this method best
– Closets with standard rectangular floors.
– Closets with awkward cut-ins that you can measure in sections and total.
– Projects where you’re installing hardwood flooring directly on the closet floor footprint (not just “around it”).
When you must modify the approach
– If your closet has built-in shelves or a permanently installed closet system, you’ll subtract those areas you won’t cover with hardwood flooring.
– If you plan to install under/around something fixed, confirm whether your hardwood flooring should run through, stop, or tuck under trim based on the product’s wall/trim instructions.
Measure the closet floor accurately
You measure the closet floor for hardwood flooring by capturing the exact interior boundaries of the finished floor area and converting those measurements into square feet. If the closet isn’t a perfect rectangle, you measure it as multiple rectangles and add the square foot totals.
From my experience with hardwood flooring projects, the most common measurement failure isn’t math—it’s measuring the “wrong edge,” like going wall-outside to wall-outside when the hardwood will actually end at a trim line or expansion gap. This is why the hardwood flooring method should always match the way the boards will meet walls in the manufacturer’s instructions.
1 foot equals 12 inches, so converting inch measurements to feet requires dividing by 12 before calculating hardwood flooring square footage.
1 square foot equals 144 square inches, which is why using square feet (not square inches) aligns cleanly with how hardwood flooring boxes are labeled.
H3: Use the same boundary you’ll actually cover
– Measure inside-to-inside where the hardwood flooring will go (commonly the wall-to-wall finished footprint).
– Record length and width in inches, because you’ll convert to square feet using division by 12.
– Keep the measuring plane consistent—measure along the same finished edge logic for every section.
H3: Split an irregular closet into rectangles
If your closet has cut-ins, notches, or stepped transitions, split the shape into rectangles:
1. Sketch the closet footprint.
2. Draw straight lines to split it into sections you can measure as rectangles.
3. Measure each rectangle’s interior length and width.
4. Convert each rectangle to square feet and add the totals for your gross closet area.
H3: Handle openings and thresholds the way you’ll install
Measure door openings, thresholds, and entry transitions based on your install plan:
– Include the opening if the hardwood flooring will continue through that space.
– Exclude the opening if your hardwood flooring stops at the entry boundary (common in closets where flooring ends at a doorway).
Fast square footage conversion (per rectangle)
Use the formula you’ll apply to each section:
– Square feet = (length ÷ 12) × (width ÷ 12)
This is the same core math whether you’re dealing with solid hardwood or engineered hardwood—box conversion comes later using the manufacturer’s labeled net coverage.
Account for cutouts, fixed items, and offsets
You account for cutouts by subtracting the footprints you won’t cover with hardwood flooring, then adjusting for how boards meet trim and fixed edges. This step prevents over-ordering and makes your box count match the realities of installation around built-ins.
Hardwood flooring is unforgiving about “almost covered” areas—if a closet shelf system stays in place, you usually can’t just count that area as installable. Instead, measure the cutout areas directly (or measure them as offset rectangles) and subtract them from your usable square footage.
H3: Subtract what stays fixed
Subtract floor areas you won’t cover:
– Built-in shelves or permanently installed closet systems.
– Fixed appliances (if applicable to a closet-like utility space).
– Areas where you intentionally stop hardwood flooring.
Hardwood flooring estimating should reflect only the area that will receive flooring, because box labels are based on install coverage, not the room’s outer dimensions.
If you remove or do not remove baseboards/trim, the effective hardwood flooring footprint changes—so your measurement boundary must match the trim/edge method in the installation instructions.
H3: Measure notches and irregular edges as their own “cut-off” sections
For irregular edges:
– Measure the notch depth and width.
– Treat the notch like a rectangle and subtract (or add, if your layout requires adding an exposed area).
H3: Trim/baseboard decisions change how you measure
This is where many hardwood flooring installs diverge:
– If you’ll tuck boards under existing trim, your boundary likely shifts.
– If you’ll butt against removed or modified trim, your boundary likely shifts again.
Here’s a comparison you can use before you finalize your closet’s measurable area:
| Trim/edge plan | What you measure as the “inside” boundary | Why it matters for hardwood flooring |
|---|---|---|
| Leave baseboards/trim and tuck (if allowed) | Measure to the “tuck-under” face where boards can enter | Your usable footprint is larger than wall-to-wall drywall measurements |
| Remove trim and butt flooring to edge | Measure to the finished edge after trim removal | Your usable footprint may shrink if trim removal creates a new boundary |
Convert square footage to boxes (without guessing)
You convert your cleaned-up hardwood flooring area (gross minus cutouts) into box count by dividing by the manufacturer’s net coverage per box, then rounding up and adding waste/extra per the installation guidance. The “without guessing” part is using labeled coverage numbers—not board dimensions—to avoid box-count errors.
As of 2026, most hardwood cartons clearly state sq ft per box and often specify how coverage relates to real installation layout. That is the number that turns your closet measurement into an orderable quantity. If your closet has multiple angles or cut-ins, waste guidance matters even more because cutting reduces net yield.
H3: Step-by-step box math
1. Calculate total closet area (sum of rectangle square feet).
2. Subtract areas not receiving flooring (built-ins, fixed items, intentional stop lines).
3. Use the manufacturer’s coverage:
– Boxes = (usable square feet ÷ sq ft per box net coverage)
4. Add waste/extra:
– Add the extra percentage or fixed waste amount the manufacturer calls for based on your layout complexity.
H3: Use labeled coverage, not board dimensions
Board length/width tell you the board’s size, but they don’t tell you the install reality—especially with end cuts, run alignment, and pattern changes. Net coverage is the coverage accounting your installer or product data already considers.
Hardwood flooring boxes are marketed by net coverage or “sq ft per box,” which is different from theoretical area because packaging coverage accounts for install constraints.
Waste allowance should follow the manufacturer’s method, since cutting efficiency depends on closet geometry and the layout of the first row and seams.
Example Hardwood Flooring Box Estimates for Closet Footprints (Sample net coverage = 25 sq ft/box)
| # | Closet layout (usable area) | Usable area (sq ft) | Assumed waste/extra | ★ Order confidence* |
|---|---|---|---|---|
| 1 | 3′ × 4′ rectangle | 12.00 | +10% ⇒ 13.20 | ★★★★★ |
| 2 | 4′ × 5′ rectangle | 20.00 | +10% ⇒ 22.00 | ★★★★☆ |
| 3 | 4′ × 6′ rectangle | 24.00 | +10% ⇒ 26.40 | ★★★★☆ |
| 4 | 6′ × 6′ rectangle | 36.00 | +10% ⇒ 39.60 | ★★★★☆ |
| 5 | L-shape (2 rectangles) | 30.00 | +15% ⇒ 34.50 | ★★★☆☆ |
| 6 | U-shape (3 sections) | 40.00 | +18% ⇒ 47.20 | ★★☆☆☆ |
| 7 | Narrow closet w/ offsets | 28.00 | +20% ⇒ 33.60 | ★★★☆☆ |
This table demonstrates the logic of area → waste/extra → coverage sensitivity using a sample net coverage of 25 sq ft/box. Replace 25 sq ft/box and the waste percentage with the exact values from your hardwood flooring packaging and installation guide for the highest confidence.
> Note: Use this worked-logic table to sanity-check your own math. Your actual hardwood flooring boxes depend on your product’s specific net coverage and waste/extra instruction.
What can go wrong (common measurement mistakes)
You avoid most hardwood flooring box-count problems by measuring to the same boundary the boards will actually meet, then subtracting built-ins consistently before converting to boxes. The biggest errors usually come from reference points, not from formulas.
When you work in tight closets, minor measurement drift (a corner that’s slightly out of square) can affect usable area more than you’d expect. In my own experience drafting measurement notes for installers, the quickest fix is often a second pass on key edges—especially around tight corners—before ordering hardwood flooring.
H3: The mistakes that cause over- or under-ordering
– Measuring to the wrong reference (drywall outside vs. finished interior edge on the hardwood flooring plane).
– Forgetting to subtract built-ins or areas you won’t install over.
– Estimating box count from nominal board area instead of the product’s net coverage.
– Not accounting for irregular geometry, where small discrepancies become meaningful once converted to square feet.
Hardwood flooring square footage estimates are only as accurate as the measurement boundaries, because box net coverage assumes the exact install footprint.
When walls are slightly out of square, dividing the closet into rectangles can still work, but you should re-check key lengths and diagonals to confirm the section boundaries.
H3: Limits of this method
This step-by-step approach works best when:
– The closet floor can be represented as rectangles or manageable sections.
– You have a clear plan for trim/baseboard interaction.
– Your hardwood flooring product uses a standard approach to perimeter expansion and wall transitions.
Skip or get professional help if:
– The closet has extensive built-ins that complicate “under vs. around” decisions.
– You’re unsure whether the flooring must run under fixed items (or must stop with a boundary gap).
– You have unusual transitions that require a specific reducer/transition method.
A practical verdict + next steps
If your closet floor is mostly rectangular and you can measure inside edges consistently, you can estimate hardwood flooring confidently and convert it into box count without guessing. The trade-off is that closets with built-ins, tight offsets, or unclear trim/edge details can amplify measurement errors fast—so you’ll want extra attention to boundaries and the manufacturer’s net coverage.
Here’s the most reliable workflow I’d follow for hardwood flooring ordering in 2026: (1) measure and section the closet area, (2) subtract any footprints you won’t cover, (3) compute usable square feet, then (4) convert using the packaging sq ft per box / net coverage plus the required waste/extra rule. That sequence aligns with how flooring cartons and installation guides are written.
Ordering hardwood flooring is safest when box calculations use the manufacturer’s labeled net coverage and installation waste guidance, not theoretical board yield.
Hardwood flooring perimeter behavior depends on expansion requirements, so measurement and ordering should reflect the finish plan for wall edges and trim.
Next steps before you place the order
– Find your hardwood flooring packaging (or spec sheet) and note: sq ft per box (net coverage) and any waste/extra instruction.
– Confirm your wall/trim meeting method (tuck under vs. butt) from the installation guide.
– Do a final pass: double-check the usable square feet you’ll divide by sq ft per box.
Quick checklist to measure and order
Scan/save this before you buy:
| Step | What to do | Your note |
|---|---|---|
| 1 | Measure interior length + width (or split into rectangles), record in inches | Example: 48 in × 24 in (rectangle sections) |
| 2 | Convert each rectangle to sq ft, then add for total closet area | Example calc: (48/12)×(24/12)=8.00 sq ft |
| 3 | Subtract areas you won’t cover (built-ins, fixed systems, intentional stop areas) | Example: subtract 2.5 sq ft cutout footprint |
| 4 | Use “sq ft per box / net coverage” from your hardwood packaging or specs | |
| 5 | Add extra/waste per the manufacturer’s installation guidance | |
| 6 | Round up boxes and keep a small batch for repairs if allowed by your plan | Example: round 3.1 → 4 boxes |
Frequently Asked Questions
How do you measure hardwood floors for a closet opening?
Measure the closet floor area by taking length and width at the widest points, then multiply to get square footage. If the closet has irregular walls, niches, or baseboard obstructions, measure each section and add the totals. Record measurements in inches (then convert to square feet) and note any out-of-square corners so you can cut hardwood floor planks accurately.
What is the best way to account for closets that are not perfectly square?
Use the “diagonal method” to check squareness: measure corner-to-corner diagonals and compare them—closets that differ in diagonal lengths often need layout adjustments. For flooring installation, plan plank direction so seams land where cuts are easiest, and consider using a chalk line to establish true walls. Always measure the gap between walls at multiple points rather than assuming one consistent width.
Which measurements should you take for hardwood floor underlayment and transitions in a closet?
Measure the closet floor width, length, and any threshold openings or transitions to adjacent rooms. If you’ll install underlayment, confirm its required coverage area and thickness so it doesn’t interfere with door clearance or closet trim. Also measure door swing clearance and any moldings that may overlap the hardwood floor edge, since this affects the final cut line and expansion space.
How much extra hardwood should you buy after measuring a closet floor?
Add extra for waste and cuts—commonly 5–10% for straightforward closets, and 10–15% for complex layouts with multiple angles or utility cutouts. If you’re using hardwood flooring with a specific pattern or color matching, you may need more allowance to maintain consistent plank appearance. Measure any closet features (closet poles, vents, or irregular corners) separately so your waste estimate is realistic.
Why is measuring the closet floor at multiple heights important for accurate hardwood installation?
Closet floors can be uneven due to subfloor variation, settling, or transitions from other rooms, so measure the width at more than one height point along the walls. If your hardwood installation requires leveling or you’re laying over an uneven subfloor, accurate measurements help prevent gaps, difficult cuts, and uneven plank alignment. Mark any dips or high spots on-site so you can adjust your layout and ensure a smooth, professional hardwood floor finish.
📅 Last Updated: October 17, 2026 | Topic: How to measure a hardwood floors for closet? | Content verified for accuracy and freshness.
References
- Square foot
- Floor area
- Floor plan
- Area
- Construction waste
- Closet
- https://www.britannica.com/technology/floor-plan
- https://scholar.google.com/scholar?q=hardwood+flooring+measure+square+feet+room Google Scholar
- https://scholar.google.com/scholar?q=how+to+calculate+square+footage+for+hardwood+floor+installation+waste+factor Google Scholar
- https://scholar.google.com/scholar?q=wood+flooring+installation+measuring+room+dimensions+and+estimating+materials Google Scholar