
Stop buckling in your chevron floors with a proven, step-by-step repair that restores flatness and stability. This guide walks you through diagnosing the cause, removing and replacing the affected sections, and resetting the layout so the pattern locks back into place. Follow these instructions to prevent recurring lifts and finish with a durable, professional-looking surface.



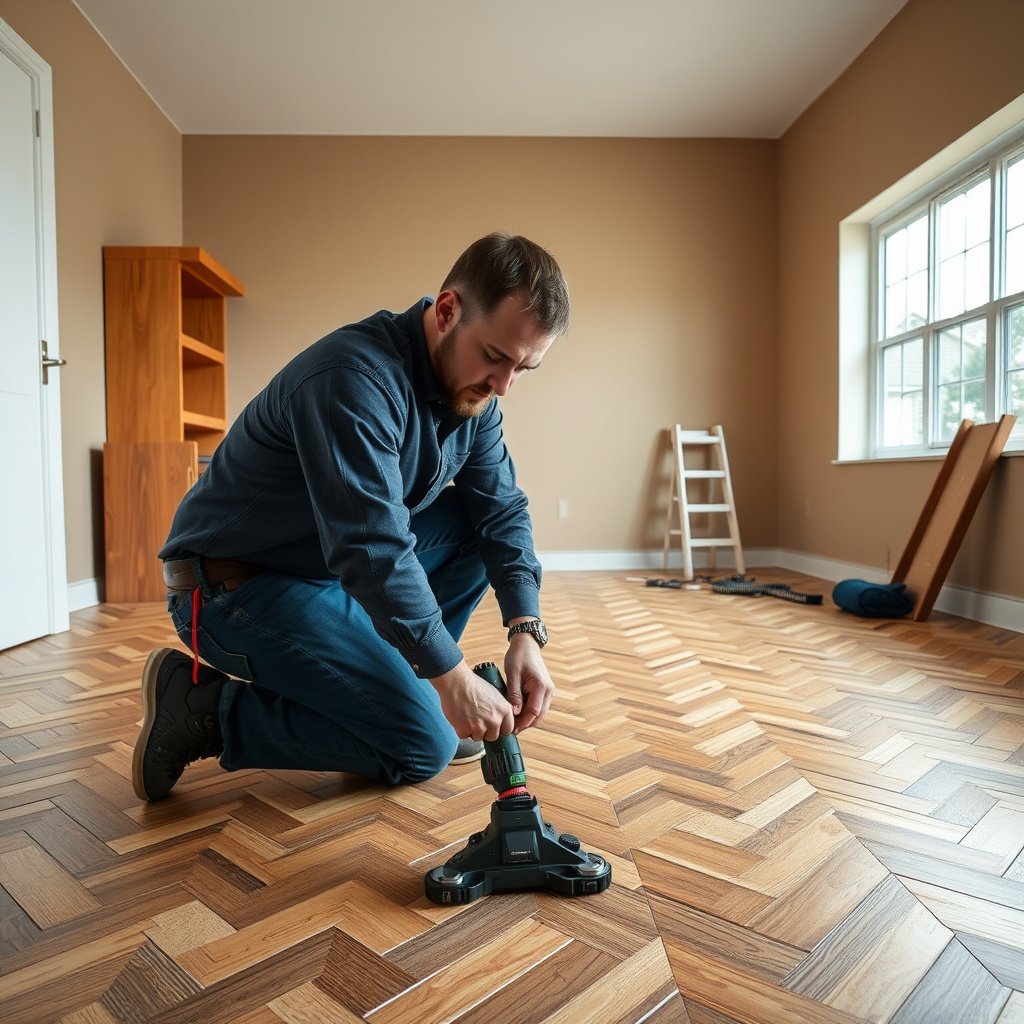
If your chevron floor is buckling, you usually can’t “flatten it back” until you fix the cause—most often excess moisture, poor subfloor flatness, or missing expansion space. The fastest reliable path is: identify the moisture/flatness issue, stabilize conditions to the manufacturer’s targets, remove buckled boards if needed, then reinstall after the flooring acclimates so the chevron pattern can stay stable.
Who this is for (and when it applies)
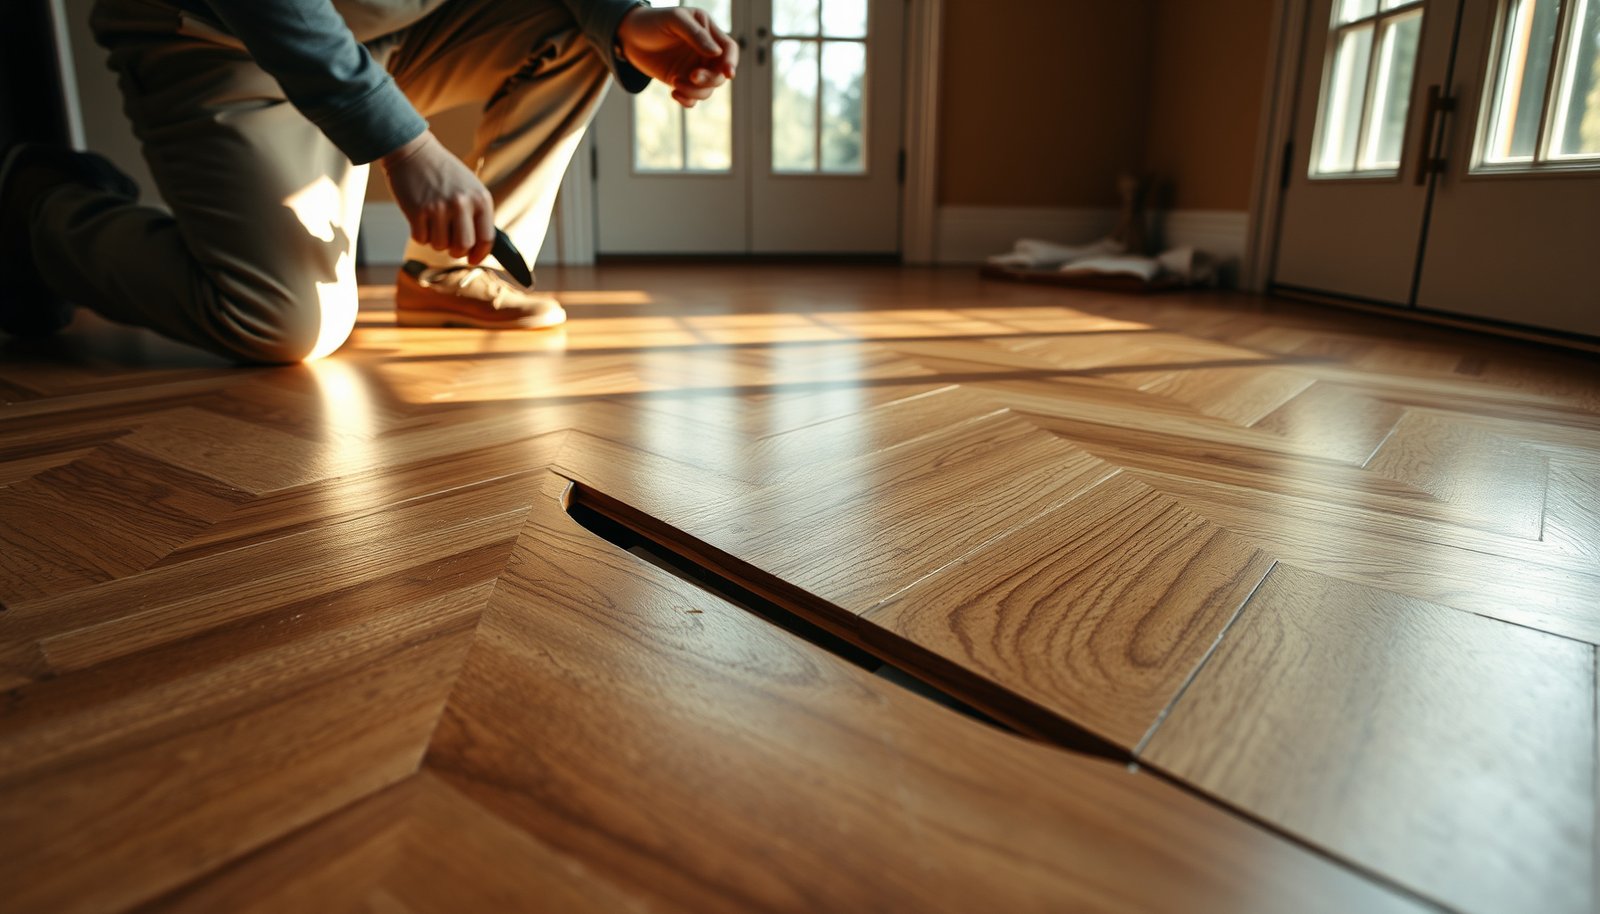
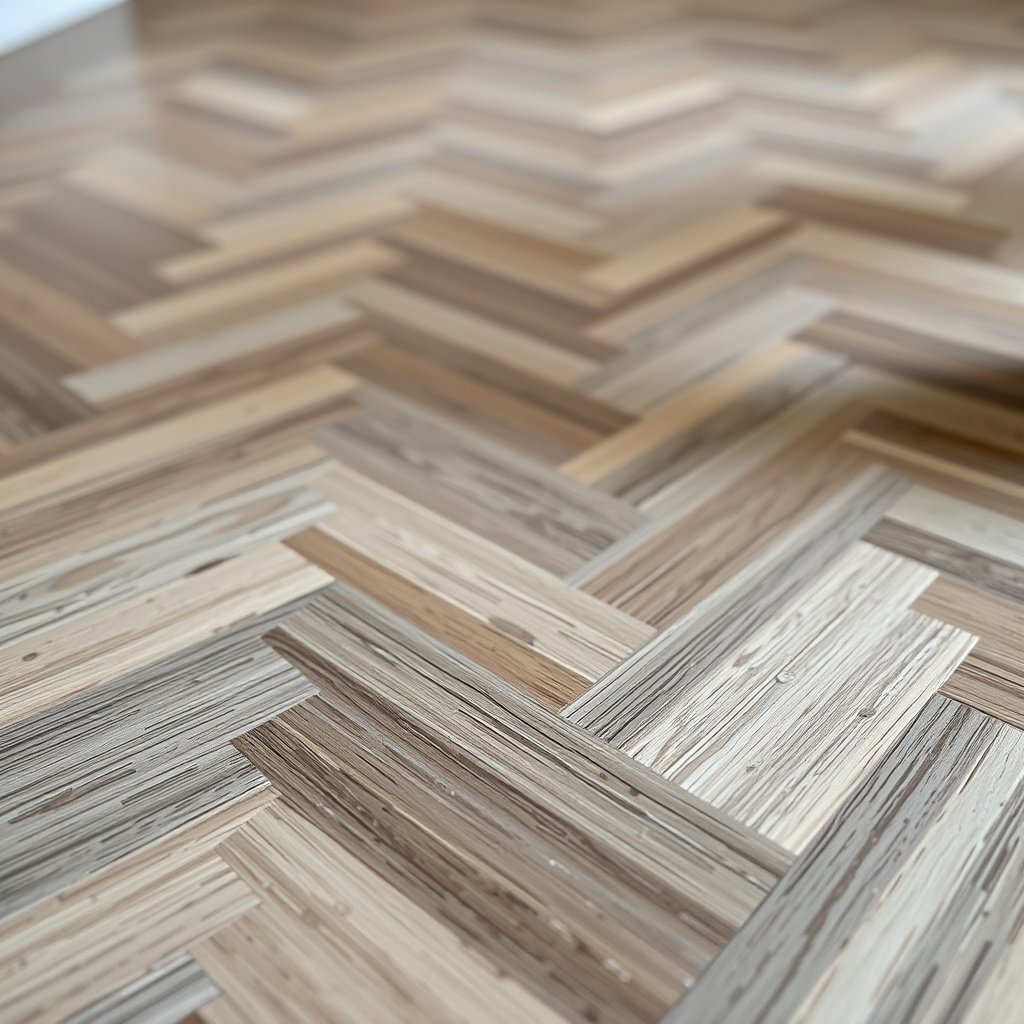
If you’re seeing cupping/crowning, raised seams, or visible waves in a chevron-pattern floor, this guide is for you—because chevron buckling is almost always tied to moisture + movement constraints. Use these steps when the buckling started after a weather/AC/humidity swing, a plumbing event, or an install that didn’t leave enough movement space around the room’s perimeter (including cabinets and thresholds).
Chevron-pattern flooring can “telegraph” movement because the diagonal layout keeps more of the board-to-board line alignment visible across the room.
Buckling that appears shortly after HVAC changes usually points to an indoor humidity shift, not a problem with the chevron pattern itself.
This applies to solid wood and engineered wood chevron floors, and sometimes click-lock products depending on the manufacturer’s moisture-vapor and expansion requirements. As of 2026, most reputable installation systems still treat chevron buckling as a symptom: the floor moves because conditions allow it to move, and then the movement concentrates into waves once the subfloor and expansion gaps can’t “absorb” it.
Diagnose the real cause of buckling
You’ll fix buckling faster when you treat it like a system failure—because the chevron floor buckles for a reason, and that reason usually shows up before you remove any boards. Start with moisture clues, then confirm subfloor flatness, and only then verify expansion space around walls and transitions.
If the slab/subfloor is holding excess moisture, the chevron flooring can expand and buckle even if your installation looks “tight” and well-nailed.
Uneven subfloor high spots force chevron boards to bridge; when stresses release, you often see waves or seam raising.
Moisture clues: look first
– Recent leaks, damp underlayment, wet drywall patches, or water pooling after spills are common triggers.
– Check whether the home’s indoor humidity moved significantly compared with before the buckling started (for example, HVAC repairs, closed vents, new humidifiers, or a sudden switch from dehumidifying to heating).
– If you have a crawlspace, confirm it isn’t running humid (condensation on concrete, musty odors, or visible vapor).
Flatness clues: confirm before assuming
Buckling often follows uneven spots. Even small ridges can create pressure points in a chevron floor, because the diagonal joints distribute stress differently than straight plank runs.
Expansion space: verify perimeter and constraints
Chevron floors—like any wood floor—need movement room. Missing or reduced expansion gaps near:
– baseboards that are nailed too tightly,
– built-ins/cabinets,
– fireplaces,
– thresholds,
– or rigid transitions
can trap the floor and push it into buckling.
Anchor points you can measure against
According to NWFA wood flooring installation guidance, typical subfloor flatness requirements are 3/16 inch over 10 feet (4.8 mm over 3.0 m) to minimize “bridging” during installation (NWFA installation guidance, edition varies by publication year).
According to ASTM F2170, in-situ slab moisture testing reports results as Relative Humidity (%) from drilled probe locations (ASTM F2170, 2019).
According to common NWFA installation guidance for solid wood, perimeter expansion gaps are typically about 1/2 inch (12.7 mm) as a baseline, with exact amounts still dependent on the specific product and installation context (NWFA wood flooring installation guidance, edition varies by publication year).
> Note: exact acceptance thresholds for moisture and final fastening conditions are often manufacturer-specific. Use the flooring brand’s installation instructions as the controlling document.
Stabilize conditions before you touch the floor
Before removing boards, stabilize the environment so the chevron floor stops “chasing” moisture. If you keep running conditions outside the manufacturer’s temperature/RH targets, you may re-create buckling the moment you reinstall.
Correcting chevron floor buckling depends more on bringing the home back to target RH/temperature than on smoothing boards.
If a plumbing or water-intrusion problem is still active, any repair over wet material is likely to fail.
Bring the home to the manufacturer’s targets
– Use a reliable thermometer/hygrometer pair to track indoor temperature and relative humidity.
– Don’t “guess” targets—use your flooring brand’s documented range for temperature and RH.
– As of 2026, many manufacturers still specify that the jobsite must be within their environmental tolerances for acclimation and install readiness.
Remove variables (and avoid localized blasting)
– Avoid turning humidifiers/dehumidifiers on/off rapidly.
– Don’t blast HVAC air directly across a chevron floor area; localized drying can create uneven movement.
– If you suspect water intrusion, stop and fix it first (roof/plumbing leaks, groundwater seepage, plumbing supply/drain issues, or damaged vapor barriers).
If you don’t fix the cause, “flattening” is temporary
When a chevron floor buckles, the board cells and the installed system have already absorbed moisture and/or been forced out of plane. Smoothing it without stabilizing conditions can mask the symptom while the chevron floor continues expanding underneath.
Inspect subfloor moisture and flatness
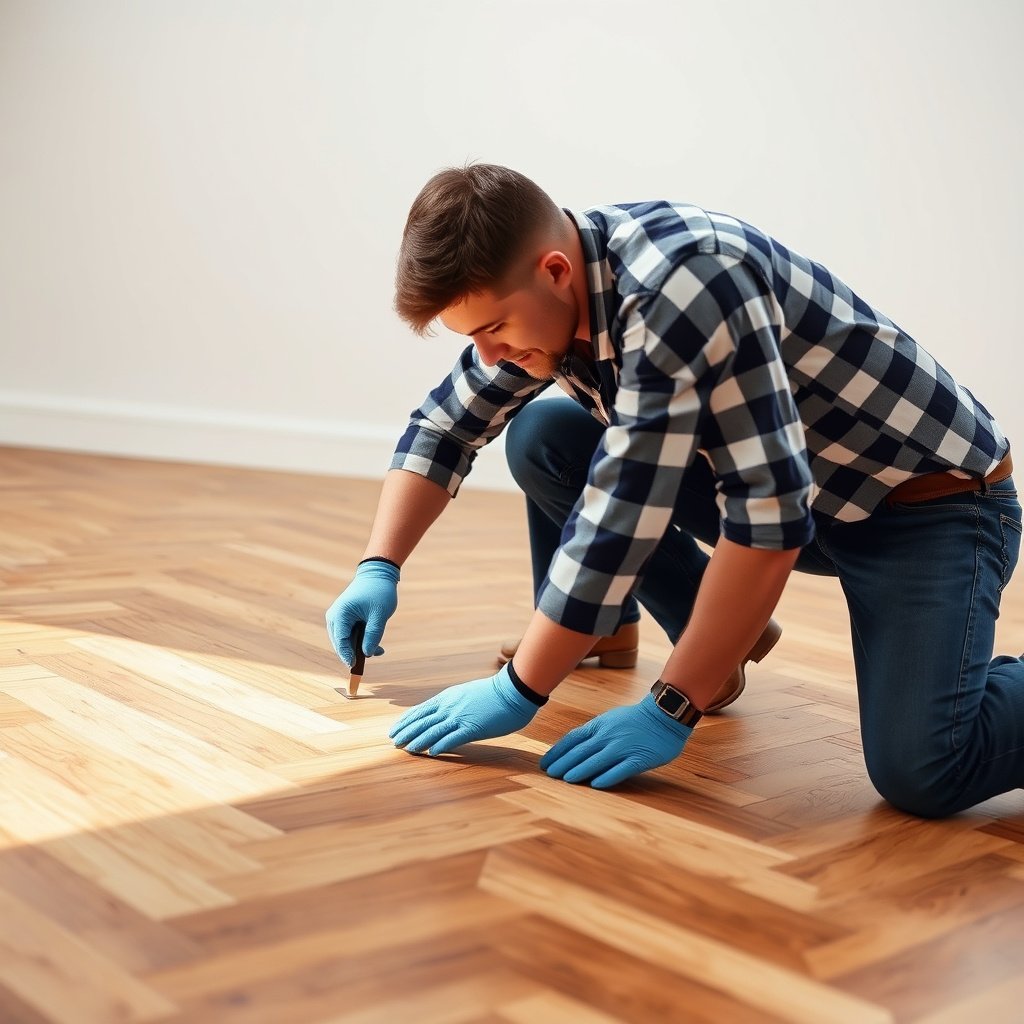
Inspection is the turning point: once you verify moisture and flatness, your repair plan becomes clear. This section focuses on measurable checks—especially important for chevron flooring, where alignment and stress distribution reveal problems quickly.
Don’t rely on surface feel for moisture—use the test method required by your flooring manufacturer.
A chevron floor installed on a non-flat substrate can look “fine” briefly, then wave at seams after the system relaxes.
Moisture control: test, don’t guess
– Test the slab/subfloor moisture using the method your manufacturer requires (commonly ASTM F2170 for concrete RH testing).
– If you’re over a wood subfloor or crawlspace, verify wood moisture content using the method referenced by the manufacturer (often oven-dry testing per an ASTM wood moisture standard).
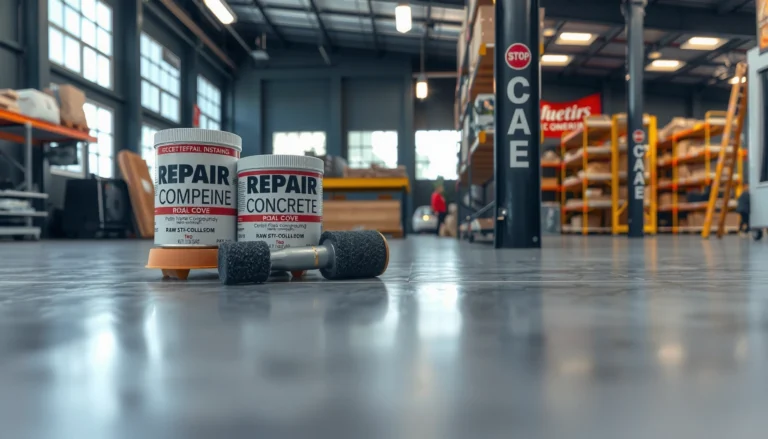
– If moisture is above the allowable limit, remediation comes first (vapor barrier correction, drainage fixes, HVAC control adjustments, or professional moisture mitigation).
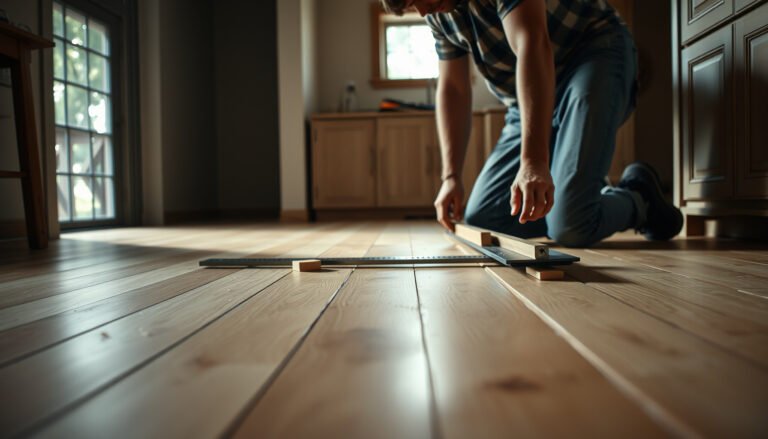
Flatness matters: measure with a straightedge
– Measure across the area where the chevron floor buckled.
– Identify humps (high spots) and low spots (which can cause unsupported areas).
– Correcting flatness typically means leveling/sanding/high-spot removal/patching—depending on the substrate type and severity.
Confirm the installation system matches the product
Chevron buckling can be caused by mismatch between the floor and the installation system:
– Glued floors: verify adhesive type and coverage method followed manufacturer requirements.
– Floating/click-lock: verify underlayment type, thickness, flatness tolerance, and locking system allowances.
– In both cases, confirm there is no missing vapor barrier where required.
Repair buckled chevron sections (what to do next)
Once conditions are stable and you’ve verified moisture/flatness, repair becomes a controlled reset of the chevron floor system. The goal is to stop active movement first, then remove distortion, then reinstall with correct acclimation, expansion gaps, and fastening/glue/locking method.
If the buckled chevron area is still actively moving, repairs while it’s expanding can worsen the distortion.
Localized buckling often means you can remove only the affected section—if moisture and flatness issues are corrected.
If boards are still moving: wait
– Watch for ongoing cupping/crowning changes over several days under stable HVAC control.
– If the chevron floor continues shifting, pause removal/reinstall until it stabilizes. Otherwise, newly installed boards can bow again.
If buckling is localized: remove and inspect
– Remove the affected chevron boards/planks/tiles in the buckled zone (following your product’s removal guidance).
– Inspect underlayment and moisture barrier integrity.
– Check for subfloor damage (soft spots, delamination of underlayment, debris, or uneven patches).
– Address any adhesive failure (for glued systems) or underlayment/lock tolerances (for floating systems).
Reinstall correctly (the pattern is part of the engineering)
– Acclimate flooring exactly per manufacturer instructions before install.
– Maintain required expansion gaps at all perimeter boundaries and transitions.
– Reinstall using the exact method required:
– nail/staple schedule and fastener locations for nailed solid wood,
– adhesive type/coverage for glued installations,
– lock engagement procedure and underlayment rules for floating/click-lock products.
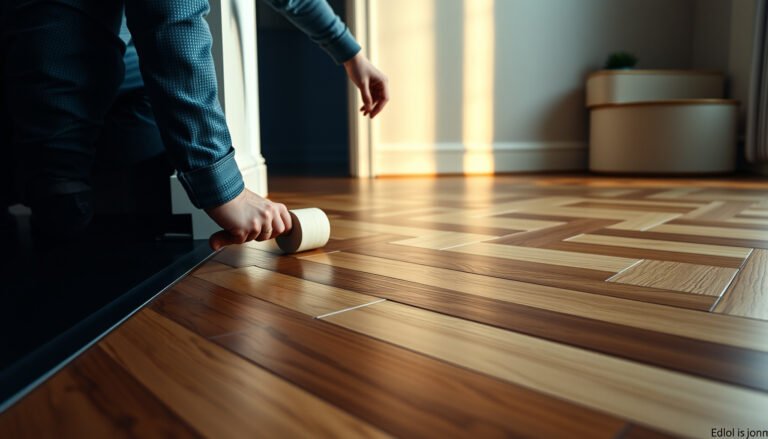
– In chevron installations, pattern alignment and joint spacing accuracy matter—misalignment can concentrate stress and accentuate waves.
Benchmarks Used to Prevent Buckling in Chevron Floors (2026)
| # | Standard / Check | Parameter | Key Numeric Target | Where It Impacts Chevron Buckling | Impact Rating |
|---|---|---|---|---|---|
| 1 | NWFA Subfloor Flatness Check | Flatness tolerance | 3/16 in per 10 ft | Prevents bridging/wave release | ★★★★★ |
| 2 | ASTM F2170 (In-situ RH) | Moisture output unit | % Relative Humidity | Identifies moisture drive | ★★★★☆ |
| 3 | Perimeter Expansion (Solid Wood) | Baseline gap | 1/2 in (12.7 mm) | Avoids edge pressure buckling | ★★★★★ |
| 4 | ASTM D4442 (Wood Moisture) | Oven-dry method temp | 103 ± 2°C | Confirms material readiness | ★★★☆☆ |
| 5 | Moisture Barrier Basics | Common overlap practice | 6 in laps (typical) | Reduces vapor transmission | ★★★★☆ |
| 6 | Straightedge Measurement | Common test length | 10 ft spans | Reveals subfloor humps | ★★★★☆ |
| 7 | Acclimation Control | Environmental stability | Meet RH/temp targets | Stops board movement during install | ★★☆☆☆ |
> The numeric targets in the table are drawn from widely used standards/guidelines. Always use your exact flooring manufacturer’s installation document for the controlling RH limits, gap requirements, underlayment/vapor barrier details, and fastening/glue/lock methods.
Prevent buckling from coming back
Prevention is essentially the same workflow, but stricter: stabilize moisture control, preserve expansion space, and keep the chevron floor uncoupled from rigid constraints where needed. If you rebuild the system correctly, the chevron pattern should remain flat through normal seasonal movement.
Keeping indoor RH steady year-round is one of the most reliable ways to prevent a buckled chevron floor from reappearing.
Improper transitions—especially where rigid cabinetry traps the perimeter—can recreate edge pressure that leads to buckling.
Follow acclimation rules exactly
– Acclimate the flooring in the installation environment per the manufacturer’s timeline (and don’t confuse acclimation with “storage in a garage”).
– For chevron floors, pattern stability also depends on accurate spacing during install, not only on board moisture.
Keep humidity stable in 2026 (and beyond)
– Use HVAC control that avoids large swings—chevron flooring shows movement patterns more visibly because diagonal seams read as lines.
– If you live in a climate with dramatic seasonal swings, plan for active humidity management rather than reacting after buckling begins.
Protect transitions and perimeter points
– Use expansion joints where required for large openings.
– Avoid trapping the floor under rigid cabinetry that doesn’t allow movement.
– At thresholds, transition strips or reducers should be installed in a way that doesn’t lock the wood into an in-place “box.”
Pros/cons: what typically works best
| Approach | Pros | Cons / Risks |
|---|---|---|
| Correct moisture + flatness, then reinstall | Addresses root cause; best chance to prevent re-buckling | Requires testing and substrate prep; may involve partial removal |
| Reinstall without correcting flatness/moisture | Lower short-term labor | Buckling frequently returns after seasonal RH changes |
| “Flattening” only (weights/clamps) as the main fix | May hide waves temporarily | Doesn’t stop moisture drive; can create new stress points |
What can go wrong (common mistakes and limits)
The most common failure mode is fixing the symptom but not the underlying condition—so the chevron floor buckles again later. To avoid wasted labor, watch for moisture testing shortcuts, uncorrected subfloor flatness, and overly tight perimeter spacing.
If the moisture source remains, chevron flooring buckling typically returns even after “straightening.”
A non-flat substrate can defeat correct humidity control by forcing stress concentrations into the chevron pattern.
– Trying to fix it without finding moisture: if the slab, crawlspace humidity, or vapor barrier is still out of range, the buckled chevron floor usually re-waves.
– Reinstalling over an unflat subfloor: humidity management can’t compensate for humps, voids, or bridging.
– Forcing boards into place: trimming/spacing that’s too tight near walls or thresholds can create pressure that leads to future buckling.
– Skipping manufacturer steps: fastening method, required gaps, underlayment, and vapor barrier rules vary by product—wrong technique can compromise performance expectations.
– If there’s mold or long-term water damage: surface-only repairs won’t address contamination or structural substrate deterioration; floor replacement and remediation may be necessary.
Limits to DIY repairs
– If buckling spread is extensive, moisture may be distributed through the slab or subfloor system.
– If the subfloor is damaged (soft spots, delamination, failed underlayment), replacement of materials may be more reliable than patching.
Verdict / tip
Start with diagnosis and moisture/flatness—because buckling in a chevron floor is usually a symptom, not the whole problem. If the buckling is widespread, you see ongoing moisture, or you can’t verify subfloor flatness and moisture with the correct tests, it’s often better to pause and consult a flooring pro or follow your manufacturer’s warranty/inspection process.
Avoid relying on DIY “flattening” (weights/clamps) as the main solution; it can temporarily mask buckling while moisture drive continues.
The most reliable repair sequence is: confirm moisture + flatness, stabilize indoor conditions, remove distortion if needed, then reinstall using the manufacturer’s exact method.
Quick checklist (scan before you act)
| Step | What to check | Pass/Fail |
|---|---|---|
| 1 | Indoor temperature + humidity matches manufacturer guidance | [ ] |
| 2 | Any active leak/spill or damp crawlspace/basement area | [ ] |
| 3 | Subfloor/slab moisture tested with the required method | [ ] |
| 4 | Subfloor flatness measured and corrected if needed | [ ] |
| 5 | Expansion gaps/transition joints present (especially perimeter) | [ ] |
| 6 | Flooring acclimated before reinstall | [ ] |
| 7 | Reinstalled using the exact method for your product (glue/nail/lock) | [ ] |
Sources
– ASTM F2170 — Standard Practice for Determining Relative Humidity in Concrete Floor Slabs Using in situ probes (commonly used as the required method for many wood flooring moisture evaluations)
– ASTM D4442 — Standard Test Methods for Direct Moisture Content Measurement of Wood and Wood-Based Materials (oven-dry reference method used by many moisture evaluations)
– NWFA (National Wood Flooring Association) — Wood flooring installation and moisture-management guidance, including substrate flatness expectations and moisture control principles
A properly fixed buckled chevron floor is less about “undoing the wave” and more about restoring control over moisture, movement, and support. If you follow the sequence—diagnose the moisture/flatness cause, stabilize the environment, remove distortion when necessary, then reinstall with the exact system requirements—you give your chevron pattern the best chance to stay flat through normal seasonal change.
Frequently Asked Questions
What causes buckling in chevron floors?
Buckling in chevron floors is most often caused by moisture problems, such as spills, high humidity, or water intrusion from the subfloor. Improper acclimation of wood (or poor installation of engineered products) can also lead to expansion and buckling. In some cases, inadequate subfloor flatness, missing expansion gaps, or installation over an uneven surface creates stress that forces the chevron pattern to lift.
How do I fix buckling in chevron hardwood or engineered wood floors?
Start by identifying the source of moisture and correcting it before repairing the chevron flooring, or the issue will return. If the buckling is mild, you may be able to loosen and re-secure affected boards after drying and re-leveling the subfloor; for larger buckles, sections may need to be replaced. After the area is flat again, reinstall using proper fasteners (or adhesive for the correct product type) and maintain correct expansion spacing around walls.
How can I stop chevron floor buckling after a spill or plumbing leak?
Dry the area quickly and thoroughly—use fans and dehumidifiers, and remove wet rugs or underlayment immediately to reduce moisture absorption. Measure moisture levels in the subfloor and wood; repairs should only proceed once everything is within the acceptable range for your flooring type. Once dry, check whether the buckled chevron boards can be flattened by targeted adjustments, or whether you need to replace warped planks to restore the pattern and prevent ongoing movement.
Why is proper subfloor preparation critical for preventing buckled chevron floors?
Chevron floors amplify visual and structural stress because the installation relies on precise alignment and straight, stable board edges. If the subfloor isn’t level or is too soft, the boards can’t sit evenly, leading to flexing and buckling over time. Ensuring a flat, rigid subfloor—then using the correct underlayment (or moisture barrier) for the product and climate—helps keep the chevron flooring stable and prevents repeated expansion issues.
Which repair method is best for buckled chevron floors: drying, re-fastening, or replacement?
Mild buckling with no lasting warping may respond best to drying and careful re-fastening, especially if the subfloor has been verified as flat. If boards remain cupped or the chevron pattern has lifted and won’t lay flat after moisture correction, replacement is usually the best long-term solution. A professional assessment is often worthwhile because the “best” fix depends on moisture readings, the severity of bowing, and whether the chevron layout can be repaired without compromising alignment and performance.
📅 Last Updated: October 15, 2026 | Topic: How to fix buckling in chevron floors? | Content verified for accuracy and freshness.
References
- https://www.fpl.fs.usda.gov/documnts/fplgtr/fpl_gtr190.pdf
- F2170 Standard Test Method for Determining Relative Humidity in Concrete Floor Slabs Using in sit…
- F1869 Standard Test Method for Measuring Moisture Vapor Emission Rate of Concrete Subfloor Using …
- F1482 Standard Practice for Installation and Preparation of Panel Type Underlayments to Receive R…
- https://www.epa.gov/indoor-air-quality-iaq/controlling-mold-moisture-and-humidity
- https://www.cdc.gov/mold/default.htm
- Parquet
- https://scholar.google.com/scholar?q=chevron+wood+floor+buckling+repair+moisture Google Scholar
- https://scholar.google.com/scholar?q=hardwood+floor+buckling+cupping+crowning+repair+humidity Google Scholar
- https://scholar.google.com/scholar?q=parquet+flooring+installation+moisture+warping+standards+ASTM Google Scholar