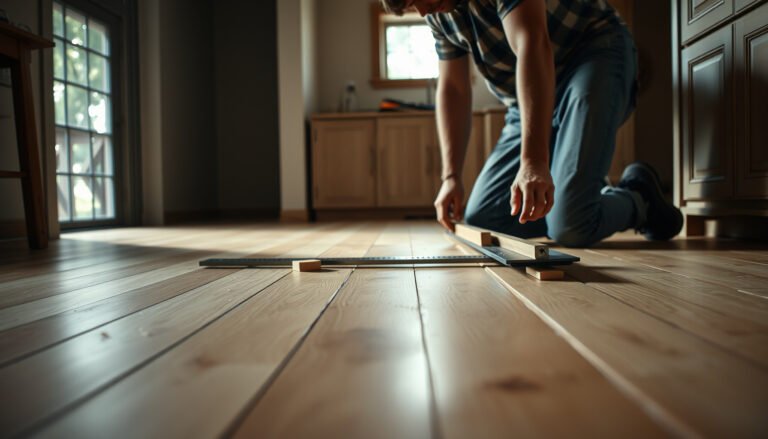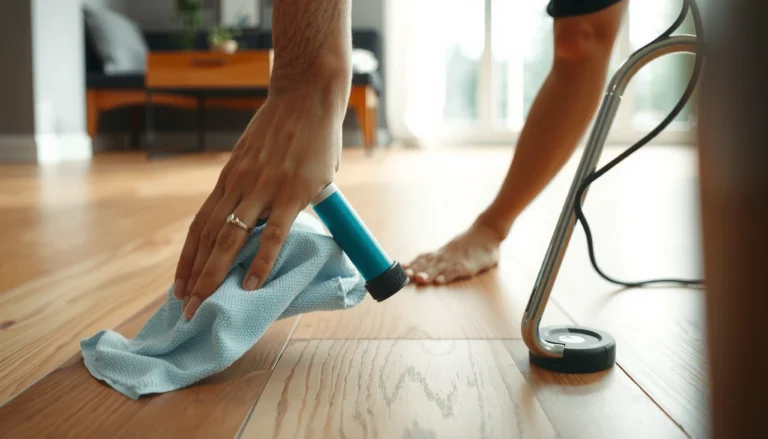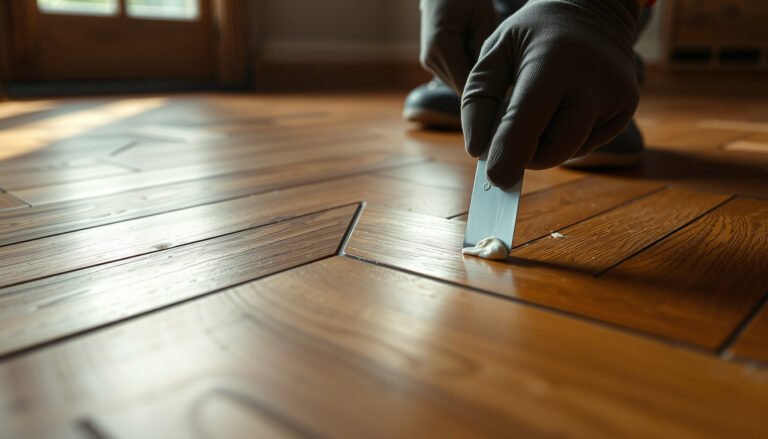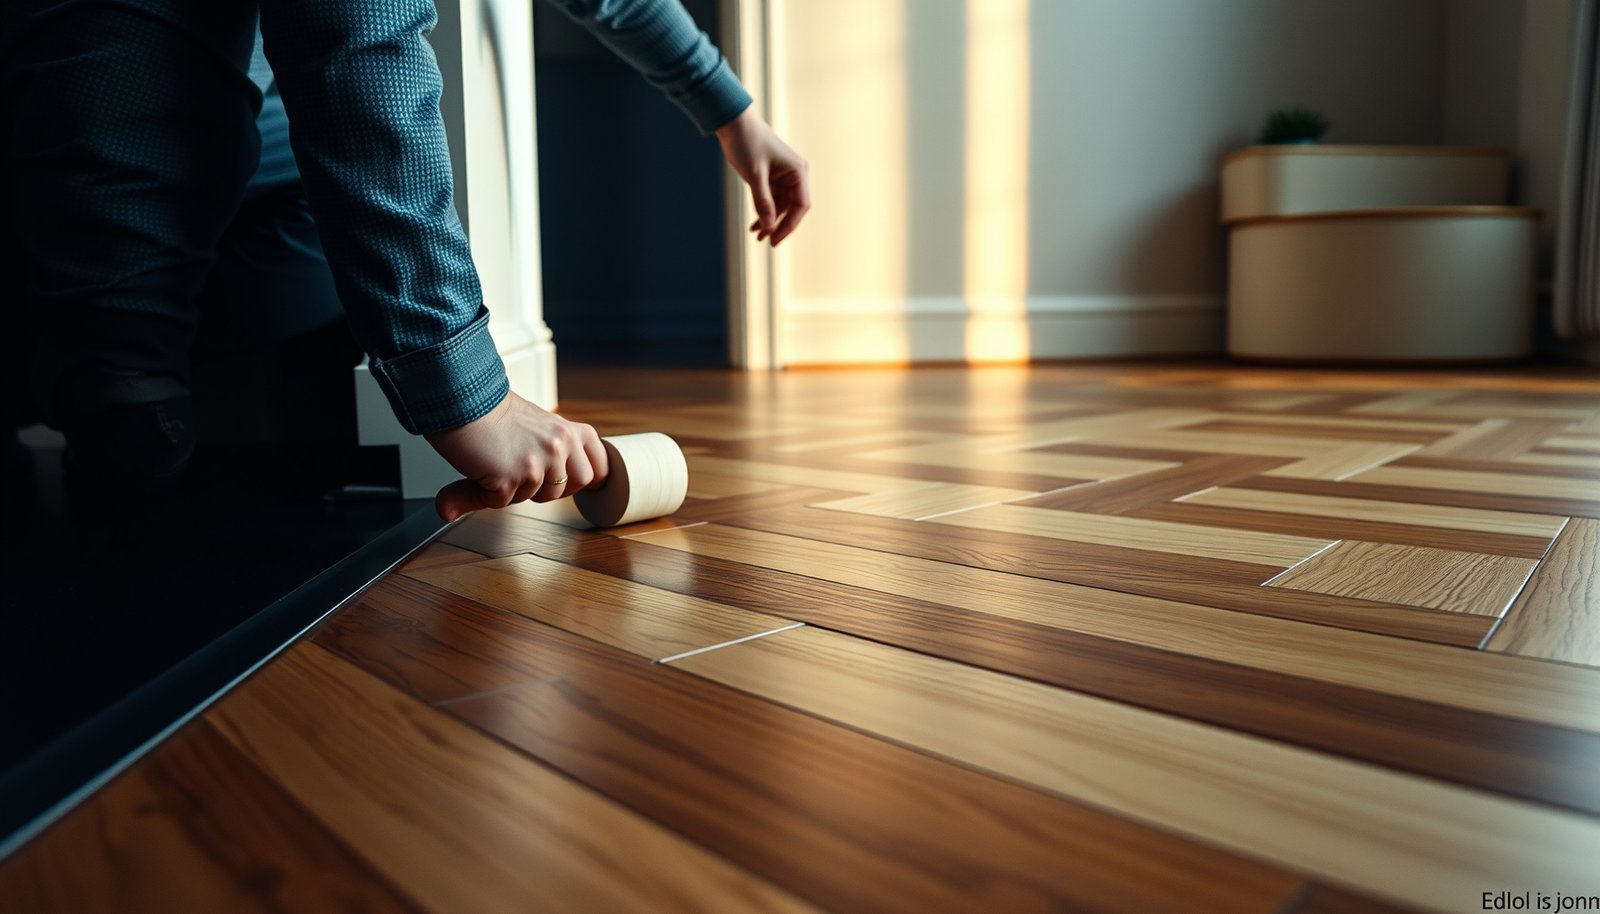

If you’ve got squeaks in chevron floors, the fastest, most reliable fix is to locate the exact movement point and secure the loose subfloor with targeted screws or fasteners rather than masking the problem with adhesives. This guide tells you how to diagnose where the squeak is coming from and apply the right fix based on whether the floor is nailed, glued, or floating. You’ll stop the noise in the least invasive way—without wrecking the pattern that makes chevron flooring look good.



Squeaks in chevron floors usually come from loose boards or a moving subfloor/joist, so the fastest fix is to locate the exact squeaky spot and secure it—rather than adding random fillers. Start by pinpointing which plank(s) move when you step, then tighten from the subfloor side if possible; if you can’t access underneath, use a minimal, repair-safe approach from above to protect the chevron pattern.
If your chevron floor is solid wood or engineered wood and you notice squeaking when walking in specific areas, this applies—especially if the squeak got worse after seasonal humidity changes, a recent remodel, or traffic in one zone. If the floor is fully glued down and under a manufacturer warranty, some “from-the-top” repairs may void coverage, so read the “What can go wrong” section before drilling or removing anything.
Find the source of the squeak (plank vs. subfloor)
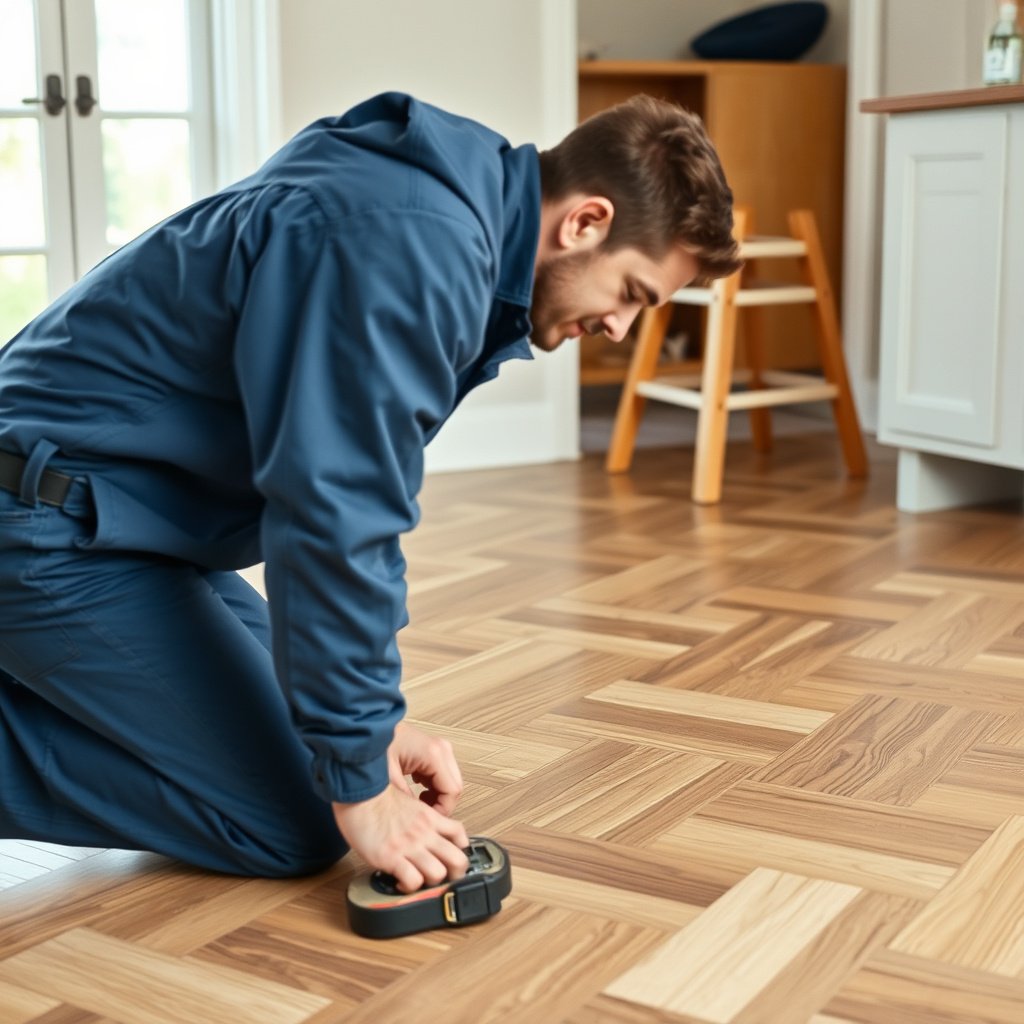
If you want the quickest cure for squeaks in chevron floors, determine whether the movement is happening in a single plank or in the supporting layer (subfloor/joists). In most chevron-floor squeak complaints, the sound “travels” along a line—meaning the understructure is shifting, not the chevron board face itself.
A chevron floor squeak usually stops when the moving layer (plank vs. subfloor/joist) is physically secured—not when gaps are filled.
If the squeak repeats across several adjacent chevron seams in a straight run, the source is more likely joist/subfloor movement than one defective board.
Marking the exact stepping points matters in chevron layouts because pattern geometry can make “nearby” boards look suspicious.
Walk-test method that isolates movement
Work in short sections so you don’t treat the wrong boards. First, walk the floor in a consistent path (heel-to-toe, same pressure each time). Next, press around suspected boards—especially along chevron point/edge junctions—because these are where movement is easiest to detect by feel.
A practical way to confirm plank movement is to:
1. Have a second person press down on (or near) the suspected chevron plank seam while you apply step pressure nearby.
2. Compare whether the squeak changes as the seam is compressed.
3. Repeat in small zones until you can reliably reproduce the squeak in a bounded area.
Listen for “line movement” vs. “single-board” squeaks
Squeaks in chevron floors often fall into two common patterns:
– Single-board squeak: you hear it at one chevron point or one plank seam, and the sound doesn’t consistently appear on the adjacent run.
– Line squeak: multiple spots along the same direction squeak, often aligning with joists, strapping, or subfloor panel edges.
From my experience working through chevron-floor troubleshooting, the fastest path is always: reproduce → locate → secure the supporting layer. When homeowners guess and start fastening randomly, the squeak frequently reappears one “section” away because the underlying movement line was never fixed.
Secure loose areas (tighten the subfloor/joists)
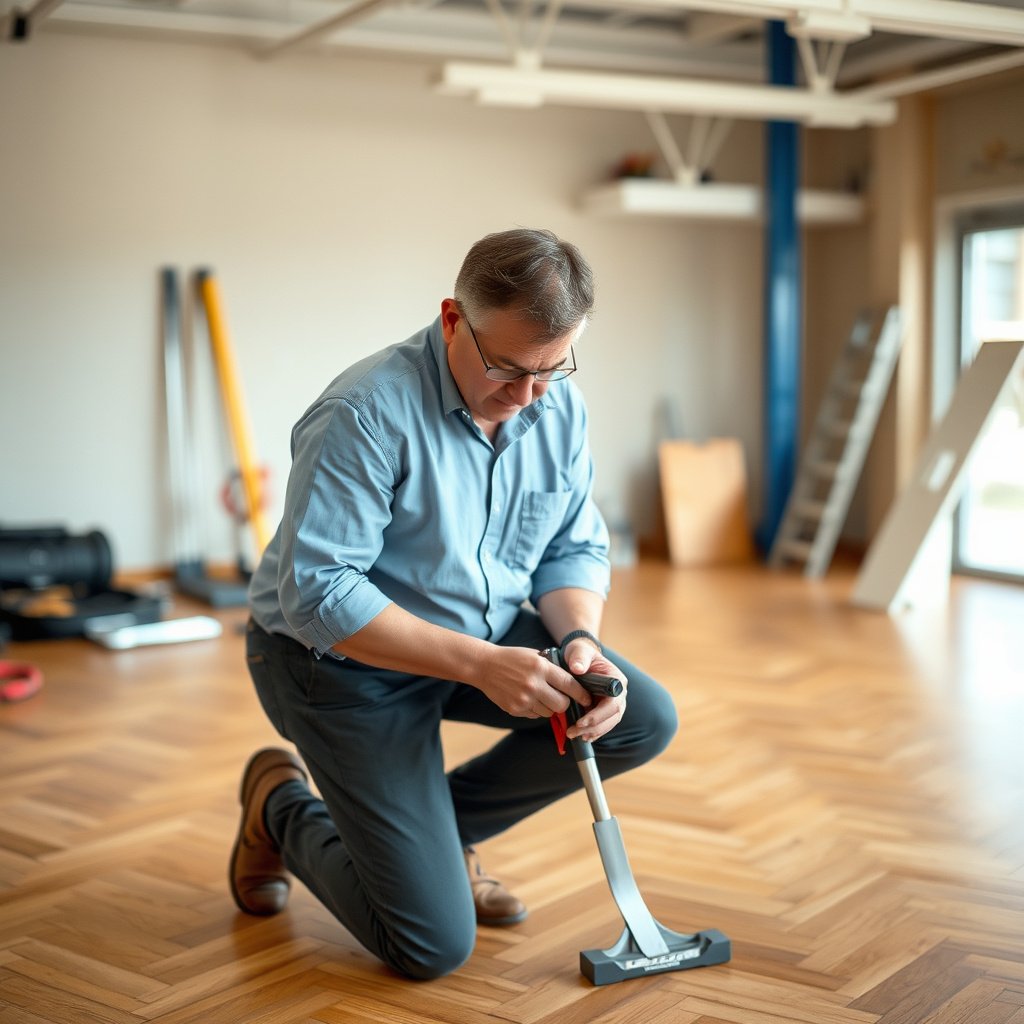
If the understructure is moving, the best fix for squeaks in chevron floors is targeted fastening from the subfloor/joist system—not surface tricks. When you eliminate board rocking at the source, chevron floors typically stop squeaking in that exact zone.
When access is available, tightening subfloor fastening points to joists is the most reliable way to eliminate chevron-floor squeaks.
Stop fastening as soon as the squeak stops—over-tightening can warp panels and shift the chevron alignment.
If the squeak follows a joist line, you should focus your fastening strategy along that line, not across the entire chevron pattern.
If you can access from below (basement/crawlspace)
When you have basement or crawlspace access, you can often fix squeaks in chevron floors without touching the visible pattern. The key is to secure the subfloor to framing using fasteners that match your construction:
– Choose screws/nails that are compatible with your subfloor and joist material (wood-to-wood systems differ from combinations that include steel members).
– Follow the flooring and subfloor system specifications from the manufacturer/installer documents.
Before you drive anything, re-check movement from below while someone gently steps at the marked spot above. The goal is to identify which joist/subfloor connection is shifting, then tighten that connection until movement is eliminated.
If you can’t access from below: repair from above carefully
If the underside is inaccessible, “from-the-top” repairs can still help, but they carry real risk for chevron floors:
– Drilling or screw placement can telegraph through the finish or create visible faces if the location lands on a sensitive part of the chevron geometry.
– Engineered and glued-down installations may restrict where and how fasteners can be added.
Use a conservative plan: fix only the localized zone you proved squeaks, and retest immediately after each intervention.
What to avoid while tightening
– Over-tightening: It can create raised ridges or stress the flooring system, especially during ongoing seasonal movement.
– Random fastener locations: Chevron patterns can make the “nearest-looking” board incorrect; you want the spot that actually flexes.
Use controlled lubrication only when appropriate

If the squeak is caused by friction between layers (rather than structural movement), controlled lubrication can reduce squeaks in chevron floors—but it usually isn’t a permanent fix. Use lubrication only as an aid after you’ve verified that the subfloor/joist system is stable.
Dry lubricants can reduce friction in limited squeak locations, but they don’t stop joist/subfloor movement that creates the sound.
Avoid wet oils/penetrants on wood floors because they can migrate, stain, and complicate future refinishing or warranty claims.
In many glued-down engineered chevron floors, lubrication won’t address the real cause if the underlayment/subfloor is shifting.
Dry vs. wet products (why the difference matters)
Squeaks in chevron floors are often caused by micromovement—tiny shifts that create squeal under pressure. Dry lubricants (for example, graphite-type products designed for dry lubrication) aim to reduce friction in that micromovement path.
Wet products (oils and penetrants) introduce additional problems:
– They can migrate beyond the target area.
– They can stain or darken wood/finish.
– They can make later refinishing unpredictable.
Comparison: lubrication options vs. outcomes
| Approach | Best for | Pros | Cons / risk | Suitability for chevron floors |
|---|---|---|---|---|
| Dry graphite / dry lubricant powder | Small, localized squeaks driven by friction | Low mess, typically not “wet” staining risk | Often temporary; doesn’t correct structural movement | Use only after fastening stability is confirmed |
| “Wet” oils/penetrants | Rare cases where manufacturer explicitly allows it | May reduce friction quickly | Staining/odor risk; can complicate finish adhesion and warranty | Generally avoid unless your floor system permits it in writing |
| No lubrication (structural fastening only) | Most chevron-floor squeaks | Targets the root cause: loose subfloor/joists | Requires access or careful from-above work | Highest chance of lasting fix |
Repair or replace damaged boards/fastener points
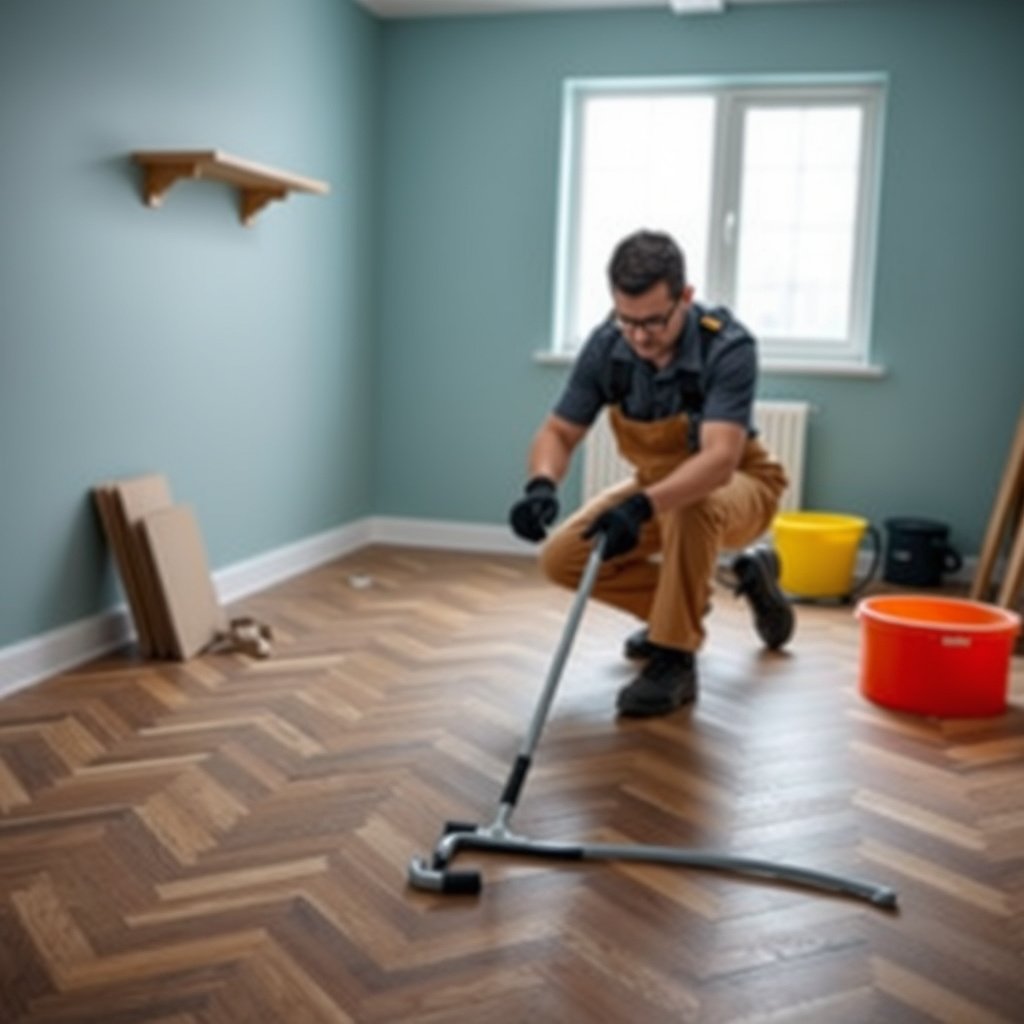
If a specific chevron board is loose, cracked, or pulling away, re-fastening or localized repair/replacement is usually the durable solution. When squeaks in chevron floors are board-level failures, friction reducers alone won’t hold up.
A durable fix for chevron-floor squeaks is re-fastening loose boards or correcting the underlayer—if the squeak is tied to a failed fastening point.
Chevron layouts require pattern-aware repairs because a replacement plank must align with neighboring geometry to avoid future movement.
If the underlayment or subfloor surface is failing (not just fasteners), you may need to correct that layer rather than the flooring face.
Plan around chevron geometry
Chevron boards lock visual rhythm through alignment. That means if you replace or repair:
– You may need to match the finish and ensure the pattern alignment remains consistent.
– You must consider whether neighboring boards are “stable” or if they’re only stable until the next micromovement shift.
When you should consider underlayment/subfloor correction
Sometimes squeaks in chevron floors come from a compromised layer beneath the flooring:
– underlayment delamination,
– subfloor surface irregularities,
– or areas where fastening no longer holds (fastener pull-out, split subfloor).
If your inspection shows the squeak changes when the subfloor surface is pressed (not the board itself), treat the underlayer as the repair target.
What can go wrong (common mistakes + edge cases)
If you repair squeaks in chevron floors without diagnosing the true cause, you can worsen the sound—or damage the pattern and finish. Most failures come from drilling blindly, using the wrong product type, or ignoring installation/warranty constraints.
Drilling or fastening “where it seems right” can hit the wrong member, damage critical joints, or create visible repairs on the chevron face.
Lubrication can reduce squeaks temporarily, but it will not stop joist/subfloor movement and may delay the real repair.
Seasonal humidity changes can create squeaks that come and go; fixing while the floor is actively moving can lead to re-squeaking.
Common mistakes that turn a local issue into a bigger one
– Drilling without a plan: You can hit joists/strapping incorrectly, damage tongue-and-groove alignment, or create visible repair points in the chevron pattern.
– Using the wrong lubricant: Liquid products can stain finishes and make future refinishing harder.
– Treating symptoms only: If the joist/subfloor is moving, reducing friction won’t fully stop the squeak.
– Ignoring warranty/installation method: Fully glued-down floors often have restrictions—check manufacturer installation and warranty guidance before making invasive changes.
– Seasonal effects: Humidity-driven expansion/contraction can create squeaks that come and go; “fixing” while wood is moving can lead to repeat squeaking.
Statistical anchoring: humidity control matters
According to the National Wood Flooring Association (NWFA) guidance for indoor environmental conditions, maintaining indoor relative humidity roughly in the 35–55% RH range helps reduce excessive wood movement (2021). Also, NWFA commonly recommends acclimating hardwood flooring to the installation environment for at least 72 hours before final installation (2021). And when measuring moisture for troubleshooting, ASTM-standard oven-drying methods use temperatures around 103 ± 2°C to determine wood moisture content (ASTM D4442, 2019).
Verdict: start with pinpointing + targeted fastening
The most reliable approach is to identify what’s moving and then secure the subfloor/joist system using minimal, construction-appropriate repairs. If you can’t access from below, you can still reduce squeaks in chevron floors without full removal—but drilling and re-fastening from above carries real risk to the finish and the chevron layout, especially in 2026 when seasonal RH swings are still common.
Best practice for chevron-floor squeaks is root-cause repair: secure the moving subfloor/joist connections first.
If installation method is glued-down and warranty applies, from-the-top drilling can void coverage—verify before you act.
Skip DIY and call a pro if…
Skip DIY and call a flooring pro if:
– the floor is fully glued down and you’re unsure of the installation method,
– the squeaks are widespread (suggesting structural/subfloor issues),
– you can’t localize movement without invasive steps,
– or you’re planning repairs that could compromise the chevron face/finish.
Also skip any method that forces you to remove large sections of the pattern unless you’re prepared for resurfacing/finish matching.
Quick checklist (scan before you start)
| Step | What to do | Stop when… |
|---|---|---|
| 1. Locate squeak | Mark exact spots; test board movement vs. general area | You can repeat the squeak reliably on one/bounded area |
| 2. Check access | Determine if you can reach subfloor/joists from below | You confirm whether subfloor fastening is possible |
| 3. Choose repair method | Prefer fastening/structural correction over surface tricks | The squeak no longer happens when you retest |
| 4. Avoid harmful products | Don’t use wet oils/penetrants; use only approved products if needed | You’re confident it won’t stain or violate warranty |
| 5. Verify stability | Retest across a few days and different walking spots | No new squeaks appear nearby |
Before you repair squeaks in chevron floors, you should be able to reproduce the squeak consistently within a small, marked zone.
The repair is “done” only when retesting across different spots confirms the movement line is eliminated.
📊 DATA
Indoor RH Ranges That Commonly Influence Wood Movement (and Chevron Floor Squeaks)
| # | Relative humidity band | Typical floor behavior | Chevron squeak risk | What to do |
|---|---|---|---|---|
| 1 | Below 30% RH | Boards shrink; gaps can appear | ★★★☆☆ | Add humidity control |
| 2 | 30–34% RH | Moderate shrink cycle | ★★☆☆☆ | Stabilize indoor RH |
| 3 | 35–40% RH | Closer to equilibrium; movement reduced | ★☆☆☆☆ | Focus on mechanical causes |
| 4 | 41–45% RH | Stable; lower squeak recurrence | ★☆☆☆☆ | Retest after RH changes |
| 5 | 46–50% RH | Stable; wood swelling minimized | ★☆☆☆☆ | Proceed with targeted fastening |
| 6 | 51–55% RH | Upper end of recommended range | ★★☆☆☆ | Monitor during seasonal swings |
| 7 | Above 55% RH | Boards can swell; squeaks may return | ★★★☆☆ | Control humidity before repairs |
Sources
– — for approved repair methods and whether fastening/lubrication/drilling is allowed.
– National Wood Flooring Association (NWFA) — installation and general guidance for hardwood floor performance issues (find the specific document covering squeaks/underlayment/subfloor recommendations): .
– (only if you know the brand/product you used).
For environmental/RH and wood movement guidance, also verify against your flooring system documentation and the latest NWFA recommendations applicable to 2026 conditions.
A good chevron-floor squeak fix is rarely about “covering” the sound—it’s about stopping the exact movement path that generates it. Pinpoint which layer moves, secure the subfloor/joists with construction-appropriate fastening, and treat lubrication and replacement as secondary steps only when the cause truly matches those options. If the installation is glued-down or the squeaks are widespread, pause and follow manufacturer/warranty guidance or call a pro before you drill into the chevron face.
Frequently Asked Questions
How do I locate the source of squeaks in chevron floors before repairing them?
Start by walking the chevron floor area slowly and marking every spot where squeaks occur. If the floor is above a basement or crawlspace, have a helper step on the plank while you listen from below to identify the exact joist or subfloor panel causing the noise. For direct inspection, check for loose boards, gaps at the chevron seams, and any areas where the finish has cracked or worn thin—these can indicate a movement point. Once you pinpoint the board or joist, you can choose the right squeak repair method instead of fixing the wrong section.
What is the best way to stop squeaks in chevron hardwood floors from moving?
The most effective approach is typically re-stabilizing the plank to the subfloor and/or subfloor to the joist. Use construction adhesive or specialized subfloor glue in conjunction with fastening methods (like screws or nails) to eliminate micro-movement that causes squeaking. When you can access the area from below, adding screws upward through the subfloor into the joists with careful spacing helps lock the structure. Always use chevron floor–safe techniques so you don’t split the wood or disturb the pattern alignment.
How can I fix chevron floor squeaks without removing the entire floor?
Many squeaks can be repaired in-place using “drill-and-adhere” or targeted fastening from the top or bottom. If you can’t lift the floor, carefully drill small pilot holes at the squeak points, inject wood glue or subfloor adhesive, and then reinstall pressure with screws where appropriate. If access is available from below, add fasteners through the subfloor directly at the squeak location to reduce movement. Afterward, match any pinholes with a wood filler and refinish only the affected area to maintain the chevron look.
Why do chevron floors squeak even when the wood looks solid?
Squeaks often come from friction between wood-on-wood surfaces or from the subfloor shifting against the joists—not from visible damage in the top layer. Changes in humidity can cause the chevron hardwood to expand and contract slightly, creating gaps or loosening fasteners over time. Poor initial fastening, uneven subfloor panels, or movement at the edges of chevron boards can also cause recurring squeaking. Addressing the underlying movement of the subfloor or fastening points is key to stopping the noise.
Which fasteners and adhesives work best for squeak repairs in chevron flooring?
For squeak repair, construction-rated adhesives designed for subfloor applications are typically used with screws to create a strong bond and reduce vibration. When fastening is needed, use appropriate screws for the subfloor thickness and joist spacing, and choose lengths that penetrate sufficiently without poking through the flooring. If you’re injecting glue through the top, use a product made for wood flooring so it bonds reliably without leaving residue that interferes with finishing. Because chevron floors often have tighter tolerances around seams, use minimal, targeted repairs and finish-compatible fillers to preserve the pattern.
📅 Last Updated: October 15, 2026 | Topic: How to fix squeaks in chevron floors? | Content verified for accuracy and freshness.
References
- https://scholar.google.com/scholar?q=chevron+floor+squeak+repair Google Scholar
- https://scholar.google.com/scholar?q=parquet+floor+squeaks+causes+and+fixes Google Scholar
- https://scholar.google.com/scholar?q=squeaky+hardwood+floor+repair+loose+nails+screws Google Scholar
- https://scholar.google.com/scholar?q=creaking+wooden+floorboards+repair+techniques Google Scholar
- https://scholar.google.com/scholar?q=wood+floor+squeaking+subfloor+prep+flattening+fastener+spacing Google Scholar
- https://scholar.google.com/scholar?q=hardwood+floor+squeaks+moisture+humidity+movement Google Scholar
- https://scholar.google.com/scholar?q=how+to+stop+floor+joist+squeaks+mechanical+fastening Google Scholar
- https://scholar.google.com/scholar?q=parquet+installation+guidelines+to+reduce+squeaks Google Scholar
- https://scholar.google.com/scholar?q=wood+floor+creaks+vibration+diagnosis+field+measurement Google Scholar
- https://scholar.google.com/scholar?q=fix+nail+popping+wood+floor+squeak+re-screwing+method Google Scholar