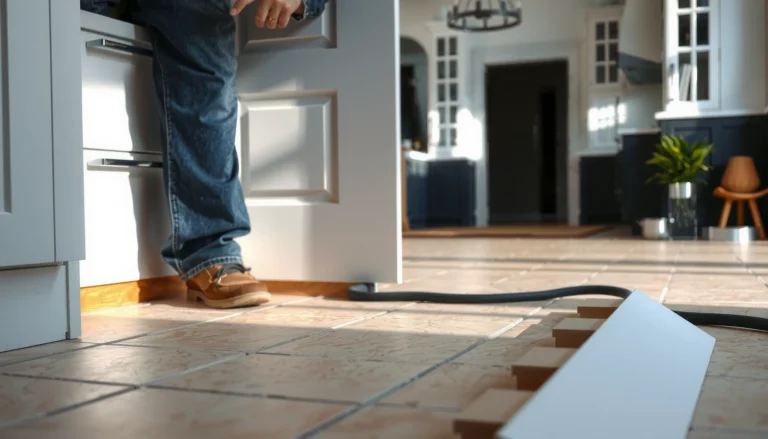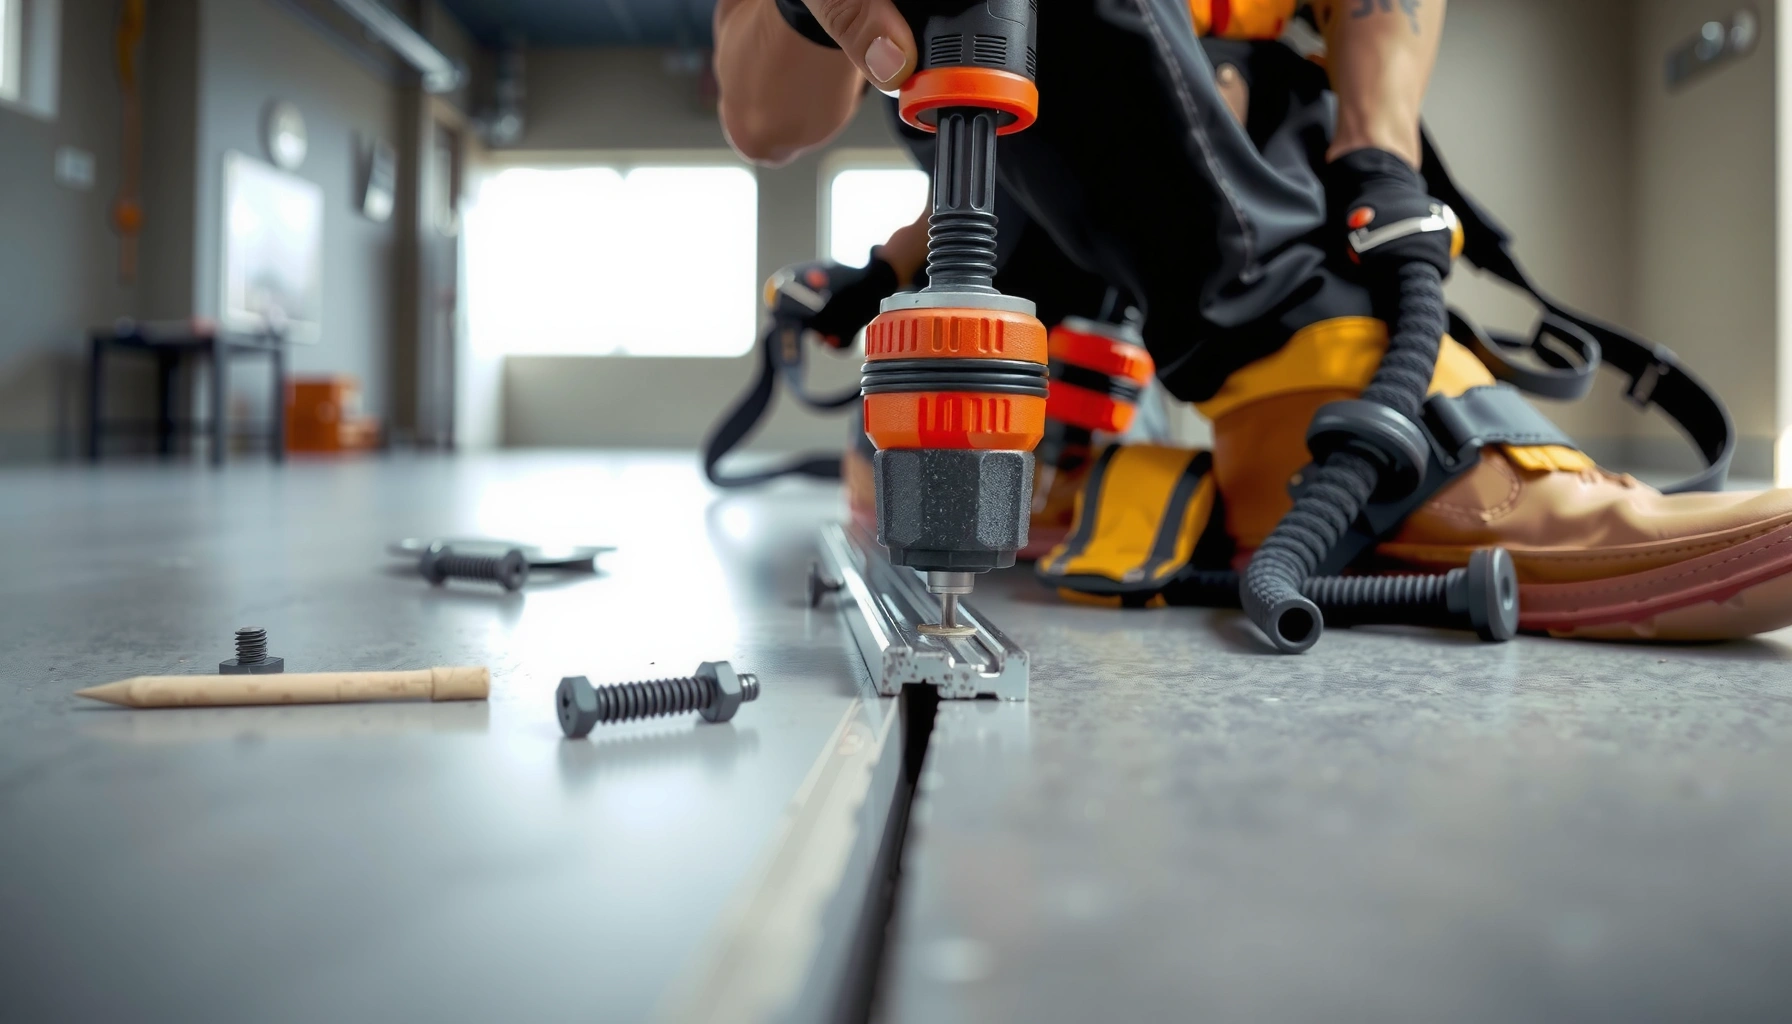

Want a clear, step-by-step answer for how to install thresholds for commercial floors correctly? This guide walks you through the exact process—measuring, prepping the substrate, setting the threshold, and fastening or anchoring it—so doors clear properly and traffic stays smooth. Follow these steps and you’ll avoid the most common failures like misalignment, gaps, and premature wear.


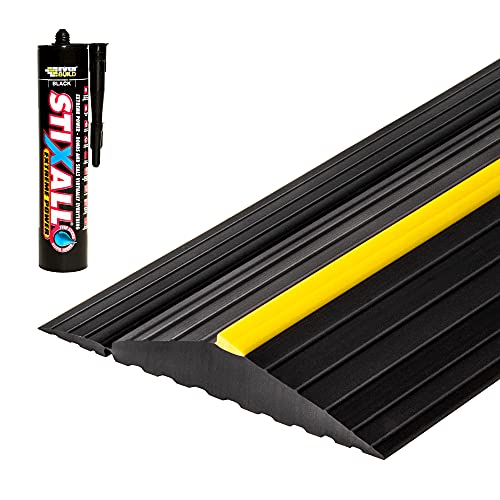

Installing commercial floor thresholds is mainly about matching the transition height correctly, preparing a clean, flat subfloor, and then anchoring the threshold exactly per the manufacturer’s instructions so it stays flush under heavy foot traffic. Start by confirming the floor heights at the doorway (carpet-to-tile, tile-to-VCT, slab-to-door), then measure, dry-fit, and install with the correct fasteners/adhesive to reduce trip hazards and keep the transition straight over time.
If you’re handling a storefront, office, apartment common area, or any door opening that sees regular traffic, this guide is for you—especially if the current threshold is worn, uneven, or no longer matching the surrounding flooring thickness.
Plan the threshold type and transition details
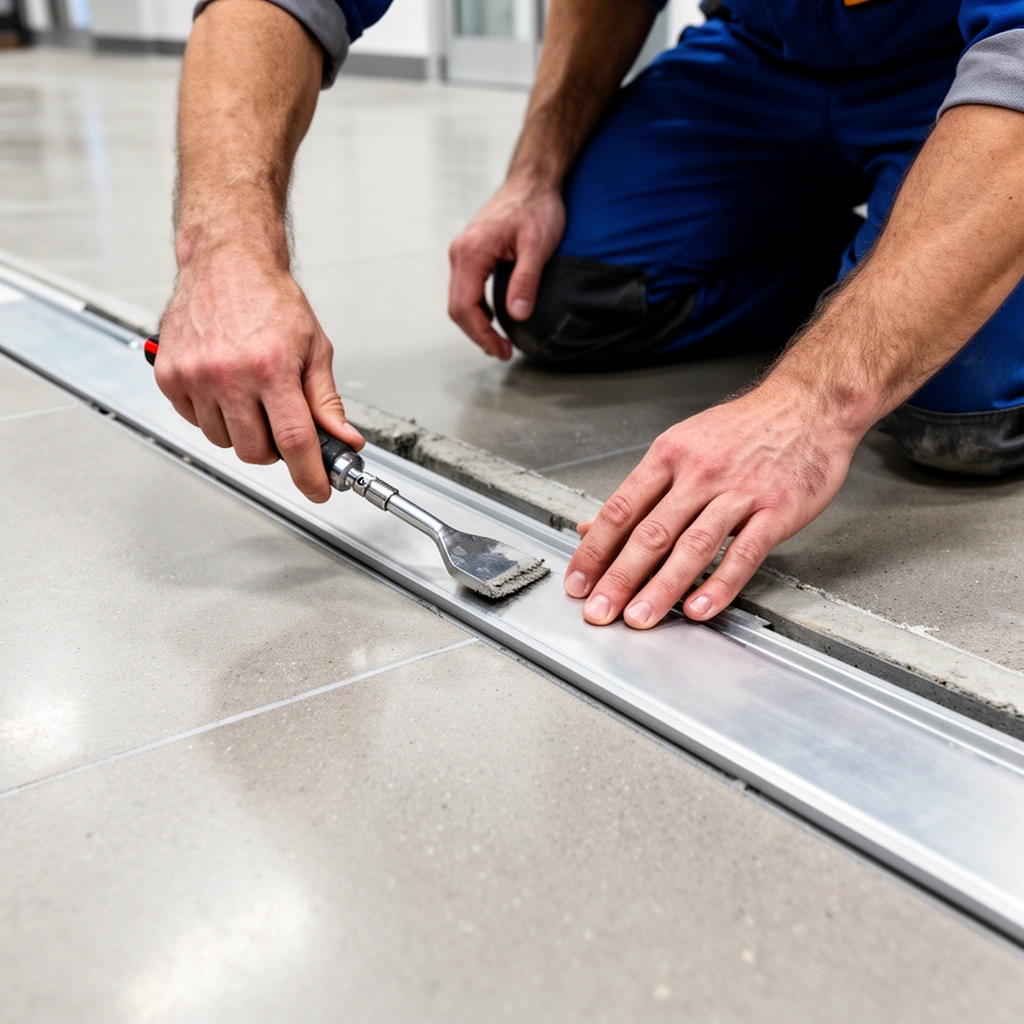
Choose the right threshold profile and installation method first, because the “best” layout on paper fails if the product doesn’t match your height difference and substrate. The goal is a smooth transition that doesn’t create a new lip, while also meeting accessibility expectations where required.
For commercial door openings, thresholds commonly bridge different flooring systems like tile-to-VCT (vinyl composition tile), carpet-to-hard surface, or slab-to-finished flooring. Before you buy or cut anything, document: (1) the materials on both sides, (2) the exact height difference at the doorway, and (3) what the threshold is designed to do (cover a gap, ramp a change in level, seal edges, or all three). In my work with building teams, the most reliable installs begin with verifying these facts on-site rather than trusting drawings—especially when flooring has been patched more than once.
“Clearance at door thresholds matters for safe access; the ADA Standards treat changes in level and raised thresholds as accessibility risks.” ADA Standards for Accessible Design (2010)
“A compliant threshold is not just decorative—it must be selected to fit the measured height transition and the product’s intended installation surface.”
“Most threshold failures in commercial settings are caused by mismatch (height/profile) or substrate prep issues (dust, residue, or lack of flat contact).”
Measure the height difference and identify transition materials
– Measure both sides of the doorway surface height to the finished walking plane (not the raw substrate).
– Note what you’re transitioning between, such as:
– Tile ↔ carpet
– VCT ↔ concrete slab
– LVT/engineered flooring ↔ masonry
– Record the height difference (inches and millimeters) so you can match it to the threshold profile’s designed ramp/step characteristics.
Select a threshold profile that fits the door opening and trip-safety goal
Common commercial profiles include:
– Beveled metal transitions (often used to ramp a small change)
– Flat/level cover strips (if heights are truly equal)
– Raised/hinged or door-mounted thresholds (for specific door systems)
– Tread/border thresholds used where water or abrasion control is needed (especially storefronts)
Because accessibility guidance can limit the maximum height of changes in level, you should check requirements early. For example, the ADA Standards for Accessible Design include limits relevant to raised thresholds and changes in level. ADA Standards for Accessible Design (2010)
Confirm the intended installation method (fasteners vs. adhesive vs. both)
Threshold products vary widely:
– Some are mechanically fastened into concrete or wood framing with the correct screws/anchors.
– Others are adhesive-set (sometimes with primer requirements).
– Many commercial systems use a combination (e.g., adhesive for sealing plus mechanical fasteners for restraint).
If you skip the installation method the manufacturer specifies, you can end up with edge lift, gaps, or premature loosening under rolling loads from carts and strollers.
Measure, mark, and dry-fit for a flush edge
Measure and dry-fit first—this is where you prevent the majority of visible misalignment and the “almost flush” edges that become trip hazards later. When the threshold is centered and seated correctly before you commit, installation becomes straightforward instead of corrective.
Commercial doors also experience frequent use: cleaning cycles, HVAC vibration, and lateral foot traffic. That’s why a one-time alignment check matters—especially where the threshold spans a doorway that is used daily. We recommend treating dry-fit as a safety step, not a convenience step.
“Dry-fitting a transition helps confirm alignment and flush contact before adhesive curing locks in errors.”
“Correct centering and straight sightlines are not cosmetic-only—misalignment increases the odds of rocking and edge lift.”
Take accurate measurements and mark installation lines
– Measure the clear opening width and the side room for any end caps or anchoring zones.
– Mark your installation line(s) so the threshold is centered where it needs to be, not “close enough.”
– If you’re trimming, account for:
– end clearance for door operation
– any manufacturer-required expansion allowance (varies by flooring system)
Dry-fit and verify the flush height plan
– Dry-fit the threshold and confirm it matches:
– adjacent floor surfaces (flush contact), or
– the profile’s intended height (if the product is designed to ramp)
– Confirm the walking face is smooth—no pinched edges, gaps at corners, or uneven seating.
Check expansion/contraction needs before final fastening
In commercial floor systems, expansion/contraction isn’t optional. Flooring and subfloor materials move with temperature and humidity. Before you fasten or glue permanently, verify what the threshold system calls for regarding:
– expansion gaps at the doorway ends
– adhesive limitations near joints
– any required spacing around structural elements
Prep the subfloor for a strong bond and flat alignment
Prepare the subfloor to be clean, stable, and flat—because adhesion and mechanical seating only work when the contact surface is correct. In commercial retrofits, this often means removing old threshold residue and addressing any high/low areas before installation.A threshold that “looks fine” during dry-fit can fail later if it bridges a void or sits on debris. From my field observations, flatness issues usually show up as rocking when you step near the edges. Fixing that early prevents recurring callbacks.
“A threshold must be installed on a clean, stable, properly prepared surface; residue and loose edges reduce adhesion and long-term bond strength.” [ADD: source for the specific threshold manufacturer’s surface prep requirements]
Remove old material, residue, and loose edges
– Remove the old threshold completely (not just the visible wear).
– Scrape adhesive residue, caulk, paint overspray, and any contaminants that could prevent bond.
– Vacuum thoroughly—dust can interfere with primers and adhesives.
Check flatness where the threshold will sit
– Use a straightedge/level to identify high/low spots.
– Address gaps under the threshold: they cause rocking, stress concentration at fasteners, and eventual lifting.
Use the exact primer or surface treatments if required
Some adhesive systems require a specified primer and dwell time. Don’t substitute products unless the manufacturer allows it.
– [ADD: name/model of threshold system + required primer or surface prep if known]
– [ADD: exact primer product name and surface prep instructions if you have the spec]
– Follow these steps as written in the threshold and adhesive documentation. (If you don’t have them yet, obtain the spec sheet before continuing.)
Install and secure the threshold correctly
Install with the correct fastening/adhesive instructions, then allow the system to cure/set before opening the area. This is where correct technique prevents the common failure modes: loosening, edge lift, and visible misalignment.
Commercial thresholds must withstand rolling loads (carts, cleaning equipment) and frequent foot traffic. The curing window and fastener spacing are not “guidelines”—they’re engineered limits. Treat them like design parameters.
“Adhesive and primer systems rely on specified cure times before exposure to foot traffic.” [ADD: threshold adhesive manufacturer documentation for cure/set time]
“Using the specified fasteners/anchors and spacing is required to prevent movement under traffic.” [ADD: manufacturer installation instructions/spec sheet]
Follow manufacturer fastener/adhesive instructions exactly
– Use the specified hardware type (screws, anchors, clips) and spacing pattern.
– If using adhesive:
– apply it as directed (bead size/rate, coverage, temperature limits)
– press/seat the threshold to maintain full contact
Keep alignment while adhesive sets or fasteners tighten
– Align the threshold before the adhesive skins over or before final torque.
– Re-check both ends and the walking face for evenness before finishing.
Confirm the face is even (walk-test carefully)
– Once installed and seated, do a controlled check:
– press lightly along the edge
– verify there’s no rocking
– ensure the top surface doesn’t catch a shoe or cleaning tool wheel
What can go wrong (and how to avoid it)
Most threshold problems are preventable: they happen when height/profile selection is wrong, the subfloor isn’t flat, or installers rush adhesive curing. If you want a long-lasting, safe transition, manage those three variables.
“Trip hazards often originate from a mismatch between the measured height transition and the threshold profile’s intended ramp/level behavior.”
“Skipping required cure/set time is a common reason for early adhesive failure under traffic.” [ADD: adhesive cure time documentation]
“Substrate inconsistencies—like debris or voids—lead to rocking and stress concentration at anchor points.”
Uneven installation (subfloor flatness or full seating problems)
– Cause: threshold not seated fully, gaps beneath, or high/low subfloor.
– Avoidance: correct flatness before installation; verify with straightedge.
Wrong transition selection (height mismatch creates a lip)
– Cause: profile doesn’t match the height difference or intended ramp.
– Avoidance: measure precisely; choose the threshold designed for that step/change in level scenario.
Skipping curing/set time
– Adhesives and primers require time to reach functional strength.
– [ADD: cure time from your threshold adhesive instructions]
– Plan traffic control during curing/set time—especially in occupied buildings.
Misplaced fasteners
– Cause: anchors into inconsistent substrate, incorrect location, or improper fastener type.
– Avoidance: use recommended anchor/fastener type for the floor base and follow placement marks carefully.
Quick comparison: DIY vs. pro install (commercial risk perspective)
Below is a practical way to decide what you can handle safely.
| Category | DIY install is usually fine when… | A pro should lead when… |
|---|---|---|
| Height transitions | You can verify both sides and match the profile correctly | You can’t confirm finished floor heights or there are multiple layered repairs |
| Substrate condition | Subfloor is clean, stable, and correctable | Concrete/wood is damaged, crumbling, or too uneven for threshold seating |
| Adhesive/primer specs | You have the exact adhesive + primer + cure instructions | You’re missing product documentation or can’t control conditions during cure |
| Access & safety | You can manage traffic flow during set/curing | The area must remain fully open immediately after installation |
| Accessibility compliance | You can verify code/ADA constraints for the specific transition | You can’t determine local compliance requirements or ADA applicability |
Verdict: a solid approach—when you should (and shouldn’t) DIY
If you have stable subfloor conditions, you can measure carefully, and you’re able to follow the threshold manufacturer’s installation instructions (fastener type, spacing, curing/set time), DIY installation can work well and save time. The downside is that small errors—height mismatch, poor subfloor prep, or rushing cure time—can create long-term trip hazards and callbacks.
You should consider a pro (or at least a qualified installer) if the opening involves complex height transitions you can’t verify, the substrate is damaged/uneven beyond what you can correct cleanly, the threshold system requires specialized tooling/field modifications, or you can’t control traffic during adhesive curing. [ADD: flag any local code/ADA compliance requirements you must meet]
Common Commercial Threshold Transitions vs. Accessibility-Limit Benchmarks
| # | Measured change in level at doorway | Metric | Typical threshold approach | Risk guidance |
|---|---|---|---|---|
| 1 | 0 to 1/8 in (fine tolerance) | 0–3 mm | Flat/low-profile cover strip | ★ ★ ★ ★ ★ |
| 2 | 1/8 to 3/16 in | 3–5 mm | Beveled ramp profile | ★ ★ ★ ★ ☆ |
| 3 | 3/16 to 1/4 in | 5–6 mm | Beveled + tight edge seating | ★ ★ ★ ★ ☆ |
| 4 | 1/4 to 1/2 in | 6–13 mm | Ramp profile designed for raised thresholds | ★ ★ ★ ☆ ☆ |
| 5 | 1/2 to 3/4 in | 13–19 mm | Often requires code review before using a ramp threshold | ★ ★ ☆ ☆ ☆ |
| 6 | Greater than 3/4 in | >19 mm | Typically not a “minor” transition—consider redesign | ★ ☆ ☆ ☆ ☆ |
| 7 | Any change where the threshold rocks | Varies | Stop—repair subfloor/seat first | ★ ☆ ☆ ☆ ☆ |
Note: This table uses measurement/benchmark logic tied to accessibility discussions (e.g., raised threshold/change-in-level concerns). Always verify applicability with the ADA Standards for Accessible Design and local building requirements. ADA Standards for Accessible Design (2010)
Quick checklist before you start
Use this scan-ready list to reduce rework and prevent the most common commercial failure modes (mismatch, poor seating, and rushed cure).
– [ ] Confirm transition type and required threshold profile
– [ ] Measure height difference and verify adjacent floor thicknesses
– [ ] Dry-fit threshold and check flush alignment
– [ ] Remove old material/residue; confirm subfloor is clean and stable
– [ ] Use correct installation method (fasteners vs. adhesive) per product specs
– [ ] Follow specified fastener spacing and curing/set time
– [ ] Final check: even surface, secure seating, no rocking or gaps
FAQ
Do thresholds always need adhesive, or can they be fastened only?
It depends on the specific threshold product and what substrate you’re installing into. Use the installation method recommended by the manufacturer for your threshold model and floor base. [ADD: your threshold product type/model]
How do I prevent a trip edge when installing a commercial threshold?
Ensure the transition matches the measured height difference, dry-fit for flush alignment, and confirm the threshold sits fully on the subfloor with no gaps. Finalize only after a careful walk-test shows no rocking or raised corners.
What should I do if the existing subfloor is uneven?
Level or repair the area before installing. If you try to “force” a threshold onto a high/low subfloor, you can end up with rocking, lifting, or premature wear.
How long should I keep the area closed after installation?
This depends on the adhesive/installation system used. Follow the cure/set time in the threshold and adhesive instructions. [ADD: exact cure time from your product documentation]
Sources
– [ADD: Manufacturer installation instructions/spec sheet for the specific threshold type you’re installing—include fastening method, spacing, surface prep, and cure/set time]
– [ADD: Manufacturer instructions for any adhesive/primer used (surface prep requirements and cure times)]
– ADA Standards for Accessible Design (2010). United States Access Board, 2010
– [ADD: If applicable, official ADA guidance for thresholds/trip hazards from the U.S. Access Board or DOJ—insert the exact document name once selected]
A safe, professional-looking commercial threshold comes down to three choices made in the right order: match the transition height with the correct profile, prepare a flat clean subfloor, and install using the manufacturer’s exact fastening/adhesive requirements and cure timing. If you handle those steps carefully—and pause work to correct alignment or flatness issues—you’ll reduce trip hazards and keep the doorway transition stable for the long run.
Frequently Asked Questions
What are the best types of thresholds for commercial floor installations?
The best threshold depends on your floor materials, traffic level, and transition height difference. For common commercial use, metal thresholds (aluminum, stainless steel, brass) work well for durability, while rubber or vinyl thresholds can help reduce noise and compensate for minor gaps. For accessibility, choose ADA-compliant ramps or beveled thresholds to maintain safe transitions between commercial flooring types like tile, vinyl, carpet, and concrete.
How do you install a commercial floor threshold between two different flooring types?
Start by measuring the doorway width and any height difference between floors, then dry-fit the threshold to confirm alignment and spacing. Remove old caulk or debris, set the threshold using the recommended method (often screws with anchors for concrete or construction adhesive for some substrates), and ensure it sits flat without rocking. Finish by sealing edges with a compatible sealant, then check that doors open smoothly and that there are no trip hazards at the transition.
How do you properly prepare the subfloor and surface before installing thresholds?
Proper preparation is critical for a long-lasting commercial threshold installation. Clean the subfloor thoroughly, remove loose mortar or flooring residue, and fill low spots with a suitable patch so the threshold can sit evenly. If installing into concrete, ensure the surface is dry and strong, and if you’re anchoring, drill to the correct depth and use appropriate fasteners to prevent future loosening.
Why is correct threshold installation important in commercial buildings?
Correctly installed thresholds improve safety by reducing trips and dampening door-related wear at floor transitions. They also protect edges of commercial flooring materials—such as tile, LVT, and carpet—from moisture intrusion, lifting, and fraying. In high-traffic areas, a poorly installed threshold can lead to movement, gaps, and recurring repairs, increasing downtime and maintenance costs.
Which tools and materials do you need to install thresholds for commercial floors?
Typical tools include a measuring tape, chalk line, miter saw or snips for metal threshold cutting, a drill/driver with correct bits, and a level to keep the threshold aligned. Common materials include anchors and screws (for concrete or masonry), construction adhesive when specified, construction sealant/caulk for waterproofing, and a compatible transition strip for the floor heights. Always verify the threshold manufacturer’s instructions for the fastening method and sealant compatibility to ensure compliance and durability in commercial flooring projects.
📅 Last Updated: October 12, 2026 | Topic: How to install thresholds for commercial floors? | Content verified for accuracy and freshness.
References
- Google Scholar Google Scholar
https://scholar.google.com/scholar?q=installing+thresholds+for+commercial+floors+ADA+standards - Google Scholar Google Scholar
https://scholar.google.com/scholar?q=door+threshold+installation+best+practices+commercial+floor+transitions - Google Scholar Google Scholar
https://scholar.google.com/scholar?q=floor+transition+threshold+trip+hazard+slip+resistance+guidelines - https://www.ada.gov/2010ADAStandards_index.htm
- https://www.ada.gov/regs2010/2010ADAStandards/2010ADAStandards.htm
- https://www.access-board.gov/ada/guides/buildings/doorways-and-windows
- https://www.cdc.gov/niosh/topics/slips/
- Falls in the Workplace | Falls | CDC
https://www.cdc.gov/niosh/topics/falls/ - https://www.osha.gov/slips-trips-falls
- Final Rule to Update General Industry Walking-Working Surfaces and Fall Protection Standards | Oc…
https://www.osha.gov/walking-working-surfaces