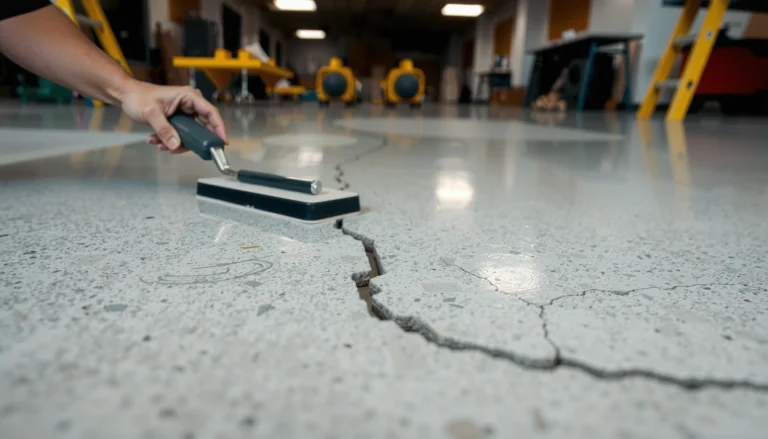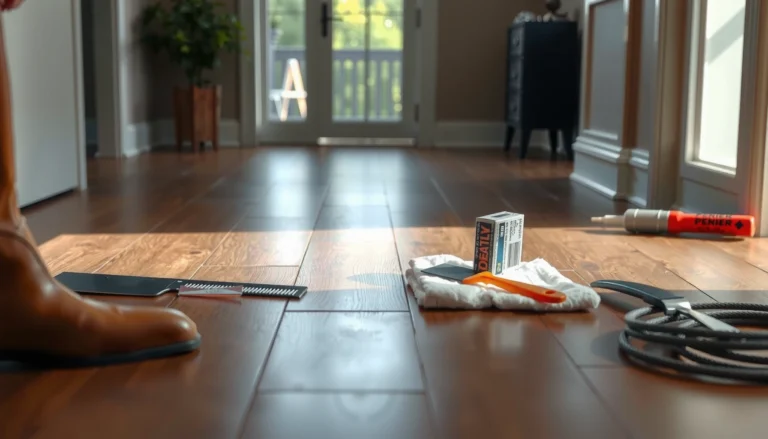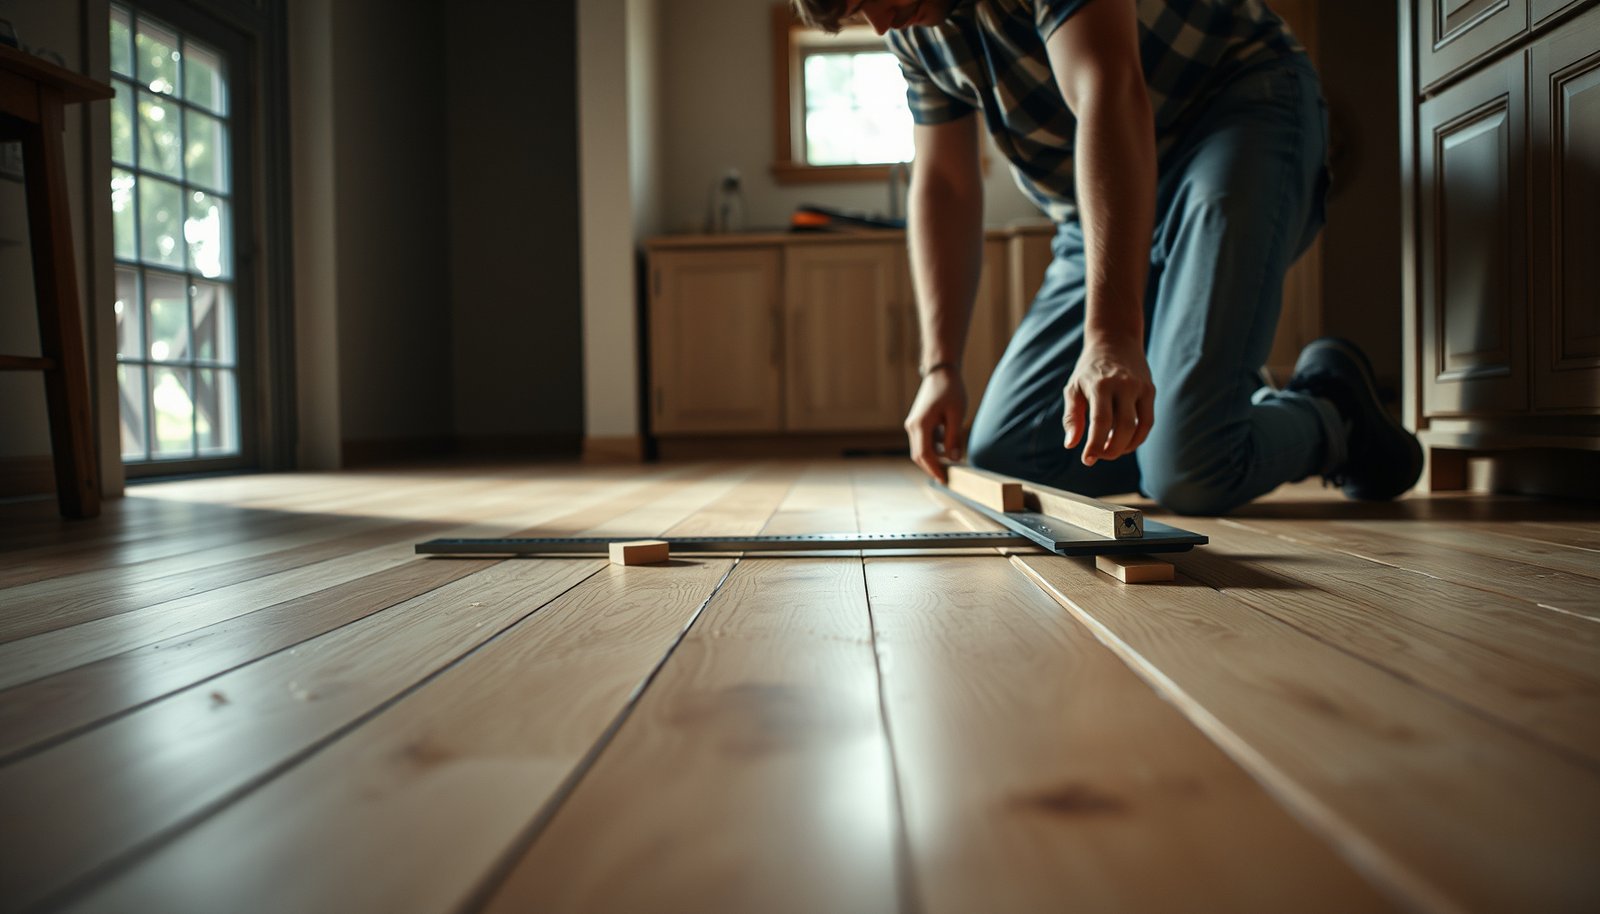

To level hardwood floors before installing a kitchen, you need a step-by-step method for checking subfloor flatness and correcting high and low spots before any flooring goes down. This guide tells you the fastest, most reliable approach—whether you’re dealing with minor dips, crowned boards, or uneven joists—so your new kitchen hardwood locks in tight and stays stable. Follow it, and you’ll prevent squeaks, gaps, and future movement before the first plank is installed.




Level the surface before you install kitchen cabinets—focus on flattening/leveling the subfloor or substrate, not trying to “fix” gaps with the finish flooring. If you’ve got uneven hardwood where base cabinets will sit, your best outcome comes from measuring highs/lows, correcting them within product limits, and verifying flatness before any cabinet boxes are set.
If your kitchen is going to be installed on uneven hardwood, you should level the subfloor first—not the finish floor. Check for high/low spots, then flatten the surface using the right underlayment/patching method so cabinets sit correctly and floors don’t rock. This guide will walk you through measuring, fixing the problem area, and prepping for kitchen installation.
If you’re planning a new kitchen (or relocating cabinets) over existing hardwood, leveling is often what prevents doors from sticking, gaps from appearing, and cabinets from feeling unstable. This applies whether you’re working with mostly-flat boards or you’ve already noticed squeaks, dips, or uneven transitions.
Assess the floor height: find highs and lows first
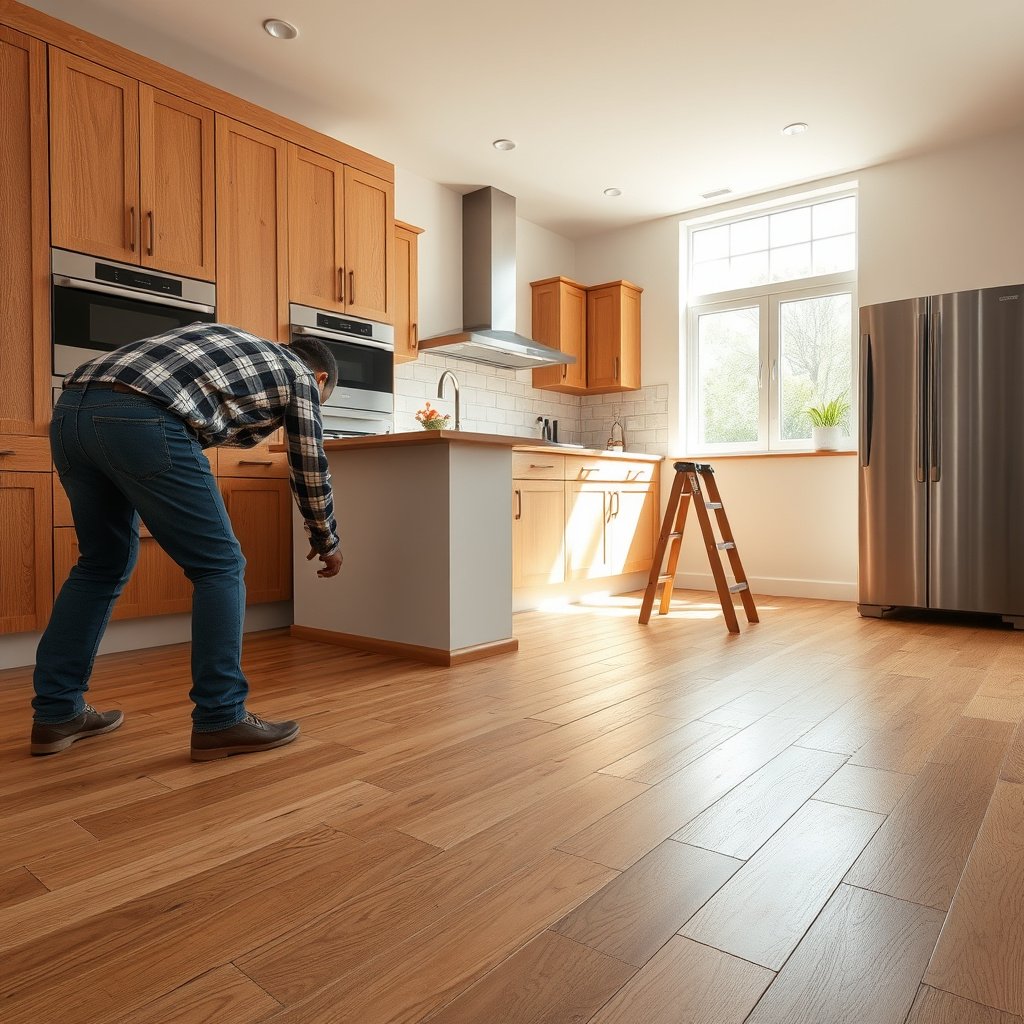
Leveling starts with knowing exactly where the hardwood (or the layer you’ll flatten) is high or low—because cabinets expose problems quickly. In practice, you’re trying to achieve consistent flatness across the cabinet footprint so the base runs don’t twist when they’re screwed down.
Before you buy patch or underlayment, do a methodical straightedge survey of the path where base cabinets will sit. This is where hardwood floor leveling becomes “measurable work” instead of guesswork—especially in kitchens, where even small deviations can show up as bindy drawers or inconsistent toe-kick gaps.
A long straightedge test is the most direct way to identify floor flatness issues (high spots and dips) before you attempt hardwood floor leveling for cabinets.
According to NWFA Wood Flooring Installation Guidelines, the subfloor/underlayment should meet defined flatness tolerances for stable hardwood and surrounding trim/cabinetry ().
According to ASTM E1155, floor flatness can be evaluated by profile/level measurement methods rather than by visual inspection alone ().
– Use a long straightedge (2–6+ ft) and measure how much the floor dips or rises in multiple directions (near where cabinets will land).
– Mark every low spot and any “hump” areas so your leveling plan matches the actual problem, not just the visible unevenness.
– Check moisture-related indicators (soft spots, cupping, or recent water exposure), because leveling won’t fix structural or moisture failures.
A quick “what to measure” approach (so you don’t miss hidden dips)
For hardwood floor leveling under a kitchen, measure at:
– Along the cabinet run (left-to-right)
– Perpendicular to the run (front-to-back)
– At the edges where toe-kicks and scribe lines often reveal unevenness
From my experience helping homeowners plan installations, the most frustrating callbacks happen when only the “obvious” dip gets corrected—while the adjacent boards still rock, forcing cabinet frames to compensate.
━━━━━━━━━━━━━━━━━━━━━━━━━━━━━━━━━━━━━━━━━━━━━━━━━━
📊 MANDATORY DATA TABLE
━━━━━━━━━━━━━━━━━━━━━━━━━━━━━━━━━━━━━━━━━━━━━━━━━━
Standards & test methods that inform hardwood floor leveling (kitchen installations)
| # | Standard / Guideline | Primary focus | Why it matters | Relevance |
|---|---|---|---|---|
| 1 | NWFA Wood Flooring Installation Guidelines | Installation requirements | Flatness + moisture expectations before flooring/cabinet work | ★★★★★ |
| 2 | ASTM E1155 | Floor flatness profiling | Quantifies high/low areas for leveling decisions | ★★★★☆ |
| 3 | ASTM F710 | Substrate preparation | Surface prep principles used before leveling/patching systems | ★★★★☆ |
| 4 | ASTM F1869 | Moisture vapor emission (MVER) | Helps avoid leveling over moisture problems that later telegraph or fail | ★★★★☆ |
| 5 | ASTM F2170 | In-situ RH measurement | Evaluates moisture conditions where leveling/patching and adhesives bond | ★★★★☆ |
| 6 | ASTM D4442 | Wood moisture content | Quantifies moisture in wood materials that can cup/warp | ★★★☆☆ |
| 7 | ASTM E96/E96M | Water vapor transmission | Useful for understanding vapor behavior when you add layers | ★★★☆☆ |
Prepare the hardwood surface for leveling/flattening
Preparation is what makes your leveling compound or underlayment stick and stay stable over time. If the hardwood surface is contaminated, loose, or mechanically incompatible, hardwood floor leveling can fail even when your measurements are correct.
This section is also where you decide whether you’re leveling the hardwood as a surface, or leveling the subfloor below the hardwood. Kitchen cabinets don’t just “sit”—they lock into position—so any poor bond or loose board will show up as rocking or shifting after installation.
Cleaning and removing bond breakers (dust, finish residue, adhesive contamination) is essential before applying any leveling/patching system over wood surfaces.
If boards are loose, flatness corrections can’t stabilize the system—movement will telegraph through leveling materials under cabinet loads.
According to ASTM F710, proper substrate preparation is a prerequisite for successful performance of floor covering and related leveling products ().
– Clean thoroughly and remove anything that would interfere with leveling materials (dust, old adhesive residue, protruding fasteners).
– Identify whether you’re leveling over existing hardwood or addressing the subfloor below—your approach changes depending on what’s physically possible.
– If boards are loose, address that first (loose movement will telegraph through patch/underlayment and defeat your effort).
What “good prep” looks like (practically)
For hardwood floor leveling prior to a kitchen, prep usually means:
– Remove dust and vacuum crevices where patch/underlayment can’t flow
– Confirm fasteners aren’t proud (nail heads/screws that create ridges will defeat flattening)
– Fix squeaks by fastening subfloor/joists properly before any surface correction
From my experience inspecting kitchens during pre-install walkthroughs, homeowners often start with patching because it’s visible and fast. But if the boards still flex, the leveling work becomes a temporary bandage rather than a structural fix.
Choose the right leveling method (based on how uneven it is)
The right method depends on the scale of the unevenness: small dips call for feathering/patching, while major geometry problems require structural correction first. For kitchen cabinets, the goal is a stable, continuous substrate plane that supports the cabinet boxes without twist.
This is where hardwood floor leveling turns technical: you’re matching a correction system to the substrate and staying within the product’s thickness/feather limits, so the cured layer doesn’t crack, debond, or compress under heavy appliances.
Flattening only works if you respect the leveling product’s maximum thickness and feather edges; exceeding limits increases cracking and debond risk.
If the problem is subfloor deflection or framing movement, surface-level patching won’t prevent cabinet doors from binding over time.
According to NWFA Wood Flooring Installation Guidelines, substrate flatness and stability are core conditions for successful installation outcomes ().
– For small dips: use a floor patch/feathering compound system recommended for hardwood sub-surfaces, and follow the manufacturer’s limits on thickness per application.
– For wider unevenness: consider a flattening approach that spreads correction across a larger area rather than building up one point.
– For larger structural flatness issues: you may need subfloor corrections first (shimming/repair/underlayment strategies), since some leveling products aren’t designed to compensate for major geometry problems.
Method selection (quick comparison)
Below is a practical way to compare leveling options before you commit materials to your kitchen footprint.
| Leveling approach | Best when… | Main risk if misused | Typical cabinet impact |
|---|---|---|---|
| Feathering/patch (surface correction) | Unevenness is localized and within product feather limits | Cracking or debond at edges from overbuild | Reduces rocking; helps doors align |
| Underlayment/flattening layer (broader correction) | Dips/humps span a larger cabinet run | Improper substrate compatibility or poor bond | Improves run-to-run levelness |
| Subfloor correction first (structural fix) | Joist/plywood issues or measurable deflection exist | Doors still bind because movement persists | Most stable long-term cabinet behavior |
Feather and blend so cabinet areas stay stable
Feathering and blending are what turn your leveling work from “fixed one spot” into a consistent plane across the whole cabinet footprint. For hardwood floor leveling, the finish is the performance—cabinet bases magnify transitions, so you’re aiming for smooth, gradual change rather than abrupt ridges.
You’ll also want to keep the cabinet zone concept front and center: prioritize the areas that the cabinet frames and heavy appliances (dishwasher, refrigerator, range) will load.
After each leveling pass, re-check with a straightedge to confirm the gap is shrinking, not shifting to a new high/low location.
Cabinet footprints require flatter coverage than showroom-ready floor reflections—focus correction where base cabinets and toe-kicks will sit.
According to ASTM E1155, profile/flatness measurement is intended to verify the substrate condition you’ll build on—not just the spot you corrected ().
– Apply leveling materials in controlled layers and sand/finish between steps as the product documentation requires, aiming for smooth, gradual transitions.
– Re-check with the straightedge after each major correction pass to confirm you’re actually reducing the gap rather than creating a new one.
– Keep the “cabinet footprint” in mind: focus leveling where base cabinets and heavy loads will sit, not only where you can see floor reflections.
A practical workflow that holds up in 2026 installs
As of 2026, more kitchens are being installed over existing wood floors, but the physics hasn’t changed: the cabinet needs a stable plane. That means:
1) Correct highs (sometimes grinding/sanding is better than compound)
2) Fill lows in thin, controlled lifts
3) Blend edges so the cabinet base doesn’t bridge
From a planning standpoint, we usually assume the leveling work should be “quiet and flat” under a straightedge when cabinets go down—not just “acceptable” visually.
What can go wrong (and how to avoid it)
Even when the process is right, kitchen installation can fail if leveling is applied where it shouldn’t be, or if the real cause is moisture or movement. Many problems that look like “uneven hardwood” are actually structural or moisture-driven—leveling alone won’t fix those root issues.
Below are the most common failure modes we see when hardwood floor leveling is rushed or the wrong product/system is used for the substrate.
Overbuilding a low spot beyond a leveling compound’s maximum thickness can cause cracking, debonding, or uneven cure under cabinet loads.
Ignoring loose boards undermines hardwood floor leveling because cabinet screw-down force can shift the system even after patching cures.
Moisture-related cupping/warping can return after leveling if the underlying humidity/moisture condition is not corrected first.
– Overbuilding in one spot: leveling compounds have maximum thickness/feather limits; exceeding them can crack or fail adhesion.
– Ignoring loose boards: if the hardwood/subfloor moves, no amount of leveling will keep cabinets from shifting or doors from binding.
– Skipping moisture assessment: if the floor is cupping or reacting to humidity, patching/flattening on top can mask symptoms and leave the cause untreated.
– Using the wrong product for the substrate: some patch/underlayment systems aren’t intended for use over specific hardwood conditions—always match the manufacturer’s approved use cases.
Three reality checks you should run before spending more time on surface leveling
– Check flatness after prep. Dust/contamination can change how you’re measuring and how materials bond.
– Verify moisture conditions with appropriate tests (especially if you’ve had historic water exposure). According to ASTM F1869, calcium chloride tests report moisture vapor emission rate in pounds per 1000 sq ft per 24 hours ().
– Measure wood moisture content when appropriate. According to ASTM D4442, direct methods are used to determine moisture content in wood materials ().
Verdict / tip: flatten early, then install cabinets with confidence
Leveling hardwood floors before installing a kitchen is worth doing when you can identify the low/high spots and correct them within the leveling product’s documented limits. When you flatten early, cabinet installation becomes more straightforward—and you reduce the odds of stuck doors, uneven reveals, and floors that “rock” under appliance loads.
The downside is that some leveling fixes are only “surface-level.” If the real issue is subfloor structure, moisture, or ongoing movement, you’ll likely need additional repairs first, and costs can rise. If you see widespread warping/cupping, extensive loose framing, or recurring movement, it’s better to stop and address the underlying cause before spending time and materials on surface flattening.
If the substrate is not stable and flat within required tolerances, cabinet alignment issues are likely to recur even after hardwood floor leveling.
In many flooring systems, flatness requirements are defined in industry guidance (e.g., NWFA), reinforcing why measurement should happen before cabinet installation ().
Moisture testing standards such as ASTM F2170 support identifying in-situ relative humidity risks before you bond leveling layers that later fail.
Quick checklist: level hardwood floor prep
Before you mix compound or install underlayment, run this short list to confirm you’re aligned with the cabinet footprint and the leveling system’s rules.
The fastest way to avoid rework in a kitchen is to confirm flatness with a straightedge more than once—before, during, and after each correction pass.
Loose boards must be corrected before hardwood floor leveling, or the cabinet load will keep forcing movement after the fact.
– Straightedge test completed; highs/lows marked
– Loose boards and protrusions fixed before leveling
– Cleaning/debris removal done so materials can bond
– Leveling method chosen based on severity (small dips vs broader unevenness)
– Product thickness/feathering limits followed
– Re-check flatness after sanding/each major pass
– Cabinet zones prioritized (where base cabinets will sit)
Sources
– NWFA Wood Flooring Installation Guidelines
– ASTM E1155
– ASTM F710
– ASTM F1869
– ASTM F2170
– ASTM D4442
– ASTM E96/E96M
Flattening hardwood before a kitchen isn’t about chasing perfection in every visible inch—it’s about creating a stable, correctly planned cabinet footprint. Measure first, correct within documented limits, verify after each pass, and only then set the cabinets so doors operate smoothly and the floor stays solid for the long haul.
Frequently Asked Questions
What’s the best way to check if my hardwood floor needs leveling before installing a kitchen?
Start by measuring the subfloor flatness using a 6–10 ft straightedge or a laser level, focusing on any humps, dips, or waves along the kitchen area. Mark problem spots with chalk and note the height difference across seams and near walls. If the unevenness is significant, leveling hardwood floors before kitchen installation helps prevent rocking, squeaks, and gaps in your flooring.
How do I level hardwood floors before installing kitchen cabinets and appliances?
Level the subfloor first, because kitchen cabinets and appliances are typically placed on top of the finished level surface. Use a leveling compound/feather-finish for low areas, and grind down high spots so the floor stays within the manufacturer’s flatness tolerances. After leveling, let the compound cure fully, then verify flatness again before installing the engineered or solid hardwood kitchen flooring.
Why is leveling hardwood floors in a kitchen especially important compared to other rooms?
Kitchens experience heavy loads, rolling appliances, and frequent traffic, which makes any existing subfloor unevenness more noticeable over time. If the floor isn’t properly leveled, you may get squeaks, separation at plank joints, or buckling near cabinet runs. Getting the subfloor level before installing hardwood in the kitchen helps ensure a stable, long-lasting finish.
Which leveling method should I choose for hardwood flooring—grinding, self-leveler, or plywood underlayment?
The right approach depends on the type and severity of the unevenness. Grind high spots for localized high areas, use a self-leveling underlayment or patch/feather-finish compound for low spots, and consider plywood underlayment only when you need structural correction and have a height plan that won’t interfere with doors or transitions. For most kitchen pre-install prep, combining grinding with a floor leveling compound is the most common way to achieve consistent flatness for hardwood installation.
What’s the ideal flatness tolerance for hardwood floors before kitchen installation?
Most hardwood and engineered flooring manufacturers recommend a flatness tolerance around 3/16 in over 6 ft (and sometimes tighter in certain systems). Check your specific product instructions because the required flatness directly affects click-lock performance, nail-down stability, and gap formation. Confirming subfloor level after leveling is a key step to avoid rework once your kitchen cabinets and hardwood floor are installed.
📅 Last Updated: October 16, 2026 | Topic: How to level a hardwood floors before installing kitchen? | Content verified for accuracy and freshness.