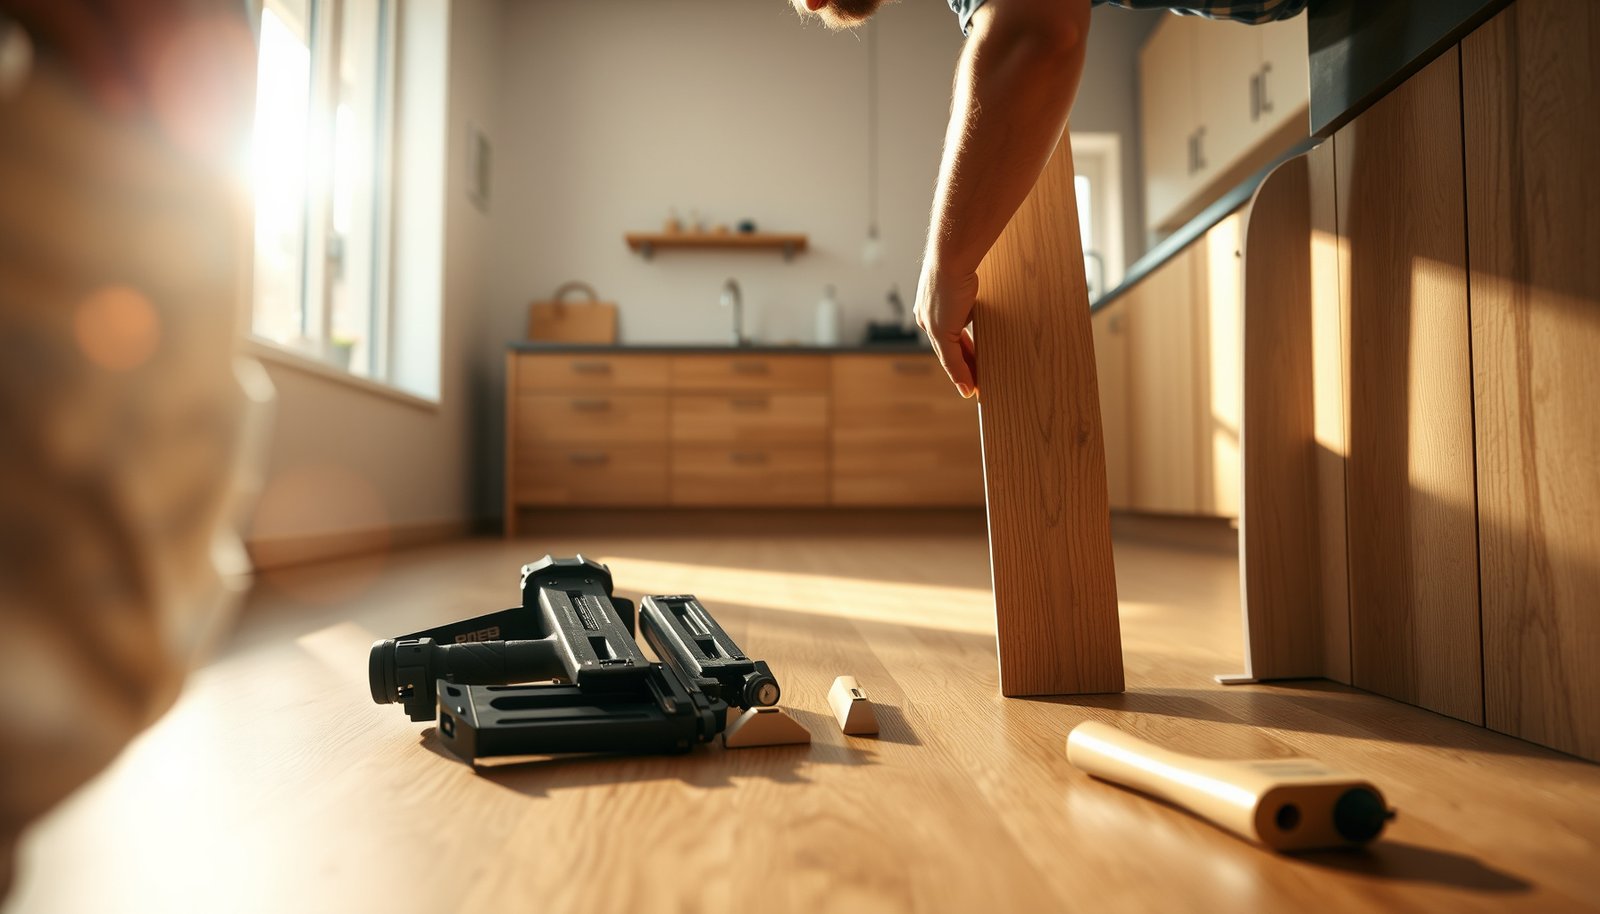

Want to install hardwood floors in a kitchen with a clean, professional result? This step-by-step guide lays out exactly how to prep the subfloor, choose the right flooring for moisture and traffic, and install boards without gaps or movement. Follow it and you’ll know what to do at every stage—from acclimation and layout to fastening and finishing—so your kitchen hardwood holds up for years.




Hardwood in a kitchen is absolutely doable, but the install only holds up when you control moisture, verify subfloor flatness, and use the correct fastening/vapor strategy for your slab and flooring type. The practical path is: test the subfloor, acclimate the planks, start straight, then install using a kitchen-appropriate method to reduce cupping, gapping, and squeaks—especially in high-traffic, spill-prone areas. As of 2026, the core “success factors” haven’t changed: moisture limits (measured, not guessed) and flatness tolerances drive performance more than the floor’s appearance.
If you’re planning a DIY install—or hiring a contractor and want to understand what should happen—this matters most in kitchens that see spills, humidity swings from cooking, or frequent foot traffic. A kitchen is also where appliances (dishwashers, refrigerators) and water sources (sink, garbage disposal, fridge ice lines) create localized moisture risk, so your prep needs to be specific rather than generic.
Choose the Right Hardwood + Installation Type
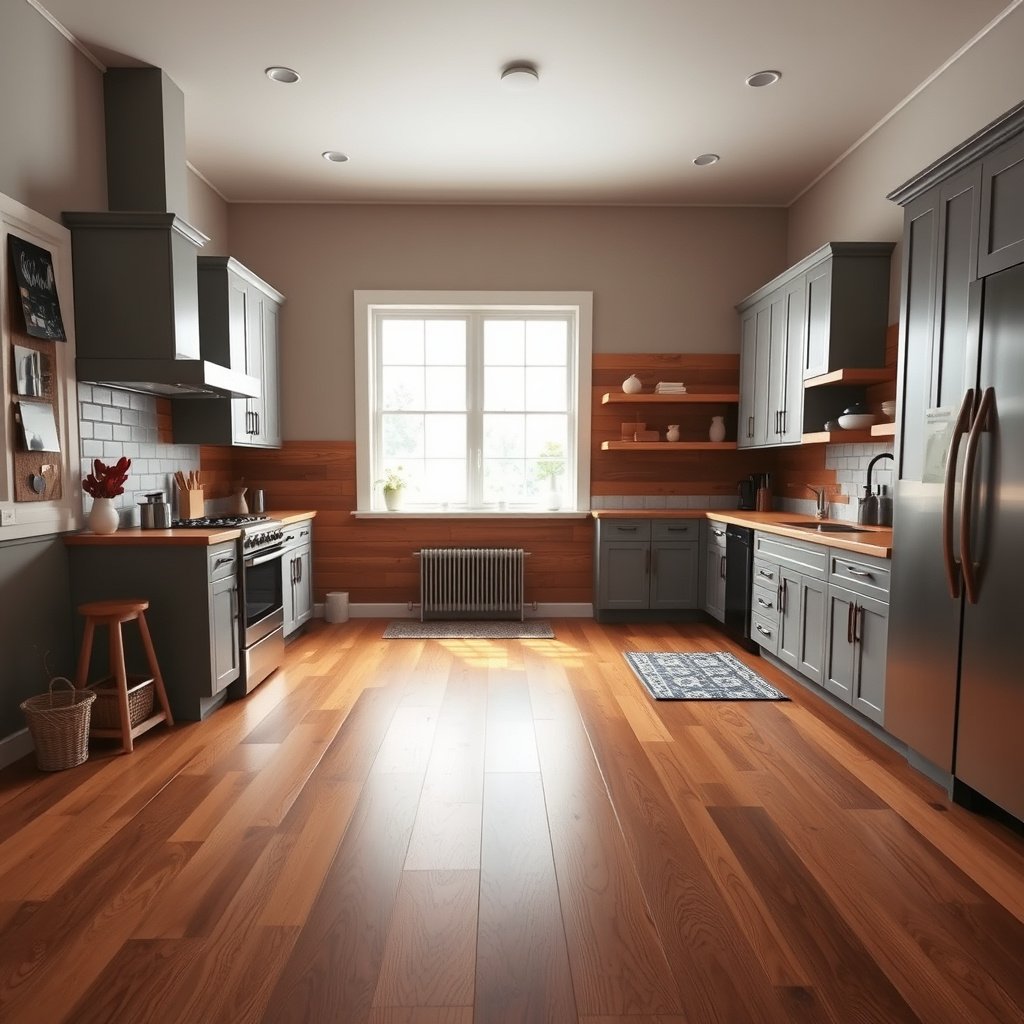
The best hardwood choice for a kitchen isn’t about “solid vs. engineered” in general—it’s about matching the product structure and installation method to your subfloor and moisture exposure. Here’s how to decide confidently: pick the flooring format (solid or engineered), then choose whether your project will be nail-down, glue-down, or click-lock (floating), because each method responds differently to moisture and subfloor movement.
Solid hardwood and engineered hardwood can both perform in kitchens when the installation system meets the manufacturer’s moisture and flatness limits.
Moisture behavior differs by installation type: floating and glue-down systems rely on different subfloor preparation and moisture strategies.
If the installer cannot explain the chosen method (nail-down, glue-down, or click-lock), it’s a red flag—kitchen performance depends on that system matching the manufacturer’s requirements.
Solid vs. engineered: what changes in a kitchen
– Engineered hardwood is often more tolerant of movement because it uses multiple plies (layers) that can resist dimensional change compared with single-piece solid boards. That said, “engineered is always better” isn’t true—your exact product’s installation instructions govern everything.
– Solid hardwood can work well, but kitchens are higher-risk due to frequent humidity changes and occasional water exposure. You must follow the product’s concrete/wood subfloor moisture limits and use the correct vapor strategy (if required).
Installation method: nail-down, glue-down, or click-lock
Use your plan’s method to drive the rest of the decisions:
– Nail-down typically requires a stable, properly prepared subfloor and approved fasteners (and nailing locations). In kitchens, this can be excellent for stability, but it’s unforgiving if the subfloor is uneven or moisture-tested limits aren’t met.
– Glue-down depends heavily on correct adhesive selection, correct surface prep, and controlled moisture. In kitchens, glue-down can reduce squeaks and movement, but mistakes with adhesive application or subfloor moisture can lead to debonding or trapped moisture.
– Click-lock (floating) relies on correct underlayment/vapor control and fully engaged locking seams. Floating floors can be a strong choice when you want fewer fastener penetrations—but kitchens still demand expansion gap management and moisture control to prevent swelling and edge issues.
Prep the Subfloor (Moisture + Flatness Come First)
The fastest way to ruin a kitchen hardwood installation is to skip testing and flatness checks—because hardwood won’t “correct” an uneven or too-wet substrate. Start by measuring flatness (so boards don’t flex later), then test moisture using the appropriate method for your subfloor type (especially for concrete), and only proceed once you’re within the flooring manufacturer’s thresholds.
According to the National Wood Flooring Association (NWFA), subfloor flatness requirements help prevent squeaks and board movement after installation.
According to ASTM F2170, in-situ probes measure relative humidity (RH) in concrete as an input for flooring acceptance decisions.
According to ASTM F1869, the calcium chloride method measures moisture vapor emission rate (MVER) from concrete in lb per 1,000 square feet per 24 hours.
Measure flatness before you buy more material
Hardwood—especially plank styles that lock tightly—needs the substrate to be within tolerance. If you install over humps and dips, you often end up with:
– Squeaks (from movement at high/low spots)
– Gapping (from stressed tongues/edges)
– Locking system failures (in click-lock products)
– Fastener problems (for nail-down installs where nailing doesn’t seat properly)
As an industry reference point, NWFA guidance commonly uses 3/16 in. over 10 ft as a flatness tolerance benchmark for many wood flooring installs (NWFA installation guidance). Your specific product may tighten or loosen this, but “eyeballing” flatness is rarely enough.
Test moisture with the right method (and the right standard)
In 2026, the most reliable moisture workflow is still: test using ASTM methods, document results, then compare to the exact installation limits in your flooring spec sheet.
– Concrete slabs:
– Use ASTM F2170 (in-situ RH probes) for relative humidity readings (ASTM F2170).
– Use ASTM F1869 (calcium chloride) for MVER readings (ASTM F1869).
– Wood subfloors:
– Confirm moisture content with an appropriate wood moisture testing approach (often aligned with standard moisture content measurement practices such as ASTM D4442).
A commonly cited set of limits many manufacturers align with includes ≤ 75% RH or ≤ 3.0 lb/1,000 sq ft/24 hr MVER for many wood flooring applications over concrete—but you must verify the exact limits for your chosen product (NWFA + manufacturer installation instructions). If your kitchen subfloor’s moisture history is unknown (old slabs, recent construction, or a history of leaks), treat it as higher risk and plan for mitigation (including approved vapor barriers and/or a pro evaluation).
Moisture control is not only about the slab
Even with a dry slab, kitchens can introduce moisture at localized points:
– Under-sink plumbing leaks
– Dishwasher supply line issues
– Refrigerator ice-maker lines
– Water exposure from mopping practices
– Steam/humidity near cooking zones
So your moisture prep should include a plan for the “where moisture will actually travel” question—because hardwood fails where water meets the system.
Key Subfloor Verification Standards for Hardwood Performance in Kitchens
| # | Method / Standard | What It Measures | Typical Reported Output | Kitchen Use Case | Relevance Rating |
|---|---|---|---|---|---|
| 1 | ASTM F2170 | Slab relative humidity (RH) in-situ | % RH | Concrete moisture acceptance | ★★★★★ |
| 2 | ASTM F1869 | Moisture vapor emission rate (MVER) | lb / 1,000 sq ft / 24 hr | Concrete moisture acceptance | ★★★★★ |
| 3 | ASTM E1745 | Vapor retarder perm classification | perms (e.g., Class I ≤ 0.1) | Vapor barrier selection | ★★★★☆ |
| 4 | ASTM D4442 | Wood moisture content | % moisture content (MC) | Wood subfloor suitability | ★★★★☆ |
| 5 | NWFA flatness guidance | Surface flatness tolerance | Often 3/16 in. over 10 ft | Prevents squeaks & gapping | ★★★☆☆ |
| 6 | ASTM F710 | Concrete surface preparation | Prepared/clean surface condition | Glue-down readiness | ★★★☆☆ |
| 7 | Manufacturer installation instructions | Product-specific limits & sequence | Exact RH/MVER, acclimation, gaps | Final “go/no-go” authority | ★★★★★ |
Acclimate Materials and Plan Your Layout
Acclimation is the step that helps your hardwood reach equilibrium with your home’s indoor humidity before installation, reducing early cupping and gapping. In practical terms, you acclimate the planks, then dry-lay the layout so your cuts and seams fall where they won’t get punished by cabinets, thresholds, and the kitchen’s main walking path.
According to typical industry practice, acclimation aligns wood’s moisture content with indoor conditions before fastening or locking planks.
Manufacturers require acclimation because flooring movement begins immediately when wood is exposed to different indoor humidity levels.
Acclimate to the manufacturer’s requirements (not guesswork)
Wood flooring acclimation time depends on the product, packaging, and your indoor conditions. Follow the specific instructions for your flooring brand and installation system. If you don’t have the guide yet, locate it before you open cartons.
– Place planks in the installation area with airflow (commonly stacking cartons for access and allowing air around materials).
– Keep HVAC running like normal kitchen conditions will be (avoid installing during unusual dry or humid spikes unless the same conditions will continue).
If indoor conditions change significantly after installation, even acclimated wood can still move—so kitchens often benefit from stable HVAC humidity control.
Plan plank direction and seam locations
Good kitchen layouts reduce “awkward cut” failures at high-pressure zones:
– Choose plank direction that supports the longest, straightest run.
– Plan around cabinet toes, islands, and door transitions so you don’t end up with narrow slivers at edges.
– Identify your main walkway and align seams so foot traffic doesn’t repeatedly stress short board segments.
From my experience working with kitchen remodels, the biggest layout-related complaint tends to come from seam placement near doorway thresholds—. Use that as your planning cue.
Install Underlayment, Spacers, and Starter Lines
Underlayment and spacing are where kitchen performance often gets won or lost—because moisture and movement management start before the first board locks in. The goal is simple: install the specified underlayment (or none, if your system requires it), maintain expansion gaps with spacers, and establish straight starter lines so the rest of the floor remains aligned.
Floating floors depend on correct underlayment and vapor control because the floor system moves as a unit with seasonal humidity changes.
Expansion gaps prevent buckling by allowing the floor to expand when kitchen humidity rises.
Starter lines and alignment reduce cumulative errors; misalignment early can force increasingly complex, weaker cuts near cabinets and thresholds.
Underlayment: follow the flooring’s system, not “what seems similar”
– If your product specifies an underlayment type (pad thickness, vapor barrier requirements, seam taping), use it.
– If your product says “no underlayment,” don’t add one “for comfort,” because you may change height transitions, interfere with locking depth, or alter vapor performance.
Spacers and expansion gaps
Kitchens cycle. Seasonal indoor humidity swings plus cooking steam mean your hardwood needs room to expand:
– Use spacers at walls and vertical obstructions.
– Maintain the same gap width around doorways and threshold transitions.
Starter rows: make them straight, then keep them straight
A straight first run prevents “accordion” alignment problems:
– Check your starting line for squareness.
– Re-check line alignment as you build the first few rows, then periodically throughout the install.
Nail-Down / Glue-Down / Floating: Follow the Proper Method
The correct installation method is the difference between a kitchen floor that stays quiet and flat versus one that squeaks, gaps, or separates over time. Choose the method that matches your product, then follow its specific fastener/adhesive schedule and locking/edge requirements—because kitchens magnify small installation errors.
Nail-down hardwood relies on approved fasteners, correct nailing schedules, and proper subfloor stability to control movement.
Glue-down installations require manufacturer-specified adhesive type and spread rate so bond strength stays consistent.
Click-lock floating floors must fully engage at seams; incomplete locking can open gaps under kitchen traffic and humidity swings.
Quick method comparison (what each approach emphasizes)
| Feature | Nail-down | Glue-down | Click-lock (floating) |
|---|---|---|---|
| Primary performance driver | Subfloor stability + fastener placement | Adhesive bond + surface prep | Lock integrity + underlayment/vapor control |
| Best subfloor condition | Flat, solid, properly fastenable | Clean, properly prepared slab (per ASTM/F710 guidance) | Flat enough to avoid rocking/edge stress |
| Moisture strategy | Follow product moisture limits; control sources near sink/appliances | Moisture + adhesive compatibility are critical | Underlayment vapor barrier and expansion gaps matter |
| Noise reduction potential | Often strong if subfloor is stable | Can reduce squeaks by bonding | May squeak if base is uneven or locking is imperfect |
| Repair complexity | Board-level replacement often feasible | Can be more involved where adhesive bonds strongly | Seam-level fixes possible depending on access |
| Tolerance for slight installation errors | Low if flatness/fastener schedule is missed | Low if adhesive coverage or slab prep is wrong | Moderate, but gaps from incomplete locking are persistent |
| Fastening/adhesive variability risk | Uses approved nail/staple types and spacing | Uses approved adhesive and trowel/spread rate | Uses correct underlayment and seam engagement |
| Typical kitchen advantage | Stable feel underfoot for daily traffic | Strong immobilization when installed correctly | Less labor-intensive installs in some situations |
| Typical kitchen drawback | Water incidents can still travel and affect wood | Moisture imbalance can cause bond issues | Edge pressure at thresholds if gaps aren’t managed |
| Expansion movement handling | Requires correct gap management around perimeter | Requires correct gap management and adhesive compatibility | Requires correct gaps so the floor can float freely |
| Best For | Stable wood subfloors and kitchens where you can control moisture at the sources | Concrete slabs that are clean, prepared, and within the product’s moisture limits | Projects where you want a floating system and can meet vapor/underlayment and gap requirements |
Nail-down: hit the right subfloor areas
– Use the approved nail/staple type and spacing from your flooring spec.
– Fasten into the correct structural subfloor zones (not just “where it feels solid” on top surfaces).
– Confirm subfloor stability—soft spots cause squeaks regardless of how good the nail schedule is.
Glue-down: adhesive coverage must match the label and trowel guidance
– Spread adhesive only as recommended (and within open-time limits).
– Avoid over-application; excess adhesive can squeeze out and interfere with uniform contact.
– Keep adhesive compatibility aligned with your flooring and underlayments (if any).
Floating/click-lock: lock integrity and freedom of movement
– Ensure each board fully locks—especially along long runs where tiny gaps add up.
– Manage underlayment seam overlaps/taping per the system instructions.
– Don’t trap the floor by over-tightening transitions or eliminating expansion clearance at walls.
What Can Go Wrong (Kitchen-Specific Risks)
Hardwood failures in kitchens usually trace back to moisture infiltration, uneven subfloors, or blocked movement at transitions. Kitchens intensify these problems because water sources are localized (sink, dishwasher) and humidity changes are frequent (cooking steam, oven cycles, seasonal HVAC).
Kitchen humidity swings can increase dimensional movement in wood flooring, which means expansion gaps and perimeter clearance remain non-negotiable.
Uneven substrates can lead to squeaks and movement, and that movement can open gaps or stress locking systems in click-lock floors.
Moisture incidents near plumbing fixtures are a common path to cupping and gapping because water travels along vulnerable floor edges and transitions.
Common kitchen failures to watch for
– Moisture problems
– Causes: leaks under appliances, sink splashes that aren’t cleaned promptly, persistent humidity.
– Symptoms: cupping, gapping, or surface finish whitening.
– Uneven subfloor
– Causes: sanding misses, joist deflection, old subfloor panels, or uneven patching.
– Symptoms: squeaks, tongue damage, fractured locking seams.
– Skipping expansion gaps
– Causes: boards jammed against cabinets, tight walls without spacers, no allowance at doorways.
– Symptoms: buckling, raised edges after humid seasons.
– Wrong transitions
– Causes: thresholds that restrict movement or transitions mounted in a way that “pins” the floor.
– Symptoms: pressure points, squeaks, separation at edges.
From my experience in remodel walkthroughs, the issue I most often see is perimeter “almost-gap” mistakes near base cabinets and toe-kick zones—, because those spots look minor until the floor begins expanding.
Verdict: Worth It, With Clear Conditions
Hardwood floors in a kitchen can look outstanding and feel excellent underfoot—but you should only DIY if you can accurately check moisture and flatness and you’re willing to follow your manufacturer’s installation instructions precisely. If you’re working with an older slab of unknown moisture history, you have frequent plumbing concerns, or the subfloor is notably uneven, hiring a pro (or choosing a more appropriate installation system for your conditions) is the safer route.
In kitchen installations, meeting the manufacturer’s moisture and acclimation limits is the key prerequisite for long-term performance.
Moisture-related defects like cupping and gapping typically correlate with moisture test results that exceed the flooring’s installation thresholds.
Downside tailored to common kitchen realities: if your kitchen regularly runs with heavy humidity from cooking (frequent stovetop boiling/steam) or if you have frequent spills near the sink and cleanup may be delayed, you should tighten your moisture controls and plan for faster response to wet events. In those conditions, a “good-looking, average installation” is more likely to show seasonal movement—so either be disciplined with prep or consider a flooring/installation system better suited to higher moisture exposure.
Quick Checklist Before You Start (Scan-Save)
If you cannot document moisture test results and compare them to the flooring manufacturer’s limits, you should pause the install.
Proper expansion gaps and correct underlayment are essential controls for kitchen humidity-driven movement.
– [ ] Verify hardwood type and installation method (solid vs. engineered; nail/glue/floating)
– [ ] Check subfloor flatness (per manufacturer requirements)
– [ ] Test moisture using the required method for your subfloor type
– [ ] Acclimate planks as directed
– [ ] Confirm correct underlayment/vapor barrier (if required)
– [ ] Plan expansion gaps and layout lines
– [ ] Use the correct fasteners/adhesive and spacing
– [ ] Install transitions thoughtfully near cabinets and thresholds
Sources
– ASTM F2170 — Standard Test Method for Determining Relative Humidity in Concrete Floor Slabs Using In-Situ Probes (for slab RH testing)
– ASTM F1869 — Standard Test Method for Measuring Moisture Vapor Emission Rate of Concrete Subfloor Using Anhydrous Calcium Chloride
– ASTM E1745 — Standard Specification for Water Vapor Transmission of Flexible Film Vapor Retarders Used in Contact with Soil or Granular Fill Under Concrete Slabs
– ASTM D4442 — Standard Test Methods for Direct Moisture Content Measurement of Wood and Wood-Based Materials
– ASTM F710 — Standard Practice for Preparing Concrete Surfaces for Bonding / Coverings (for surface preparation concepts used before adhesive applications)
– National Wood Flooring Association (NWFA) installation guidance — recommended installation practices including flatness and moisture-related best practices for hardwood flooring
– — moisture limits, acclimation requirements, underlayment/vapor barrier requirements, and recommended fasteners/adhesives
– — seam taping, required overlap, and compatibility with your flooring system
Hardwood in a kitchen is worth pursuing when you treat prep like the main project: moisture testing, flatness correction, correct underlayment/vapor strategy, and strict method-specific installation. If you can’t confirm those variables—especially around concrete slabs and plumbing-adjacent areas—pause the install and get the missing measurements.
Frequently Asked Questions
How do I prepare my kitchen subfloor before installing hardwood floors?
Start by checking the kitchen subfloor for flatness, using a straightedge; hardwood installation often requires the surface to be within manufacturer tolerances to prevent gaps and squeaks. Remove old flooring, nails, adhesive residue, and debris, then address moisture issues with a proper subfloor moisture test. Ensure the subfloor is structurally sound, because any movement will show up quickly in a high-traffic kitchen. Finally, acclimate the hardwood planks to the room temperature and humidity before installation.
What hardwood flooring is best for kitchens with moisture and heavy foot traffic?
For kitchens, many homeowners choose engineered hardwood for better moisture tolerance and stability over solid hardwood, especially over concrete. Look for a wear layer designed for residential kitchens, and choose a finish that resists water spotting and daily spills (often factory-finished urethane or similar). You can also reduce damage with an appropriately sealed surface, felt pads under furniture, and area rugs in entry and sink zones. If your kitchen is prone to spills, prioritize products marketed for durability and consider adding additional protection at seams.
Which installation method works best for hardwood floors in a kitchen?
The best method depends on your subfloor type and existing conditions: nail-down works well over wood subfloors, while glue-down is common for concrete and can improve stability. If you want easier installation and flexibility, click-lock engineered hardwood is popular for many kitchens, but still requires correct underlayment and moisture control. Avoid skipping steps—each method has specific requirements for underlayment, expansion gaps, and fastening patterns. Review the hardwood flooring manufacturer’s installation instructions to ensure your method is approved for the product and your kitchen conditions.
How do I handle expansion gaps and transitions when installing hardwood flooring in a kitchen?
Hardwood needs expansion space around the perimeter and at doorways to accommodate seasonal movement, so maintain the required expansion gap specified by the manufacturer. Plan transitions carefully where the kitchen meets tile, carpet, or other rooms—use matching transition strips or thresholds to allow movement while creating a clean finish. Pay special attention to areas around cabinets and islands, ensuring planks can expand under or beside trim without being locked in place. A well-planned layout minimizes cutting mistakes and helps avoid buckling or separation at seams.
Why is moisture testing and proper underlayment important when installing hardwood floors in a kitchen?
Kitchens experience daily humidity changes from cooking, dishwashing, and spills, and moisture can damage hardwood, cause cupping, or lead to adhesive failure. Moisture testing (both for the concrete slab, if applicable, and the room environment) helps you confirm the subfloor is within the hardwood’s tolerance before installation. The right underlayment and vapor barrier—based on whether you’re using nail-down, glue-down, or click-lock—helps control moisture migration and reduces sound. Taking these steps improves long-term performance and reduces costly repairs after installation.
📅 Last Updated: October 16, 2026 | Topic: How to install hardwood floors in a kitchen? | Content verified for accuracy and freshness.