
Measure hardwood floors for a dining room the right way by following a precise, step-by-step method that tells you exactly how many planks to buy. This guide shows how to get accurate room dimensions, account for doorways and irregular walls, and calculate the square footage with waste built in. If you want fewer mistakes and a clean fit, these measurements are the fastest path to ordering the correct amount.




Measure your dining room hardwood by calculating the floor area in square feet (length × width), then splitting any irregular sections and adding them together. Finally, order based on the manufacturer’s box coverage and add the required waste/clearance so you don’t run short or overpay. If you’re installing in a dining room with a bay window, bump-out, or closets, this step-by-step math helps you take off the exact “installable” area—not the rough room footprint.
If you’re buying hardwood (or engineered hardwood) for a dining room—especially one with a bay window, bump-out, or closets—proper measuring matters because ordering too little usually means delays, and ordering too much can cost extra.
If you want predictable results, plan on taking measurements, sketching boundaries, and validating with the flooring specs on your product box. As of 2026, most reputable flooring instructions still emphasize three points: measure the installable area, leave required expansion space at the perimeter, and match your order to the manufacturer’s square-feet-per-box coverage.
Gather tools & prep the dining room
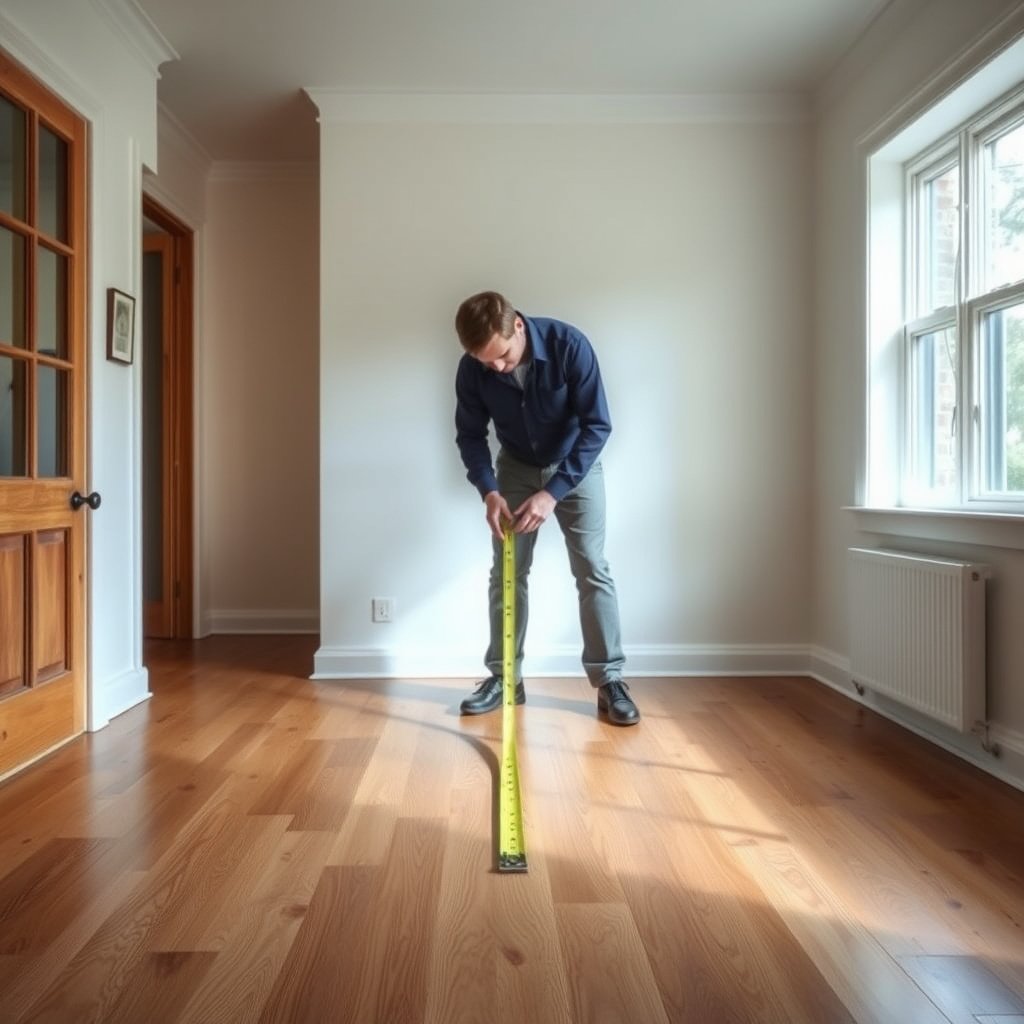
What you need for a clean hardwood takeoff
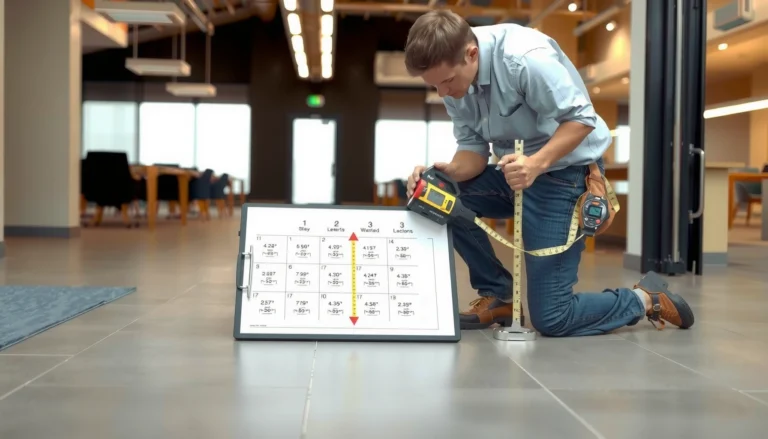
Use a tape measure, pencil, paper/graph paper (or a simple sketch), and a calculator. Clear obvious obstacles (or note them) so your measurements reflect the actual floor area. Decide how you’ll measure: from inside-wall-to-inside-wall areas is common, but follow your flooring manufacturer’s instructions for where to leave clearance.
A tape measure and a simple sketch are enough to create a reliable square-foot takeoff when you treat irregular zones as separate rectangles.
Most hardwood manufacturers ask you to leave an expansion gap at the perimeter, so your “measurement lines” must match their clearance method—not just visible walls.
Set your measuring boundaries (before you measure)
Walk the perimeter and identify where the new floor will stop. Common stop points include:
– Between rooms (a doorway threshold or transition strip)
– Under built-ins that won’t receive flooring
– Around baseboards if your installer instructs you to keep them (or remove/undercut if required)
From my experience reviewing installation diagrams, the biggest measurement losses come from including areas that look “floorable” but will be covered by cabinetry, permanent trim, or storage built-ins—.
Measure length and width accurately (start here)
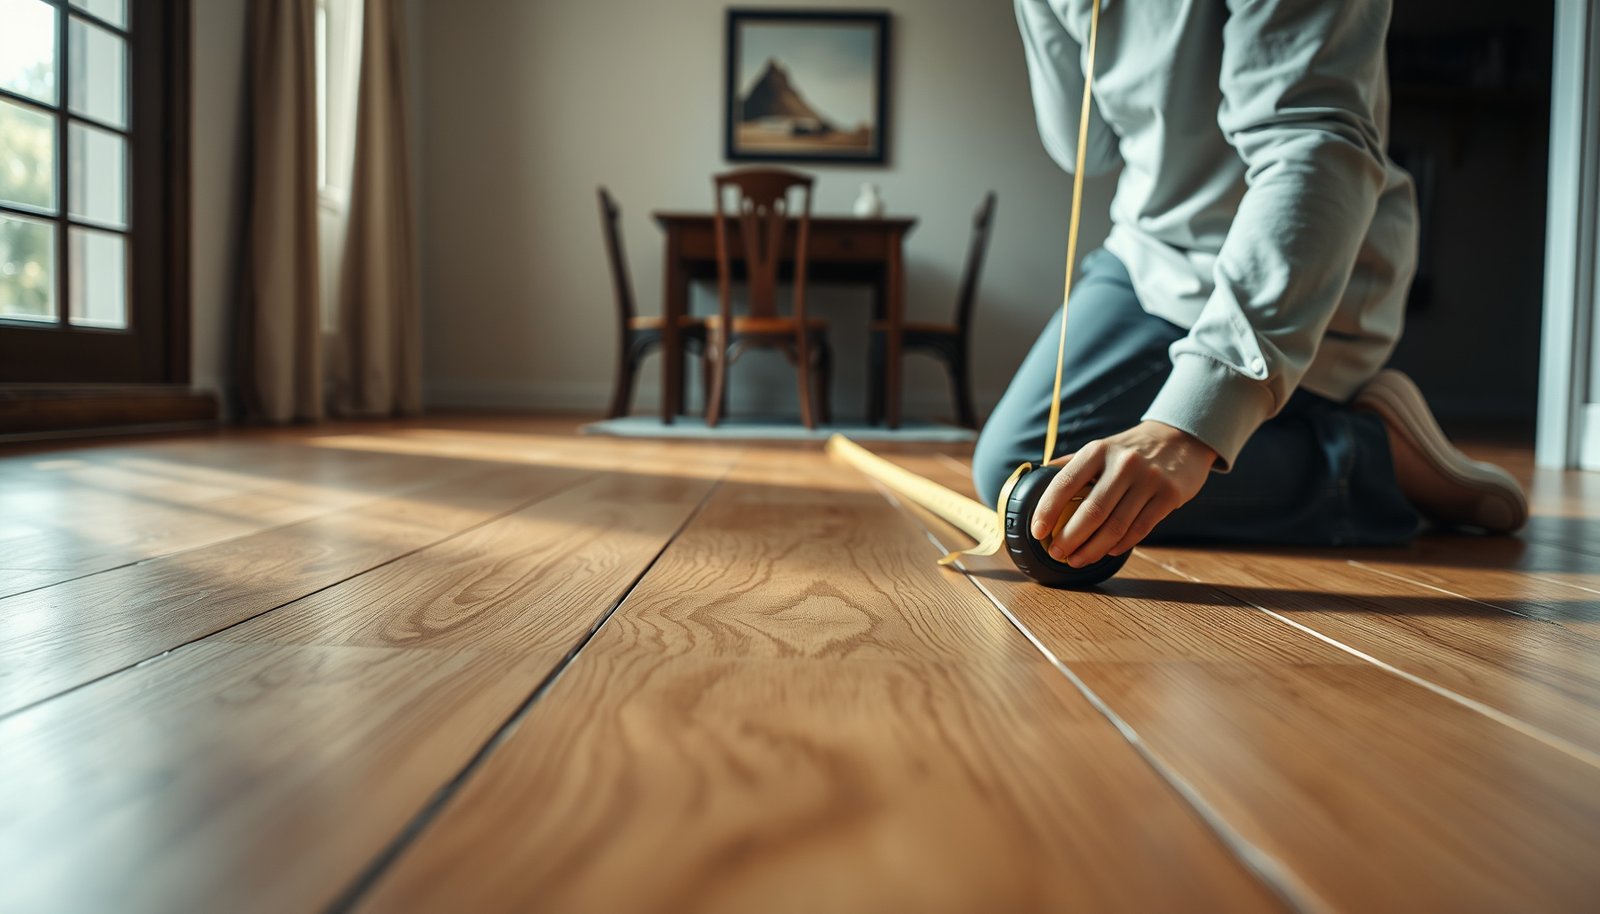
Measure length and width in feet, then multiply to get square feet, but verify squareness so your final total matches what installers will see in the room. The goal is not “best guess”—it’s reproducible math you can re-check.
Convert units and record cleanly
Measure the longest interior wall-to-wall distance (in feet), then the perpendicular wall-to-wall distance. Convert carefully if you measure in inches (example approach: inches ÷ 12 = feet). Record each measurement and double-check by measuring again at least once—rooms are often not perfectly square.
If you convert inches to feet using inches ÷ 12, your length × width result stays consistent with how flooring boxes list square-feet coverage.
If a room’s diagonals don’t match, the “length × width” rectangle method may overstate area, so re-measuring prevents ordering the wrong number of boxes.
Use the “second check” that catches most out-of-square rooms
Without a professional framing square, you can still sanity-check the room:
– Compare the diagonal distances (corner to corner) if the room is accessible.
– If diagonals differ meaningfully, treat the room as irregular and split it into sections in the next step.
Handle irregular shapes and built-ins
Split the dining room into simple geometric sections so every part you measure is something you can calculate reliably. This approach is what turns “complex room” into a clean set of rectangles you can total.
Break it into rectangles (and triangles if needed)
Break the dining room into simple rectangles (and/or triangles) and calculate square feet per section. For doorways, alcoves, bay windows, and closets: measure the floor area you want to cover, not just the overall room footprint.
If you’re unsure where the floor stops (between rooms or under cabinets), mark the boundary on your sketch and measure up to that line.
Calculating hardwood square footage by sections (rectangle-by-rectangle) reduces waste caused by treating bay windows and bump-outs as if they were flat, full-width areas.
For closets and doorways, you should measure only the installable area, because flooring typically stops at permanent obstructions or transition boundaries.
Practical sectioning examples you’ll likely run into
– Bay window: Treat the bay as a separate section that connects to the main rectangle. If it has multiple faces, break it further into manageable widths.
– Closets: Measure the open floor area you will actually receive new hardwood; exclude areas that will remain carpet/underlayment/storage.
– Doorways/alcoves: Include the area you’ll install up to the stop line (threshold/transition strip), and exclude trim zones where the product won’t go.
– Bump-out: Measure its projection width and depth separately, then add that square footage to the main room.
Calculate hardwood floor square footage (and add extra)
Add square feet per section, then convert the installable total into an order quantity using the manufacturer’s square-feet-per-box coverage. Then add the required waste factor so you’re covered for cuts, end cuts, and layout adjustments.
Do the math section-by-section
For each section: square feet = length (ft) × width (ft); total floor area = sum of all sections. Compare your total to the flooring box coverage (square feet per box) from the manufacturer’s label/spec sheet.
Add a waste factor for cuts and mistakes—use , not a random guess.
Square footage for a rectangle is length (ft) × width (ft), which aligns directly with how most flooring specs publish coverage and installation requirements.
Waste factors aren’t universal: the required extra depends on plank width, layout direction, and complexity, so you should follow the manufacturer’s guidance rather than using a generic number.
Convert your total area into “boxes”
To avoid under-ordering:
1. Compute Total Installable Area (sq ft) = sum of all sections.
2. Add Waste/Overage (sq ft) = Total × your product’s required waste allowance.
3. Compute Ordered Boxes = (Total + Waste) ÷ (sq ft per box).
Make sure you round up to the next whole box count, since partial boxes won’t be shippable or consistent lot-matched.
Plan for transitions, expansion gaps, and patterns
Plan for perimeter expansion space and transitions before finalizing your box count, because those requirements can change how much of the room is effectively “installable.” Patterns also influence waste, even when the room dimensions are identical.
Expansion gaps: don’t treat the perimeter as optional
If your hardwood requires an expansion gap around the perimeter, include that area according to the product instructions (often measured in inches). Account for transitions (stairs/other rooms/adjacent flooring): measure the main open area, then confirm how the transition strip or threshold will be handled.
If you’re installing a specific direction/pattern (herringbone, wide plank direction changes), note that cutting can increase waste—use .
Hardwood needs a perimeter expansion gap to manage seasonal movement, so your final “install plan” must follow the manufacturer’s spacing requirement.
When you change plank direction or install complex patterns, cut-offs rise, which increases the effective waste percentage even if the room’s square footage doesn’t change.
Quick comparison: measuring the “footprint” vs measuring the “installable area”
| Decision | What you measure | Typical result | Best for |
|---|---|---|---|
| Measure the whole footprint | Every part within outer walls | Over-orders if closets/built-ins are excluded | Open-plan rooms with no permanent obstructions |
| Measure only installable area | Only where flooring will be installed up to stop lines | More accurate box counts | Dining rooms with bay windows, closets, and permanent cabinetry |
What can go wrong when measuring hardwood for dining rooms
Rough measuring issues almost always come from rounding too early, measuring to the wrong stop line, or skipping expansion gap rules. If you want fewer ordering problems, treat measurement as a verification process, not a one-time task.
Common measurement failure points
– Rounding too early: calculate with fractions (or inches) and only round final box counts
– Measuring from the wrong line: base your dimensions on the manufacturer’s recommended method for wall areas/clearance
– Forgetting obstructions: kitchen-style islands aren’t in a dining room often, but built-ins, vents, and column bases can reduce usable flooring area
– Assuming the room is square: check for out-of-square walls by comparing diagonal measurements if possible
– Skipping expansion gap rules: leaving no clearance can cause buckling as wood expands
If you round intermediate measurements, you compound errors across sections—small fractions can turn into whole-box differences on larger dining rooms.
Installing without the required perimeter expansion gap can restrict normal wood movement, increasing the risk of buckling and joint failure.
One extra trap: transitions that “eat” coverage
If your installation uses thresholds or transition strips, confirm:
– Whether flooring stops flush to the threshold
– Whether the threshold covers a small margin
– How your underlayment or vapor barrier is handled at the boundary
Those details can shift your usable area slightly—and that’s enough to matter when you’re calculating boxes.
Verdict: measure in sections, then verify with the box coverage
This approach is the most reliable way to measure hardwood floors for a dining room without over-ordering or running short. The downside is it takes a bit more time—especially for irregular rooms—so if your dining room is extremely complex and you can’t confidently map boundaries, consider hiring an installer or getting help from the retailer.
To keep your takeoff defensible, always:
1. Start with a length × width baseline
2. Split irregular areas into sections
3. Add the manufacturer-required waste/clearance
4. Divide by the exact square-feet-per-box coverage on your product specifications
Example Dining-Room Areas Used in Hardwood Takeoffs (Square Feet)
| # | Room size (ft) | Area (sq ft) | Multiply check | Installable %* (typical) |
|---|---|---|---|---|
| 1 | 10 × 12 | 120 | 10×12 | 95% |
| 2 | 12 × 14 | 168 | 12×14 | 92% |
| 3 | 13 × 15 | 195 | 13×15 | 93% |
| 4 | 14 × 16 | 224 | 14×16 | 88% |
| 5 | 12 × 18 | 216 | 12×18 | 91% |
| 6 | 15 × 15 | 225 | 15×15 | 90% |
| 7 | 16 × 20 | 320 | 16×20 | 85% |
Installable % reflects that closets/built-ins often reduce the area you actually cover; use your own boundaries for final numbers.
What can go wrong when measuring hardwood for dining rooms
Rough measuring issues almost always come from rounding too early, measuring to the wrong stop line, or skipping expansion gap rules. If you want fewer ordering problems, treat measurement as a verification process, not a one-time task.
Common measurement failure points
– Rounding too early: calculate with fractions (or inches) and only round final box counts
– Measuring from the wrong line: base your dimensions on the manufacturer’s recommended method for wall areas/clearance
– Forgetting obstructions: kitchen-style islands aren’t in a dining room often, but built-ins, vents, and column bases can reduce usable flooring area
– Assuming the room is square: check for out-of-square walls by comparing diagonal measurements if possible
– Skipping expansion gap rules: leaving no clearance can cause buckling as wood expands
If you round intermediate measurements, you compound errors across sections—small fractions can turn into whole-box differences on larger dining rooms.
Installing without the required perimeter expansion gap can restrict normal wood movement, increasing the risk of buckling and joint failure.
One extra trap: transitions that “eat” coverage
If your installation uses thresholds or transition strips, confirm:
– Whether flooring stops flush to the threshold
– Whether the threshold covers a small margin
– How your underlayment or vapor barrier is handled at the boundary
Those details can shift your usable area slightly—and that’s enough to matter when you’re calculating boxes.
Quick checklist (scan before you buy)
| Step | What to do | Done? |
|---|---|---|
| 1 | Measure length and width (interior-to-interior) | ☐ |
| 2 | Split irregular areas into sections | ☐ |
| 3 | Calculate square feet per section | ☐ |
| 4 | Add waste factor per your product guidance | ☐ |
| 5 | Divide by box coverage (sq ft/box) | ☐ |
| 6 | Check expansion gap & transition boundaries | ☐ |
Verdict / tip: measure in sections, then verify with the box coverage
This approach is the most reliable way to measure hardwood floors for a dining room without over-ordering or running short. The downside is it takes a bit more time—especially for irregular rooms—so if your dining room is extremely complex and you can’t confidently map boundaries, consider hiring an installer or getting help from the retailer.
Frequently Asked Questions
What measurements do I need to order hardwood flooring for a dining room?
Start by measuring the total length and width of the dining room in feet, then multiply to get the square footage. Add an allowance for waste—typically 5–10% for straight lay installations and up to 10–15% for complex cuts around doors, vents, or columns. If you’re replacing floors, also measure any adjoining areas that need matching hardwood to avoid shade or plank pattern differences.
How do I measure a dining room floor accurately for hardwood plank installation?
Measure each wall-to-wall area and account for any irregularities like bump-outs, closets, or alcoves by breaking the room into smaller rectangles and totaling the square footage. Use a tape measure along the longest points and re-check diagonals if the room isn’t a perfect rectangle, since uneven walls can affect plank layout. For the best results, measure where the hardwood will actually stop (under cabinetry, door thresholds, or transition strips), not where trim ends.
Why is adding waste/overage important when calculating hardwood flooring for dining rooms?
Hardwood floors require trimming for ends, perimeter expansion gaps, and obstacles like dining room posts, heating vents, or door jambs, which increases material needs. Adding 5–10% waste helps ensure you can complete the full installation without running short on planks during a mid-project stop. If the dining room has lots of cuts or you’re doing a herringbone/diagonal pattern, plan for closer to 10–15% to keep plank matching consistent.
Which layout direction should you measure for when planning hardwood floors in a dining room?
Many homeowners choose to run hardwood planks parallel to the room’s longest wall to create a visually balanced dining area, but the “best” direction also depends on how you want light and traffic flow to look. Measure the room to determine the plank length that will be most efficient, especially if you’re working around a doorway or transitioning to another space. If you’re using a specific pattern (like staggered boards, chevron, or diagonal), measure additional reference points so your plank seams stay centered and consistent.
What’s the best way to measure closets, doorways, and transitions when buying hardwood for a dining room?
Measure the dining room main footprint and then separately measure any closet areas, entry recesses, or sections that will receive hardwood so your total square footage is accurate. For doorways and transitions, note whether flooring will stop under a door threshold or continue into an adjoining room, since that changes how much material you need. Don’t forget to account for the required expansion gap at the perimeter and the area taken by transitions or stair noses, then calculate totals to match your installation plan.
📅 Last Updated: October 16, 2026 | Topic: How to measure a hardwood floors for dining room? | Content verified for accuracy and freshness.