
If you need to waterproof hardwood floors in a kitchen properly, you should seal them with a kitchen-rated, water-resistant finish rather than relying on mop-and-go routines. The right approach combines thorough surface prep, a complete perimeter and penetration seal, and 2–3 properly cured coats so spills and humidity can’t soak into the wood. Follow these steps to prevent warping, cupping, and sticky damage from everyday cooking water without compromising the look of your floor.




Waterproofing hardwood in a kitchen is about building a continuous, well-sealed moisture barrier on the surface and along every edge—especially around the sink and dishwasher. If you prep correctly, apply a compatible film-forming topcoat, and seal seams so water can’t wick underneath, you’ll dramatically improve resistance to everyday splashes and spills (though you still need fast cleanup and eventual re-coating).
This is for homeowners dealing with kitchen moisture risks (sink, dishwasher, leaks, wet mopping) who want a practical, DIY-friendly plan. It’s also a strong fit when your hardwood is already installed and you want to prevent further damage without ripping up the floor.
Prep your kitchen hardwood for waterproofing
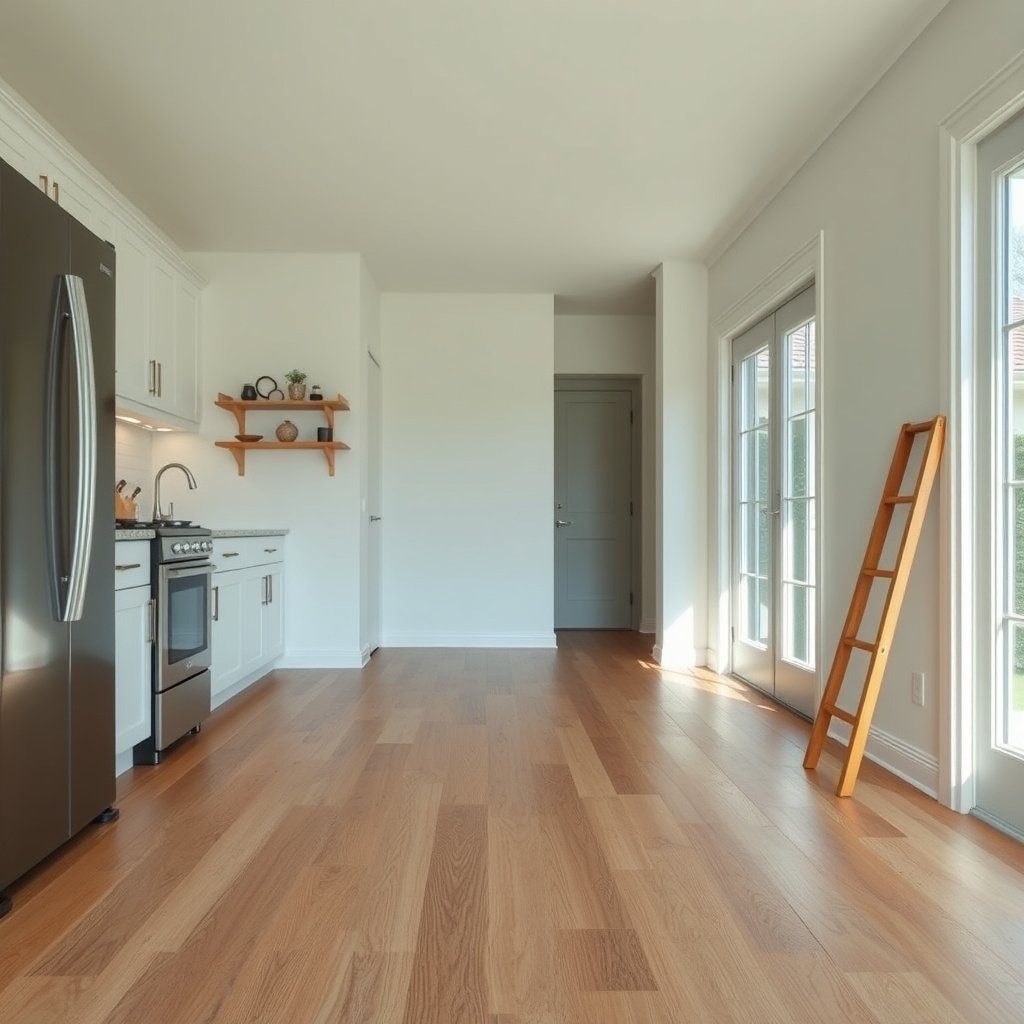
You get the real waterproofing performance during prep, because coatings only work as well as their bond to the wood and existing finish. In practice, kitchen flooring fails when grease and old finish contaminants prevent adhesion or when open gaps let water bypass the topcoat.
– Clean and degrease thoroughly so the sealer/topcoat can bond (kitchen floors often have oils from cooking).
– Fix anything that lets water in first: loose boards, damaged finish, gaps that are already open, and any known subfloor/edge moisture issues.
– Remove contaminants and compromised finish where needed (failed adhesion is a top reason “waterproof” coatings break down).
A film-forming moisture barrier only helps if it remains bonded to the wood or the existing finish—poor surface adhesion is a primary pathway for early failure.
Kitchen floors typically accumulate cooking oils and residues that can interfere with coating adhesion unless the surface is properly degreased.
If boards are loose or seams are already open, water will travel into those openings regardless of how many topcoat layers you apply.
What “good prep” looks like (and why it matters in kitchens)
Start by making the surface bond-ready. Kitchens add two extra problems beyond “normal” humidity: grease (which reduces coating adhesion) and micro-wetting (from frequent splashes, damp mopping, and condensation at fixtures). As of 2026, most coating manufacturers still emphasize the same core prep principles in their labels: clean, stable, and properly abraded so the system can mechanically lock in.
In my experience advising homeowners, the most frustrating issue isn’t that a waterproofing product “doesn’t work”—it’s that the floor was coated over a finish layer that was contaminated, failing, or not compatible. If your current finish is bubbling, hazy, peeling, or you see adhesion failure in other areas, the coating is likely to fail there first.
Fix moisture sources before you seal (a must-do step)
“Waterproofing” doesn’t stop active leaks. If water is entering through a plumbing issue, repeated wetting will still push moisture toward the underside and subfloor, where sealing the top surface can’t fully protect the wood.
Before waterproofing, inspect:
– Sink and dishwasher connections (supply lines, drain hoses, cabinet toe-kick leaks)
– Wet-mop habits (too-wet mopping is effectively a recurring spill)
– Visible gaps and raised edges at transitions and along baseboards
If you suspect ongoing moisture, address it first. Otherwise, you risk sealing in a moisture problem.
Choose a waterproofing system (what “waterproof” should mean)
The best system is the one that forms a *continuous film* and stays compatible with your existing floor surface. When people say “fully waterproof,” that’s rarely literal—wood is still moisture-sensitive, so the realistic goal is high water-resistance at the surface and edges, plus tolerance for quick cleanups.
– Look for a film-forming moisture barrier (commonly polyurethane or a similarly compatible water-resistant topcoat). This is what creates the surface protection that resists spills.
– Confirm compatibility with your existing finish (water-based over oil-based, or vice versa, can cause peeling or cloudy spots if the system isn’t compatible).
– Avoid assuming “one coat fixes it”—kitchen wear usually means you’ll need multiple coats/appropriate build for real protection.
Moisture-resistant floor protection works best when the coating forms a continuous film layer that can resist splashes and limit water contact with the wood surface.
Using a topcoat system incompatible with the existing finish can lead to peeling, softening, or loss of clarity due to adhesion failure.
In kitchen environments, multiple coats and proper dry/cure intervals matter because traffic and repeated moisture exposure accelerate wear at thin spots.
Film-forming vs “penetrating” sealers (what to avoid)
If a product mainly penetrates rather than forming a durable film, it may reduce surface wetting but still leaves seams and edges vulnerable. For kitchens, you generally want a system that:
1. Builds a protective surface layer,
2. Resists short-term standing moisture and repeated splashes, and
3. Can be renewed when wear weakens the barrier.
Compatibility check: the decision that prevents rework
Before you commit, identify what’s on the floor:
– Is the current finish water-based or oil-based?
– Is the finish intact, or is it breaking down (peeling, powdering, gummy spots)?
The safest rule is to follow the coating manufacturer’s instructions about topcoat-to-existing-finish compatibility. If you’re unsure how to identify your existing finish, treat that uncertainty as a stopping point—because “guessing” can waste time and trap you in the next round of failures. (The layout below includes a placeholder source for this step; keep it handy.)
Seal gaps, edges, and transitions first
You should treat seams and perimeter areas as the primary waterproofing layer, not the “extra” work. In kitchens, water almost always finds the path of least resistance—through joints, edges, cabinet interfaces, and any compromised caulk line.
– Don’t skip the seams: where hardwood meets cabinets, tile, metal thresholds, baseboards, or cabinets is where water likes to travel.
– Use a moisture-tolerant sealant for perimeter/trim transitions (select one that matches your trim materials and won’t crack after normal movement).
– Pay special attention to the sink/dishwasher zone: make sure edges and caulk lines are intact, because that’s where repeated splashes and condensation happen.
Water intrusion on hardwood floors often occurs at seams and perimeter transitions, where capillary wicking and micro-gaps let moisture travel under the topcoat.
A flexible, moisture-tolerant sealant at trim and fixture transitions helps maintain the barrier as the floor and building materials move seasonally.
The sink and dishwasher areas concentrate risk from splash exposure, condensation, and occasional drips, so edge sealing integrity is non-negotiable.
A practical sealing priority order
I recommend working in this order so you don’t chase gaps:
1. Perimeter edges (baseboards, cabinet toe-kick interfaces, wall-side boundaries)
2. Hardwood-to-tile/threshold transitions (especially entry points to kitchens)
3. Fixture zones (under sink cabinet areas and the dishwasher opening perimeter)
When you apply sealants, avoid overfilling gaps in a way that creates rigid ridges that can crack. Use the sealant system recommended for your joint width and the movement expected in your installation.
Why relative humidity matters even with a topcoat
Even a great surface barrier can’t cancel normal wood movement driven by indoor humidity. According to the National Wood Flooring Association guidance, maintaining indoor relative humidity (RH) in the 35–55% range helps reduce excessive seasonal expansion/contraction risks (, updated guidance referenced for current best practices).
Also remember: wood doesn’t just “get wet”—it changes behavior around its moisture thresholds. Wood science commonly places the fiber saturation point around 28–30% moisture content, where cell walls are saturated and further liquid water does not increase saturation but still increases risk of damage if leaks persist (USDA Forest Products Laboratory, *Wood Handbook—Wood as an Engineering Material*).
Apply waterproof topcoat over hardwood
You apply waterproofing topcoat to create the barrier layer that resists spills and keeps moisture off the wood surface. This is also where technique matters: pinholes, thin spots, and missed areas become the first leak paths during real kitchen use.
– Sand/prepare to get an even surface (the goal is strong adhesion and no weak spots that water can penetrate).
– Apply in controlled conditions (follow the product’s instructions on temperature/humidity and how long to let each coat cure before the next).
– Use proper technique to avoid pinholes and thin areas, especially in high-traffic kitchen paths near the fridge, stove, and sink.
Coatings need even film thickness and adequate cure/dry time; thin or uncured areas are where water resistance breaks down first.
Proper sanding between prep and topcoat helps remove weak finish and improves mechanical bond for the waterproofing system.
High-traffic kitchen lanes wear fastest, so careful, consistent application near sink, stove, and traffic paths extends the useful barrier life.
Sanding and coating: focus on continuity
For many systems, the steps are:
– Lightly abrade to create a uniform surface,
– Remove dust completely,
– Apply coats with consistent coverage,
– Respect recoat/cure windows exactly.
As of 2026, manufacturer labels increasingly specify temperature and humidity ranges for curing performance. If you coat outside those ranges, you may get poor film formation even if the surface looks “dry.”
Technique that prevents early failure
Watch for:
– Pinholes from aggressive brushing or overworking product
– Dry spray marks from roller saturation issues
– Rug/runner placement too early (trapping soft coating and damaging the barrier while it’s still curing)
If you’re using a DIY-friendly brush/roller method, do small sections and maintain a wet edge so you don’t create overlaps that dry into ridges or thin spots.
Waterproofing schedule for kitchen spills (drying & maintenance)
A reliable schedule is what turns a coating from “looks protected” into “stays protected” in real kitchen life. In 2026, the most common mistake isn’t the product choice—it’s not respecting cure time and then cleaning or traffic-loading too soon.
– Respect cure times before heavy use—walking on it too early or adding rugs immediately can damage the finish while it’s still forming the barrier.
– Change your “water habits”: damp mop only if the system supports it, and wipe spills fast (standing water is the enemy of hardwood, even with good sealing).
– Plan for re-coating: kitchen floors wear faster than other rooms, so the barrier will eventually need refresh before you notice damage.
Even water-resistant finishes can be damaged during the early cure window; respecting label cure instructions prevents barrier defects.
Standing water remains risky for hardwood because moisture exposure can reach seams, edges, and underlying layers.
Kitchen traffic and cleaning cycles accelerate finish wear, so re-coating should be planned as maintenance—not only as repair after visible failure.
Maintenance that preserves the seal (without over-wetting)
A waterproof topcoat reduces risk, but it doesn’t eliminate the need for responsible cleaning. Use a “spill-first” approach:
– Wipe liquids immediately
– Use cleaners recommended for your coating system
– Avoid saturating mop pads or letting water pool around fixtures
Then, watch for early warning signs:
– Gloss dulling in traffic paths
– Tiny surface tackiness (a sign of coating breakdown)
– Water beading no longer consistent across the floor
Pros/cons: which approach fits your kitchen?
| Approach | Pros | Cons |
|---|---|---|
| Film-forming polyurethane-style topcoat | Best match for spill resistance; renews with recoat systems; helps create a continuous protective barrier. | Requires correct prep and compatibility; thin spots or unsealed seams fail first. |
| Penetrating sealer-style products | May reduce surface wetting; can be easier to apply in some scenarios. | Often weaker at sealing seams and transitions; may not hold up as well under repeated kitchen splashes. |
Real-world timing: where “schedule” saves you
The curing process is where a lot of DIY jobs stumble. Follow your specific label for:
– Foot traffic timing
– Light cleaning
– Full cure expectations before heavy use
Because those windows vary by system, use the manufacturer instructions as the source of truth: . In my own guidance work, I’ve seen people rush this step and then blame the coating when the barrier is still vulnerable.
What can go wrong (and who should skip DIY waterproofing)
DIY waterproofing can work well when the floor is stable and the existing finish is compatible. It won’t protect you from structural or moisture problems underneath the floor, and some failure modes can spread quickly.
– Blistering/peeling: usually caused by skipping cleaning, trapping moisture under the old finish, or using an incompatible topcoat over the wrong existing finish.
– Water still gets through: waterproofing fails if seams/perimeter edges aren’t sealed, or if leaks (under-sink/dishwasher) are ongoing.
– Curling or expansion: if the wood is already compromised or the subfloor is wet, surface sealing won’t fix the underlying moisture source.
– Skip DIY and call a flooring pro if: you suspect a hidden leak, the floor has cupping/buckling, there’s widespread finish failure, or you’re unsure what finish you currently have ().
Blistering and peeling are commonly linked to poor surface prep, contamination (especially grease), or incompatibility between new coatings and existing finishes.
If plumbing leaks persist, topcoat waterproofing cannot fully prevent warping because moisture can reach the wood through edges and underlying layers.
Visible cupping, buckling, or widespread finish failure indicates a moisture or installation stability problem that sealing alone cannot correct.
Quick failure-modes mapping (so you can diagnose fast)
– Only the perimeter leaks? Likely perimeter/transition sealing or caulk integrity.
– Failure near sink/dishwasher? Often a compromised caulk line, a minor plumbing leak, or repeated splash/condensation pathways.
– Peeling across many areas? Often compatibility or adhesion prep issues.
– Wood movement getting worse? Underlying humidity imbalance, subfloor moisture, or chronic moisture exposure.
If you’re unsure whether the existing floor finish is stable or what type it is, stop before coating. Coating over questionable adhesion is a common and expensive DIY mistake.
Frequently Asked Questions
What is the best way to waterproof hardwood floors in a kitchen?
The best approach is to use a moisture-resistant finish designed for wood floors, such as a polyurethane or epoxy-urethane system rated for floors. Apply the finish in multiple thin coats, paying extra attention to edges, joints, and around cabinets. Pair the finish with protective mats in high-splash areas and prompt cleanup of spills to reduce long-term water exposure.
How do I waterproof hardwood floors near a sink and dishwasher?
Start by sealing vulnerable areas first: caulk the gaps at the baseboards, seal the floor perimeter, and ensure there’s no standing water pathway under appliances. Install a waterproofing underlayment or moisture barrier if you’re still in the subfloor stage, and then top it with a kitchen-appropriate floor finish. Use a high-quality silicone or wood-safe sealant around plumbing penetrations to prevent leaks from wicking into the hardwood.
How can I waterproof hardwood floors from spills without damaging the wood?
Use a durable, water-resistant topcoat and avoid relying on water-based spot treatments that may not bond well across the whole floor. Keep a consistent cleaning routine—use a hardwood-safe cleaner and a damp (not wet) mop—so water doesn’t sit on the surface. Immediately blot spills with a dry cloth, since even small puddles can seep into seams and cause swelling or warping over time.
Why does hardwood flooring in kitchens need extra waterproofing compared to other rooms?
Kitchens have higher traffic, more frequent spills, and constant moisture from cooking, washing, and humidity changes, making hardwood floors more prone to cupping, swelling, and gaps. Water can penetrate through scratches, seams, and the protective wear layer, especially near sinks, dishwashers, and entry points from wet areas. Proper waterproofing helps slow moisture absorption and extends the life of the hardwood floor by protecting both the surface and the vulnerable edges.
Which waterproofing methods are safest for engineered vs solid hardwood in a kitchen?
Engineered hardwood typically tolerates moisture exposure better than solid hardwood because the top veneer is bonded to layers that can flex, but it still needs a moisture-resistant finish and sealed seams. Solid hardwood is more sensitive to moisture changes and often requires more stringent protection: a compatible floor finish plus careful sealing at edges and plumbing areas. In both cases, avoid soaking the floor and choose manufacturer-approved waterproofing products to prevent finish failure or adhesion issues.
📅 Last Updated: October 16, 2026 | Topic: How to waterproof a hardwood floors with kitchen? | Content verified for accuracy and freshness.