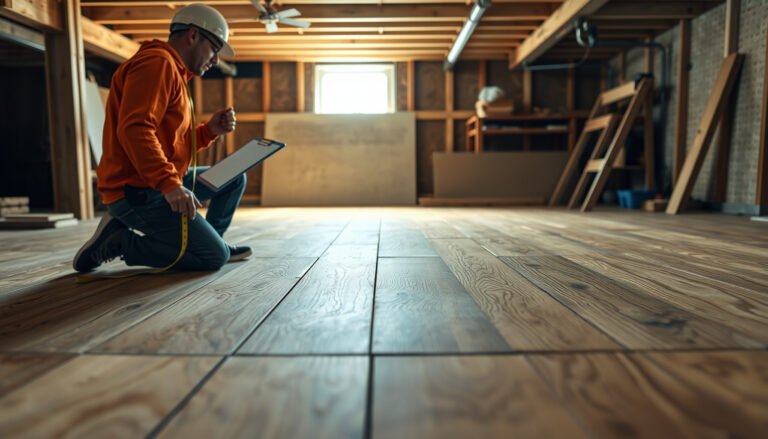

Removing hardwood floors from a workshop is a straightforward project when you follow the right sequence—prep, pry correctly, and pull boards without wrecking the subfloor. This step-by-step guide tells you exactly how to remove the planks cleanly and handle nails or staples safely, so you can get to your next renovation faster. If you want the quickest path with the least damage, read on.



Removing hardwood floors from a workshop is mostly about doing it in the right order—clear and protect the space, remove baseboards/trim first, then lift boards from seams with the right pry/utility tools. Before you pry, identify whether the flooring is nailed/stapled or glued (and whether it’s solid vs engineered), because that single detail determines how much board damage and subfloor cleanup you’ll face.
This guide is for DIYers tackling a workshop re-flooring job, especially if you want to avoid unnecessary subfloor damage or reuse possible materials. If your workshop is much older—or has unknown materials in the walls/trim—take extra precautions before demolition.
Prep the workshop and plan your demo path
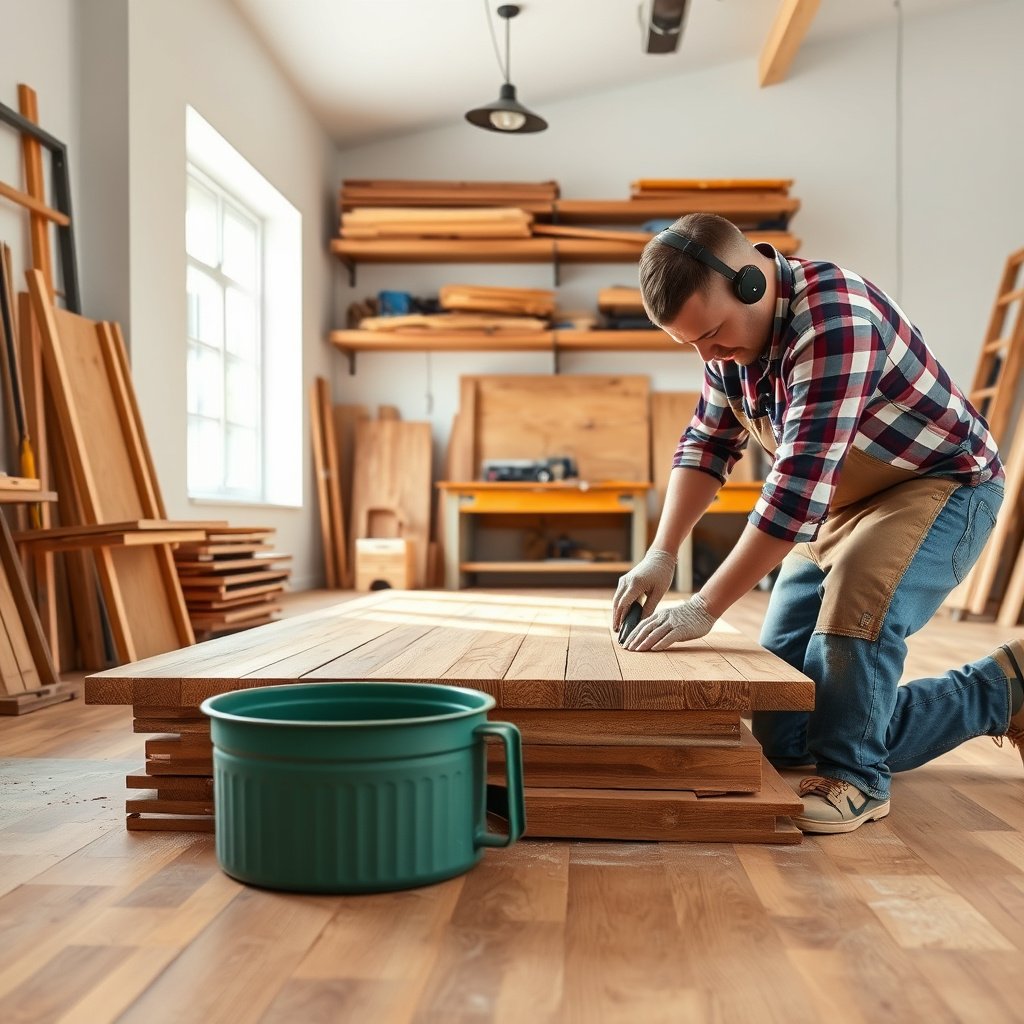
Before you touch the first board, make the workshop safer and easier to control so you don’t spread dust, nails, or debris into clean work zones. A good demo plan also prevents you from stepping on splinters while you’re trying to lift planks from seams.
Before demolition dust is generated, use eye and hearing protection and a respirator appropriate for the dust hazards you expect during floor removal.
If your workshop has older electrical circuits, turn off the relevant breaker before removing trim or reaching near wall baseboards and outlet areas.
Clear the space and protect what you’re keeping
Start by creating a “drop zone” for removed boards that is physically separate from areas where you’ll keep tools, compressors, or power supplies. In practice, move benches, portable equipment, and anything that can be damaged by falling pieces; then cover fixed equipment with durable plastic sheeting (not thin bags that tear easily). I recommend designating a single staging path for materials so you’re not dragging boards across freshly cleared areas.
Also plan how you’ll carry debris out. Workshop floors often have nails and staples embedded in boards—if you stack boards randomly, sharps can fall out during transport.
Gear up for dust and impact hazards
Even when you’re not cutting concrete, floor removal creates fine dust (drywall/wood dust, abrasive grit, old adhesive residue) plus impact hazards from prying. Wear eye protection, hearing protection, and a respirator suitable for the dust you’ll generate. For respirator compliance context, OSHA’s Respiratory Protection standard is 29 CFR 1910.134 and governs selection, fit testing, and use.
According to OSHA 29 CFR 1910.134, many tight-fitting respirators require fit testing at least annually (and a user seal check each time you put the respirator on), which matters if you’re removing a full floor in one session.
Shut down power risks before pulling trim near wiring
When you remove baseboards/trim, you may uncover wiring runs, junctions, or old cable staples. If you suspect anything is routed at or behind the baseboard line, shut off the relevant circuits before prying. Keep your pry force controlled near outlets—most wall damage happens when people “reach just a bit harder” instead of changing angle or tool position.
Demo path planning: the “seam-first” mindset
Map out the order you’ll remove boards: start at an edge, doorway threshold, or an already-loosen seam so boards release progressively. This reduces the chance that you wedge tongues/grooves and rip chunks out of the subfloor.
Identify how your hardwood is installed (this changes everything)
The correct removal technique depends on how the hardwood is attached: nailed/stapled floors release differently than glue-down floors. Identify installation method early—then you can choose tools, pry points, and cleanup expectations before you damage the subfloor or waste reusable material.
Nail/staple-down floors tend to lift at edges where fasteners end, while glue-down floors typically resist lifting until you separate seams or break the adhesive bond.
Engineered hardwood and solid hardwood can fail differently under leverage because engineered floors often use thinner components and different tongue-and-groove tolerances.
Look for fasteners vs glue indicators
Before you commit to demolition across the room, check an inconspicuous edge:
– Nail/staple-down often shows consistent nail patterns along board lengths and clearer release at board edges once fasteners are exposed.
– Glue-down installation may show less predictable “lift behavior” and often leaves adhesive residue on the subfloor after removal.
If you see adhesive squeeze-out (or if edges don’t lift with normal pry pressure), assume glue-down. That assumption saves time later—glue residue cleanup can be substantial.
Check floor system type and layout
Solid vs engineered affects how easily boards come up and whether you’ll snap or break tongues/grooves. Also determine what the boards sit on:
– Plywood/OSB subfloor: requires careful pry/buffer control to avoid gouging or delaminating.
– Concrete: removal can involve different blade/scraper approaches and higher adhesive disruption risk.
Inspect for floor edges and transitions
Transitions—doorways, stair landings, column bases, and wall edges—often contain the most fasteners or the tightest tongue-and-groove lock. Test gently at a corner or edge first. In my experience, the best “first test” is the smallest possible pry effort that reveals whether you’re fighting fasteners or adhesive—.
Installation type snapshot (quick reference)
Use the table below to quickly align installation method with expected salvage and risk before you start prying.
Workshop Hardwood Removal: Expected Salvage & Subfloor Risk by Install Method
| # | Install scenario | Typical pry behavior at edges | Subfloor damage risk (DIY) | Board salvage chance |
|---|---|---|---|---|
| 1 | Nail-down solid hardwood on plywood/OSB | Edges lift once fasteners are exposed | ★★ | High (≈70%) |
| 2 | Staple-down engineered hardwood on plywood/OSB | Lift is controllable but tongues can chip | ★★★ | Medium-high (≈55%) |
| 3 | Nail-down hardwood over concrete (adhesive-assist possible) | Edges lift slowly; fasteners fight leverage | ★★★★ | Low (≈30%) |
| 4 | Full glue-down engineered on plywood/OSB | Boards resist; seams separate with blade help | ★★★★ | Low (≈25%) |
| 5 | Glue-down with partial coverage (trowel ridges) | Some boards release sooner between adhesive patches | ★★★ | Medium-low (≈35%) |
| 6 | Nail/staple with intermittent subfloor gaps | Boards pop unevenly; higher chance of splitting | ★★★ | Low-medium (≈40%) |
| 7 | Click-lock floating (not typical “hardwood nailed” demo) | Lifts more cleanly at seams; board reuse easier | ★★ | High (≈80%) |
Note: the salvage/risk ratings above are directional heuristics based on installation behavior patterns; confirm with a small edge test before scaling up.
Remove baseboards/trim and start at the seams
To remove hardwood safely, take off the baseboards/trim first and then lift from seams/edges where the planks naturally release. This prevents tearing walls and reduces the chance that tongues/grooves get forced into the subfloor.
Removing trim before prying reduces wall splintering and prevents boards from being mechanically “locked” behind the trim line.
Controlled leverage at seams produces fewer tongue-and-groove failures than pulling upward from the middle of a plank.
Take off trim so boards can release without tearing
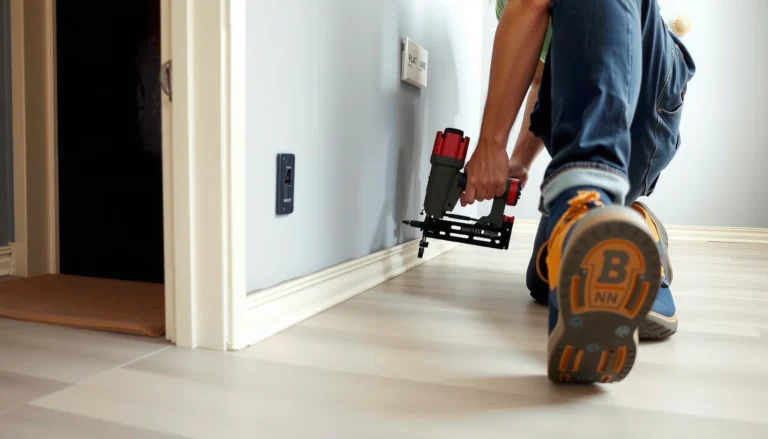
Use a trim pry tool or a flat pry bar with a thin protective block (scrap wood) between metal and drywall/finish to reduce wall damage. Work gently along the trim’s backside so you’re separating it from nails/staples rather than prying the face off the wall.
If you plan to reuse trim, label each piece and store them flat. Workshop trim is often longer than typical residential runs, and pieces can warp if they’re stacked incorrectly.
Work from the right starting points
Start at an edge, doorway threshold area, or a seam you’ve already tested. Those are the locations where boards have the best chance of releasing without snapping fasteners or splitting board ends.
Avoid prying from the middle early. Middle prying creates torsion—boards twist, tongues bind, and you end up with jagged subfloor edges.
Lift with leverage, not brute force
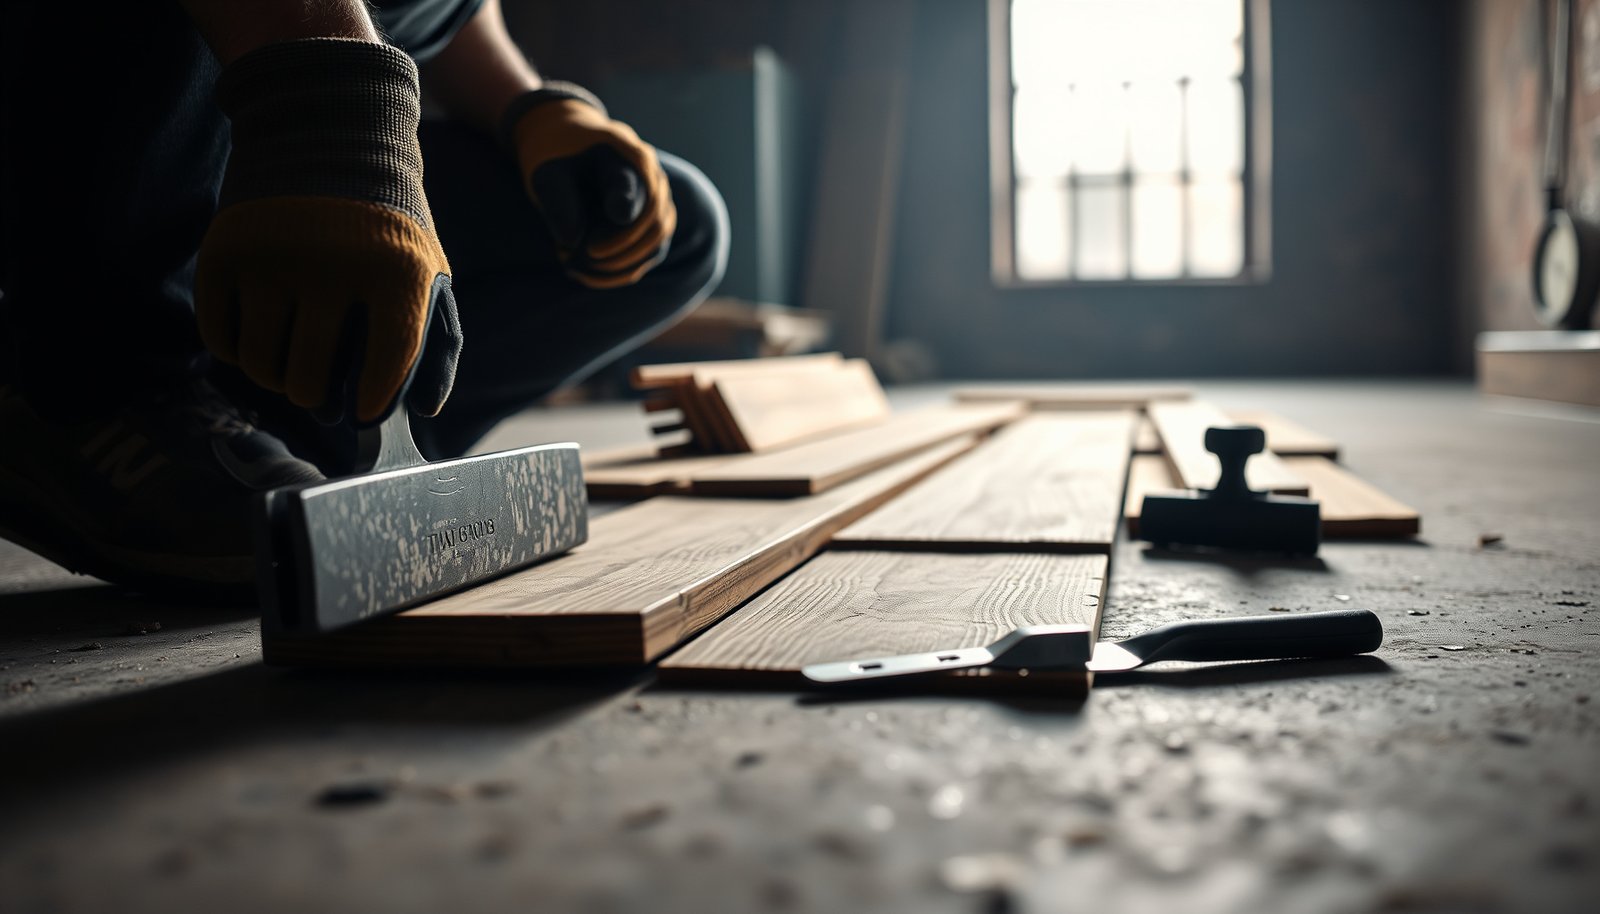
Slide the pry bar under board edges and use a scrap “buffer” to prevent gouging the subfloor surface. As you lift, remove fasteners as they appear (nails/staples), because any remaining fastener becomes a pivot point that can tear subfloor layers.
If your subfloor is plywood/OSB, the goal is to protect the top face. Once gouged or delaminated, you’ll spend more time later leveling and patching than you did removing boards.
Nail/staple removal vs glue-down removal techniques
Nail/staple removal is about extracting fasteners as you go, while glue-down removal is about separating seams and managing adhesive cleanup. Choose the technique that matches your attachment method to avoid damaging the subfloor and burning time on rework.
Nail and staple extraction works best when you remove fasteners before the plank is fully freed, preventing hang-ups and subfloor gouging.
Glue-down floors typically require seam separation using an oscillating tool and careful scraping to remove adhesive residue for a flat re-install surface.
Nail or stapled: remove fasteners as you go
For nail/staple-down floors, plan to work in small sections. Use needle-nose pliers, a nail puller, or a pry/crowbar combo to extract nails or staples you expose.
Expect some board breakage—especially near transitions and tight corners—because tongues can be under tension even when the fasteners are removed. Slow down around doorways and structural returns.
Glue-down: prioritize separation, then clean adhesive
For glue-down flooring, boards often won’t lift cleanly until you break the adhesive bond along seams. Use:
– A floor scraper or putty knife for accessible residue
– An oscillating tool (with appropriate blades) for stubborn seams
After removal, you should expect extra subfloor prep. Adhesive residue can prevent new flooring from bonding correctly or create unevenness that must be leveled.
Keep the subfloor in mind
Your target is a subfloor that’s flat, clean enough for the next flooring system, and not gouged. If you see damage to plywood/OSB, stop forcing release—switch tools or adjust angle and pry points to protect the top layer.
Quick comparison: nailed vs glued removal outcomes
| Factor | Nail/Staple-Down | Glue-Down |
|---|---|---|
| Primary challenge | Fasteners slow release | Adhesive bond resists lifting |
| Most common damage | Tongue chipping & end splits | Subfloor gouging during scraping |
| Prep time after demo | Usually lower | Usually higher (adhesive cleanup) |
| Best starting technique | Lift edges and extract fasteners | Separate seams, then scrape |
Cleanup, debris handling, and subfloor prep for what’s next
Cleanup isn’t optional—it’s what protects your next floor from squeaks, unevenness, and trapped sharp debris. Vacuum thoroughly, inspect and repair the subfloor, and remove remaining adhesive/residue so your next installation sits flat.
Vacuuming (not just sweeping) captures microscopic wood dust and small nail fragments that can interfere with new flooring and create safety hazards.
Before installing new flooring, patch or replace damaged plywood/OSB sections to avoid transferring loose spots into the finish floor.
Manage nails, splinters, and dust properly
Use a shop vacuum and appropriate dust control practices. Bag debris securely. Sharp items are the danger point—nails and staples are easy to miss in piles, and workshop shoes or bare hands don’t forgive mistakes.
If adhesive residue is present, treat scraping dust as real construction dust. If your tasks later require cutting/sanding, silica exposure may become relevant depending on what you’re cutting (OSB/plywood is not crystalline silica, but concrete or certain materials are). OSHA’s construction silica standard is 29 CFR 1926.1153.
According to OSHA 29 CFR 1926.1153, the crystalline silica PEL for construction work is 50 µg/m³ as an 8-hour TWA, which is why control methods matter when demolition shifts from removal to grinding/cutting.
Inspect and repair the subfloor
Check for:
– Broken plywood/OSB edges
– Delamination, soft spots, or gouges
– Raised adhesive “high points” or residue ridges
Replace compromised subfloor sections. Then scrape down high spots so the next floor system has the flat surface it needs.
Decide what to do with usable boards
If you’re salvaging boards, stack them flat with separators and label orientation (left/right, seam direction, and where you removed them). Boards that are jammed into trim lines often have worse damage—focus salvage on sections that released cleanly at seams.
If you’re not salvaging, remove in manageable sections. Carrying long runs can break boards and scatter nails; smaller sections reduce handling damage and sharp debris loss.
What can go wrong (and how to avoid it)
Most failures come from forcing stubborn planks, skipping trim removal, or assuming the installation method without verifying at an edge. Slow down at transitions and change technique as soon as your test behavior contradicts your assumptions.
Prying boards without removing baseboards/trim first often locks planks in place and splinters wall surfaces.
Glue-down flooring frequently turns “simple demo” into adhesive-removal work unless you separate seams intentionally before scraping the subfloor.
Common demo mistakes
– Prying from the middle too early, which increases tongue/groove failures.
– Not extracting fasteners, which causes boards to bind and tear subfloor layers.
– Rushing cleanup and leaving nail fragments or adhesive ridges that later cause squeaks or uneven installation.
Edge cases to watch for
– Hardwood over concrete: you may face stronger adhesive bonds and different removal risks (especially if adhesive is thick or if a leveling compound is present).
– Moisture-swollen or cupped boards: removal can expose hidden subfloor issues. If boards are distorted, removal may pull up patches or reveal failed underlayment—plan for drying/repairs before new flooring.
Health and compliance pitfalls
Older workshops may contain hazardous materials when you disturb trim or coatings. If your workshop is built before the modern safety era, don’t assume surfaces are safe. For lead paint and other hazards, the U.S. EPA RRP program often applies to renovation work in target housing/child-occupied facilities built before the cutoff year.
According to U.S. EPA RRP Rule (40 CFR Part 745), the regulation applies to covered renovations in target housing and child-occupied facilities built before 1978.
If you suspect lead paint or other regulated materials, get the right guidance for your region before demolition—especially before disturbing painted trim or layered coatings. Use .
Quick checklist to remove hardwood floors safely (plus FAQ)
Use this checklist to keep the job controlled from the first pry to the final vacuum pass. If any item doesn’t match your situation (especially glue-down or pre-1978 surfaces), adjust your plan before you proceed.
Start with an edge test to confirm whether the floor behaves like nail/staple-down or glue-down before demolishing the full room.
Before installing new flooring, vacuum and repair/clean the subfloor so you don’t inherit squeaks, lumps, or bond failures.
– Scan-and-save checklist
– [ ] Clear area and cover valuables
– [ ] Wear eye/hearing protection + appropriate respirator
– [ ] Remove baseboards/trim before prying
– [ ] Confirm nail/staple vs glue-down behavior at an edge
– [ ] Lift from seams/edges using buffers to protect the subfloor
– [ ] Extract nails/staples as you go (or use adhesive-separation tools for glue-down)
– [ ] Vacuum thoroughly and repair/clean the subfloor before installing new flooring
Frequently Asked Questions
What tools do I need to remove hardwood floors in a workshop?
To remove hardwood flooring, you’ll typically need a pry bar, floor scraper, hammer, utility knife, oscillating multi-tool (for trimming near walls), and a flooring nail puller or pry chisel. For safety, use safety glasses, hearing protection, gloves, and a dust mask or respirator since workshop floor removal can create heavy debris. If the hardwood is glued down, having a heat gun or adhesive remover and scraper can save a lot of time. A shop vacuum and plastic sheeting also help control dust when you’re pulling up boards.
How do I remove workshop hardwood floors without damaging the subfloor?
Start by removing baseboards and any transitions, then locate and remove fasteners along the edge areas before lifting boards. Work board-by-board using a pry bar and a floor scraper, applying steady force and keeping the pry tool shallow to avoid gouging plywood or OSB subfloor. If boards are nailed down, pull nails early rather than prying through them, and use a tapping block to protect the wood. For glued hardwood, cut through seams with a utility knife or oscillating tool before prying to reduce tear-out of the underlayment.
How can I remove nailed-down vs glued-down hardwood flooring?
For nailed hardwood, look for nail holes, then pry from seams and gently work up each plank, pulling nails as you go to prevent splintering. For glued-down hardwood, begin by scoring along seams to break the bond, then use a floor scraper and heat to loosen adhesive, working in small sections. An oscillating multi-tool is especially helpful around perimeter edges where the glue is strongest. Once boards are up, scrape remaining adhesive and check for flatness before installing new flooring or repairs in the workshop.
Why is it important to control dust and debris when removing hardwood floors in a shop?
Hardwood floor removal generates a lot of fine dust and small wood fragments, which can settle in tools, ventilation systems, and stored materials in a workshop. Controlling dust with plastic sheeting, sealed doorways, and a HEPA shop vacuum makes cleanup faster and helps protect your health. If you’re removing old finishes, sanding, or adhesives, respiratory protection becomes even more important. A careful dust plan also prevents debris from damaging bearings, belts, and sensitive equipment.
What’s the best way to prepare the subfloor after removing hardwood planks?
After lifting workshop hardwood floors, remove all nails, staples, and tack strips, then scrape off leftover adhesive thoroughly so the new surface can bond or sit flat. Sweep and vacuum the area, then inspect for high spots, loose subfloor sections, or moisture damage that could cause future squeaks or uneven flooring. If needed, sand or plane high areas and replace damaged plywood/OSB before installing underlayment or new hardwood. Finally, allow the subfloor to acclimate to the room conditions to reduce expansion and contraction problems later.
📅 Last Updated: October 17, 2026 | Topic: How to remove hardwood floors from a workshop? | Content verified for accuracy and freshness.
References
- Wood Dust – Overview | Occupational Safety and Health Administration
- Lead Renovation, Repair and Painting Program | US EPA
- https://www.cdc.gov/lead/index.html
- Wood flooring
- https://www.epa.gov/lead/renovation-repair-and-painting-program/renovate-right-your-guide-doing-work-prevent-lead-exposure
- https://scholar.google.com/scholar?q=remove+hardwood+flooring+nail-down+method Google Scholar
- https://scholar.google.com/scholar?q=hardwood+floor+removal+adhesive+separation+scraping Google Scholar
- https://scholar.google.com/scholar?q=wood+floor+demolition+lead+paint+work+practices Google Scholar