
Scratches on polished concrete floors don’t have to stay—follow this step-by-step method to restore the surface fast and cleanly. This guide tells you exactly what to do for each scratch severity, from quick buffing to deeper repair and re-polishing. You’ll finish with a polished, blend-in result instead of a visible patch that ruins the shine.




Most polished concrete scratches can be reduced (and sometimes removed) by matching your repair method to the scratch depth—then grinding and re-polishing only the affected area. Light scuffs usually come up with careful cleaning plus a mild abrasive approach, while deeper scratches typically require localized diamond grinding, honing, and a fresh polish to restore the original sheen.
If you have a polished slab in a home, retail space, garage, or workshop and you’re seeing lines that catch the light, this guide helps you assess what’s actually happening to the surface, pick the right workflow (so you don’t over-correct), and avoid creating a more obvious “spot” than the original scratch. It also highlights when a pro-level refinish is the smarter call—especially when the floor’s gloss level is highly uniform or you can’t blend the edges cleanly.
Assess Scratch Depth (Before You Start)
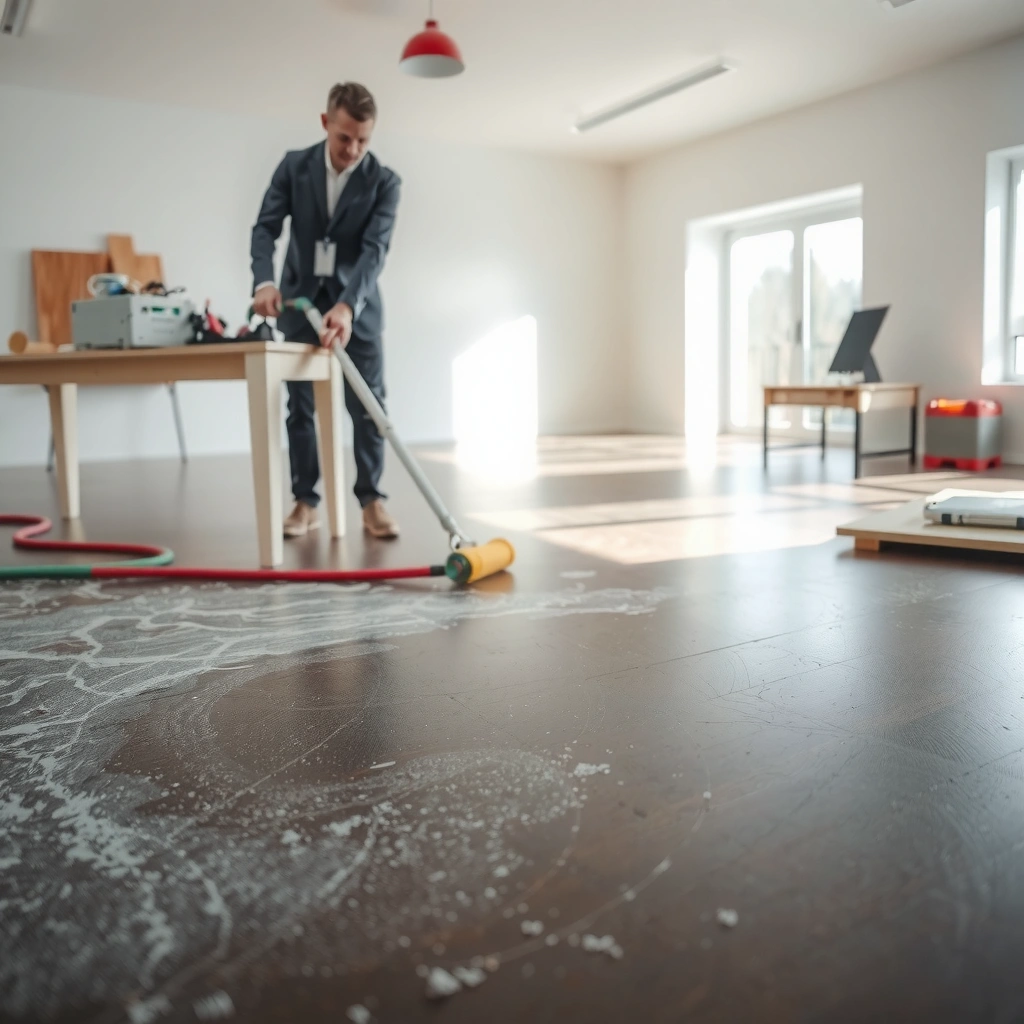
You can’t choose the right repair process until you know whether the scratch is just surface scuffing or a real groove etched into the concrete. Start with angled-light inspection and a simple “snag test,” then decide whether you need only refining or full material removal.
If a scratch is only visible in certain lighting and doesn’t snag a fingernail, it’s usually an abrasion that hasn’t significantly removed the polished matrix.
Diamond grinding is typically required when a scratch is a true groove, because compounds and pads generally refine the surface rather than remove deeply damaged material.
Blending success depends on surface planeness: if you leave scratch edges “high,” the polished finish will telegraph them under reflected light.
– Shine a bright light across the surface at an angle to see whether the scratch is just a surface mark or a groove you can feel with your fingernail.
– Run a simple test: if the scratch is only visible in certain lighting and doesn’t snag a nail, it’s likely a surface abrasion; if it’s visibly etched and you can feel it, plan for grinding/honing.
– Decide your goal: “blend into the existing sheen” is often more achievable than perfect “invisible” repairs on heavily scratched zones.
Scratch-depth decision table (what to do based on what you see)
Typical Polished Concrete Scratch Outcomes vs. Repair Method
| # | Scratch / Damage Profile | Common Visual Sign | Typical Feasibility (DIY Blend) | Best Matching Approach | Expected Aesthetic Result |
|---|---|---|---|---|---|
| 1 | Light scuff / burnish mark | Shows mainly in angled light | High | Cleaner + fine polishing pad/compound | ★★★★☆ |
| 2 | Hairline scratch (minimal etch) | Visible consistently, faintly raised feel | Medium–High | Spot refining + edge blending | ★★★☆☆ |
| 3 | Shallow groove (fingernail catch) | Clear line, tactile snag | Medium | Localized diamond grinding → honing | ★★★☆☆ |
| 4 | Deep scratch with visible edge damage | Deep, high-contrast at multiple angles | Low–Medium | Diamond grinding → honing → full polish resync | ★★☆☆☆ |
| 5 | Multiple scratches (traffic band) | Smear-like reflections, frequent lines | Low | Progressive refinement over a larger zone (often pro) | ★★☆☆☆ |
| 6 | Scratch-like line from residue | Looks like a scratch, wipes out after cleaning | High | Deep clean + neutral rinse; re-evaluate | ★★★★★ |
| 7 | Gloss mismatch after prior repair | “Halo” or different reflectivity patch | Low | Resync polish system over the affected footprint | ★★☆☆☆ |
Clean and Prep the Area Properly
You get better scratch repair results when you start clean enough that polishing actually contacts the concrete surface—not dust, oils, or residue. Proper prep also prevents “ghost scratches” caused by grit that gets dragged across the polished finish.
Polishing performance depends on surface contact: contaminants can cause uneven abrasion and a hazier “patch” even when the scratch is removed.
When repairing polished concrete, you typically need to fully dry the slab before honing/polishing so pads don’t smear residue into the surface.
– Thoroughly clean the floor to remove dust, grit, oils, and residue—contaminants will interfere with polishing and can cause uneven burnishing.
– Mask off surrounding areas if you’re using abrasives so you don’t create a larger mismatch in gloss.
– Let the slab fully dry; polished concrete repairs look best when moisture isn’t trapped under compounds or pads.
Safety note when you grind polished concrete
Concrete grinding generates respirable crystalline silica dust, which is regulated because it’s associated with serious health risks. According to the U.S. Occupational Safety and Health Administration (OSHA), the respirable crystalline silica PEL is 0.05 mg/m³ (8-hour TWA) (enforcement rule effective 2016) .
Additionally, the International Agency for Research on Cancer (IARC) classifies respirable crystalline silica dust as Group 1 (carcinogenic to humans) (evaluation published 2012) .
Because your goal is to repair scratches, not contaminate a larger area, use appropriate dust control and personal protective equipment whenever grinding or honing is part of the process. [ADD: source for the exact PPE/dust-control requirements your local jurisdiction follows.]
Fix Light Scratches and Scuffs (Minimal Abrasive Work)
Light scuffs are usually “surface-level” defects, so you can often blend them by refining the top wear layer rather than removing deep material. The strategy is to start mild, keep your passes controlled, and stop frequently to confirm the sheen is matching.
For surface abrasions, a fine polishing pad and compound can improve appearance without significantly changing the floor’s thickness plan.
Checking under angled light during the work reduces the risk of overworking and creating a visible hazed patch.
– Use a cleaner made for concrete/polished finishes first; then try a fine abrasive polishing approach (e.g., a polishing pad and appropriate compound) to level only the top wear.
– Work in small sections, keeping pressure even and wiping away residue frequently so you can check sheen as you go.
– Stop early and re-check: overworking light scratches can create hazing or a visible patch where the finish has been disturbed.
Pros/cons: mild refining vs. diamond grinding
- Mild refining (cleaner + fine pad/compound)
- Pros: minimal material removal, usually less downtime, easier to keep the repair small.
- Cons: can’t remove a true groove; may only “reduce visibility,” not restore the surface profile.
- Diamond grinding (localized)
- Pros: removes scratch edges and levels the damaged zone for true blending.
- Cons: requires equipment, dust control, and a matching honing/polishing sequence to avoid halos.
Repair Deeper Scratches (Grind → Hone → Re-Polish)
When you can feel a groove—or when the scratch stays obvious in all lighting—plan a mechanical repair. The reliable sequence is diamond grinding to remove the scratch edges, honing to smooth the surface, then polishing to match the existing gloss.
Diamond grinding is the step that physically removes the scratched material; polishing compounds alone typically cannot erase a tactile groove.
Honing is used to reduce grind marks before the final polish stage, which helps the repaired footprint reflect light consistently.
Blending edges matters: even when the scratch is gone, abrupt changes in surface texture can create a shiny spot under reflected light.
– For grooves and deep marks, plan a mechanical repair: diamond grinding to remove the scratch edges, then honing to smooth, followed by polishing to match the existing gloss.
– Keep progress incremental—each pass should reduce the scratch rather than “chase” it randomly with inconsistent pressure.
– After polishing, blend edges of the repaired zone so the transition doesn’t become a shiny “spot” or a dull outline.
Practical guidance for blending (what to watch for)
Polished concrete finishes read like mirrors: if the surrounding area is more reflective, your repaired zone can look darker, brighter, or “cloudy.” To prevent that, extend the working footprint slightly beyond the scratch line and taper your last passes so the texture change is gradual. If you notice swirl-like haze, it’s often residue, uneven pressure, or a skipped step between grit levels.
What Can Go Wrong (Common Mistakes)
Many “scratch repairs” fail because the process doesn’t match the defect depth—or because prep and blending weren’t controlled. The result is usually a scratch that disappears but a halo or patch that remains.
Attempting to polish out a deep scratch without grinding often improves glare but leaves the groove edges, which reappear in reflected light.
Skipping proper cleaning can leave residue that turns pads into smearers, creating uniform haze that looks worse than the original scratch.
– Trying to “polish out” a deep scratch without grinding: compounds and pads can improve appearance, but they often can’t remove material from a true groove.
– Skipping cleaning/prep: dust or residue can create swirl marks and uneven gloss that look like scratches.
– Mismatching sheen: if the original floor is highly reflective (or was sealed differently), your repaired area may reflect light differently even after the scratch is gone.
When your repair can get worse
If you grind aggressively, you can expose more aggregate or change the surface profile, which may require a broader refinish footprint. If you hone/polish unevenly, you can also lock in a texture mismatch that shows up under lights that are normal in retail or garage environments.
Verdict: When DIY Works vs. When to Call a Pro
DIY works best for light scuffs and shallow surface scratches when you’re focused on improving appearance and blending the look, not achieving laboratory-perfect invisibility. If scratches are deep, widespread, or the floor has a very uniform, high-gloss finish, professional refinishing is often smarter because maintaining consistent diamond sequences and sheen across a larger zone is difficult without the right process control.
For deep grooves, a pro refinish can provide more consistent blending because the diamond sequence and polishing parameters are applied across a controlled footprint.
Spot repairs are limited by surface planeness: if the surrounding floor finish is highly reflective, small texture differences become visually obvious.
Skip DIY if you don’t have access to grinding/honing equipment, aren’t comfortable matching the floor’s existing sheen level, or can’t implement dust control safely. A repair that “mostly matches” is often still acceptable in homes, but retail/industrial spaces usually demand a more uniform visual result.
Quick Checklist (Scan Before You Repair)
– [ ] Confirm depth: visible only in certain light vs. you can feel a groove with a fingernail
– [ ] Clean thoroughly (no grit, oils, or residue)
– [ ] Mask nearby areas if you’re abrading
– [ ] Start mild: repair light scuffs with fine polishing; don’t jump to grinding
– [ ] For deep scratches: grind → hone → re-polish, then blend edges
– [ ] Re-check often under angled light so you can match sheen
FAQ
Can I fix polished concrete scratches without grinding?
Often, yes for light scuffs and surface scratches. If you can feel the scratch or see a defined groove, grinding (at least localized) is usually required to remove the damaged material.
Will polishing compounds remove deep scratches?
Polishing compounds mainly refine the surface and remove very small defects. They may improve appearance, but they typically can’t erase a true groove without mechanical material removal.
How do I avoid a noticeable patch after repair?
Blend the edges of the repaired area and re-check sheen under angled light. Use incremental steps—especially for light scratches—instead of making aggressive passes that leave hazing.
Is it better to repair one spot or refinish the whole floor?
Spot repair is usually fine for isolated light damage. For multiple scratches across a large area or when the floor is highly reflective and uniform, a full refinish may better match gloss and reduce visual mismatch.
Do I need to re-seal polished concrete after fixing scratches?
Sometimes—if your floor’s protection system (seal or topical) is compromised or if the polish process for your finish system calls for it. Check the documented product system used on your floor and follow that manufacturer’s guidance.
Sources
– OSHA: Respirable crystalline silica standard and enforcement details (effective 2016)
– IARC Monographs Volume 100C (2012): Classification of respirable crystalline silica dust as Group 1
– [ADD: manufacturer specs for the specific polished concrete pad/compound system you plan to use]
– [ADD: manufacturer instructions for diamond grinding/honing equipment and recommended grit progression]
– [ADD: concrete floor sealer/topical finish documentation on whether polishing repairs require re-sealing and under what conditions]
Polished concrete scratches don’t have to mean a full floor replacement, but the repair method must match the damage depth. Start by confirming whether you’re dealing with superficial scuffing or a tactile groove, clean and prep thoroughly, then either refine gently (for light defects) or grind → hone → re-polish and blend edges (for deeper damage). If your scratches are extensive, your gloss is very uniform, or you can’t control equipment and sheen consistency, upgrading to a pro refinish is often the most cost-effective way to avoid visible halos.
Frequently Asked Questions
How do I fix light scratches on polished concrete floors without refinishing?
Start by cleaning the area thoroughly so you can assess whether the scratch is surface-only or has penetrated the concrete. For light, shallow scratches, use a concrete polish scratch remover or a fine-grit polishing compound paired with a microfiber pad or low-speed buffer to blend the mark into the surrounding finish. Finish by applying a compatible concrete floor sealer or polish system to restore gloss and reduce future scuffing.
What’s the best way to repair deep scratches in polished concrete floors?
Deep scratches usually require mechanical correction because they can’t be removed by simple topical products. Use grinding or diamond profiling with progressively finer grits to level the damaged area, then re-polish with the same grit progression used for the original concrete finish. After polishing, clean thoroughly and apply a high-quality concrete sealer or densifier designed for polished concrete to match the sheen and protect the repaired spot.
Why do scratches show up more on polished concrete than on sealed concrete?
Polished concrete floors are mechanically ground to create a reflective surface, so any surface disruption—like scuffs or exposed aggregate—stands out under light. In addition, polished finishes are often densified and sealed differently than standard coatings, which can make micro-abrasions more visible as they alter the surface luster. Proper maintenance and using felt pads or protective mats help minimize abrasion that leads to visible scratch marks.
Which products work best for scratch repair on polished concrete floors?
Look for products specifically labeled for polished concrete scratch repair, such as concrete polishing compounds, color-matched patch materials (when needed), and sealer systems compatible with your existing finish. For small scuffs and micro-scratches, fine polishing powder and a soft polishing pad often work better than generic abrasives. For larger gouges, choose a concrete repair mortar or epoxy/patch system rated for concrete floors, then grind and polish for a uniform look.
How can I prevent scratches after repairing polished concrete floors?
Prevention starts with controlling abrasion—use furniture glides, avoid dragging grit or debris across the floor, and place entry mats to reduce sand tracking. Maintain polished concrete with pH-neutral cleaner and microfibre mops, and consider periodic reapplication of a compatible concrete sealer or maintenance polish to restore gloss. If your space sees heavy traffic, a floor protector program (burnishing pads, scheduled refinishing, and protective coatings where appropriate) can significantly reduce new scratch formation.
📅 Last Updated: October 10, 2026 | Topic: How to fix scratches on polished concrete floors? | Content verified for accuracy and freshness.
References
- Google Scholar Google Scholar
https://scholar.google.com/scholar?q=polished+concrete+scratch+repair - Google Scholar Google Scholar
https://scholar.google.com/scholar?q=concrete+floor+surface+grinding+polishing+damage+repair - Google Scholar Google Scholar
https://scholar.google.com/scholar?q=cementitious+surface+repair+polishing+abrasion - Polished concrete
https://en.wikipedia.org/wiki/Polished_concrete - https://en.wikipedia.org/wiki/Concrete_repair
- Abrasion (mechanical)
https://en.wikipedia.org/wiki/Abrasion_resistance - https://www.sciencedirect.com/search?qs=polished+concrete+scratch+repair
- https://www.sciencedirect.com/search?qs=concrete+floor+grinding+polishing+surface+defects+repair
- https://www.sciencedirect.com/search?qs=polished+concrete+surface+abrasion+damage
- https://www.britannica.com/technology/concrete