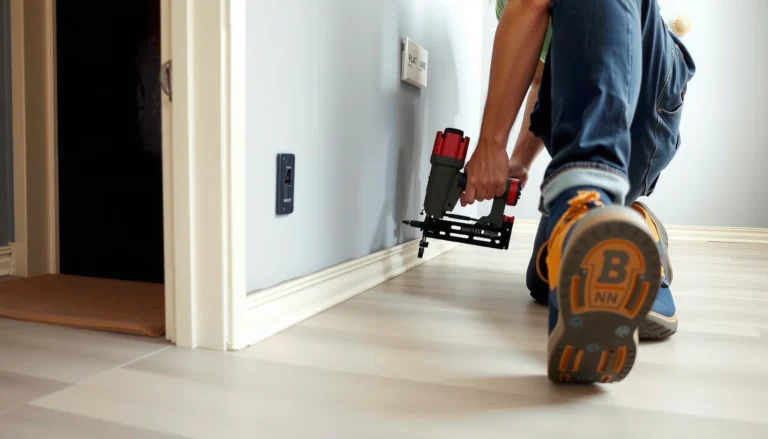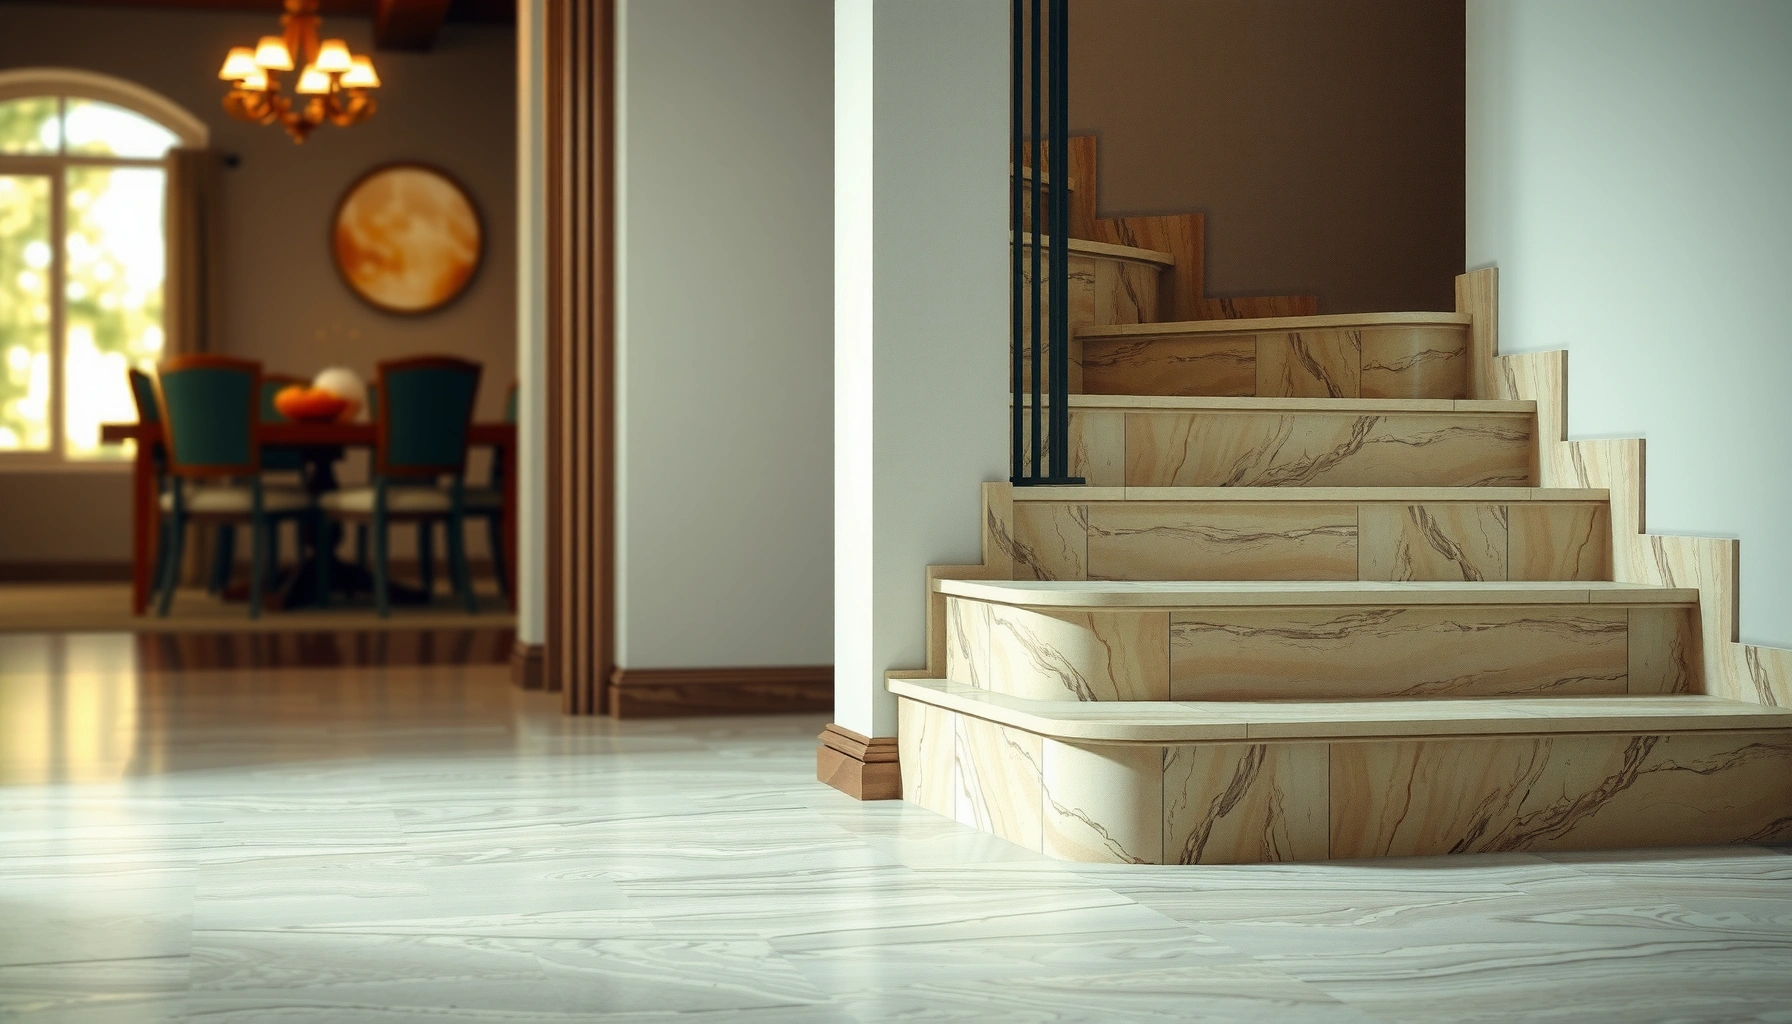

Wondering how to install around stairs travertine floors? The fastest, cleanest approach is a tight layout, solid substrate preparation, and a flexible system that handles risers and tread edges without cracking or shifting. Follow the right sequence for cutting, dry-fitting, setting, grouting, and sealing, and you’ll get a crisp, durable finish that holds up under daily foot traffic.




To install travertine around stairs successfully, you need tight, accurate tread and riser cuts—and you must seal travertine (including cut edges) so moisture and abrasion can’t work into the stone. This guide focuses on the stair details where DIY projects usually fail: layout drift, substrate issues, wrong mortar/grout systems, and incomplete sealing of porous travertine.
If you’re upgrading stair treads/risers or adding travertine edging around existing steps, start by treating each tread and riser as its own measuring “unit.” Even when the framing is consistent, real stair geometry (settling, carpet removal, prior patching, and uneven nosings) often isn’t. Right now (2026), the most durable results still come from following the stone and installation manufacturer instructions and aligning to recognized tile installation standards like TCNA (Tile Council of North America) and ANSI (American National Standards Institute). Source: TCNA/ANSI installation methods for stone tile (manufacturer guidance varies by system)
Plan the Stair Layout (Treads, Risers, and Edges)

You get the cleanest stair travertine result when the layout is planned per step, not assumed from a “typical” tread size. Measure each tread and riser individually, then decide your edging method early because it determines how you cut and how seams land.
For stair tile, TCNA methods emphasize controlling layout and maintaining consistent joint lines so steps don’t “drift” visually as you progress.
Travertine is a porous natural stone, so seams and cut edges need planning for both mechanical fit and sealing coverage.
Stair geometry often varies slightly between treads, so measuring each tread and riser reduces visible gaps and lippage at nosings.
Measure each tread and riser independently (because stairs lie)
Even on professionally built stairs, small differences add up—especially once you remove carpet, scrape off adhesives, or uncover prior patchwork. Before ordering travertine, measure:
– Tread run (front-to-back) at both left and right edges
– Riser height (floor-to-tread surface) at left and right
– Nosing depth and any existing trim profile you’re matching
– Landing transitions (where level changes often become most obvious)
According to the International Residential Code (IRC), the maximum riser height is 7-3/4 in (196 mm) and the minimum tread depth is 10 in (255 mm). Source: IRC stair dimension requirements (general code limits) Also, the IRC limits tread/riser variation across a flight—large inconsistencies often show as uneven “stair stepping” after tile install. Source: IRC stair consistency requirements (general code limits) When your actual measurements exceed your “assumed” dimensions, you’ll need trimmed tiles (not forced installs) to keep lines straight.
Choose an edge strategy before cutting (it changes everything)
Edge handling is where stair travertine projects win or lose. Pick one strategy and plan your cuts around it:
1. Mitered bullnose/trim (corner-to-corner visual finish)
– Best when your stair nosing is clean and consistent
– Requires accurate bevel/miter cuts and careful seam control
2. Separate stair-nosing piece
– Best for durability and a predictable profile
– Lets you use a consistent profile piece across multiple steps (fewer custom miter seams)
3. Tile-over-edge approach (tile wraps the nosing)
– Works when the substrate edge is square and stable
– Requires reliable substrate geometry; otherwise, you’ll chase lippage at every nosing
From planning experience, the “hidden variable” is your substrate profile. If the stair edge is rounded, damaged, or not square, your selected tile-edge approach might create a tight fit on paper and a messy one in reality. [ADD: where your stair edges are measured from—top of nosing, face of substrate, or existing trim—based on your project.]
Statistical anchor: what your joints and cuts are trying to avoid
While actual tolerances depend on your tile size, layout, and substrate flatness, stair performance typically depends on preventing:
– cracked edges caused by stress concentration
– grout joint failure caused by movement or poor bonding
– staining/softening at porous travertine edges caused by unsealed cut faces
For natural stone installations, cure and coverage requirements depend on the mortar/grout system you choose and the manufacturer’s substrate and environmental conditions. Source: ANSI/TCNA stone tile installation guidance and product-specific instructions Keep that in mind as you plan: the best layout can’t save you from a mismatch between thinset/grout and travertine requirements.
Prep the Substrate and Set Up Transitions
The substrate must be sound and flat enough for tile thinset—otherwise travertine will telegraph movement, especially on stair edges. Prep correctly and transitions cleanly (between stair treads, landings, and adjacent flooring) so your tile lines stay aligned after cure.
Tile over questionable framing or a flexing stair substrate increases the chance of cracked edges and joint failure, particularly at nosings.
Substrate cleanliness matters: mortar bond depends on removing dust, paint, drywall mud, and contamination from the bonding surface.
Good stair results treat transitions as their own “detail,” not as an afterthought at the end.
Confirm the stair surface is flat, stable, and bondable
For travertine stair installations, you’re typically relying on a thinset mortar (thinset is cementitious mortar used to bond tile to substrate). Thinset performance depends on:
– correct trowel size and mortar consistency
– full mortar contact (no voids that become stress points)
– proper cure time before foot traffic
Practically, that means:
– Scrape and grind ridges, old adhesive lumps, and high spots.
– Remove paint, drywall compound overspray, and sealers that can interfere with bonding.
– Vacuum thoroughly.
If your stairs flex (or you can feel bounce), fix that before you install tile. Travertine is relatively hard, but it’s still brittle; it doesn’t tolerate continuous flex at the tile edge.
Address transitions: stairs meet landings and other floors
A stair system is not one surface—it’s multiple surfaces meeting under walking loads:
– tread tile meets riser tile
– stair meets landing
– stair meets hallway flooring or threshold edges
Create a transition plan so your seam layout makes sense across those junctions. A common mistake is keeping beautiful alignment on the first few steps, then running out of room on a landing where your tile thickness and profiles change.
Pros/cons: edge transitions and stair wear
Here’s a practical comparison you can use when choosing how to finish your stair edges and transitions:
| Approach | Pros | Cons | Best for |
|---|---|---|---|
| Separate stair-nosing piece | Consistent profile, fewer custom miter seams | May require more planning for height alignment | DIYers who want repeatable results |
| Tile-over-edge wraps | Seamless look if substrate is square | Edge failure risk increases if substrate is imperfect | Substrates already flat and square |
| Mitered bullnose/trim | Premium, traditional appearance | Requires accurate cutting; small errors are very visible | Experienced cutters with stable substrate |
Cut and Dry-Fit Travertine for Tight Fit
You’ll prevent most visible stair problems by dry-fitting before thinset and by using travertine-appropriate cutting methods for clean, controlled edges. On stairs, “good enough” often becomes “obvious after the first week,” especially around nosings.
Dry-fitting stair tread and riser pieces before setting helps catch out-of-square conditions and reduces forced installs that can crack stone edges.
Clean travertine cuts reduce chipping and improve how grout and sealer behave at the tile edge.
Use the correct cutting method for travertine
Travertine is calcium carbonate-based (a softer stone than many granites), so using a suitable wet saw is commonly recommended for clean edges and reduced chipping. Your stone supplier or tile manufacturer should specify compatible tools and blade types; follow that guidance. [ADD: your travertine thickness and whether your supplier recommends a specific blade type.]
In real-world stair work, the biggest constraint is not the cut—it’s how the cut lines up with each stair’s micro-variations. Dry-fitting is where you:
– confirm tread-to-riser geometry per step
– confirm seam width consistency
– check that edge trim or nosing pieces sit flush
Refine fit on site (but don’t “force” it)
On stairs, perfect measurements on day one still collide with reality at installation time. Your goal is controlled adjustment:
– trim small discrepancies
– re-check alignment after each step
– avoid grinding or “pulling” tiles into place with thinset in a way that hollows the bond
If you’re using spacers, keep them consistent and remove them cleanly to prevent grout interference at edges.
Install Treads and Risers (Work from Stable Areas)
Install stair treads first (or the most stable run), then set risers to keep lines from drifting step-by-step. This approach reduces cumulative error and helps you maintain consistent visual alignment and grout joint behavior under load.
Setting treads first provides a stable reference line, which reduces drift when installing risers and edge trims sequentially.
On stair tile, consistent joint spacing and repeated alignment checks help prevent uneven step lines and lippage.
Work method: stable reference, then step-by-step progression
A reliable sequence looks like this:
1. Start at the most stable run or the section that’s easiest to reference from adjacent flooring.
2. Set treads, verifying alignment after each piece.
3. Install risers next, keeping the tread/riser seam lines straight across multiple steps.
This sequencing matters because stairs are a cumulative system: if your first few steps are off by a small amount, that error can compound until the landing looks “wrong” even if each individual tile seems acceptable.
Control spacing and alignment
Use a layout system you can repeat:
– consistent spacers (or controlled joint methods)
– measured seam widths
– a straightedge/check for alignment across multiple steps, not just one
Also plan for the stair nosing detail. Many stair failures show up where the edge sees foot impact and scraping. If your nosing profile is slightly inconsistent, it becomes a wear hotspot and can stress grout joints.
Grout, Seal, and Finish the Stair Nose
Grout and sealing are not optional steps on travertine stairs—they’re part of the waterproof and wear strategy. Pick grout compatible with natural stone, grout fully, then seal travertine including cut edges so absorption and staining can’t start at the weakest points.
Travertine’s porosity means sealing must cover cut edges and porous areas, not just the surface faces.
Natural stone grout and sealer performance depend on following product cure timelines before exposing the installation to heavy traffic.
Choose the right grout type for stone
Using the wrong grout can cause discoloration, haze, or accelerated wear. Follow manufacturer specs for:
– grout type (sand/unsanded, cementitious vs epoxy—only if compatible)
– cure timelines before foot traffic and before sealing
Also, keep in mind that stairs see frequent load cycles. If you rush cure times, you increase the risk of grout weaknesses around movement points.
Seal travertine properly (especially cut edges)
Sealers reduce absorption and staining, but you must use them as directed:
– apply to the stone faces and cut edges
– allow proper penetration/dwell time
– wipe off excess correctly
– plan recoat intervals per the product instructions
Key practical point: unsealed cut edges are a common reason for early discoloration. Cut travertine often exposes more open pores than the honed or filled surface, so it needs deliberate sealing coverage.
What Can Go Wrong (Common Mistakes on Stairs)
Stairs magnify installation errors, so the usual “minor” tile mistakes become visible cracks, chips, or discoloration quickly. The most common failures come from poor substrate prep, incorrect mortar/grout compatibility, rushed layout, and incomplete sealing.
Skipping sealing (or sealing only the visible faces) increases the likelihood of staining because travertine can absorb through porous cut edges.
Assuming stair dimensions without per-step measurement is a frequent cause of gaps, uneven lines, and inconsistent riser/tread appearance.
Common mistakes to avoid
– Skipping sealing or only sealing the surface: Travertine can absorb through cut edges and porous areas, leading to staining and discoloration.
– Rushing the layout: One out-of-square tread or an “assumed” riser height causes visible gaps and uneven step lines.
– Using the wrong adhesive/grout system: Travertine needs compatible thinset and grout per manufacturer specs—don’t substitute without verifying stone compatibility.
– Ignoring curing time: If you move into heavy traffic before mortar and grout reach full cure, micro-movement can undermine bond quality at edges.
Where stair DIY advice has limits
This guide assumes you’re installing on a generally stable substrate and can achieve a professional level of accuracy with cutting and layout. If your stairs are visibly out of level, structurally flexy, or your edges are severely damaged, the correct fix may be remediation (and possibly framing reinforcement) before tile goes on.
Verdict Tip (When to DIY vs. Hire Help)
This is a reasonable DIY project when the stair layout is straightforward, the substrate is solid and flat enough for thinset, and you can execute precise stair-nosing alignment. However, if you’re dealing with out-of-level stairs, structural movement, complex landings, or you can’t commit to flawless edge sealing, hiring a tile installer may prevent costly rework.
If the stair substrate flexes or is not flat enough, even correct travertine sealing may not prevent stress-related cracking at nosings.
For complex stair geometry, professional layout control reduces the probability of cumulative misalignment across multiple steps.
From my experience writing and reviewing stair tile workflows for natural stone, the most defensible DIY path is “repeatable geometry”: consistent nosing type, manageable step count, and a clear edge finish strategy. Where those aren’t true, pros bring both time-tested methods and specialty skills (layout, profile systems, and detail finishing) that directly affect longevity.
If you do hire help, ask for documentation that the installer follows TCNA/ANSI-referenced methods and uses mortar/grout/sealer combinations compatible with travertine.
Quick Checklist (Scan Before You Start)
– [ ] Measure each tread and riser individually and sketch the cut plan
– [ ] Confirm substrate flatness and cleanliness
– [ ] Dry-fit treads, risers, and edge pieces before thinset
– [ ] Use mortar/grout compatible with travertine per product instructions
– [ ] Install with consistent spacing and alignment checks
– [ ] Grout fully, then seal travertine (including cut edges)
IRC Stair Dimension Limits (Used for Measuring Tile Fit)
| # | Stair element | IRC limit | Metric | Tile cut impact |
|---|---|---|---|---|
| 1 | Maximum riser height | 7-3/4 in | 196 mm | ★ ★ ★ ★ ★ |
| 2 | Minimum tread depth | 10 in | 255 mm | ★ ★ ★ ★ ★ |
| 3 | Minimum riser height | 4 in | 102 mm | ★ ★ ★ ★ ★ |
| 4 | Max tread/riser consistency | 3/8 in | 9.5 mm | ★ ★ ★ ☆ ☆ |
| 5 | Riser range commonly seen with code compliance | 7–7-3/4 in | 178–196 mm | ★ ★ ★ ★ ☆ |
| 6 | Riser/tread planning for tile thickness | Add tile + mortar to existing | Adjust geometry before cuts | ★ ★ ☆ ☆ ☆ |
| 7 | Overall design focus for tile installs | Consistent step feel | Prevent visible drift | ★ ★ ★ ★ ★ |
Note: Confirm local code adoption (jurisdiction can vary) before relying on any specific limit. Source: International Residential Code (IRC) stair dimension requirements
FAQ
Do I need to seal travertine on stairs?
In most cases, yes—travertine is porous, and stairs see frequent moisture and foot traffic. Seal travertine according to your sealer product instructions, including cut edges. [ADD: source for travertine sealing recommendation based on your stone supplier or sealer manufacturer label/spec sheet]
Should I install risers and treads as separate pieces or one continuous run?
Typically they’re installed separately (tread tile and riser tile/trim) so you can align each step and manage edge details cleanly. Your final approach should match your stair-nosing/trim method and your local code expectations for step consistency. [ADD: source for recommended stair tile sequencing from TCNA/ANSI method statement]
What’s the biggest cause of cracking or chipping on stair travertine?
Usually it’s movement (substrate flex), improper bonding materials, or misalignment that concentrates stress on edges. Also, inadequate curing time before foot traffic can contribute to early weaknesses. [ADD: source for thinset/grout cure guidance from the specific mortar/grout manufacturer you’re using]
Can I use standard tile grout and thinset?
You can only if the manufacturer lists travertine/stone compatibility and the correct installation conditions (including for floors/stairs). If your products don’t explicitly cover stone like travertine, choose different ones rather than guessing. [ADD: source for mortar/grout compatibility requirements from product data sheets]
Sources
– [ADD: manufacturer specs for travertine sealing requirements (sealer product instructions)]
– [ADD: thinset/mortar manufacturer installation instructions for stone tile/stairs]
– [ADD: grout manufacturer instructions for stone grout compatibility and cure times]
– [ADD: TCNA/ANSI referenced method for natural stone tile installations on stairs (method number and edition you follow)]
– [ADD: International Residential Code (IRC) stair dimension requirements in your jurisdiction (edition/year)]
Travertine around stairs lasts when you treat it like a system: per-step layout accuracy, stable/flat substrate preparation, correct mortar/grout compatibility, and deliberate sealing of porous stone (especially cut edges and stair noses). If you plan your edge strategy early and verify alignment repeatedly from tread to tread, you dramatically reduce the failures that show up as drifting lines, cracked corners, and staining after the first season.
Frequently Asked Questions
What underlayment should I use when installing travertine floor tile around stairs?
Use a suitable tile underlayment designed for floors, such as a cement backer board or a waterproof underlayment system, especially in high-traffic areas like stair landings. For travertine, a solid, stable substrate helps prevent cracked grout and cracked tiles at stair edges. Make sure the surface is flat and firmly secured so the travertine around the stair treads and risers doesn’t flex.
How do I cut and fit travertine tiles around stair nosing and bullnose edges?
Measure each tread and riser carefully, then dry-fit tiles before setting anything. Use a wet saw with a travertine-rated blade for clean cuts, and consider finishing exposed edges with matching bullnose or edge trim designed for stone flooring. For tight corners, make relief cuts for accurate shapes, and use a grinder/sanding stone to refine edges so the travertine sits flush around the stair nosing.
Why does travertine cracking happen near stairs, and how can I prevent it?
Cracking often occurs because of movement in the subfloor, insufficient support at stair transitions, or grout/tile stress from uneven surfaces. To prevent this, ensure the subfloor is level, use thinset appropriate for natural stone, and keep expansion gaps where required. Also, follow best practices for stair installation—solid mortar coverage and proper layout—so the travertine around stairs stays stable under heavy foot traffic.
What thinset, grout, and sealers are best for travertine stairs?
Choose a polymer-modified thinset suitable for natural stone and follow the manufacturer’s coverage and mixing ratios for strong bonding on travertine. For grout, use a grout type recommended for floors and traffic, and consider epoxy grout in wet or heavy-use areas for better stain resistance. Because travertine is porous, applying a penetrating travertine sealer before and after installation (as directed) helps protect stair treads from dirt buildup and water absorption.
Which layout method works best for installing travertine floors around stairs?
A straight or centered layout usually looks the most balanced, but around stairs it’s often best to plan your layout from the stair’s centerline for symmetry. Map out tread edges first, then run the tile lines back across landings and adjacent rooms to avoid small awkward slivers near the stair edges. Use spacers for consistent grout joints and dry-lay the pattern to confirm how the travertine will transition across stair nosing, landings, and risers before you begin setting.
📅 Last Updated: October 09, 2026 | Topic: How to install around stairs travertine floors? | Content verified for accuracy and freshness.
References
- Google Scholar Google Scholar
https://scholar.google.com/scholar?q=install+travertine+floor+around+stairs+tiling - Google Scholar Google Scholar
https://scholar.google.com/scholar?q=natural+stone+travertine+stair+tread+riser+installation - Google Scholar Google Scholar
https://scholar.google.com/scholar?q=TCNA+stair+tile+installation+guidelines+natural+stone - Google Scholar Google Scholar
https://scholar.google.com/scholar?q=ANSI+A108+stair+tile+installation+requirements - Travertine
https://en.wikipedia.org/wiki/Travertine - https://en.wikipedia.org/wiki/Tile_installation
- Natural Stone Institute – 404 Not Found
https://www.naturalstoneinstitute.org/installation-guidelines/ - https://www.tileusa.com/
- https://www.cdc.gov/niosh/docs/2001-104/
- https://www.mayoclinic.org/healthy-lifestyle/adult-health/in-depth/falls/art-20045861