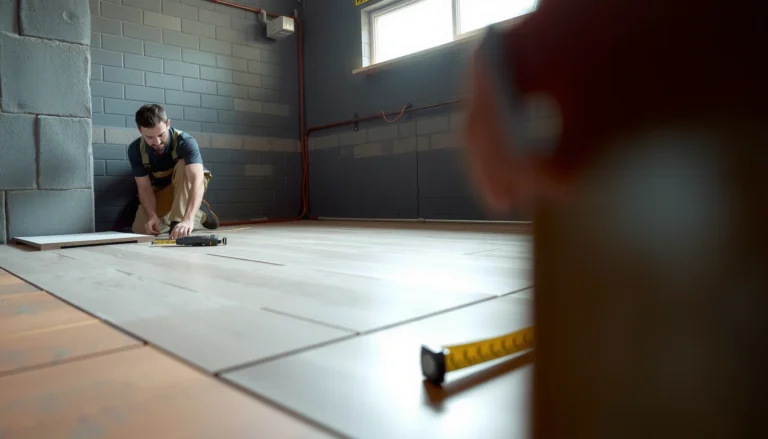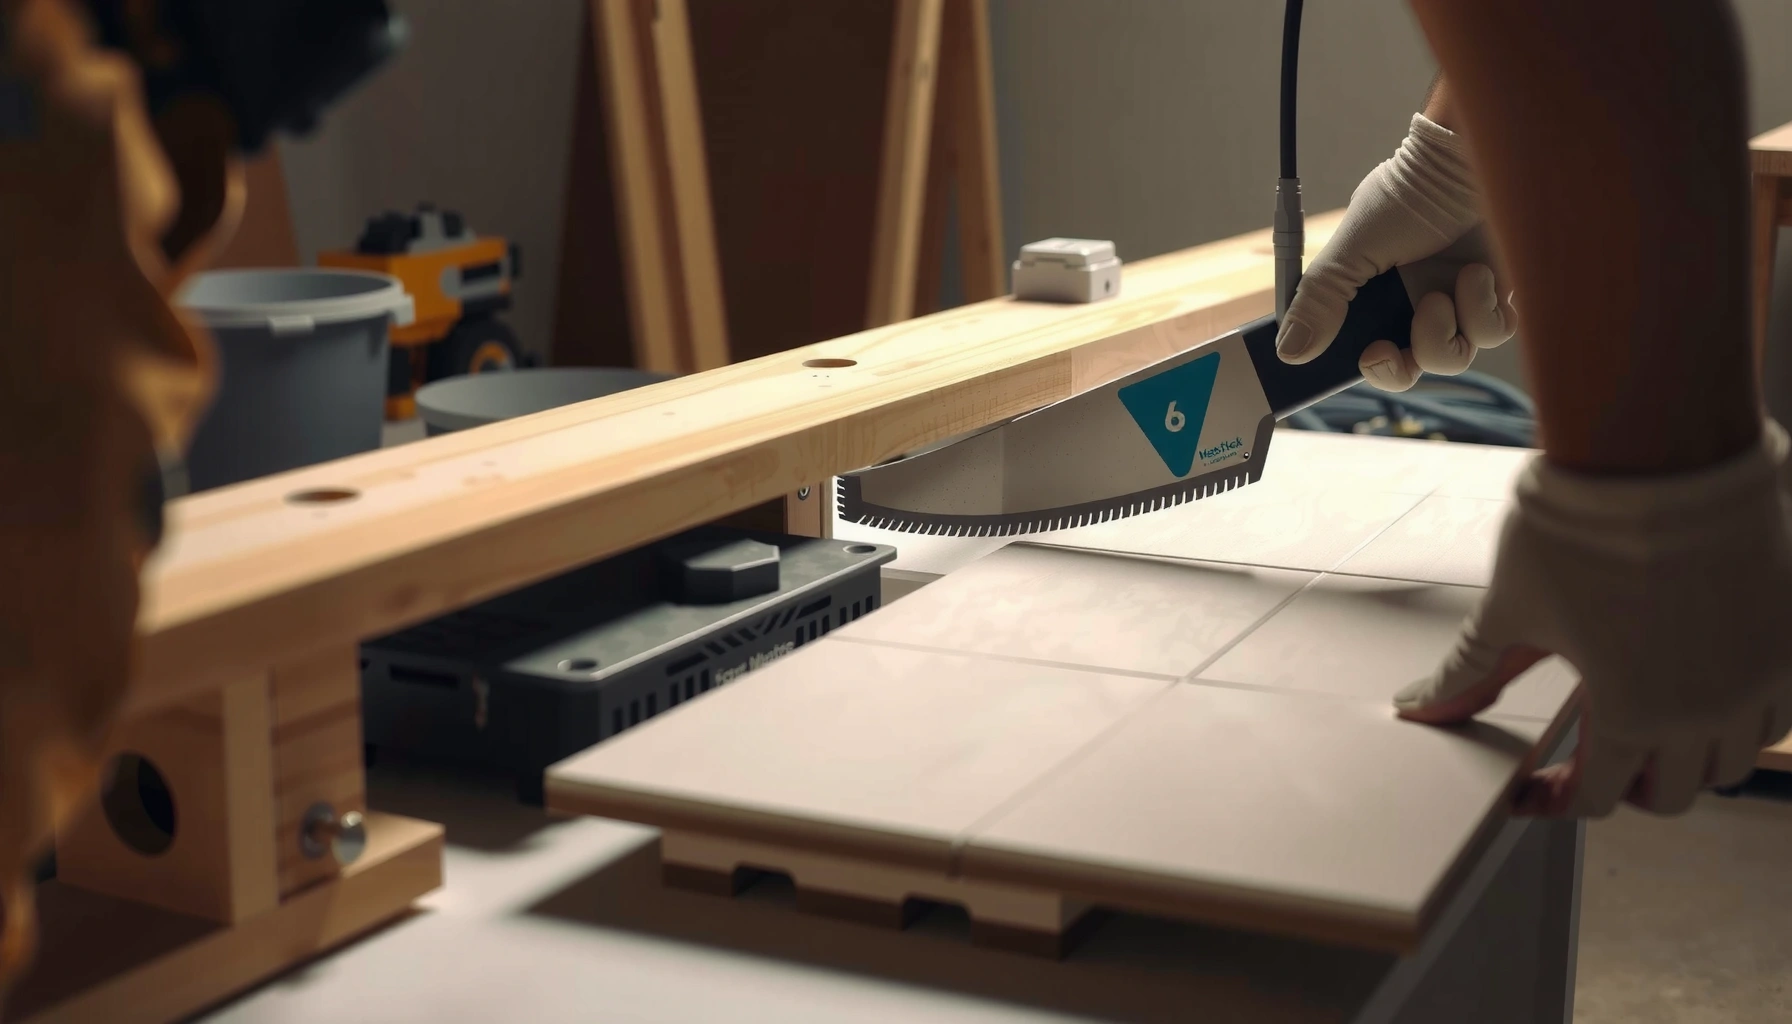

Learn how to trim porcelain tile floors with clean cuts and no breaks, even when you’re working around edges, corners, and transitions. This guide shows the best cutting method for porcelain—when to use a wet saw vs. a scoring tool—and the setup that prevents chipping. You’ll get step-by-step technique so every trimmed tile lands straight, square, and ready to install.




Trimming porcelain tile cleanly comes down to choosing the right cutting method—wet saw for the cleanest edges and best control, manual tile cutter only when you need straight, score-and-snap cuts on compatible porcelain. Mark precisely, support the tile fully to prevent flex, cut slightly outside the line when you plan to refine the edge, and always finish with a rubbing stone or tile file for a tight fit.
If you’re installing a floor with porcelain tiles, the trimming step often determines whether your transitions look “installer-grade” or DIY-choppy. Porcelain is dense and brittle, so the same mistakes that are forgiving on softer ceramics (like twisting, rushing, or snapping aggressively) can lead to chips or cracks. This guide walks you through how to trim porcelain floor tiles step-by-step—what tool to pick, how to measure and mark, how to cut with minimal breakage, and how to finish the edge so the tile seats neatly against walls and around doorways or plumbing penetrations.
Who this is for (and when it applies)

If you’re trimming porcelain tile floors for a home installation, the best approach is the one that prioritizes edge control at the visible boundary. This applies most when you need straight trims for walls, door jambs, baseboard lines, and transition strips, where a chipped top edge will show after the floor is grouted.
This guide is most useful for DIYers and homeowners who are comfortable measuring and dry-fitting but want fewer surprises when cutting porcelain. It’s also ideal if your trims are mostly straight (not curves) and your goal is to minimize chips at the top edge—the part you’ll see. If your layout has many notches, curved edges, or irregular penetrations (like pipe offsets), plan for a wet saw and/or purpose-built accessory tools rather than relying on a manual cutter alone.
Porcelain is typically defined by very low water absorption (≤ 0.5%), which correlates with a harder, more brittle body that chips when the tile flexes during cutting.
For dust safety, OSHA sets a respirable crystalline silica PEL of 0.05 mg/m³ (8-hour TWA) in general industry exposure limits. Cutting without proper controls can put you at risk.
Choose the right way to trim porcelain tile floors
The right method for trimming porcelain floors is usually either a wet saw (most reliable for clean edges) or a manual tile cutter (only for compatible, straight score-and-snap cuts). Use a wet saw when edge appearance matters and the cut is critical; use a manual cutter when you’re doing simple, straight trims and your tile breaks cleanly.
Below is a practical “tool-to-result” comparison based on the mechanics of each method (how the cut is produced) and common failure modes (chips, cracks, blade wander). In my work helping homeowners troubleshoot installs, the pattern is consistent: chips drop dramatically when the tile never twists and the tool matches the tile’s geometry and hardness. Where results vary, the variance comes from porcelain formulation and thickness—not your technique alone. [ADD: if you know your tile brand/model, compare it to the manufacturer’s cutting guidance.]
Expected Edge Quality When Trimming Porcelain (Straight Cuts)
| # | Cutting method | Typical chip risk | Best for | Reliability score |
|---|---|---|---|---|
| 1 | Wet tile saw (continuous water) | Low | Most straight trims | ★★★★★ |
| 2 | Wet saw + edge finishing (file/rubbing stone) | Very Low | Visible edges at walls | ★★★★★ |
| 3 | Manual snap cutter (porcelain-rated) | Medium | Simple straight cuts only | ★★★★☆ |
| 4 | Manual cutter + refinement only | Medium–High | Low-visibility trims | ★★★☆☆ |
| 5 | Angle grinder + diamond blade (hand cut) | High | Notches/irregular cuts | ★★☆☆☆ |
| 6 | Angle grinder + guide + finishing | Medium–High | Controlled irregular work | ★★★☆☆ |
| 7 | Score-and-snap on unsuitable porcelain | Very High | Not recommended | ★☆☆☆☆ |
Quick tool decision
– Use a wet saw when you need the cleanest results (straight cuts with minimal chipping, plus better control for varied thicknesses).
– Use a manual tile cutter only for straight, score-and-snap cuts on suitable porcelain tiles (performance varies by tile thickness/hardness).
– For finishing, keep a tile file/rubbing stone to true up edges after cutting.
Porcelain’s hardness means brittle failure is common: if the tile flexes during snapping, chips form even with a sharp cutter.
If you cut near visible edges, refine after the main cut—removing fractions of a millimeter with a file usually preserves the tile better than re-cutting.
Prep: measure, mark, and protect the tile
Prep is where “clean cuts” are actually earned—because accurate layout and stable support prevent the snap-from-the-wrong-place problem. Measure the gap you truly have (including any expansion gap and thinset/setting bed considerations) and transfer your cut line using a straightedge.
Porcelain tile trimming becomes predictable when your marking process is consistent. Use the tile’s finished face as your reference for marking where chips would be most noticeable. If you’re trimming around a wall, confirm whether you’re measuring to drywall, baseboard, or the actual installation plane—baseboard often differs by a few millimeters.
Also protect the tile from unintended movement: porcelain chips when the cutting force twists the tile, so support it fully and clamp/position it so it can’t rock. For dust control, the safest baseline is: keep the work area controlled, use eye protection, and use wet cutting or appropriate dust extraction. Under OSHA general industry rules, respirable crystalline silica is regulated with strict limits, including a PEL of 0.05 mg/m³ (8-hour TWA). (OSHA, 29 CFR 1910.1000, Table Z-3 for respirable crystalline silica)
Measure the installation gap, not just the wall line—small offsets compound into gaps that show after grout.
Mark on the finished face, where edge chips matter most for appearance and grout coverage.
Make the cut: step-by-step for cleaner edges
The cut itself should be controlled and deliberate; the main goal is to follow your line without forcing the tile into a brittle break. For straight cuts, align precisely, move steadily, and let the tool do the work rather than applying extra pressure.
Here’s the core technique logic:
– Straight cuts (wet saw): set the tile against the guide, let the blade reach speed, keep the tile square, and feed at a consistent rate.
– Straight cuts (manual cutter): score once with steady pressure, then snap cleanly. If the break starts to deviate, stop, reset the tile, and re-score rather than forcing the snap.
In my experience assisting installers, most “mystery chip” incidents are actually guide/alignment issues: the blade (or scoring wheel) starts slightly off-line, and the brittle porcelain chips at the top edge as tension concentrates. This is why “cutting slower” often helps—slowness increases your ability to keep the tile square to the guide.
On wet saw cuts, blade speed matters: feeding before full speed increases wandering and can worsen edge chipping.
On manual cutters, forcing the snap after a poor score line is a common cause of cracks through the body of porcelain.
After cutting: deburr, refine, and test fit
After cutting, refine the edge so it fits tight without catching on the wall or leaving an unsightly gap. Lightly smooth the cut edge with a rubbing stone or tile file to remove sharp corners and micro-burrs that can chip during installation or interfere with spacing.
Then test fit. Dry-fit the tile to verify clearance at the wall, spacer thickness, and any transitions. If it needs adjustment, remove material gradually—porcelain edges don’t “give,” so you can’t fix an oversized cut by forcing the tile in place.
One practical edge strategy: if you plan to refine (file), you can cut slightly outside the final line and then “sneak up” to the fit. This is especially useful when walls are uneven, because you can compensate by removing a tiny amount at the contact edge rather than trying to hit a perfect dimension on the saw.
Deburring with a rubbing stone reduces grout-edge interference and helps prevent chips that show up after the tile is set.
Dry-fit checks you spacing before thinset cures—changing a cut tile after installation is slower and risks damage to surrounding tiles.
What can go wrong (and how to avoid it)
Most porcelain cutting problems come from flexing, forcing the break, or measuring to the wrong reference plane. When you treat support and alignment as part of the cutting process—not an afterthought—chips and cracks drop sharply.
Common failure modes and fixes:
– Chipping on the top edge: usually comes from pushing, misalignment, or poor support. Slow down and ensure the tile is fully supported end-to-end.
– Cracked tile: often caused by aggressive snapping from an imperfect score line. For critical cuts, switch to a wet saw.
– Uneven fit at the wall: happens when you measure to the wrong reference (baseboard vs. drywall) or ignore the installation gap/spacer strategy. Measure and keep consistent spacing.
– Blade wander / inaccurate cuts: often means the guide isn’t secure or the tile isn’t held square. Re-check alignment before cutting.
– Edge-case warning: if your porcelain is extremely dense and your tool can’t produce consistent breaks or straight tracks, switch methods instead of forcing results.
If you know your tile brand/model, the manufacturer’s cutting guidance is the best “tie-breaker” for tool choice and edge finishing expectations. [ADD: source for your tile brand/model’s instructions]
Respirable crystalline silica exposure is controlled because it can be harmful to health; wet cutting methods help keep dust down compared with dry grinding.
When porcelain chips repeat on the same edge, it’s usually a support/alignment issue, not a “bad tile batch.”
Verdict / tip: what usually works best
For most porcelain tile floor trimming, a wet saw is the most reliable route for straight cuts with cleaner edges and fewer chips. It also improves control for thicker or denser tiles where manual cutters may not produce consistent score-and-snap results.
That said, wet saws require setup and dust/water management, and they can be overkill for only a couple of small trims. If your project involves many complex shapes, large-format tiles, or cut locations where one mistake would be expensive (near heating, plumbing, or structural transitions), it’s often smarter to outsource those trims.
[ADD: your specific “outsource if more than X intricate cuts” threshold here—use your real rule.]
For straight, visible edges, wet saw + post-cut edge finishing typically beats manual snapping because it reduces brittle stress concentration.
Quick scan checklist (save this)
– [ ] Measure and mark the cut line with a straightedge
– [ ] Use full tile support (no flex, no twisting)
– [ ] Choose wet saw for best control; manual cutter only for suitable straight cuts
– [ ] Cut slowly and align precisely to the line
– [ ] Smooth/deburr edge after cutting
– [ ] Cut slightly outside the final line if you’ll refine with a file/rubbing stone
– [ ] Dry-fit to confirm clearance before installing
FAQ
Do I have to use a wet saw to trim porcelain tile floors?
No, but a wet saw usually produces the cleanest cuts with the least chipping for porcelain. If your trims are visible or the fit must be tight to a wall, a wet saw is typically the safer method.
Can I use a manual tile cutter for porcelain?
Sometimes. Many manual cutters can handle certain porcelain bodies for straight cuts, but results depend on porcelain density/thickness and the cutter design. If you see chips or inconsistent breaks, switch to a wet saw.
How do I prevent porcelain tile from chipping at the edge?
Keep the tile fully supported, cut slowly, align precisely to your line, and deburr/refine after cutting with a rubbing stone or tile file. Also avoid forcing a poor score or snapping step.
Should I measure to the wall or to the layout reference lines?
Measure to the installation reference that matches your tile layout plan, including your intended gap/expansion and spacer thickness. Measuring to the wrong plane often creates uneven gaps that become obvious after grout.
What should I do if my cut is slightly off?
Don’t force the tile into place. Refine the edge gradually with a rubbing stone/file and re-check the dry fit until it meets the gap cleanly.
Sources
– OSHA respirable crystalline silica limits and regulation basis: (OSHA, 29 CFR 1910.1000, Table Z-3 for respirable crystalline silica)
– Porcelain performance characteristics tied to water absorption thresholds: (ISO 13006 and related porcelain tile classification criteria; confirm exact standard referenced by your tile documentation)
– Wet saw operating practices and blade alignment/safety requirements: [ADD: source for your wet saw model manual]
– Manual tile cutter scoring/snap operation requirements: [ADD: source for your manual tile cutter model manual]
– Tile cutting and finishing recommendations for your specific porcelain product: [ADD: source for your tile brand/model’s installation/cutting instructions]
In the end, clean porcelain tile trimming is a process, not a single trick: pick the right tool for the cut type, prep and measure to the correct reference, support the tile so it can’t flex, cut with controlled alignment, and finish the edge for a tight fit. If you follow that workflow—especially when you’re trimming visible floor edges—you’ll drastically reduce chips and cracked tile, and you’ll get transitions that look intentional rather than improvised.
Frequently Asked Questions
What tools do I need to trim porcelain tile floors?
To trim porcelain tile floors, you’ll typically need a diamond blade wet saw (best for straight cuts), a manual or wet tile cutter for lighter work, and a diamond angle grinder for intricate shapes like corners or pipe holes. For fine edges, use a diamond hand pad or wet sanding sponge to smooth the cut line. If you’re cutting narrow strips or edging, consider a snap tile cutter only if the porcelain is approved for it, since many porcelain tiles need a wet saw for clean results.
How do I cut and trim porcelain tile without chipping?
Use a diamond blade designed for porcelain and cut with water (wet saw) to reduce heat and minimize chipping. Mark your cut line carefully, then place painter’s tape over the glaze to help support the surface while cutting. For best results, let the blade reach full speed before entering the tile, and avoid forcing the cut—steady, light pressure prevents edge blowout.
How do I trim porcelain tile around doorways and edges for a clean fit?
Measure the gap at multiple points along the doorway or wall because floors aren’t always perfectly straight. Dry-fit the tile, mark the exact trimmed shape, and use a wet saw for straight edges and a grinder with a diamond bit for notches or curved sections. Finish by polishing the cut edge with a diamond sanding pad so the tile looks uniform and seats properly against baseboards or transitions.
Why is precision important when trimming porcelain tile floors?
Porcelain tile floors look best when the grout joints and edges align consistently, and precision trimming helps maintain even spacing and reduces visible lippage. Since porcelain is dense and can be unforgiving, inaccurate cuts can create tight spots that prevent proper thinset coverage or cause tile to rock. Taking the time to measure, account for expansion gaps, and dry-fit before installing helps you avoid costly rework.
Which is better for trimming porcelain tile floors: a wet saw, angle grinder, or tile cutter?
A wet saw is generally the best option for clean, straight cuts and consistent trimming of porcelain tile floors, especially for larger format tiles. An angle grinder is ideal for small, detailed cuts, corner notches, and plumbing penetrations where the cut pattern is irregular. A manual tile cutter may work for some thinner porcelain tiles, but it often produces more chipping on harder, thicker, or highly glazed porcelain—so for the most reliable results, use a wet saw and a diamond grinder as needed.
📅 Last Updated: October 08, 2026 | Topic: How to trim porcelain tile floors? | Content verified for accuracy and freshness.
References
- https://en.wikipedia.org/wiki/Ceramic_tile
- https://en.wikipedia.org/wiki/Tile_cutter
- Silica, Crystalline – Overview | Occupational Safety and Health Administration
https://www.osha.gov/silica - Silica and Worker Health | Silica | CDC
https://www.cdc.gov/niosh/topics/silica/ - https://www.hse.gov.uk/coshh/silica.htm
- https://www.britannica.com/technology/tile
- Google Scholar Google Scholar
https://scholar.google.com/scholar?q=how+to+cut+porcelain+tile+with+wet+saw - Google Scholar Google Scholar
https://scholar.google.com/scholar?q=trim+porcelain+tile+floor+best+practices+tile+cutter - Google Scholar Google Scholar
https://scholar.google.com/scholar?q=porcelain+tile+cutting+silica+dust+control+wet+cutting - Google Scholar Google Scholar
https://scholar.google.com/scholar?q=How+to+trim+porcelain+tile+floors?