
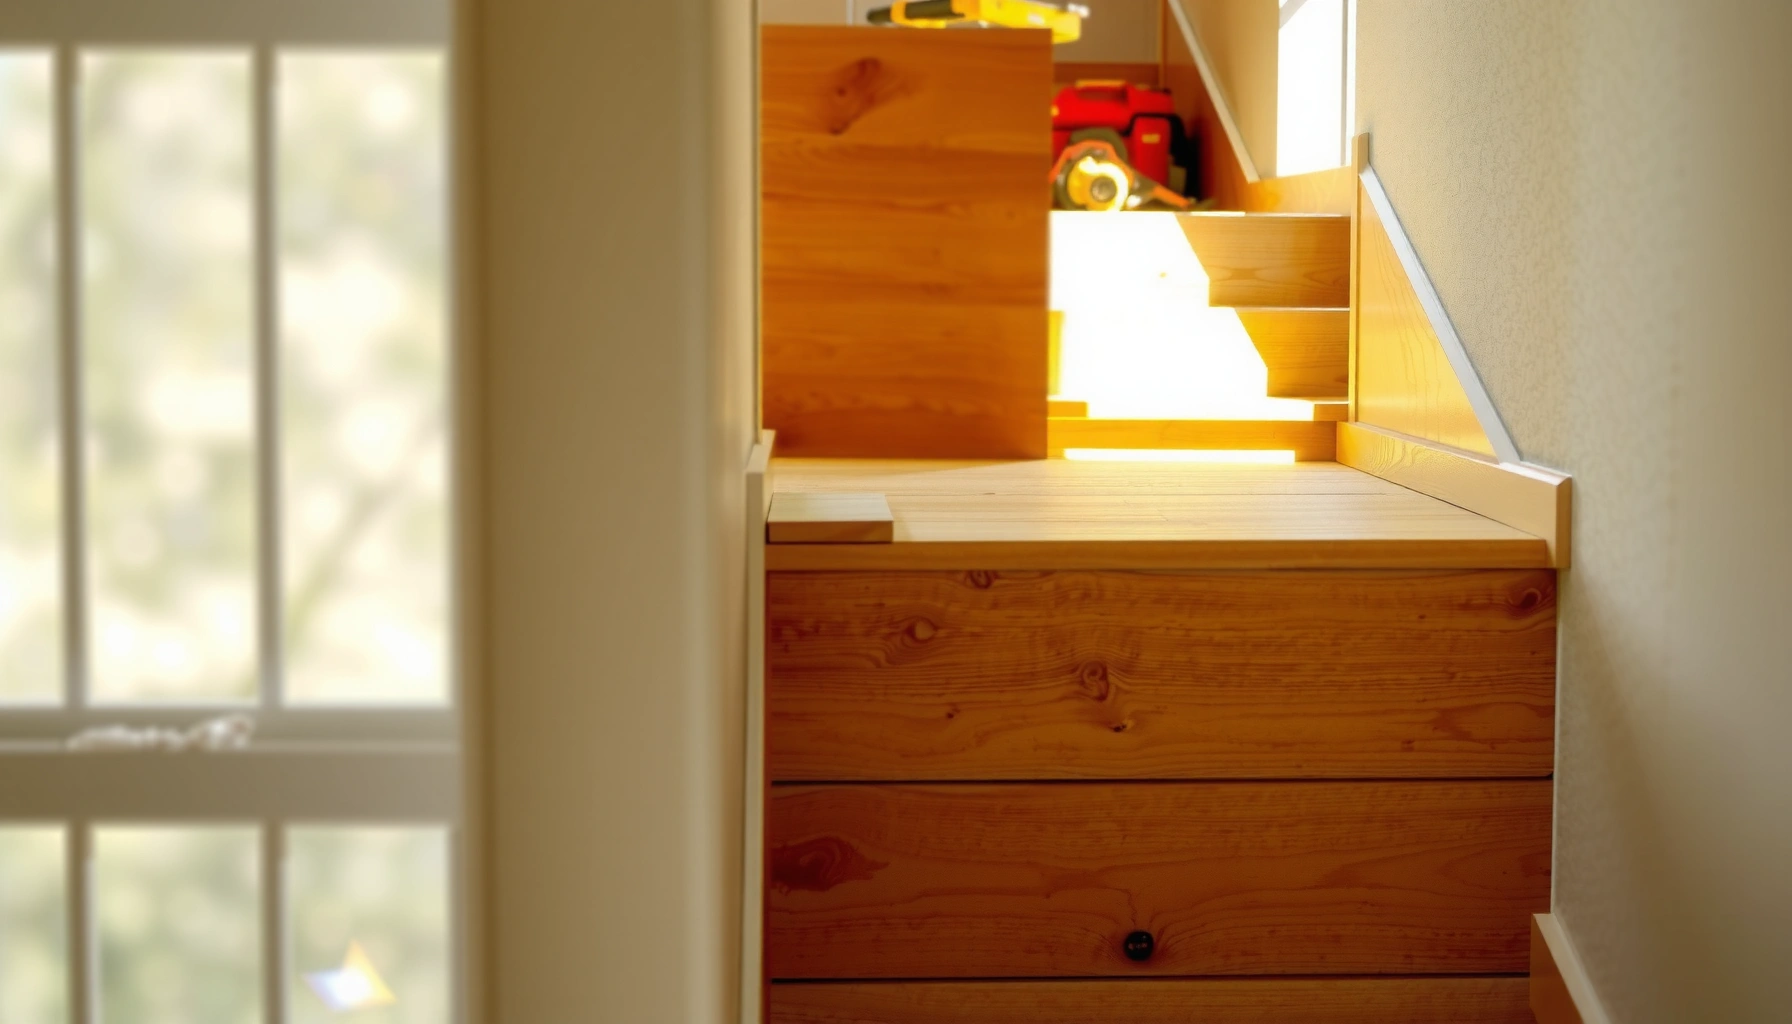

If you’re trying to install engineered wood floors on stairs, follow the right method and you’ll get a tight, safe finish instead of a flexing, gapped mess. This guide walks you through the only step-by-step approach that works for stair treads and risers—surface prep, layout, fastening, and edge finishing—so the boards stay aligned and solid under foot traffic. By the end, you’ll know exactly how to handle the stair geometry and transitions for a clean professional result.


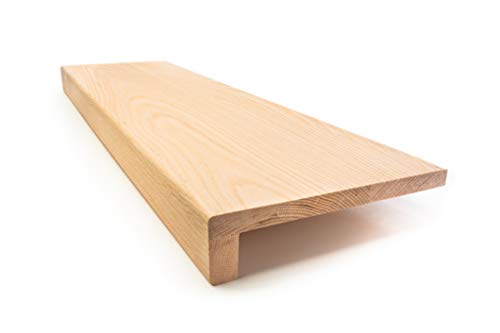
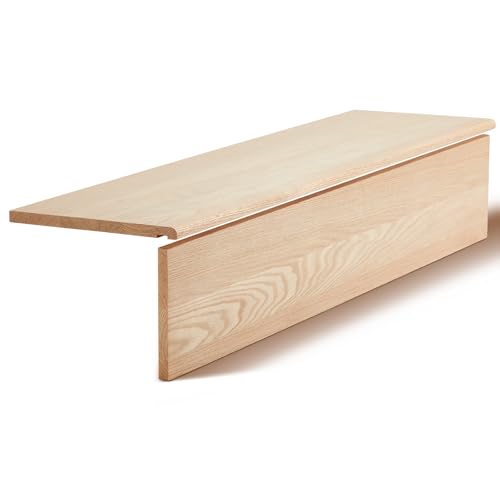
Installing engineered wood floors on stairs comes down to two things: (1) building a stair “profile” that’s accurate from tread to tread and (2) preparing a stable, flat substrate before you glue or fasten. If you measure thoughtfully, follow your flooring manufacturer’s stair-approved installation method, and finish edges with the right nosing/trim, you can get a tight, professional look without loose boards or ugly gaps.
Installing on stairs is different from installing in a hallway or bedroom because every step has a nose/overhang line, consistent reveal expectations, and potential variance from turn landings. This guide is for homeowners and installers upgrading from carpet to engineered wood, and for anyone aiming for clean edges with minimal movement and long-term security—especially on stairs with landings and directional changes. As of 2026, manufacturers still emphasize the same core requirement: stairs must follow a stair-specific approved method, not just a “general engineered floor” method.
Plan Your Stair Layout (Measure, Square, Choose the Method)
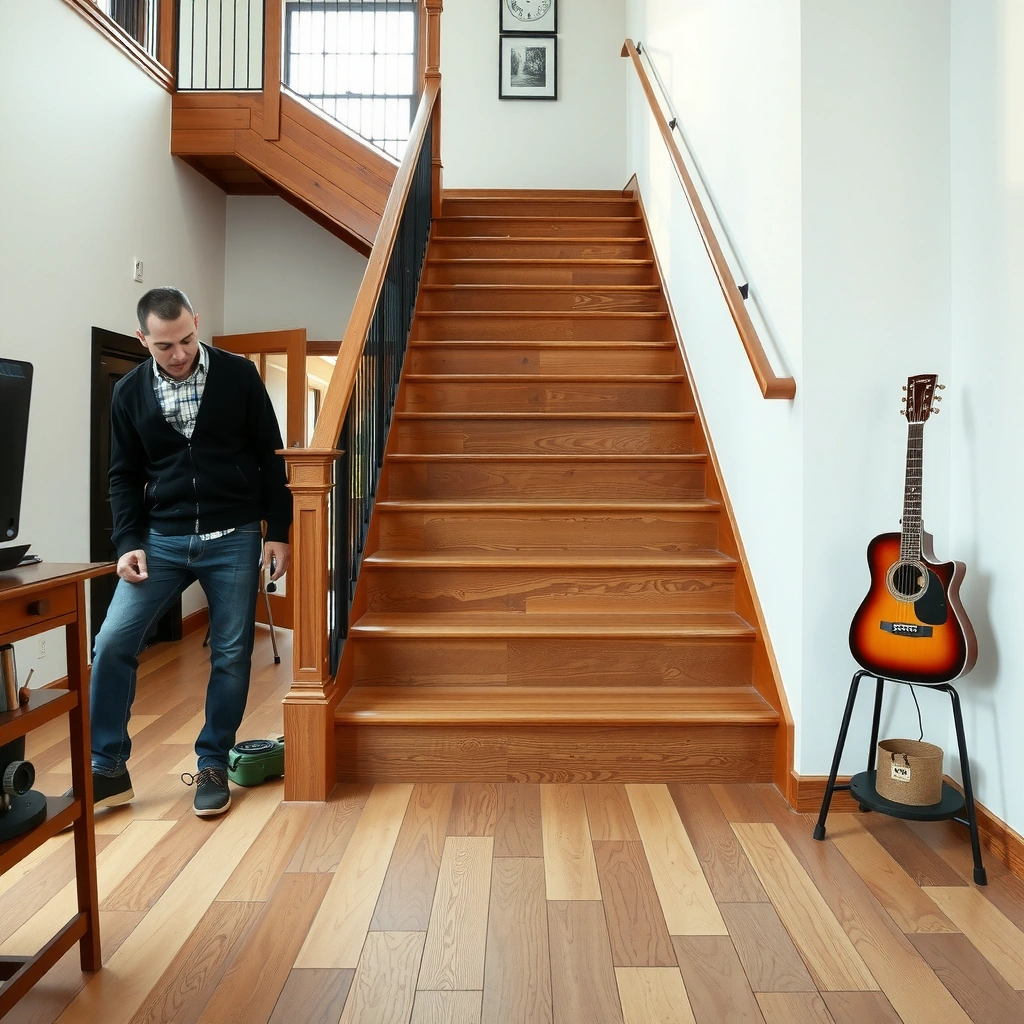
Before you cut anything, treat the stair like a set of repeatable profiles. In practice, stairs fail visually because cut plans assume the stair is perfectly square and uniform when it isn’t. Focus on what you can control: tread geometry (width/depth), riser height, and how you’ll handle the tread nose/overhang.
Measure tread width and depth at multiple points; the smallest measurement should drive plank cuts when overhang would otherwise become uneven.
Stairs are not “flat-room installations”—your engineered flooring must use the manufacturer’s *stair-approved* glue/fastener/nosing method.
Decide seam placement early so end-joints land where they look intentional on every tread and at landings.
A practical layout workflow that works for most stair builds:
1. Measure every tread and riser at several points (front-to-back depth can vary on older framing).
2. Identify the controlling measurement for each cut set—often the smallest depth/width to avoid a plank sitting proud at one edge.
3. Decide your reveal and nose strategy:
– Flush look (plank face aligns at the front, if the system allows and you add the proper wear edge).
– Consistent reveal (a uniform step-front line, usually achieved with a planned overhang + trim/nosing).
– Dedicated stair-nosing hardware (when your plank system doesn’t create a durable wear edge by itself).
Also plan transitions at landings. If your product allows seam staggering (many do), stagger end joints between treads where possible so you don’t get a “zipper” line down the staircase. For landings, plan how you’ll end the run and reset your alignment so the next flight starts straight.
Factual anchoring for stair geometry: According to the International Residential Code (IRC), the typical prescriptive minimum/maximum dimensions include a maximum riser height of 7-3/4 in and a minimum tread depth of 10 in (where stairs follow prescriptive code dimensions) (International Residential Code (IRC)). You can’t always change existing geometry, but using code-based targets makes it easier to recognize when variation will show in the engineered overlay.
Prep the Stairs: Substrate, Levelness, and Surface Condition
Prep is where most stair failures begin—not with the plank, but with the surface under it. Before you glue or fasten engineered wood, you need a substrate that is solid (no bounce), clean (no bond breakers), and flat enough that the planks can sit without stress.
A stable, non-flexing stair substrate prevents adhesive bond failure and squeaks once engineered boards are installed.
Remove carpet remnants, tack strips, padding, and dust before installation so adhesives and fasteners grip as specified.
Flatness matters on stairs: dips and ridges create visible gaps and can make the plank feel “rocking” underfoot.
Key substrate tasks:
– Confirm framing and substrate solidity. If the stair tread area can flex, engineered planks can move slightly and loosen adhesives or create noise. This is especially common at older stringers or where patchwork was added for carpet.
– Strip old materials completely. Remove tack strips, padding, staple remnants, and adhesives so you’re not installing onto something compressible or contaminated.
– Clean to bond standards. You’re aiming for a surface with no dust/grit and no grease or curing residue where adhesives are used.
– Check flatness on each tread. Even small high spots can make the plank sit up; small low spots can create gaps or stress the click/locking edges (if your system uses them).
Industry guideline anchoring: According to the National Wood Flooring Association (NWFA) installation guidance, the subfloor should be within a tight flatness tolerance prior to wood flooring installation (NWFA (National Wood Flooring Association) installation guidelines). Exact tolerances vary by product type and method, so you should match your engineered flooring manufacturer’s specified flatness requirements first.
Finally, treat seams and interruptions as part of your profile planning. If there are structural transitions (patched plywood seams, old nail patterns, or cracks), address them before installing planks—because stairs amplify every irregularity.
Acclimate and Pre-Cut Your Planks for Stair Shapes
Acclimation and dry-fitting are how you prevent “it looked right on the bench” problems from showing up on the stair. Once your engineered wood reaches indoor conditions and your cuts match your tread/riser profile, installation becomes a controlled assembly rather than a series of forced compromises.
Engineered wood must acclimate to the home’s temperature and humidity per the manufacturer—skipping it risks movement after installation.
Pre-cut for each tread and riser shape so your final install doesn’t depend on rushed trimming while adhesives are setting.
Plan how your plank front edge meets the stair nose/overhang—either with a consistent reveal or with approved stair-nosing hardware.
Start with the manufacturer’s acclimation requirements (temperature/humidity + time). If those details aren’t present on your product documents, you’ll need to look them up rather than guessing.
Pre-cut strategy that reduces waste
Stairs rarely have identical treads, especially across landings and turns. A reliable approach:
1. Create a pattern for each unique tread/riser shape using cardboard or thin template material.
2. Transfer patterns to planks, then label every piece by tread/riser position.
3. Dry-fit all pieces to validate alignment and overhang/reveal before you glue/fasten.
Nail/glue edge planning
Some stair methods glue the tread plank and use fasteners to hold it while adhesive cures. Others rely more on stair-nosing systems. Either way:
– Maintain the required expansion gaps at boundaries and structural interruptions exactly as specified.
– Ensure the plank ends and joints align with the planned tread-to-tread visual line.
> [ADD: exact acclimation guidance from your flooring brand’s installation manual]
> [ADD: whether your product uses a flush reveal or requires a separate stair-nosing system]
Install on Treads: Fastening/Adhesive Setup and Seam Control
Install the treads using the manufacturer’s approved stair method—commonly a glue + fastener system or an approved stair trim/nosing component strategy. The difference between a secure stair and a failure is often how accurately you follow adhesive trowel size, dwell time, fastener spacing, and seam control.
Use only the engineered flooring’s approved stair installation method; “general” installation instructions can void warranty on delamination or loose edges.
Maintain required expansion gaps and boundary clearances so boards can respond to seasonal humidity without buckling.
Keep end-joints aligned tread-to-tread to avoid a “wavy” staircase appearance that shows from one step to the next.
Adhesive + fastener execution (what to match to specs)
Follow your installation guide for:
– Adhesive type (and whether it’s allowed on stairs for your product).
– Trowel/notched size (if a trowel-pattern is specified).
– Open time / dwell time (how long you have before the position becomes fixed).
– Fastener type and placement (where screws/brads/nails go and which zones to avoid).
Seam control on stairs
Stairs expose end joints directly to foot traffic and visually emphasize alignment:
– Plan end-joint placement so joints don’t line up across multiple treads (where allowed).
– Keep joints snug without forcing—forcing can damage locking mechanisms or introduce stress.
– Ensure the stair profile stays consistent through the flight and at landings.
Handy precision rule
Don’t rely on “eyeballing” reveal from only one side. Use a straightedge and check:
– plank overhang line,
– reveal at the nosing reference,
– and joint alignment across consecutive treads.
| Stair Inspection Step (Before & During Install) | Typical Code/Guideline Target | Why it matters on stairs | If ignored |
|---|---|---|---|
| Riser height check | Max **7-3/4 in** (IRC prescriptive limit) | Controls step-to-step uniformity and visual reveal | Uneven steps and obvious inconsistent heights (IRC) |
| Tread depth check | Min **10 in** (IRC prescriptive minimum) | Impacts where the foot lands relative to the wear edge | Front edge damage and comfort issues (IRC) |
| Flatness tolerance | Tight flatness requirement per NWFA guidance | Prevents gaps/squeaks and reduces plank stress | Rocking feel, adhesive debonding (NWFA) |
| Substrate solidity | Non-flexing substrate for bond | Stair bounce can break adhesive bonds | Loose planks, noise |
| Expansion gap compliance | Per manufacturer required gap | Seasonal movement prevents buckling | Buckling, joint separation |
| Seam/joint placement | Manufacturer-approved staggering/seam rules | Visual continuity and structural integrity | “Stripe” effect or weak alignment |
| Nosing/edge wear protection | Use compatible nosing/trim where needed | Protects the tread front from chipping | Faster edge wear and splintering |
Add Risers and Finish the Edges (Nosing, Trim, Sanding, Sealing)
Add risers after treads (in most stair workflows) so you can match your walking surface alignment first, then close the visual gap with risers. Then finish edges with compatible stair nosing/trim because engineered planks alone don’t always provide the durability you need at the tread front.
Install risers to match your planned reveal and nose/overhang line—small height mismatches become noticeable step-to-step.
Use approved stair nosing/trim when the plank edge won’t naturally provide a durable wear surface.
Only sand/finish as the manufacturer allows—some engineered floors are factory-finished and should not be heavily field-sanded.
Riser installation logic
If your design stacks materials, install in an order that preserves alignment:
– Treads first so you lock the foot landing surface line.
– Risers second so the stair reveal looks intentional and consistent.
When cutting risers around stringers or returns, keep seams where they look best. A clean stair install is as much about visual strategy as it is about structure.
Edge durability: nosing and trim
The tread front (the wear edge) is where impact, scraping, and repeated heel strikes occur. If your engineered planks don’t have an integrated, stair-rated wear surface:
– use compatible nosing,
– or install stair trim that matches your engineered board thickness.
Sanding and sealing guidance
Some engineered wood is factory-finished and should be left largely intact. Others are designed for field finishing. Follow your product specs.
> [ADD: whether your flooring is factory-finished or field-finished based on its specs]
What Can Go Wrong (Common Mistakes and Edge Cases)
Stairs fail most often due to geometry mismatch, wrong installation method, or ignored expansion rules—not because engineered wood is inherently unreliable. The most expensive “redo” is usually the one caused by starting without confirming the correct stair-approved method and substrate stability.
Ignoring flatness turns into visible gaps on stair faces because gravity and foot pressure amplify small substrate defects.
Using an unapproved glue/fastener method for stairs can cause delamination or loosening at the tread nose.
Skipping expansion-gap requirements invites buckling or joint separation as humidity changes across seasons.
Without stair nosing/trim, tread fronts chip faster—especially where the plank edge is exposed to heel impact.
Pros/cons comparison: common stair approaches
| Approach | Pros | Cons | Best for |
|---|---|---|---|
| Glue + approved fasteners | Strong initial hold and secure bond when specs are followed | Requires precise adhesive technique and fastener spacing | Most DIY-capable installs with clear manufacturer steps |
| Stair-nosing system + approved attachment | Improves wear-edge protection and visual consistency | More components to measure/cut; must match thickness | Floors that need a dedicated wear edge strategy |
| Field modifications without stair approval | Can seem “simpler” in the moment | Higher risk of warranty denial, delamination, and loose treads | Generally not recommended unless manufacturer permits |
Typical edge cases to plan for
– Turns/landings: Landings often have slight plan inconsistencies; your seam plan must reset.
– Out-of-square stringers: If stringers aren’t square, identical cuts won’t be identical fits.
– Transitions to adjacent flooring: Plan thresholds/edge trim so stairs don’t create a “step” gap at the landing.
> [ADD: your manufacturer’s stair warning/requirements]
> [ADD: stair-specific method requirements from your product’s installation instructions]
Verdict / Tip: Do It If You Can Follow Stair-Specific Specs
Engineered wood on stairs can look excellent and perform well when you keep three things non-negotiable: a stable, flat substrate; manufacturer-approved stair installation method; and correct edge protection using nosing/trim. The downside is that stair geometry makes accuracy harder than installing on a flat floor—small measurement errors can repeat on every step, and you can’t “hide” them with trim the way you might in a hallway.
Skip this project or get professional help if your stairs are noticeably out of level/solid, if you can’t confirm the correct stair-approved installation method for your exact engineered product, or if your plan relies on improvising wear-edge protection without guidance. As of 2026, most manufacturers continue to treat stair installs as a higher-responsibility method because failure modes (debonding and edge chipping) are more visible and more frequent than on flat surfaces.
Quick Checklist (Scan Before You Start)
– [ ] Confirm your engineered flooring’s approved stair installation method ([ADD: brand/model instructions reference])
– [ ] Measure tread width/depth and riser height at multiple points
– [ ] Prep a solid, clean, stable substrate; verify flatness
– [ ] Acclimate flooring per instructions ([ADD: exact acclimation spec])
– [ ] Plan reveals/overhang and whether you’ll use stair nosing/trim
– [ ] Pre-cut for each tread/riser; dry-fit before final install
– [ ] Install treads first (per spec), then risers; keep expansion gaps where required
– [ ] Finish/edge work only as allowed by the manufacturer
FAQ
Can I install engineered wood on stairs without removing the old carpet?
Sometimes—but only if the existing surface is stable, clean, and meets the flooring manufacturer’s substrate requirements. Carpet, padding, and tack remnants are typically not acceptable for a reliable bond or a flat walking surface; confirm with your flooring’s installation guidance ([ADD: your flooring manufacturer’s guidance on installing over existing flooring]).
What’s the best order: treads first or risers first?
Most installers start with treads so the walking surface alignment is correct, then fit risers to match the planned reveal and overhang. Always verify the recommended order in your product documentation ([ADD: source/spec from your flooring manual]).
Do I need a stair nosing when using engineered wood?
Often yes, because the tread nose is a high-wear zone and engineered planks may not provide adequate impact resistance at the edge. Use a nosing/trim system compatible with your plank thickness and the manufacturer’s stair recommendations.
Should I glue or nail engineered wood on stairs?
It depends on your specific engineered product and its approved stair system. Some products specify particular adhesives or allow particular fastener methods only when installed on stairs; follow the installation instructions for stairs ([ADD: exact requirement for your model]).
Sources:
– [ADD: Your engineered wood flooring manufacturer’s installation instructions—specifically the sections covering stairs, acclimation, expansion gaps, and adhesive/fastener approvals.]
– [ADD: Manufacturer guidance for stair nosing/trim compatibility, if provided in the same installation manual or stair system documentation.]
– International Residential Code (IRC), stair prescriptive dimensional limits for risers and treads (International Residential Code (IRC)).
– National Wood Flooring Association (NWFA) installation guidelines for wood flooring substrate preparation/flatness expectations (NWFA installation guidelines).
When you handle stairs with the right profile planning and stair-approved method, engineered wood can deliver a clean, secure staircase that ages well. The key is not rushing measurements, not improvising with unapproved adhesives/fasteners, and protecting the tread front with compatible nosing/trim so daily wear doesn’t turn a “perfect install” into a renovation project.
Frequently Asked Questions
What’s the best way to prepare stairs before installing engineered hardwood floors?
Start by ensuring every stair tread and riser is dry, clean, and structurally solid—fix any loose boards, squeaks, or wobbles first. Check that stairs are level and plumb; if there are high spots, plane or sand them so the engineered wood floor can sit flat without gaps. Verify moisture conditions and acclimate your engineered wood flooring to the home environment for the time recommended by the manufacturer. Finally, remove old carpet tack strips or residues and vacuum thoroughly so your underlayment and adhesives bond properly.
How do you install engineered wood flooring on stair treads without causing squeaks or gaps?
The most reliable method is to use the installation system recommended for stairs—often a combination of stair-nosing trim and either a nail/staple method or approved adhesive. Attach the engineered wood to each stair tread firmly while avoiding over-driven fasteners that can create hollow spots. Use proper stair underlayment if your product calls for it, and keep consistent expansion gaps at edges where required. After installation, inspect each tread for movement and tighten/repair any areas that could lead to squeaks.
Which installation method works best for engineered wood on stairs: glue-down, nail/staple, or floating?
In most cases, floating floors are not ideal for stairs because the repeated traffic can cause movement and edge separation. Glue-down installation can work well on stable stair surfaces when you use a stair-approved adhesive and follow the manufacturer’s spread rate and curing time. Nail or staple methods are commonly used for stair treads when the engineered wood has a suitable face/nailing profile; it can provide a more secure hold for heavy foot traffic. Choose the method that matches your engineered hardwood’s construction (including thickness and click system) and the stair substrate condition.
How do you handle the stair nosing when installing engineered wood floors on stairs?
Measure each tread carefully and dry-fit boards to confirm how the pattern and ends will align at stringers before cutting. Most installations use a dedicated stair nose or matching stair tread trim piece to cover the front edge cleanly and create a durable walking surface. Cut the engineered wood to fit the tread depth while leaving room for the nosing overlap as specified by the stair nose profile. This approach helps protect the edges from wear and gives your engineered hardwood stairs a professional, finished look.
Why is acclimation and moisture control especially important when installing engineered hardwood on stairs?
Stairs experience rapid temperature and humidity changes, especially near entrances, windows, or HVAC vents, which can cause wood movement. Acclimating engineered wood flooring before installation helps reduce the risk of cupping, gapping, or separation at the tread edges. Use a moisture meter to confirm the stair substrate is within the manufacturer’s limits, and avoid installing during extreme humidity or right after wet construction. Good moisture control is one of the biggest factors in long-term performance and maintaining tight seams on engineered wood stairs.
📅 Last Updated: October 07, 2026 | Topic: How to install on stairs engineered wood floors? | Content verified for accuracy and freshness.
References
- Google Scholar Google Scholar
https://scholar.google.com/scholar?q=engineered+wood+floor+installation+stairs - Google Scholar Google Scholar
https://scholar.google.com/scholar?q=install+engineered+hardwood+flooring+on+stair+treads+and+risers - Google Scholar Google Scholar
https://scholar.google.com/scholar?q=stair+nosing+installation+engineered+wood+flooring - https://en.wikipedia.org/wiki/Engineered_wood_flooring
- https://en.wikipedia.org/wiki/Wood_flooring
- Stairs
https://en.wikipedia.org/wiki/Stair - https://en.wikipedia.org/wiki/Staircase
- https://en.wikipedia.org/wiki/Stair_tread
- https://en.wikipedia.org/wiki/Stair_riser
- https://en.wikipedia.org/wiki/Flooring_underlayment


