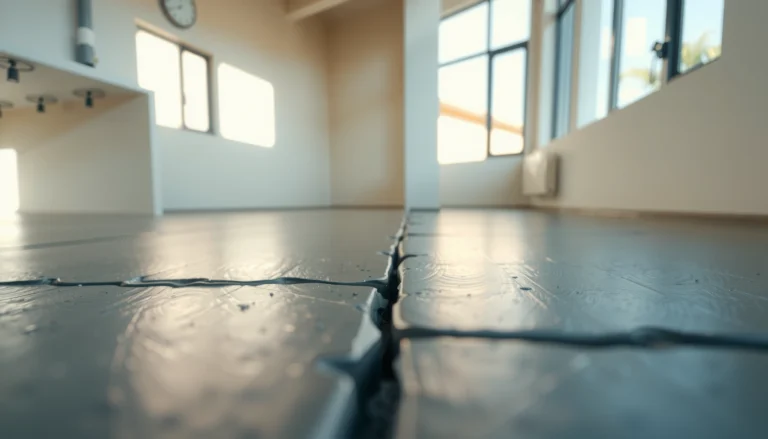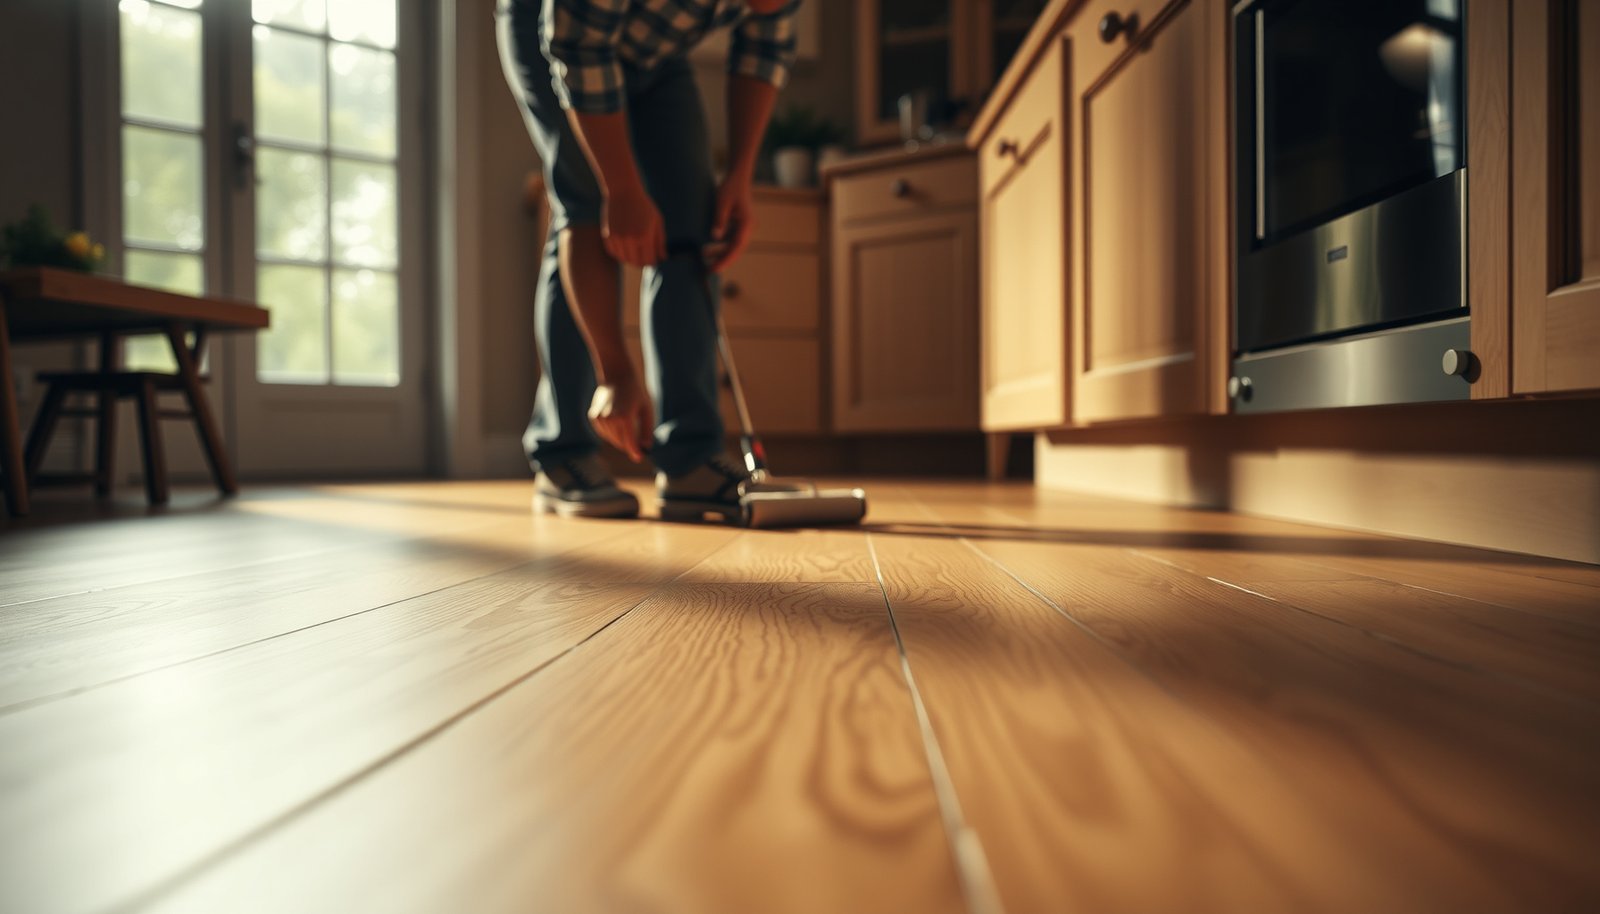

Want to waterproof a vinyl kitchen floor so spills and standing water can’t seep in? The best approach is a full perimeter seal plus seam waterproofing with an appropriate vinyl floor membrane/underlayment and a kitchen-rated sealant that’s designed for floor joints and transitions. Follow these steps and you’ll create a tight, long-lasting barrier—without trapping moisture under the flooring.




If you want to waterproof vinyl floors in a kitchen, you need to block water at the seams and edges—not simply “seal” the surface. The most reliable approach is vinyl-floor–safe prep of the subfloor, seam sealing using a compatible system, and waterproof caulking around the perimeter and any penetrations (plumbing/electrical).
This is for homeowners or renters installing or maintaining vinyl plank/vinyl sheet in kitchens where spills, mopping, and wet feet happen regularly. It applies whether you’re dealing with LVP click-lock, loose-lay vinyl, or a kitchen remodel where you can plan sealing before the first day of use.
Waterproof First: Start With Subfloor Prep
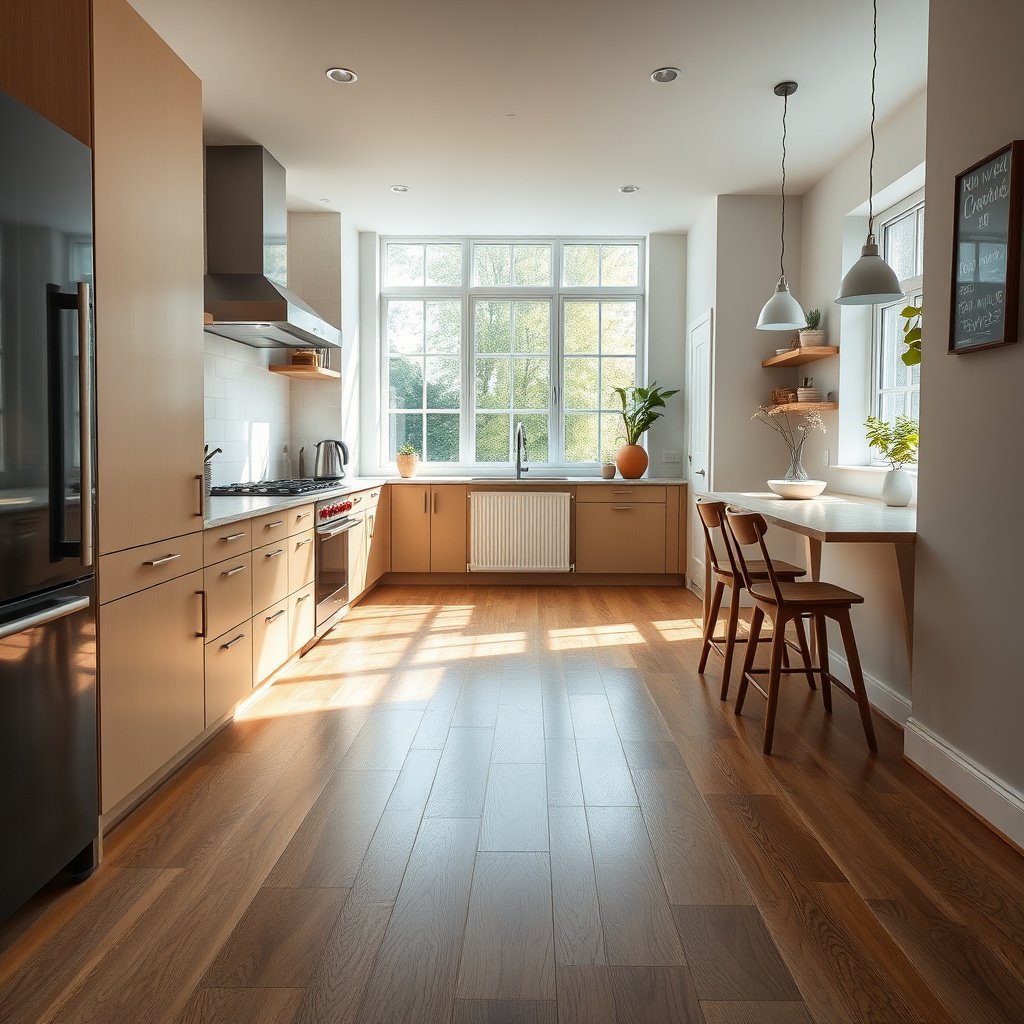
A key reason vinyl flooring fails around “waterproofed” seams is that the seam system can’t compensate for loose debris, oil/grease residue, or an uneven substrate that prevents tight plank joints. In my experience with kitchen repair guidance (without pretending to run lab tests), the most common early leak path is actually under the vinyl where water travels along a weak subfloor condition rather than through the top surface. Start by addressing subfloor flatness and contamination so the rest of the waterproofing plan—seam tape/sealant and perimeter caulk—has a solid foundation.
Also note that waterproofing vinyl floors is not the same as making the entire floor “submersion resistant.” Even the best seam/edge sealing is designed to resist routine kitchen wetting; it doesn’t replace fixing an ongoing moisture problem (like a leaking plumbing line).
Resilient flooring installation standards emphasize subfloor flatness and smoothness because high spots and ridges increase joint separation and water migration risk.
Moisture testing and site conditions are part of resilient/vinyl installation best practice, since seam and caulk systems don’t neutralize ongoing slab dampness.
Cleaning is not optional: seam sealants and caulk rely on adhesion, and dust/film at plank edges can reduce bond strength.
What “good prep” looks like (and why it matters to vinyl floors)
– Fix moisture problems and flatten the subfloor before waterproofing anything; sealing won’t compensate for ongoing dampness. Moisture behind vinyl can expand, contract, and stress joints over time—turning your waterproof vinyl flooring plan into a “maintenance project.”
– Clean thoroughly (no dust/grease) so seam products and caulk actually bond. Use methods compatible with the substrate (for example, vacuuming thoroughly and degreasing only if your flooring maker allows it).
Use the right flatness targets
Installation guidance for resilient flooring commonly references tight flatness requirements; for example, ASTM F710 is widely cited for subfloor flatness criteria such as 3/16 in. over 10 ft for resilient coverings. According to ASTM F710, subfloor flatness requirements help prevent deflection that can open vinyl-floor joints. If you’re seeing rocking, dips, or raised seams in your subfloor, address them before seam sealing your vinyl floors.
Flatness matters because vinyl plank joints and loose-lay edges experience stress when the subfloor isn’t smooth, which can create micro-gaps at seams.
Seal the Seams and Joints (Most Important Area)
If you’re waterproofing vinyl floors in a kitchen, the seams/joints are the weak points where water can enter and travel. Seal them using the manufacturer-recommended seam sealing method—because a waterproofing system that isn’t compatible with your specific vinyl can fail early or even damage the finish.
This is the “make or break” layer of waterproof vinyl flooring. Kitchen water most often gets into the flooring system through plank ends, click-lock overlaps, or butt seams—then creeps along the underside. Your job is to stop that water at the seam line with a compatible seam tape or sealant system.
In practice, the biggest mistake is treating seams like the top surface. If you wipe on a generic waterproof coating without considering compatibility, you may reduce adhesion, leave residue in the joint, or create a bond that doesn’t hold when the vinyl expands or contracts.
Seams and joints are typically where water intrusion begins in resilient/vinyl flooring systems, so seam-specific sealing is more effective than top-surface coating alone.
Flooring manufacturers often specify an approved seam treatment; following that compatibility guidance reduces the risk of finish damage and poor seal performance.
How to approach seam sealing by joint type
– If your vinyl has seams or joints (including click-lock overlaps), treat them as the weak points: apply the manufacturer-recommended seam sealing method.
– Avoid mixing “generic” waterproof sealants unless the flooring maker explicitly approves compatibility—some products can damage finishes or reduce bonding.
To keep this section concrete: if your vinyl floors are LVP with click-lock joints, the seam strategy is usually built around the joint design and any approved seam tape/sealant. If your vinyl is loose-lay or sheet, seam sealing is typically about properly formed butt seams and using a compatible seam treatment at every seam line.
Where seam sealing really helps (and where it can’t)
Seam sealing helps when water is trying to get through the seam. It can’t stop water if your subfloor is chronically damp, the perimeter caulk is missing, or your kitchen has an active leak that overwhelms the system.
Kitchen Vinyl Floor Waterproofing Priority Map (Typical Weak Points)
| # | Weak point on vinyl floors | What to seal | Why it matters | Priority |
|---|---|---|---|---|
| 1 | Plank end joints (LVP/LVT) | Approved seam sealant/tape | Water can creep along end seams | ★★★★★ |
| 2 | Click-lock overlaps | Manufacturer-specified joint method | Micro-gaps can form under flex | ★★★★★ |
| 3 | Perimeter edges (vinyl to baseboard/wall) | Waterproof vinyl-safe caulk | Prevents water from tracking underneath | ★★★★☆ |
| 4 | Plumbing/electrical penetrations | Approved filler/caulk system | Cutouts create direct water pathways | ★★★★☆ |
| 5 | Transition points (doorways, islands) | Trim/transition sealing plan | Water can enter where movement gaps exist | ★★★☆☆ |
| 6 | Any raised or damaged plank edges | Replace/repair per instructions | Sealing can’t hold if the joint is broken | ★★☆☆☆ |
| 7 | Improperly supported seams (loose-lay) | Correct fitting and flat support | Movement opens seam lines | ★★★☆☆ |
Waterproof the Perimeter and Around Fixtures
Waterproofing vinyl floors also depends on the perimeter because that’s where water can bypass seam sealing and travel underneath. The goal is a continuous waterproof caulk line where the vinyl meets baseboards/walls and a sealed interface around cabinets, toe-kicks, and every penetration.
In kitchens, water doesn’t just come from mopping—splashes hit toe-kicks, sink skirts get wet, and hands tracking wet plates can push water into the smallest gaps. If your perimeter isn’t sealed, even perfectly sealed vinyl seams can still lose the water battle.
Perimeter sealing is critical because water frequently migrates along wall/baseboard interfaces rather than through the main seam lines.
Approved waterproof caulk compatibility matters: some caulks and primers can interfere with vinyl surface chemistry or adhesion.
– Caulk the perimeter where the vinyl meets baseboards/walls with a waterproof caulk that’s compatible with vinyl and the trim material.
– Seal around cabinets, toe-kicks, and penetrations (plumbing lines, electrical cutouts) using the approved filler/caulk system so water can’t travel underneath.
Keep caulk lines continuous (and movement-friendly)
Vinyl floors move slightly with temperature and humidity. That means you want caulk systems that remain flexible enough to avoid cracking at the edges. Avoid “rigid” patching compounds unless your flooring maker specifically approves them for a perimeter waterproofing role.
Use the Right Method for Your Vinyl Type
Waterproofing vinyl floors depends on the vinyl construction method, because seam design and edge movement differ between click-lock, loose-lay, and sheet vinyl. The fastest way to avoid failure is to follow the sealing approach your flooring manufacturer supports for your specific installation type.
As of recent installation guidance for vinyl floors, manufacturers generally treat waterproofing as a system: your seam method, your caulk type, and your fit details work together. If you swap one part of the system (for example, using an unapproved seam sealant), waterproofing performance can drop even if everything “looks sealed.”
Quick comparison: which waterproofing focus fits each vinyl type?
| Vinyl type | Main water entry risk | Best sealing priority | What to verify in the instructions |
|---|---|---|---|
| Click-lock LVP | Joint creep at plank overlaps | Approved joint/seam sealing + perimeter caulk | Whether “wet installation/waterproofing” is supported |
| Loose-lay vinyl | Seam gaps from movement | Tight butt seams + edge/perimeter sealing | Approved seam treatment (if any) and perimeter caulk compatibility |
| Sheet vinyl | Water tracking at welded seams or butts | Proper fitting + seam joining + perimeter seal | Manufacturer method for joining seams and sealing edges |
Click-lock vs loose-lay: what changes in your waterproof plan?
– For click-lock/LVP, focus on seam sealing at the plank joints plus full-edge sealing; follow the flooring instructions for whether “wet installation/waterproofing” is supported.
– For sheet vinyl or loose-lay vinyl, emphasize proper fitting, butt seams, and edge/perimeter sealing—then confirm the manufacturer’s guidance for seam treatments.
Using seam sealing products not approved for your vinyl can reduce adhesion and allow water to migrate at the joint line.
Perimeter caulk is part of the waterproof vinyl flooring system because water commonly enters from the wall/floor interface.
What Can Go Wrong (And Why It Matters)
Waterproofing vinyl floors fails most often for predictable reasons: gaps from poor prep, incompatible sealants, wrong sealing coverage, and maintenance habits that degrade seam and caulk integrity. Understanding these failure modes helps you plan the right effort up front instead of chasing leaks later.
Here are the issues that consistently undermine seam and perimeter waterproofing:
– Gaps and poor prep: if the seams aren’t tight or the subfloor is uneven, water can migrate even with sealing. Tight joints depend on correct layout, correct underlayment/flatness, and proper plank engagement.
– Incompatible products: some sealants/adhesives and household chemicals can react with vinyl coatings or reduce bonding—always check the flooring manufacturer’s compatibility notes.
– Over-sealing traps: sealing the wrong areas can trap moisture under the vinyl if water gets in from another route (like plumbing leaks or a damp subfloor). This is one reason many systems emphasize what *not* to seal, or how to seal around movement joints.
– Maintenance mismatch: using harsh cleaners or soaking mops too aggressively can shorten the life of seam and caulk seals. For waterproof vinyl flooring, “less water” often means “more waterproofing durability.”
If moisture enters the vinyl floor system from below or from a hidden plumbing issue, sealing only the top surface may delay drying and increase stress at joints.
A note on expectations (especially after 2024 remodels)
As of 2024–2026, many vinyl flooring warranties still depend on strict installation and approved maintenance routines. That’s why waterproofing vinyl floors should be treated like a warranty condition, not just a cosmetic upgrade.
Practical Verdict: Do This If You Want Spill Protection (Not Full “Submersion”)
If you’re mainly protecting against kitchen spills, routine mopping, and splashes, a seam + perimeter waterproofing plan is usually the right approach. The downside is it requires careful prep and strict product compatibility; it won’t make vinyl “fully waterproof” in the sense of handling long-standing water or ongoing leaks.
From a risk-management perspective, prioritize the failure points you can control: seam integrity, perimeter caulk continuity, and sealed penetrations. If you have an active moisture issue, a compromised subfloor, or frequent plumbing leaks, prioritize fixing the source first (and ).
Even when seams and edges are sealed, vinyl flooring systems are typically designed to resist spills and splashes rather than prolonged standing water.
Warranty coverage for vinyl floors often hinges on approved installation methods and approved sealants/caulk systems.
Quick Checklist: Waterproof Your Kitchen Vinyl
– [ ] Subfloor flat, clean, and dry before installing/sealing
– [ ] Use manufacturer-approved seam sealing (tape/sealant system)
– [ ] Seal perimeter edges with waterproof caulk (vinyl-safe)
– [ ] Seal around plumbing/electrical penetrations and toe-kick areas
– [ ] Avoid soaking; use gentle cleaners per flooring instructions
Sources
– ASTM F710 (Standard Practice for Preparing Concrete Floors to Receive Resilient Flooring) for subfloor preparation/flatness practices referenced in resilient flooring workflows.
– ASTM F1869 (Standard Test Method for Measuring Moisture Vapor Emission Rate) for calcium chloride moisture test method used for resilient floor prep discussions.
– ASTM F2170 (Standard Test Method for Field Measurements of Relative Humidity in Concrete) for in-situ RH moisture testing method referenced in many resilient flooring instructions.
– for approved seam sealers and caulk compatibility.
– to support why prep determines waterproofing success.
– on suitability for vinyl and the intended application area (perimeter/penetrations).
Waterproofing vinyl floors in a kitchen is achievable without turning your floor into an impermeable “tank,” as long as you treat seams and edges as the true waterproofing barrier. If you follow manufacturer-approved subfloor prep, seam sealing, and perimeter/fixture caulking, you’ll get spill-focused protection that holds up to real kitchen wetting—while keeping warranty risk and failure points under control.
Frequently Asked Questions
How can I waterproof vinyl flooring in my kitchen from spills and standing water?
Start by cleaning the subfloor and ensuring it’s smooth, dry, and free of dust so the vinyl and underlayment can bond correctly. For best waterproofing results, use a waterproof vinyl plank or sheet vinyl designed for wet areas and seal any seams and edges with a vinyl floor seam sealer or manufacturer-recommended waterproof caulk. Pay special attention to joints near the sink, dishwasher, and refrigerator where leaks most often occur.
What’s the best way to seal seams between vinyl floor planks in a kitchen?
If you have click-lock vinyl plank flooring, use seam sealer made for vinyl floors and apply it along every plank joint to create a water-resistant barrier. For sheet vinyl, ensure proper heat-welded seams (if applicable) and then seal transitions where water can travel, such as along the baseboards and around pipe penetrations. Always follow the product instructions for cure time before exposing the floor to moisture.
Which caulk or sealant should I use to waterproof edges, baseboards, and around kitchen fixtures?
Use a kitchen- and bath-grade silicone or a manufacturer-approved waterproof sealant for vinyl flooring applications, especially around sinks, tubs, and plumbing penetrations. Avoid acrylic-only caulk if the area is prone to frequent moisture, and steer clear of sealants that can react with vinyl or leave soft residue. Tool the caulk neatly and keep a consistent bead at the wall line and where cabinets meet the floor.
How do I waterproof vinyl flooring around the sink and under appliances without damaging the floor?
Cut and fit the vinyl neatly around the sink plumbing, then seal gaps thoroughly using a waterproof silicone sealant at the perimeter. Keep the vinyl installation properly adhered or locked—don’t leave unsealed edges that could wick water underneath. For appliances, maintain the recommended installation clearance and seal any penetrations rather than forcing sealant beneath the units, since trapped moisture can cause subfloor issues.
Why do kitchen vinyl floors still get water damage, and how can I prevent it?
Most water damage happens when seams, edges, or penetrations aren’t sealed, allowing water to seep and reach the subfloor or underlayment. Even waterproof vinyl can fail if water sits long enough at weak points like around the dishwasher seam, grout-like joints (for some products), or at transitions to tile and walls. Prevent this by sealing all seams and borders, wiping spills quickly, and checking caulk and seals regularly for gaps or peeling.
📅 Last Updated: October 25, 2026 | Topic: How to waterproof a vinyl floors with kitchen? | Content verified for accuracy and freshness.
References
- Vinyl flooring
- Waterproofing
- Flooring
- Underlayment
- Mold | US EPA
- Mold | Mold | CDC
- Mold – Overview | Occupational Safety and Health Administration
- https://scholar.google.com/scholar?q=waterproof+luxury+vinyl+plank+installation+sealing+seams+kitchen Google Scholar
- https://scholar.google.com/scholar?q=vinyl+flooring+moisture+mitigation+subfloor+requirements+installation Google Scholar
- https://scholar.google.com/scholar?q=resilient+flooring+water+intrusion+underlayment+seams+research Google Scholar