
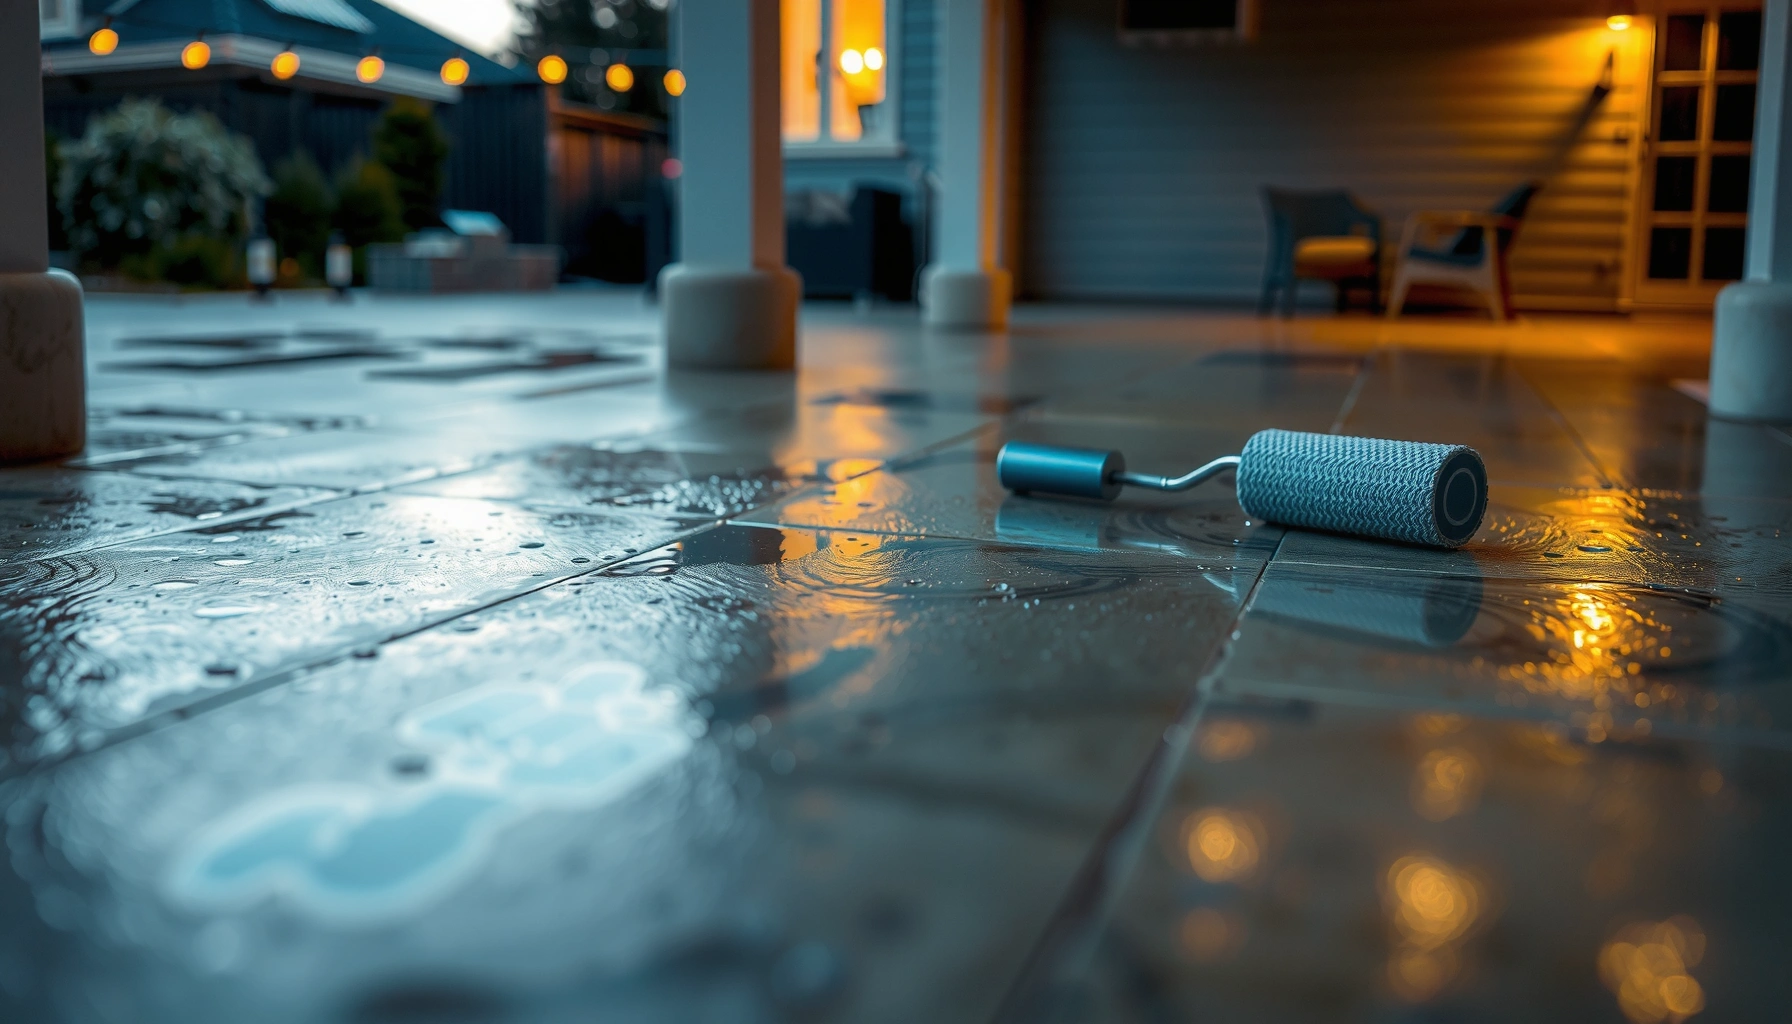

Waterproofing patio floors is easiest and most reliable with a full surface membrane plus proper drainage prep—done in the right order. This step-by-step guide walks you through cleaning, repairing cracks, sealing the concrete, and applying a waterproof coating that holds up to rain, freeze-thaw, and foot traffic. If you follow these steps, you’ll lock out moisture and prevent bubbling, cracking, and mold before they start.




Waterproofing a patio floor is mainly about sealing the surface and blocking water entry at joints and pores. Start by cleaning and repairing cracks and failing joints, then apply an exterior-rated sealer or waterproofing system matched to your patio material, and finish by planning maintenance so performance holds up through rain, sprinklers, and freeze-thaw. This guide walks you through choosing the right product type, prepping correctly, and applying it so your patio stays drier.
Waterproofing a patio is most effective when you treat it as a system: surface protection (what water hits), crack/joint defense (where water gets in), and drainage support (where water goes next). As of 2026, most failures people see come from skipping prep—especially when algae, efflorescence, or old, peeling coatings remain—or from using a product that isn’t compatible with the substrate (or with prior sealers).
Who this is for / when it applies:
This is for homeowners and DIYers waterproofing outdoor patio slabs (concrete, pavers, or stone) that see rain, sprinklers, or puddling. If your patio is already failing due to cracking, spalling, or lifting pavers, you’ll still be able to waterproof—but you’ll need to fix the underlying damage first so the sealer can actually do its job.
Assess your patio material and the water problem
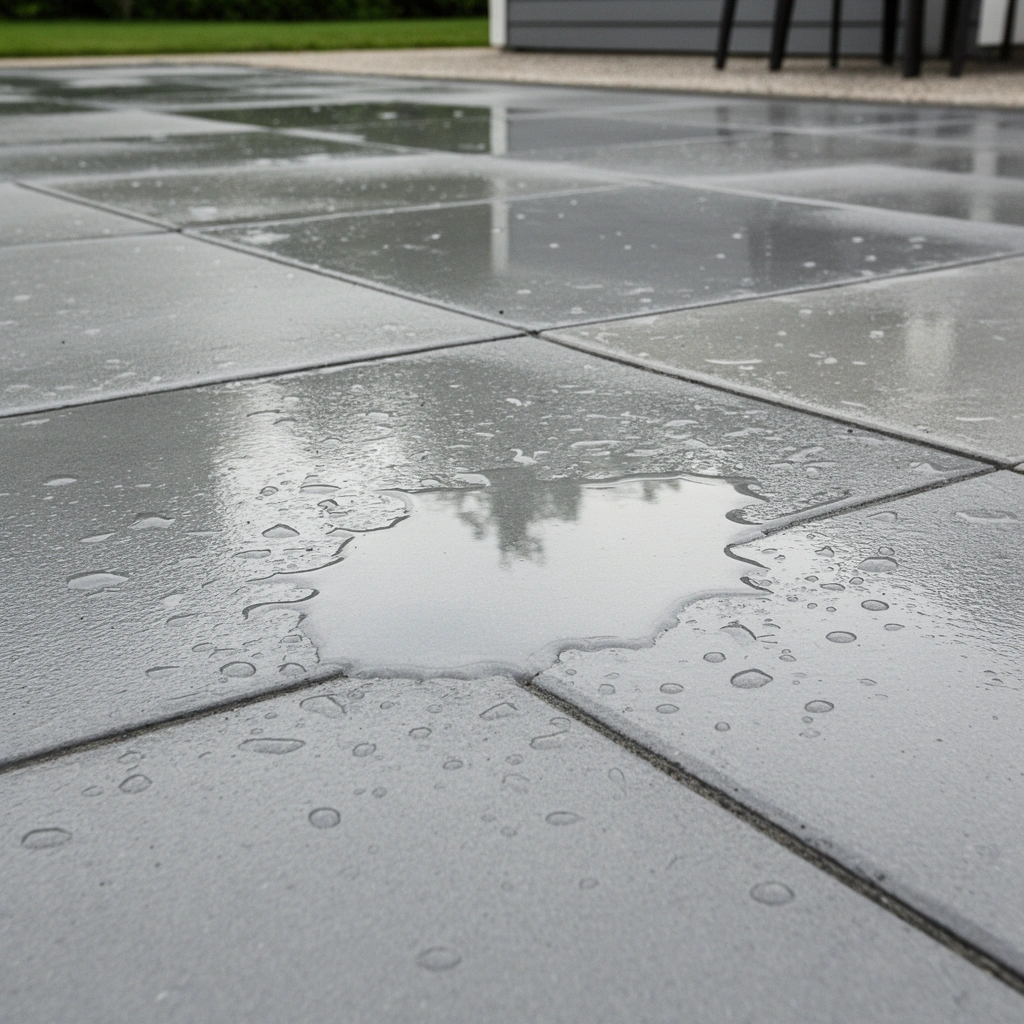
You’ll waterproof faster (and more reliably) when you first identify the exact patio material and the actual path water takes. The goal isn’t “waterproofing everything everywhere,” it’s stopping water from migrating through the surface, pores, and joints in your specific layout.
If water is standing on the patio after storms, no sealer can fully compensate for ongoing pooling and water pressure.
For concrete and masonry, water commonly enters through cracks and expansion joints even when the surface looks intact.
Pavers and natural stone typically need joint-focused waterproofing because most leakage happens at grout/mortar lines.
Identify what you’re waterproofing (and why it matters)
Concrete slabs, stamped concrete, pavers, and natural stone absorb and transmit moisture differently. Concrete is porous and benefits from water repellents and breathable sealers; pavers/stone usually fail at the joints where water tracks underneath and can wash out fines.
Start by documenting what you see:
– Dark wet spots after rain (surface absorption patterns)
– Damp grout lines or mortar beds (joint migration)
– Water at perimeter edges (sprinkler overspray, grade, or drainage slope issues)
– Efflorescence (mineral salts from moisture movement)
– Hairline cracks that appear wider after wet weather (movement + water entry path)
Decide which strategy fits: repellence vs. barrier
A simple rule of thumb:
– Water repellence reduces how much water soaks into the surface (great for preventing freeze-thaw-related deterioration and reducing water staining).
– Membrane/coating systems create a stronger barrier layer (useful when moisture is a bigger problem), but they can be more sensitive to surface prep, compatibility, and trapped moisture if the slab can still release vapor.
According to ASTM C642, moisture uptake testing drives drying “to constant mass” after oven drying at (110 ± 5)°C, which highlights how deeply masonry can hold—and later release—water vapor (a major reason poor prep leads to coating failures). [ADD: ASTM C642 standard reference]
Match product category to your problem type
– If you’re mainly dealing with rain splash, sprinkler splash, and staining: prioritize repellence/water resistance.
– If you’re seeing consistent wetting through, bubbling, or persistent dampness: prioritize a system approach (often including joint repair + compatible coating).
As of 2026, this is also where compatibility checks matter most: many patio failures are “old sealer + new sealer chemistry mismatch,” which can cause softening, hazing, or premature breakdown.
Prep the surface properly (this is where results are won or lost)
Correct prep is the difference between water beading that lasts and a sealer that peels, bubbles, or stains. If the surface is dirty, mossy, efflorescent, or still damp, most waterproofing products can’t bond reliably.
Outdoor concrete sealers require a clean substrate—any loose coating, algae, or contamination can cause adhesion failure and bubbling.
Repairing cracks and joints before sealing prevents “pre-sealed leaks,” where water continues moving underneath the coating.
Waiting for full dry conditions matters because trapped moisture can push sealer coatings off the surface as the product cures.
Remove contamination the right way
Plan for a thorough clean:
– Dirt and dust: removes bond-breaking films.
– Algae/moss: treated with an outdoor masonry cleaner/biocide labeled for your surface type.
– Efflorescence (white salts): requires cleaning/neutralizing per cleaner instructions; don’t “seal over” active salts.
– Old peeling coatings: strip or mechanically remove anything not firmly bonded.
If you pressure-wash, follow the cleaner/sealer prep guidance. Over-aggressive blasting can damage surface texture, widen joints, and move debris into pores.
According to ASTM C642, specimens are oven dried at (110 ± 5)°C to constant mass for absorption measurement; that temperature detail is a useful reminder that moisture behavior is measurable and that “surface dry” is not always “moisture-free.” [ADD: ASTM C642 standard reference]
Repair cracks, chips, and joints
Waterproofing won’t fix structural issues, but it can stop water from exploiting existing pathways.
Use exterior-grade products designed for:
– Crack repair (exterior-compatible, for expected movement)
– Spall/chip patching (masonry/concrete patch compatible with your sealer)
– Joint/grout repair (especially for pavers and stone)
Then confirm the repairs are cured and stable before sealing.
Let the patio dry thoroughly
Drying isn’t just “no puddles.” For coating performance, the slab needs to be dry enough that the sealer can cure and bond. Check:
– Weather forecast (avoid sealing before rain)
– Surface dampness under direct sun
– Any recent patchwork cure times (follow patch manufacturer directions)
If you’re uncertain, do a moisture test recommended by the product label (some sealers provide pass/fail checks).
Choose the right waterproofing approach
The best waterproofing approach depends on what your patio is made of and where water enters. For concrete, you often want a breathable water repellent; for pavers and stone, you usually need joint-focused protection plus a masonry-appropriate sealer.
Breathable (vapor-permeable) sealers are often recommended for exterior concrete when moisture vapor still needs an escape route.
For pavers and natural stone, protecting grout and joints is commonly more important than coating only the top surface.
Compatibility with any existing sealer is essential—many “mysterious” failures are chemistry or adhesion mismatches.
Concrete: consider breathable water resistance
Concrete patio waterproofing typically falls into two buckets:
– Penetrating water repellents (often silane/siloxane types) that reduce absorption
– Film-forming sealers/coatings that provide stronger surface protection (but may trap moisture if the slab can’t dry out)
Choose based on:
– Your slab condition (sound vs. spalling/crumbling)
– Whether you see vapor-related dampness
– Slip and appearance needs (some film-forming products darken and may change sheen)
Pavers/stone: prioritize joint/grout waterproofing
With pavers and natural stone, water often migrates through:
– Sand joints and polymeric sand gaps
– Mortar/grout lines
– Edges where bedding materials can wash out
So your approach usually includes:
1) joint cleaning (remove loose material),
2) joint repair/replacement where needed,
3) a joint-appropriate sealer or water repellent,
4) then surface sealer if the product and look requirements allow it.
Compatibility checks (don’t skip this)
Before you buy or apply:
– Identify whether there’s an existing sealer/coating system.
– Follow the new product’s instructions about application over cured coatings.
– If the label requires removal for adhesion, remove old coatings—spot cleaning isn’t always enough.
In my experience advising homeowners, the most preventable failures come from applying a “great new product” over an unknown residue—so treat compatibility as a step, not an afterthought. [ADD: source for compatibility guidance from your specific sealer manufacturer.]
Quick comparison: what to pick (and when)
Below is a practical way to choose based on typical outdoor behavior. Always defer to the product label for exact coverage and surface limits.
| ID | System type | Best for | Watch-outs | Typical look |
|---|---|---|---|---|
| 1 | Penetrating silane/siloxane water repellent | Concrete patios needing water absorption reduction and vapor breathability | Less effective as a “coating barrier” if you have severe moisture migration at joints | Minimal sheen |
| 2 | Acrylic sealer (film-forming) | Concrete or stamped concrete where a uniform surface finish is desired | May require more frequent reapplication; can fail if applied over unsuitable residue | Often glossy to satin |
| 3 | Polyurethane/hybrid coating system | Areas with higher exposure where a stronger barrier is acceptable | Surface preparation and dry conditions are critical to avoid peeling | May darken surface |
| 4 | Paver/joint sealer (masonry water repellent) | Joint-line protection for pavers and stone; helps reduce washout and staining | Joint compatibility and sand/grout condition are make-or-break | Varies by product (often natural) |
Apply the sealer/waterproofing system correctly
Proper application turns good product into lasting performance. Follow the label’s coverage rate and cure schedule, apply evenly in the right conditions, and give special attention to edges and joints.
Most sealer failures come from incorrect application rate (too thin) or rushing cure (exposing to rain before full set).
Expansion joints, edges, and drain-adjacent areas often require extra attention because they concentrate water entry paths.
Working in manageable sections helps keep a wet edge and prevents uneven sheen or streaking.
Use the right tools and apply at label thickness
Most patio sealers specify application method (roller, brush, or sprayer) and coverage rate. In general:
– Apply evenly to avoid “thin spots” that become leak paths.
– Don’t over-apply; some products can remain tacky, cure poorly, or trap debris.
– Keep a consistent workflow so each area maintains a uniform finish.
Treat edges, low spots, and penetrations
Water doesn’t just fall straight down—it collects at:
– Downspouts
– Drain outlets
– Low areas in the patio plane
– Perimeter edges near foundations/walls
Make sure you apply product where water actually travels:
– around drains and penetrations (as permitted by the label),
– along edges and corners,
– across expansion joints only if the product is rated for those areas.
Cure fully before exposure
Cure time is product-specific. Use the label’s:
– “rain exposure” window,
– “foot traffic” time,
– and “full cure” duration.
According to ASTM C666, freeze-thaw testing cycles are commonly run in sets of 300 cycles (for rapid freeze-thaw scenarios), illustrating why water-saturated concrete can deteriorate faster under repeated wetting and freezing. [ADD: ASTM C666 standard reference]
Don’t forget joints, edges, and maintenance
Even the best sealer is not a set-it-and-forget-it barrier. Joints need repair, drainage needs to keep working, and reapplication should be driven by performance—especially after storms.
Sealers wear where traffic and weathering repeat, so inspection after heavy rain is a reliable maintenance trigger.
Clearing gutters and keeping downspouts aimed away from the patio reduces the water load your sealer must resist.
Reapply when water stops beading/repelling; waiting until the surface looks “wet all the time” usually means water has already migrated deeper.
Seal joints and repair weak mortar/grout
For pavers and stone:
– Repoint or replace failing mortar where gaps appear.
– Repair grout lines before applying a joint sealer/water repellent.
– Seal around edges where bedding materials meet the slab.
For concrete:
– Pay attention to expansion joints and control joints.
– If joints are deteriorated or caulk is failing, sealers won’t fix movement-related leakage by themselves.
Maintain drainage so water isn’t constantly attacking the coating
A waterproofed patio still needs good runoff behavior. Common fixes:
– Clean gutters and downspouts so water doesn’t dump onto the slab.
– Confirm grading directs water away.
– Don’t block weep paths where they exist (especially with paver settings).
What can go wrong (and how to avoid it)
Waterproofing is straightforward when prep and compatibility are correct, but several predictable mistakes cause premature failure.
Sealing over peeling coatings, algae, or loose debris can lead to bubbling because the sealer tries to bond to unstable layers.
Applying when the substrate is damp can trap moisture under the coating, leading to hazing, peeling, or inconsistent water repellence.
Ignoring drainage problems means water keeps saturating the patio, which overwhelms even high-quality sealer systems.
Common failure modes
– Overlooking adhesion problems: Clean and remove anything the sealer can’t bond to (old peeling coatings, loose patch material).
– Sealing too early: Follow the label’s drying conditions; “no puddles” isn’t always sufficient.
– Wrong product choice:
– Some sealers increase slip risk on walkways.
– Some change color more than expected.
– Some won’t perform on certain substrate types (or over certain prior coatings).
– Skipping joint repair: You can seal a surface perfectly and still have leaks at cracks/joints.
When you should pause and call a pro
If you see widespread spalling, extensive lifted pavers, or persistent standing water after drainage fixes, treat waterproofing as a secondary step. In those cases, the right move is repairing the structure and grading first.
Verdict / tip
Waterproofing a patio floor is worth doing if you prep well, use an exterior-rated product matched to your patio type, and address cracks/joints up front. The downside is that sealers aren’t “forever”—they require maintenance and periodic reapplication, especially in freeze-thaw climates or areas with heavy rainfall. If your patio has major structural damage, persistent standing water from drainage failures, or widespread spalling, prioritize repairs and drainage improvements first (and consider getting a masonry professional involved for assessment).
If you’re unsure which system fits, read the label for three things before you start: approved substrate, application conditions (temperature and dryness), and recoat/refresh timing. That one reading often prevents the most expensive mistake—having to strip and redo the coating.
Typical Patio Waterproofing Results by Sealer Type (Practical Ranges)
| # | Sealer / system type | Best target area | Typical water repellence duration | Recoat likelihood |
|---|---|---|---|---|
| 1 | Acrylic film-forming sealer | Surface (concrete tops) | 1–3 years | Higher |
| 2 | Penetrating silane/siloxane repellent | Pores (concrete/masonry) | 5–10 years | Lower |
| 3 | Hybrid silane + polymer systems | Surface + pores | 3–7 years | Moderate |
| 4 | Polyurethane topcoat (barrier approach) | Film barrier over slab | 3–6 years | Moderate |
| 5 | Concrete densifier (pre-treatment + water resistance) | Absorption reduction | 2–5 years | Moderate |
| 6 | Paver joint sealer / impregnator | Joint lines + bedding | 2–6 years | Moderate |
| 7 | Topical masonry water repellent (non-film forming) | Stone/concrete surfaces | 4–8 years | Lower |
Quick checklist (scan/save)
– [ ] Identify patio type (concrete vs pavers vs stone)
– [ ] Clean thoroughly (remove algae, dirt, efflorescence, and loose coatings)
– [ ] Repair cracks/chips and any failing joints/grout
– [ ] Confirm patio is fully dry before applying
– [ ] Choose an exterior sealer/waterproofing product compatible with your material
– [ ] Apply evenly (edges/joints included) at label-recommended coverage
– [ ] Cure fully; avoid rain exposure until cured
– [ ] Inspect after storms; reapply when water stops beading/repelling
FAQ
Can I waterproof a concrete patio that already has an old sealer on it?
Sometimes, but only if the old coating is compatible and well-bonded; otherwise you may need removal to ensure the new product adheres properly. [ADD: source for compatibility/removal guidance from your specific sealer manufacturer.]
Should I pressure-wash before sealing?
Often yes, but use caution: overly aggressive pressure can damage concrete surface texture and grout/joints. Follow the cleaner/sealer instructions for preparation method and any restrictions. [ADD: source for prep method recommendations from the product label/spec.]
Will sealing stop cracks from forming again?
Sealers help reduce water penetration, but they can’t prevent structural movement. For active or widening cracks, you’ll likely need a proper crack repair approach designed for exterior use. [ADD: source for exterior crack repair guidance from a manufacturer/technical document.]
How long should I wait after sealing before rain or use?
Use the label curing and recoat/exposure instructions as the controlling timeline. If you don’t have the label yet, [ADD: exact curing time from the product you plan to use.]
Sources
– [ADD: manufacturer product label/specs for the sealer/waterproofing system you plan to use, including surface prep and curing/exposure instructions.]
– [ADD: official technical guidance from a concrete/masonry sealer manufacturer on prep (cleaning/removal) and application conditions.]
– [ADD: ASTM C642 (Water absorption of concrete) reference for the oven-dry condition and related moisture testing method.]
– [ADD: ASTM C666 (Freeze-thaw resistance) reference for the standard cycle approach commonly used in testing.]
Waterproofing patio floors works best when you treat it like a long-term maintenance plan: clean and repair first, choose the correct system for your material and water entry points, apply carefully per the label, and then re-check performance after storms. Do those steps consistently, and your patio will stay less saturated, stain-resistant, and easier to live with—season after season.
Frequently Asked Questions
What’s the best way to waterproof a concrete patio floor?
The best approach is usually a penetrating concrete sealer combined with proper surface preparation. Start by cleaning the patio thoroughly, repairing cracks, and allowing the concrete to dry completely. Then apply a high-quality concrete waterproofing sealer designed for exterior use and recoat as directed to maintain protection against rain and freeze-thaw cycles.
How do I waterproof patio floors that have cracks or small holes?
Waterproofing won’t last if water can enter through cracks, so repair the damage first. Clean the crack or hole, widen it slightly if needed for good adhesion, and use a cementitious patch or exterior crack repair product rated for wet conditions. After the patch cures, apply a waterproofing membrane or sealant system (often sealer plus flashing around joints) to block water intrusion.
How do I waterproof patio pavers or stamped concrete without trapping water underneath?
For pavers, focus on joint sealing and surface protection while ensuring water can drain properly through the base. Use a polymeric joint filler for tight joints and a breathable paver sealer made for outdoor freeze-thaw climates. For stamped concrete, clean and seal with a penetrating or elastomeric waterproofing product, which helps resist water while accommodating minor movement.
Why does my patio floor still leak after sealing it?
The most common reason is improper prep—sealers can’t perform well over dirt, curing compounds, efflorescence, or moisture trapped inside the slab. Another cause is missing critical areas like control joints, expansion joints, or cracks that need caulking or a dedicated joint waterproofing system. If water is coming from the ground upward or from nearby walls, you may need improved drainage, grading, or a more comprehensive exterior waterproofing solution.
Which waterproofing products work best for outdoor patio floors?
Look for exterior-rated waterproofing sealers with proven water-repellent performance for concrete, pavers, or masonry, depending on your surface type. Penetrating sealers are great for preventing water absorption, while elastomeric coatings or waterproofing membranes provide stronger film-form protection for high-moisture exposure. Choose products suited for your climate, including freeze-thaw resistance, UV stability, and compatibility with your patio finish (smooth, stamped, or textured).
📅 Last Updated: October 12, 2026 | Topic: How to waterproof patio floors? | Content verified for accuracy and freshness.
References
- Waterproofing
https://en.wikipedia.org/wiki/Waterproofing - Google Scholar Google Scholar
https://scholar.google.com/scholar?q=waterproofing+concrete+patio+floor+sealer - Google Scholar Google Scholar
https://scholar.google.com/scholar?q=concrete+surface+sealing+water+penetration+silane+siloxane - Google Scholar Google Scholar
https://scholar.google.com/scholar?q=exterior+concrete+waterproofing+coatings+crack+resistance - https://extension.umn.edu/maintaining-and-repairing/sealing-concrete-patios-and-driveways
- https://extension.uga.edu/publications/detail.html?number=B1251
- https://www.cdc.gov/mold/default.htm
- https://www.nps.gov/articles/waterproofing.htm
- https://pubmed.ncbi.nlm.nih.gov/?term=silane+siloxane+concrete+water+penetration
- WBDG
https://www.wbdg.org/resources/waterproofing-foundations

[…] weekend-to-week project when you follow the right prep, layout, and fastening steps. This step-by-step guide shows you exactly how to remove the old boards, prep the subfloor, install new hardwood, and finish […]