
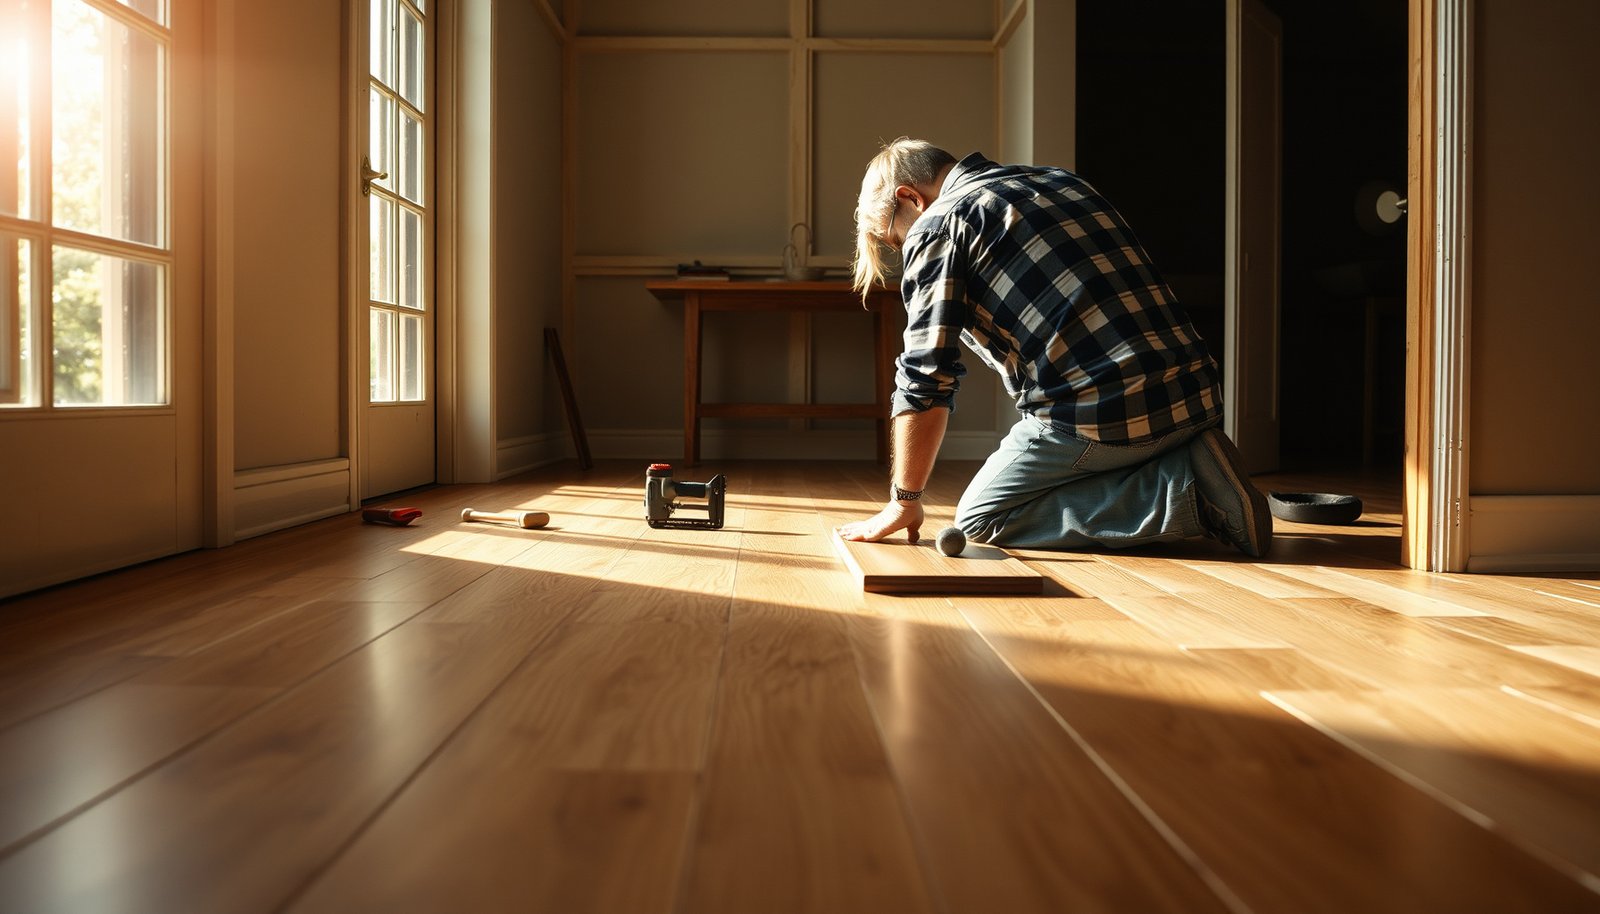

Replacing hardwood floors in a dining room is a straightforward weekend-to-week project when you follow the right prep, layout, and fastening steps. This step-by-step guide shows you exactly how to remove the old boards, prep the subfloor, install new hardwood, and finish for a durable, dining-ready surface. If you want the fastest path to a clean install with fewer mistakes, start here.




If your dining room hardwood floors are damaged, the reliable path is to remove the affected boards (or the full run, if needed), prep the subfloor, then install new hardwood using the correct fastening method for your floor type. Start by checking subfloor condition and acclimating the new planks so you don’t trap moisture or create gaps—this step-by-step guide walks you through the process end to end.
If you’re replacing a few boards or doing a full dining room section, this is for you—especially if you want a clean, professional-looking result without guessing at underlayment, fastening, or finishing. It’s also useful when you’re deciding whether the damage is localized or if the subfloor needs repair first.
Assess damage and plan the replacement area
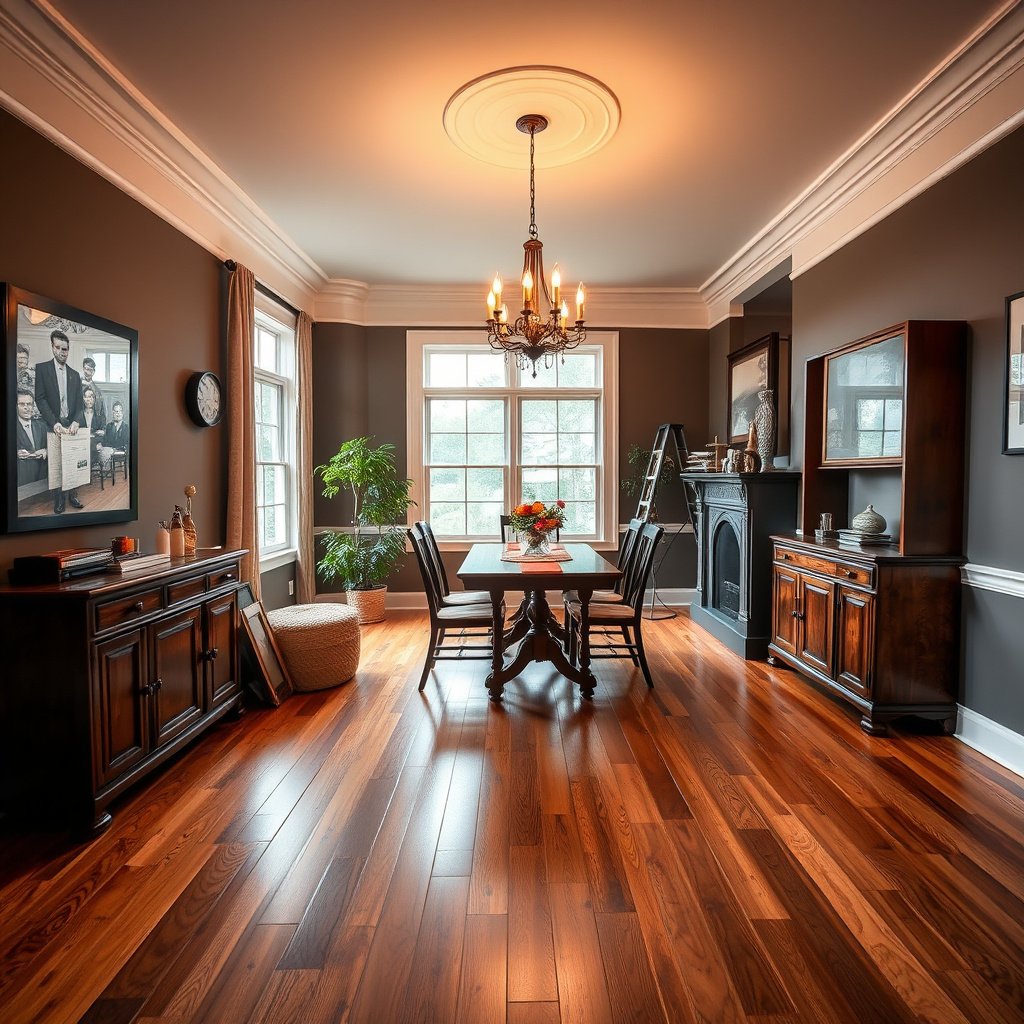
Start by confirming what’s failing (not just what you can see), because the right replacement plan depends on whether the problem is surface wear, board-level failure, or subfloor moisture. In other words, “replacing hardwood” is easy only after you know whether the subfloor is still safe for a new installation.
Replacing hardwood in a dining room works best when you verify whether the issue is board wear or a moisture/subfloor problem beneath the planks.
Before removing any boards, map the damaged area so your cut lines fall on stable board runs and transitions that you can finish cleanly.
– Identify what’s actually failing: surface wear, loose boards, cupping, gaps, or water damage that may be affecting the subfloor.
– Surface wear (scratches, dull finish) typically doesn’t require replacing boards—often refinish/spot repair is enough.
– Loose boards and gapping often point to fastening issues, subfloor movement, or seasonal expansion problems.
– Cupping (edges higher than center) is commonly tied to moisture imbalance or vapor transmission issues.
– Water stains/darkening are a red flag for subfloor moisture damage—don’t assume it’s cosmetic.
– Decide whether you’re replacing only sections or the whole dining room run based on how far the problem extends and how consistent the floor thickness/finish needs to be.
– If the damage is limited to a defined area (for example, a leak path from a table or a chair wheel zone), partial replacement can be a clean solution.
– If you see multiple affected rows, uneven tone/finish differences from aging, or suspected subfloor moisture beyond the visible boards, full-run replacement is usually cleaner.
– Measure square footage and layout (including board direction around the dining room) so you can estimate plank count and waste.
– Measure in actual board-direction (strip direction matters for estimating how many planks you need).
– Add realistic waste for cutting around posts, doorways, and heat/register locations. If you don’t have a known waste factor from your flooring vendor, plan on an additional buffer for layout complexity (especially in dining rooms with multiple doorways).
Remove old hardwood flooring safely
Remove hardwood carefully to protect the subfloor and preserve the lines you’ll use for tight seams and transitions. The most “invisible” repairs happen when you get clean edges and don’t gouge the underlayment or subfloor.
Clean removal is critical: damaged subfloor edges force patching later and can create permanent gaps at the seam.
Document board orientation before removal—direction changes can make matching and fastening much harder during a dining room repair.
– Protect nearby surfaces (trim, adjacent flooring edges, and furniture paths) and remove shoe molding/baseboards if they block proper transitions.
– If you’re planning to reinstall baseboards, keep fasteners organized and label pieces.
– Protect door thresholds and adjacent flooring edges so transitions don’t get chipped.
– Carefully pull boards (or underlayment/staples/nails) without damaging the subfloor—clean edges matter for tight seams and transitions.
– Use the right extraction method for your installation:
– Nail-down solid/engineered wood: pry in a way that avoids digging into the subfloor.
– Glue-down engineered wood: many boards release cleanly only after targeted heat/solvent strategies (follow the adhesive-removal guidance from the flooring/adhesive manufacturer).
– Vacuum debris as you go—dust hides flatness issues later.
– Take photos and note board orientation for easier reinstall planning and troubleshooting if the dining room has tricky layouts.
– Mark which side was against the wall (important for expansion gap positioning).
– If there’s a consistent grain direction pattern, record it—matching the visual flow reduces “patchy” appearance.
Inspect and prep the subfloor
Prep is where most hardwood replacements succeed or fail—because even premium planks can separate, squeak, or cup if the subfloor isn’t stable and flat. Start by checking flatness and moisture risk before you buy another box of flooring.
New hardwood needs a flat, sound subfloor; NWFA flatness guidance commonly references limits around 3/16 in over 10 ft when installing wood flooring.
Moisture problems under hardwood rarely stay “under” the floor—fixing vapor and moisture conditions before installation prevents recurring cupping and joint gaps.
– Check for flatness, squeaks, and moisture-related issues; replace rotten material and fix loose subfloor sections before new hardwood goes down.
– Flatness check: Use a straightedge (or laser + straightedge approach) and measure dips/ridges over the area you’re installing.
– Squeaks: Screws into joists or additional blocking/fasteners are typically required before flooring goes back down—otherwise the squeak telegraphs through seams over time.
– Moisture signs: Soft spots, bubbling, odor, or dark staining suggest you should stop and correct the source.
– Clean thoroughly and address high/low spots so your new planks don’t flex or separate at seams.
– Remove remaining fasteners (nails/staples) flush with the subfloor surface.
– Sand high spots; replace or patch low/soft areas with the approved materials for your subfloor type.
– If your flooring system requires a specific underlayment or moisture barrier, confirm you’re using the right one for the product you bought.
– Don’t assume “any underlayment will work.” Wood flooring often depends on a specific underlayment thickness, vapor retarder class, or stapling/nailing compatibility.
Subfloor Flatness Scenarios for Hardwood Replacement (NWFA flatness guidance reference)
| # | Flatness check outcome | Straightedge result (10 ft) | Typical installation risk | Confidence score |
|---|---|---|---|---|
| 1 | Meets common wood-floor flatness limit | ≤ 3/16 in | Low | ★★★★★ |
| 2 | Slightly out of limit | 3/16–1/4 in | Moderate | ★★★★☆ |
| 3 | Out of limit enough to flex planks | 1/4–5/16 in | Elevated | ★★☆☆☆ |
| 4 | High ridges/dips likely at seams | 5/16–3/8 in | High | ★☆☆☆☆ |
| 5 | Severe flatness failure | > 3/8 in | Very high | ★☆☆☆☆ |
| 6 | Soft/rotted areas or delamination | Localized failure | Very high | ★☆☆☆☆ |
| 7 | Flat but squeaky/loose subfloor | Flat within tolerance | Moderate (movement) | ★★★☆☆ |
Note: This table uses the commonly referenced wood-flooring flatness target around 3/16 in over 10 ft from NWFA installation guidance, then translates it into practical risk tiers for a dining room hardwood replacement. For your exact product, follow its subfloor-flatness tolerances. (See: National Wood Flooring Association (NWFA) Wood Flooring Installation Guidelines)
– As part of moisture risk control, consider verifying subfloor and subfloor vapor conditions with a recognized measurement method (for concrete, many installers reference in-situ RH probing methods such as ASTM F2170). (See: ASTM F2170 / ASTM standards for in-situ RH testing)
– According to NWFA wood flooring installation guidance, flatness tolerance is commonly stated as 3/16 in over 10 ft for wood flooring installations (NWFA Wood Flooring Installation Guidelines, revision year depends on edition).
– According to NWFA wood-flooring guidance, expansion space at walls is commonly managed by maintaining an expansion gap (often starting around 1/2 in depending on board width and flooring system) (NWFA Wood Flooring Installation Guidelines).
> If you need exact product rules, rely on the hardwood manufacturer’s installation document rather than generic ranges.
Acclimate, install, and maintain correct spacing
Acclimation and correct installation method are what keep your replacement from turning into a repeat job. For a hardwood floor replacement in a dining room, this means acclimating the planks, using the required fastening system, and maintaining expansion gaps where the wood must move.
Hardwood acclimation prevents moisture-content shock—your goal is to bring planks into equilibrium with the home’s indoor conditions before fastening.
Expansion gaps are not “cosmetic gaps”; they’re how hardwood movement is controlled so the floor doesn’t buckle against walls or posts.
– Acclimate the hardwood to the dining room environment per the manufacturer’s instructions before installation.
– Plan acclimation so the planks, adhesive (if required), and the room conditions all stabilize together.
– If your dining room has large glass panels, dining season heating/cooling cycling can change humidity—so follow the schedule from the manufacturer’s specs.
– Install with the correct method (nail-down, glue-down, or floating) for your specific product type, including expansion gap rules along walls and fixed posts.
– Nail-down: uses nails/cleats and requires a compatible subfloor and nail pattern.
– Glue-down: requires the approved adhesive and often stricter substrate prep and moisture-vapor control.
– Floating: uses click/lock or similar systems and depends on underlayment, vapor control (as required), and correct edge gaps.
– Keep rows straight and use spacers/jigs as recommended so seams line up and the final row doesn’t create an awkward narrow strip.
– Do dry layout first: measure how many full rows you’ll get and where you’ll start.
– Avoid pinning the last row too tight—over-restricting expansion can cause buckling as humidity rises. In my experience with hardwood repairs, the most common “looks fine for a week” failure is missing (or later getting covered) expansion space during trim/baseboard reinstall.
Nail-down vs glue-down vs floating: which method fits your replacement?
| Feature | Nail-down (solid/approved engineered) | Glue-down (approved engineered) | Floating (click/lock) |
|---|---|---|---|
| Best for dining room replacement | Stable, direct fastener feel | When you need adhesive bond system | When you want a non-nailed method |
| Subfloor flatness sensitivity | High | Very high | Medium to high |
| Moisture-vapor control | Required by specs | Required by adhesive/specs | Often required by system |
| Movement handling | Uses expansion gap | Uses expansion gap and adhesive limits | Uses edge gaps + underlayment |
| Row straightness | Critical for tight seams | Critical to prevent misalignment | Critical for click-lock engagement |
| Squeak risk if subfloor is loose | High if subfloor isn’t secured | Reduced but not eliminated | Possible if underlayment/subfloor flexes |
| Repairability (future boards) | Typically easier in patches | May be harder due to adhesive | Can be easier with plank-level access |
| Installation timing | Fast once layout is set | Slower due to adhesive dwell/time | Often quickest for DIY |
| Common failure causes | Improper fasteners, missing vapor control | Moisture + adhesive incompatibility | Wrong underlayment / blocked expansion |
| Best For | Traditional nail-down wood floor replacement | Engineered systems made for glue-down | Floating systems with required underlayment |
Finish transitions, trim, and protect the floor
Finish transitions and trim only after the new hardwood is set level and secure, because it affects how the expansion gap is handled visually and functionally. Also protect the surface during the rest of your dining room work so you don’t undo your progress with scratches.
Transitions and baseboards must not block expansion space—trim should be installed in a way that maintains the floor’s movement allowance.
Finish steps depend on whether your hardwood is prefinished or site-finished; applying the wrong finish sequence can dull sheen or trap moisture.
– Plan transitions at doorways and between rooms so the dining room has consistent height and proper movement allowance—use the correct reducer/transition piece where needed.
– If you’re tying into tile, carpet, or a different wood height, you’ll need a transition that matches finished height and movement needs.
– Reinstall or replace baseboards/shoe molding after the floor is set and leveled, ensuring you don’t cover the expansion gap requirement.
– In many installs, baseboards are installed over the expansion gap, while the gap remains intact below the trim line.
– Follow your specific product’s instruction for how the gap should be presented.
– Protect the new surface from grit and dents during the remaining project work, then apply finish only if the product requires it (pre-finished vs. site-finished varies).
– Use breathable coverings; avoid sealing-in dust under plastic that can trap moisture.
What can go wrong (and how to avoid it)
Most replacement problems trace back to moisture imbalance, subfloor flatness, incorrect fastening, or blocked expansion. Fix these inputs first, and you avoid the most common “it looked great for a month” outcomes in dining room hardwood replacements.
Moisture under a new hardwood floor often starts as cupping or joint gapping; the only prevention is correct vapor control and subfloor readiness.
Skipping expansion space is one of the fastest routes to buckling, especially in rooms with strong seasonal humidity swings.
– Moisture trapped under the new floor: Skipping the required moisture barrier/underlayment for your climate or subfloor type can lead to cupping or mold. If you’re unsure, verify product requirements.
– For concrete slabs, installers often reference recognized in-situ moisture test methods (e.g., ASTM F2170) rather than guessing.
– Subfloor not flat enough: Even small dips or ridges can cause gaps at seams or squeaks—use flatness checks before installing.
– NWFA-type guidance commonly references limits like 3/16 in over 10 ft as a practical target for wood flooring installations. (NWFA Wood Flooring Installation Guidelines)
– Wrong fastening/technique: Using the wrong installation method (or incorrect nailing patterns) can loosen boards over time.
– Fasteners must match product specifications (nail/cleat type, length, and spacing).
– No expansion space: Removing wall gaps “to make it look tighter” is a common mistake that can cause buckling when the dining room humidity changes.
– This is especially noticeable after HVAC seasonal changes; it’s preventable by leaving the gap required by the manufacturer.
Nail-down vs glue-down: which choice breaks less often?
| Criteria | Nail-down replacement | Glue-down replacement |
|---|---|---|
| Compatibility | Solid/approved engineered only | Engineered with approved adhesive system |
| Fastener/substrate dependence | Critical nailing into sound subfloor | Critical adhesive bond conditions |
| Moisture sensitivity | High without correct vapor control | Very high if slab moisture/adhesive specs aren’t met |
| Subfloor flatness need | High | Very high (adhesive can telegraph voids) |
| Underlayment/vapor layer | Per product spec | Per product + adhesive system spec |
| DIY friendliness | Moderate (tools + pattern required) | Lower (adhesive timing + coverage control) |
| Future spot repairs | Often easier at board level | Often harder due to adhesive bond |
| Common failure mode | Loose fasteners, subfloor movement | Adhesive failure from moisture/vapor mismatch |
| Sound behavior | Can squeak if subfloor isn’t secured | Can reduce squeaks, but doesn’t fix loose subfloors |
| Best fit for dining rooms | When you want predictable, fastened seams | When the engineered product + slab conditions are proven |
| Verdict | Choose nail-down when your subfloor is known-good and flat. | Choose glue-down only when moisture testing and adhesive specs are verified. |
Verdict: When DIY replacement makes sense (and when it doesn’t)
DIY hardwood replacement in a dining room makes sense when the damage is localized, the subfloor is solid, and your hardwood’s install instructions are straightforward for the method you’re using. Skip DIY (or plan on a flooring pro) when you suspect hidden subfloor moisture damage, structural issues, or when the install tolerances are too tight for your current preparation tools—especially as of 2026, when product systems increasingly depend on exact vapor-control assemblies.
DIY is most successful when you can control the full chain: removal → subfloor repair → correct vapor/underlayment → correct fastening method.
If you see evidence of subfloor water intrusion, the flooring may be the symptom, not the cause—pro-level diagnosis is often the cheaper route.
If your subfloor is solid, the damage is limited, and your hardwood type has a straightforward install method, DIY replacement in a dining room can be very achievable—especially for smaller areas and straight layouts. That said, skip DIY (or bring in a flooring pro) if you find widespread subfloor rot/mold, significant structural moisture issues, or you’re working with a complex install plan and the manufacturer requires precision tolerances you can’t confidently verify. In those cases, the cost of “doing it twice” usually outweighs hiring help. sq ft” only if you have a real rule from your team/contractor]
Quick checklist to save (scan before you start)
– ☐ Confirm hardwood type + correct install method (nail-down/glue-down/floating)
– ☐ Measure square footage + add waste ()
– ☐ Inspect subfloor flatness + fix loose/soft spots before installing
– ☐ Use required underlayment/moisture barrier per product specs
– ☐ Acclimate planks before installation ()
– ☐ Maintain expansion gap at walls and fixed points
– ☐ Install transitions/reducers correctly at doorways and room edges
– ☐ Protect finish during the rest of the project
If you only remember one thing for dining room hardwood replacement, remember this checklist: method, moisture/vapor, and flatness.
When your replacement stays quiet and tight months later, it’s usually because the subfloor and moisture setup were correct—not because the planks were expensive.
Sources
– National Wood Flooring Association (NWFA). Wood Flooring Installation Guidelines (for wood flooring flatness targets and expansion guidance).
– ASTM F2170. Standard Test Method for Field Measurement of Taped Relative Humidity (RH) Within Concrete Floor Slabs Using in situ Probes.
Replacing hardwood floors in a dining room is most successful when you treat it like a system—boards, subfloor flatness, vapor control, fastening method, and expansion behavior all work together. If you follow the process above and only deviate where your specific hardwood manufacturer’s instructions explicitly allow it, you’ll get a replacement that looks professional and performs reliably through seasonal humidity swings (as of 2026 and beyond).
Frequently Asked Questions
What’s the best way to replace hardwood floors in a dining room without disrupting everyday use?
Start by planning the project around furniture traffic—move dining furniture to another room and protect surrounding areas with plastic sheeting and drop cloths. If you’re replacing a section, consider doing it in phases so you can keep a functional space while the hardwood floor acclimates and the finish cures. Scheduling installation on dry, moderate-humidity days helps the wood lay flat and reduces the risk of gaps in your new hardwood flooring.
How do I know whether I should remove the existing hardwood or install new planks over it?
The right approach depends on the condition of the current floor: if it’s warped, badly cupped, loose, or uneven, removal is usually necessary for a stable hardwood floor installation. For intact, properly attached boards and a flat subfloor, you may be able to install new flooring over it, but thickness and height transitions must be checked to avoid door clearance issues. A quick flatness test with a straightedge (and checking for squeaks) will guide whether sanding, repair, or full removal is needed.
Why is acclimating new hardwood planks important for dining room flooring replacement?
Hardwood can expand or contract as moisture levels change, which is common in dining rooms with seasonal humidity swings or near heating/AC vents. Proper acclimation allows the planks to reach the room’s temperature and relative humidity so you reduce problems like buckling, shrinking gaps, and joint separation. This step is especially important when replacing hardwood floors over multiple days or when using prefinished vs. unfinished hardwood flooring.
Which hardwood replacement method is best—nail-down, glue-down, or floating—in a dining room?
Nail-down installation is a common choice for many solid hardwood floors when you have a suitable subfloor, offering strong stability and a classic feel. Glue-down methods can work well in certain slab or subfloor conditions, providing firm adhesion and minimizing movement, but require the right moisture testing and adhesive system. Floating engineered hardwood floors are often easier to install and can tolerate minor subfloor irregularities better, making them a practical option for many dining room remodels—especially if you want a faster, less invasive replacement.
What should I look for in matching and finishing new hardwood floors to existing dining room flooring?
For a seamless look, choose hardwood species, plank width, thickness, and finish level that closely match the existing floor, and verify whether stain tones will blend naturally. If you’re replacing a large area, consider refinishing the entire dining room floor to unify color and sheen rather than relying on spot-staining. Before final finishing, ensure the subfloor is properly prepared, transitions at doorways and adjacent rooms are smooth, and the finish cure time is respected so your dining room hardwood floor is durable for daily use.
📅 Last Updated: October 16, 2026 | Topic: How to replace hardwood floors in a dining room? | Content verified for accuracy and freshness.


