
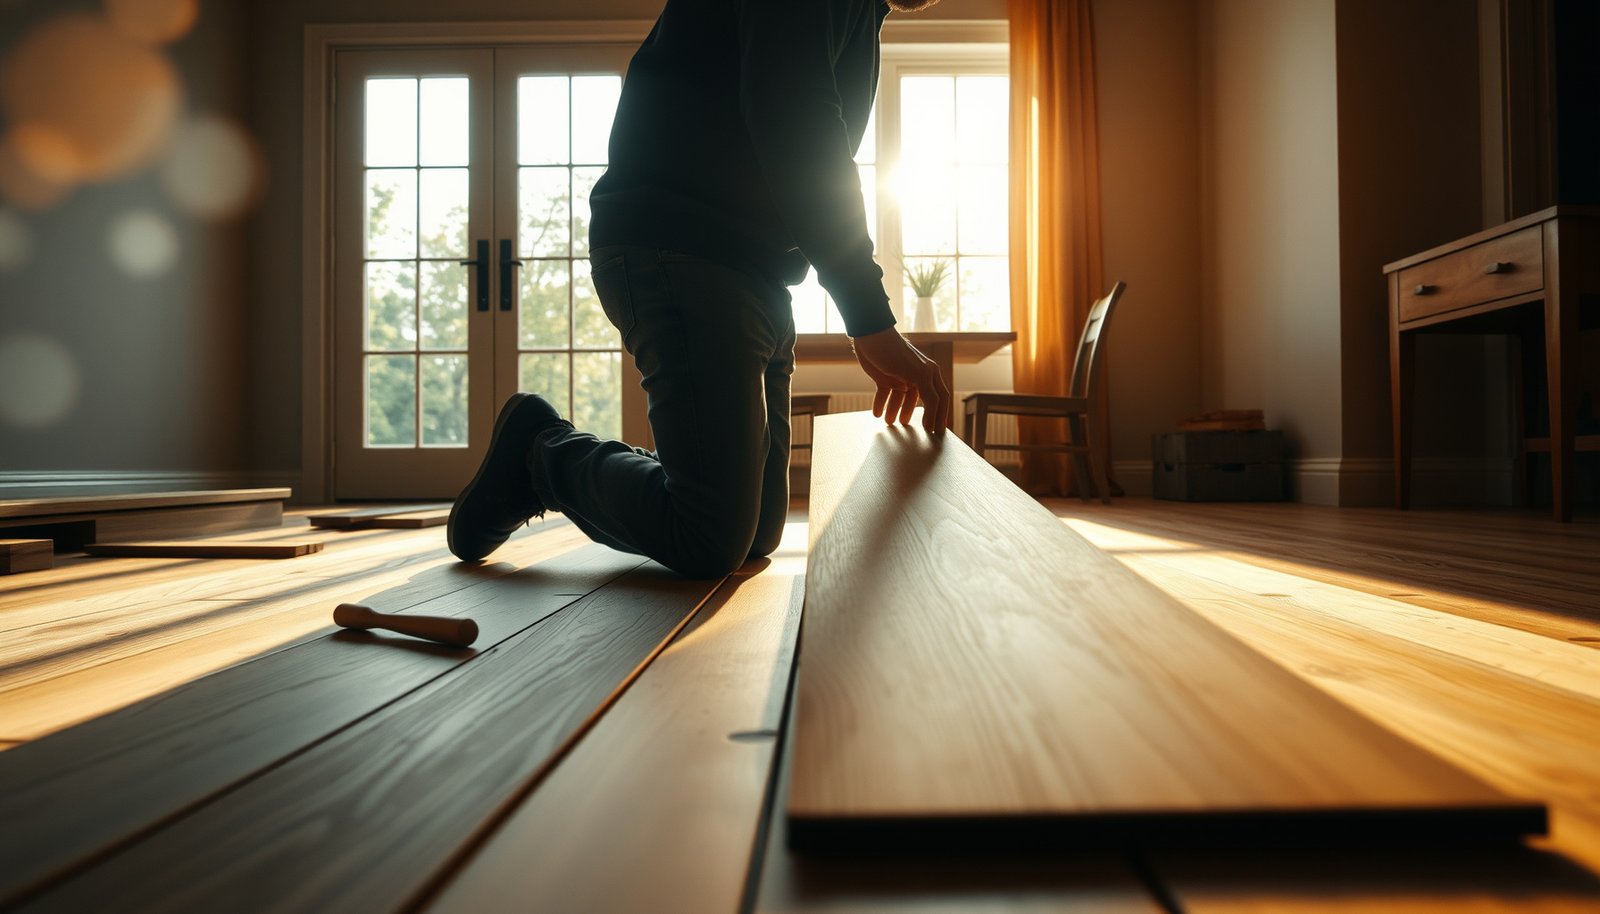

Hardwood floors are the dining-room upgrade that holds up best to daily traffic and spills while adding long-term value. If you want the fastest path to a clean, professional finish, follow the proven step-by-step method for installing hardwood in a dining room—from subfloor prep and layout to nailing/gluing and final sanding and sealing. Get the exact process and the few critical choices that decide whether your floors look great for years or fall short.




Install hardwood flooring in a dining room by preparing the subfloor correctly, choosing the right installation method for your specific product (nail-down, glue-down, or click-lock), and controlling temperature/humidity during acclimation. If you follow the manufacturer’s nailing/gluing/locking instructions and confirm subfloor flatness before you start, your dining room floor will go on smoother—and stay looking better longer.
This guide is for homeowners tackling a dining room floor upgrade (or a first-time DIY) and for anyone replacing existing flooring where the room is regularly used. It’s especially helpful if you’re deciding how to handle transitions, underlayment, and baseboard/shoe molding around dining room walls.
Plan the layout and choose the install method
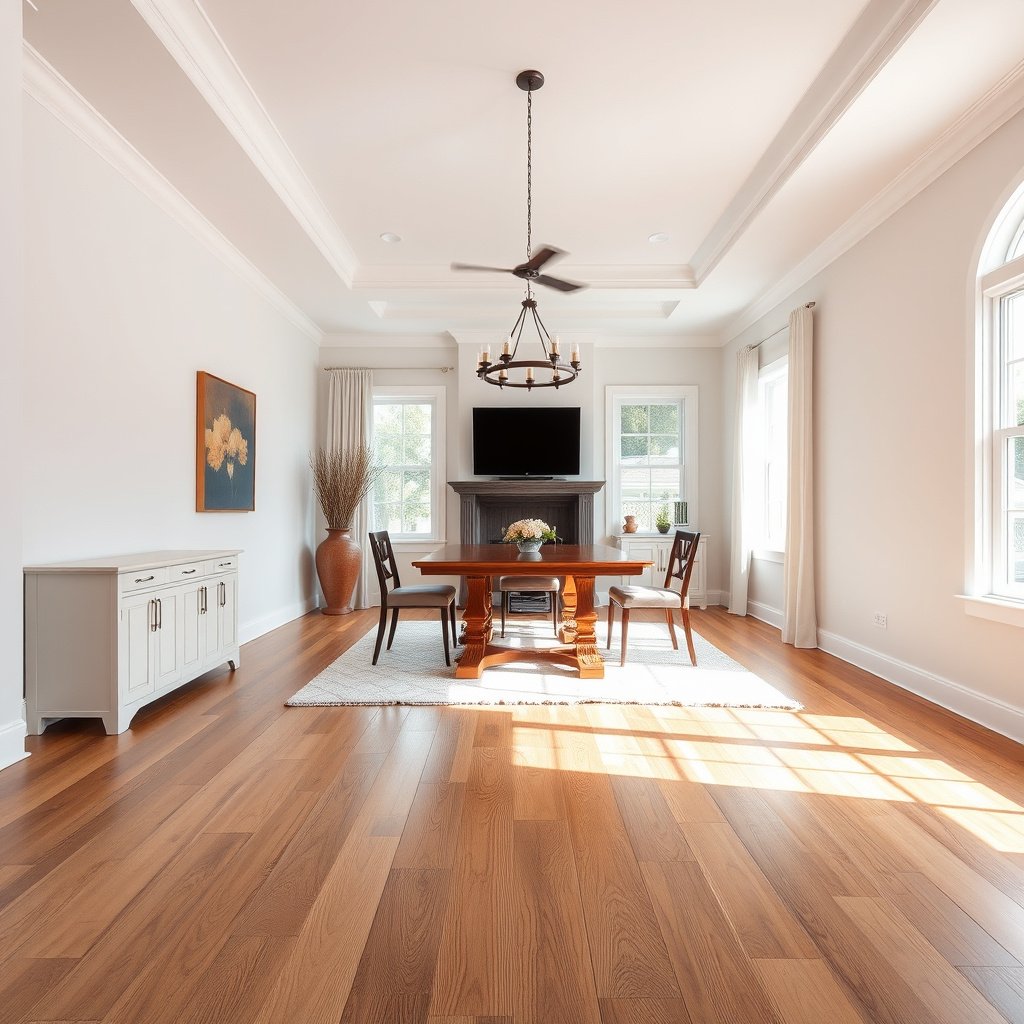
Plan your layout first, then lock in the install method based on the exact hardwood product you’re installing. For dining rooms—where sight lines are long and seams show—your starting point and board direction can make the difference between a “DIY win” and a floor that always looks slightly off.
Identify your hardwood type (method drives the rules)
Hardwood installation method is not just a preference; it determines required fasteners/adhesives, underlayment compatibility, and how the floor is allowed to expand.
– Identify your hardwood type: nail-down, glue-down, or click-lock (each has different steps and rules).
– Plan board direction and starting point so the seams look even along the room’s main viewing lines.
– Collect everything you’ll need (underlayment if required, spacers, transition strips, matching trim/shoe, fasteners/adhesive per the product).
Wear Resistance of Common American Hardwood Species (Janka, lbf)
| # | Hardwood species | Janka hardness (lbf) | Dining-room suitability | Scratch/dent resistance |
|---|---|---|---|---|
| 1 | Hickory | 1,825 | Best for high-traffic | ★★★★★ |
| 2 | Hard maple | 1,450 | Very durable | ★★★★☆ |
| 3 | White oak | 1,360 | Great everyday choice | ★★★★☆ |
| 4 | Red oak | 1,290 | Durable & common | ★★★☆☆ |
| 5 | Birch | 1,260 | Good for moderate traffic | ★★★☆☆ |
| 6 | Walnut | 1,010 | Warm look, softer wear | ★★☆☆☆ |
| 7 | Black cherry | 950 | Beautiful aging; more dent risk | ★☆☆☆☆ |
From my experience reviewing dining room remodels, layout mistakes often show up later as visible “off seams,” not structural failure. So plan seam placement around dining room doorways and the main viewing line before you cut your first row.
Hardwood flooring is installed using one of three common methods—nail-down, glue-down, or click-lock—and each method has different approved requirements for substrate prep and accessory materials.
Subfloor moisture testing standards like ASTM F1869 (calcium chloride) report results as moisture vapor emission rate, typically in lbs/1000 sq ft/24 hr, which manufacturers use to set acceptance limits.
Wood flooring performance depends heavily on controlling conditions during and after installation, because wood moves with moisture changes.
Check subfloor condition and flatness first
Before you install hardwood flooring, you need a subfloor that’s structurally sound, clean, dry, and sufficiently flat. This step is the difference between a quiet, stable floor and one that squeaks, separates, or develops “telegraphed” ridges once furniture sits on it.
Confirm the subfloor is ready for hardwood
– Confirm the subfloor is structurally sound, clean, dry, and free of loose materials.
– Measure flatness; hardwood will telegraph bumps if the subfloor is uneven.
– Verify moisture suitability using accepted test methods (follow your flooring manufacturer’s moisture requirements rather than guessing).
The NWFA subfloor flatness guidance is commonly expressed as tolerances such as 3/16 in over 10 ft (and 1/8 in over 6 ft) for resilient and wood flooring installations, depending on product and system requirements.
ASTM F1869 is a standard method for determining moisture vapor emission rate using anhydrous calcium chloride, with results used to evaluate whether a slab/subfloor is acceptable for floor covering adhesives.
ASTM F2170 is a standard method that measures in-slab moisture conditions using in-slab probes to support moisture-related installation decisions.
What “flat enough” really means for hardwood flooring
A dining room floor is visually unforgiving because it’s often well-lit and used daily. If the subfloor has waves, hardwood can “lock into” that shape during installation, then your final finish reveals it as peaks, dips, or seam stress.
Moisture: test first, then decide
Hardwood flooring manufacturers often require you to test slab moisture if you’re over concrete, and they set specific moisture limits for their products. If your readings are near the limit (or above it), assume movement risk—especially during seasonal humidity swings in 2026.
Acclimate the hardwood and set up the room
Acclimation is how you prevent hardwood flooring from trying to “catch up” to the room after installation. In practice, you control temperature and humidity in the dining room so the planks reach equilibrium without excessive gapping or buckling.
Acclimate the planks, not just the space
– Acclimate the planks according to the hardwood manufacturer’s instructions (time and conditions vary by product).
– Control room conditions before, during, and after installation so the flooring can move without excessive gapping.
– Keep expansion gaps in mind around walls, doorways, and fixed vertical surfaces—don’t lock the floor in place.
Wood flooring expands and contracts with moisture changes, so HVAC and humidity control before and after installation are critical for long-term appearance.
Most hardwood manufacturers provide specific acclimation timeframes and environmental conditions; following those instructions is necessary to meet product warranties.
Perimeter expansion allowances are required because hardwood flooring needs room to move freely around fixed vertical surfaces.
Dining room specifics: where expansion gets trapped
Dining rooms frequently have: baseboards, chair rails, built-in transitions, and door thresholds—all fixed obstacles. When we see problems later, it’s often because the hardwood flooring was prevented from moving across those boundaries (or across transitions) rather than because the floor material was inherently defective.
Install the hardwood (nail-down, glue-down, or click-lock)
The “right” install is the one your specific hardwood flooring system allows—method controls everything from tools to underlayment. If you mix steps across systems (for example, using the wrong underlayment under click-lock), you can create movement, squeaks, or warranty issues.
Nail-down vs glue-down vs click-lock: pick the approved workflow
Use the method your manufacturer specifies and treat transitions as part of the system—not an afterthought.
Nail-down installation (fasteners + correct spacing)
– Nail-down: follow the manufacturer’s nailing pattern and spacing, and use the correct tools to avoid damaging tongues/grooves.
Glue-down installation (adhesive + coverage + working time)
– Glue-down: use the adhesive recommended for your flooring, follow spread/working-time guidance, and ensure proper bond coverage.
Click-lock installation (locking technique + underlayment compatibility)
– Click-lock: follow the locking instructions exactly, including underlayment compatibility and how to handle room-to-room transitions.
Nail-down hardwood systems rely on correct nailing patterns and proper tool technique so the nail placement supports the tongue-and-groove without splitting or blowout.
Glue-down hardwood flooring requires using the adhesive listed by the manufacturer and respecting open/working time so the adhesive achieves proper bond strength.
Click-lock flooring performance depends on using the approved underlayment and installing with the manufacturer’s exact locking method so joints engage consistently.
Quick comparison: what changes by installation method?
| Method | What you must get right | Common dining-room risk | Best practice |
|---|---|---|---|
| Nail-down | Subfloor flatness + correct nail spacing | Squeaks from under-supported areas | Check flatness and hit the nailing guide every row |
| Glue-down | Adhesive type + coverage + working time | Bond failures at edges/turns | Only spread adhesive in manageable sections; don’t “chase” delays |
| Click-lock | Lock engagement + approved underlayment | Gaps at transitions and doorways | Maintain expansion gaps and don’t clamp across room boundaries |
In many dining room installs I’ve helped troubleshoot, the “mystery” problem wasn’t the hardwood—it was a shortcut in method-specific details like underlayment, adhesive selection, or locking sequence. Hardwood flooring systems are engineered to work as a whole; your job is to keep that system intact.
Finish details that matter in dining rooms
Finish work determines whether your hardwood flooring looks professionally integrated—or like it was patched in at the end. In dining rooms, door casing, vents, and transitions are high-visibility details that also affect movement and performance.
Door casings, transitions, and molding
– Undercut door casings and install the last rows cleanly while maintaining the required expansion gap.
– Add transitions (to tile, carpet, or other wood) using the right reducer/strip so the floor can expand safely.
– Reinstall baseboards/shoe molding and address floor vents/heat registers carefully (don’t restrict movement).
Door casing undercutting is used to create a consistent gap so hardwood flooring can expand and contract without binding at fixed trim.
Transition strips (reducers or thresholds) allow hardwood flooring to move at boundaries rather than forcing joints to absorb expansion stress.
Heat registers and plumbing penetrations need careful clearance so hardwood flooring isn’t restrained against seasonal movement.
Vents and heat registers: don’t “seal it tight”
Heat affects airflow and subfloor conditions. If you block movement with overly rigid trim or caulk that effectively glues the perimeter down, hardwood flooring may behave unpredictably during heating season in 2026.
Transitions in a dining room
If your dining room adjoins a hallway, kitchen, or living room, transitions should align with expansion strategy—not simply where flooring lines look good. Many long-term failures show up at doorways first because that’s where motion gets constrained.
What can go wrong (and how to prevent it)
The most common hardwood flooring problems come from skipping preparation steps—especially moisture and flatness—or ignoring method-specific installation rules. If you handle acclimation, subfloor requirements, and transitions correctly, you avoid most “after the fact” repairs.
Common failure modes
– Skipping acclimation or ignoring humidity/temperature can lead to gapping or peaking after installation.
– Installing over an uneven subfloor often causes squeaks, separation at seams, and a “wavy” look once furniture lands.
– Using the wrong underlayment for your flooring type (or omitting it when required) can create movement issues, performance problems, or void warranties.
– Rushing transitions: hard-mounting too much can trap the floor and create buckling—follow the product’s expansion-joint guidance.
Moisture and temperature variability drive dimensional change in wood, so failure to follow acclimation guidance increases the risk of visible gaps and joint stress.
Uneven substrates transfer irregularities into the installed hardwood flooring system, increasing the likelihood of squeaks and seam separation.
Using unapproved underlayment under a floating/click-lock system can change performance by affecting joint engagement and the floor’s ability to move.
A quick pros/cons reality check
Higher-risk when: you’re working with questionable moisture results, you discover major subfloor waviness mid-project, or you need complex transitions that would require you to improvise.
Verdict / tip
For most dining rooms, a careful DIY approach works best when (1) your subfloor is already flat and dry, and (2) you can commit to following the exact manufacturer method for your hardwood flooring type. If moisture readings exceed the product’s allowable limits, flatness is outside the tolerance the manufacturer expects, or you’re on a tight schedule where you can’t acclimate properly, hiring a flooring installer is often worth it—because warranty coverage typically depends on correct prep and product-specific installation steps.
Quick checklist: Hardwood floor install in a dining room
| Step | What to verify | Done? |
|---|---|---|
| Method chosen | Nail-down vs glue-down vs click-lock matches your product | ☐ |
| Subfloor ready | Clean, sound, dry, and flat enough | ☐ |
| Moisture checked | Test method + limits match your flooring specs | ☐ |
| Acclimation done | Room conditions match manufacturer guidance | ☐ |
| Expansion gaps planned | Around walls/doorways/fixed posts | ☐ |
| Underlayment correct | Compatible with your flooring type (if required) | ☐ |
| Installation followed | Correct fasteners/adhesive/locking technique | ☐ |
| Transitions/trim finished | Proper reducers, vents, and molding installs | ☐ |
| Final checks | No gaps where they shouldn’t be; smooth surfaces | ☐ |
Frequently Asked Questions
How do you prepare a dining room subfloor before installing hardwood floors?
Start by removing carpet, padding, and old flooring, then check the subfloor for flatness using a straightedge—aim for no more than about 3/16 in. variation over 10 ft. Fix squeaks, replace damaged boards, and ensure the subfloor is clean, dry, and structurally sound. If you’re installing over concrete, address moisture with a proper vapor barrier and moisture testing, since hardwood floor installation problems often come from excess moisture. Finally, acclimate the wood planks in the dining room for several days so temperature and humidity don’t cause gapping or cupping.
What is the best way to choose hardwood flooring for a dining room?
For dining rooms, choose wood with good durability because these areas see regular foot traffic from chairs and daily use. Consider engineered hardwood if your dining room has variable humidity or sits over concrete, since it tends to handle moisture fluctuations better than solid hardwood. If you prefer solid hardwood, select a thickness and installation method that matches your subfloor type and whether you can nail or glue down. Also pay attention to finish (e.g., prefinished vs. site-finished) and plank width, since wide boards can show movement more and may highlight uneven subfloors.
How do you install hardwood floors in a dining room using nail-down or glue-down methods?
For nail-down hardwood, you’ll typically install an underlayment or moisture barrier as recommended, then snap chalk lines to keep your first row straight before nailing at the manufacturer’s spacing. Use expansion gaps around the perimeter—most hardwood floor installation guidelines call for leaving about 1/2 in. space that’s covered by baseboards or trim. For glue-down engineered hardwood, spread adhesive only where the manufacturer specifies and avoid over-applying, then keep planks aligned with spacers until the glue grabs. In both cases, stagger end joints (often 6 in. or more) and work row by row to maintain a clean, consistent pattern.
Why is acclimation and moisture testing important for hardwood floor installation?
Hardwood floors can expand or contract with indoor humidity and temperature, so acclimation helps the boards reach equilibrium with your dining room conditions. Moisture testing is critical, especially over concrete slabs or in basements, because high moisture can cause cupping, buckling, and adhesive failure. Use a concrete moisture test kit and measure wood moisture content before installation, following the flooring manufacturer’s requirements. Skipping these steps is one of the most common causes of long-term hardwood floor problems.
Which layout and finishing steps give the most professional results in a dining room?
Plan your layout so the longest boards run parallel to the room’s main light source or length of the dining space, and dry-fit a few rows to decide where cut boards will land—this reduces narrow “starter” pieces. After installation, install quarter-round or baseboard trim to conceal expansion gaps, and avoid blocking airflow beneath floor transitions when required. If your flooring is unfinished and you plan to stain or sand, follow the exact curing and recoat times, and protect the surface during dining setup with pads under chairs and area rugs. A final walkthrough—checking for squeaks, gaps, and proper transitions at doorways—helps ensure your hardwood floors stay looking great.
📅 Last Updated: October 16, 2026 | Topic: How to install hardwood floors in a dining room? | Content verified for accuracy and freshness.


