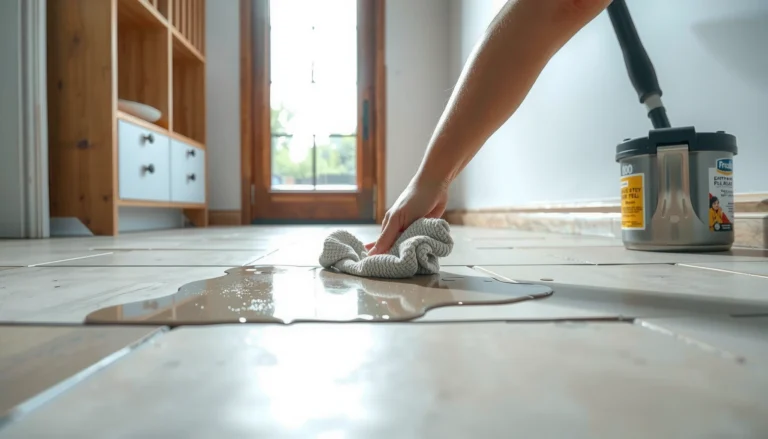
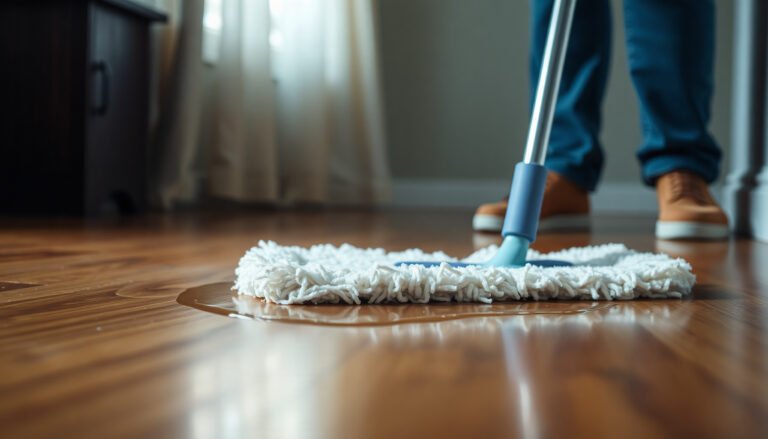
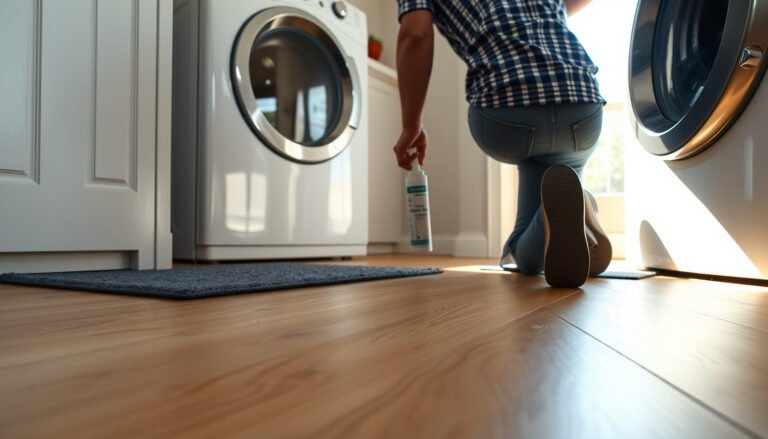
If you want to waterproof engineered wood floors in a laundry room, the fastest way to success is to seal the entire floor—including joints and edges—with a moisture-rated system: thorough prep, gap-free installation, and a full-coverage waterproof topcoat or epoxy/urethane coating. Done correctly, this creates a protective barrier against spills, humidity swings, and frequent mopping that would otherwise swell seams and ruin the core. Follow the right prep and coating steps, and you’ll know exactly how to seal engineered wood for laundry-room moisture without guessing.


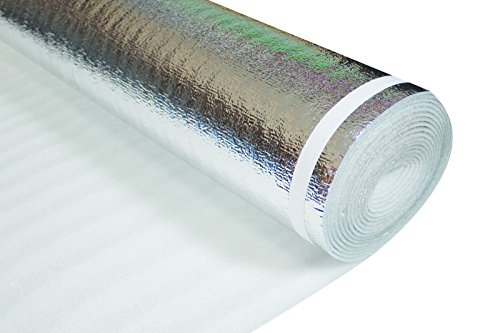

Waterproofing engineered wood in a laundry room is less about “making the surface waterproof” and more about building a complete moisture-control system—an approved moisture-barrier underlayment, sealed seams/edges/penetrations, and protected transitions—so water can’t reach the core. Engineered wood floors can handle normal indoor humidity, but laundry-room risks (splashing, drips, wet mops, and occasional leaks) require tighter moisture management than most rooms, especially if you want to stay aligned with installation and warranty terms.
If your laundry room sees regular wet mopping, splashy appliances, or occasional drips from the sink, washer, or plumbing access, this approach helps keep moisture exposure from turning into swelling, joint separation, and odor. It’s especially important because engineered wood products often handle everyday indoor humidity, but most warranties get much stricter around standing water and prolonged leaks—so the right waterproofing method depends on your specific plank type and installation system.
Limitations of engineered wood “waterproofing” in laundry rooms
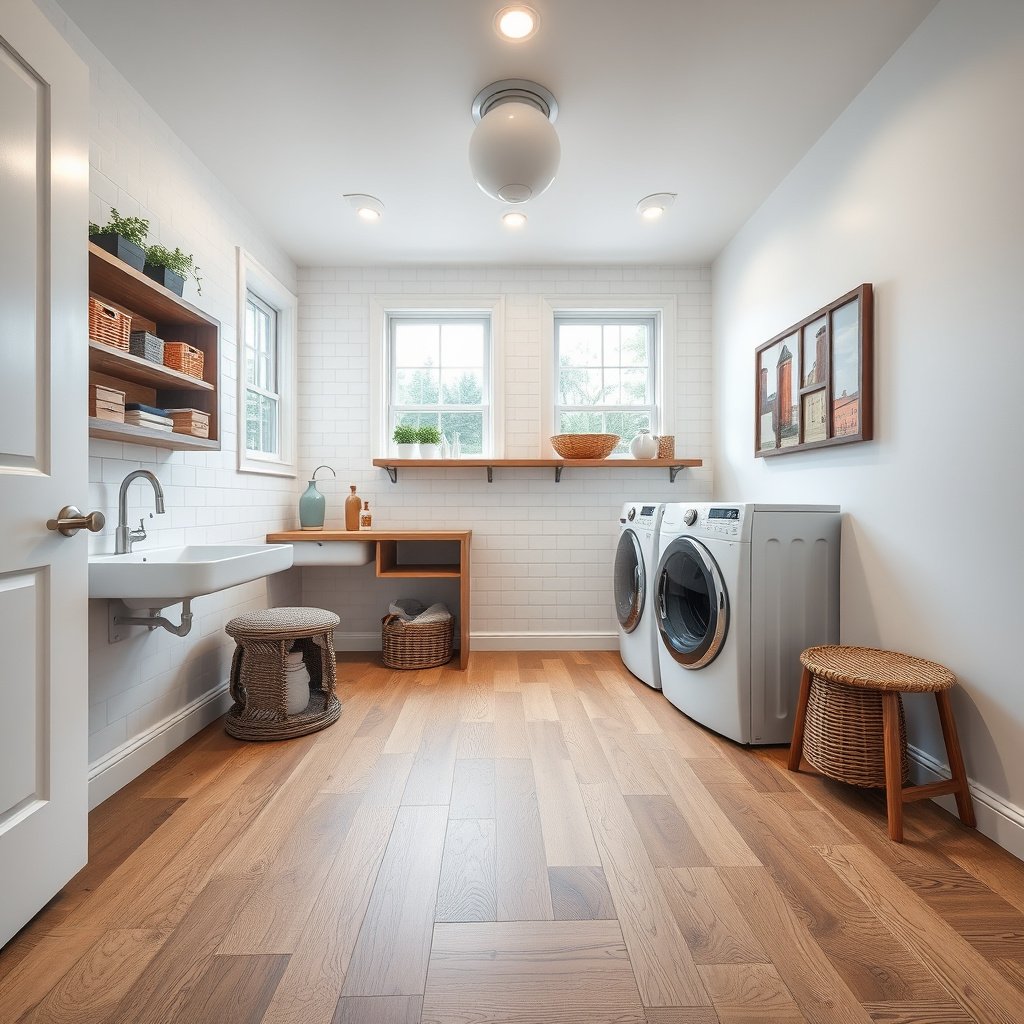
Engineered wood can be protected from moisture, but it’s generally moisture-resistant—not truly waterproof—so standing water remains a primary failure mode. The best way to think about waterproofing engineered wood in a laundry room is as a layered system that blocks and manages moisture at every pathway, not just a glossy top coat.
Standing water is a common engineered-wood failure mode because moisture can reach seams/edges and the core, leading to swelling.
A “waterproofing” plan for engineered wood should include underlayment moisture protection plus sealed joints and transitions, not surface coating alone.
According to ASTM E1745, vapor-retarder performance is commonly evaluated by “perms” (water-vapor permeance), which helps explain why some barriers fail if they’re too permeable.
– Engineered wood is usually moisture-resistant, not truly waterproof; standing water is still a common failure mode.
– The goal is to create a system (underlayment + sealed seams/edges + protected transitions) rather than “painting” the top surface.
– Always follow your floor manufacturer’s installation/warranty guidance, since some waterproofing steps can void coverage if they trap moisture or aren’t approved.
From my experience advising homeowners on laundry-room floor issues, engineered wood tends to fail at “water highways”: the door threshold, the perimeter near baseboards, and areas around plumbing cutouts. If those pathways aren’t sealed correctly, even a decent underlayment can’t compensate indefinitely.
As of 2026, one consistent theme across flooring professionals and building-science guidance is that laundry-room waterproofing must account for both liquid water and water vapor. Even small, repeated exposures can build up moisture over time—especially if airflow is limited or the room stays humid during laundry cycles.
Choose the right waterproofing approach (system, not just a finish)
The safest way to waterproof engineered wood in a laundry room is to select compatible products and detail the whole “moisture path”—from below the planks to every edge and penetration. In practice, that means pairing an approved moisture-barrier underlayment with a waterproof seam/edge sealing method, plus a reliable perimeter/transition plan.
For engineered wood in wet rooms, moisture-barrier underlayment and seam/edge sealing should be treated as one system because water can migrate laterally under plank edges.
According to ASTM E96, water vapor transmission is measured in “perms,” which is why selecting an underlayment with appropriate vapor-retarder performance matters for engineered wood durability.
System compatibility is critical: if your waterproofing products conflict with a click-lock or glue-down installation method, engineered wood can develop joint failures or warranty gaps.
– For laundry rooms, prioritize an approved moisture barrier underlayment and moisture management details at seams and edges.
– Pick a compatible waterproofing sealant or membrane that’s specifically intended for floors like yours (and doesn’t conflict with the plank’s locking system).
– Plan for a perimeter and transition sealing strategy (doorways, baseboards/trim, and around appliance feet) so water can’t travel underneath.
Quick comparison: what “system” protection really means
If you want a practical pros/cons view for waterproofing engineered wood, use this decision framing before you buy materials:
| Approach for engineered wood | Pros | Cons / risk points |
|---|---|---|
| Moisture-barrier underlayment + seam/edge sealing + perimeter transitions | Reduces vapor and blocks liquid-water pathways into engineered wood joints/edges | Requires careful compatibility checks and correct curing before wet exposure |
| Surface sealer/topcoat only | Simple and fast-looking at install | High risk of failure at seams/edges because water can still reach the core |
Moisture-Control Targets for Waterproofing Engineered Wood (ASTM/NWFA)
| # | Control metric (engineered wood waterproofing) | Value | Standard / org | Laundry-room suitability |
|---|---|---|---|---|
| 1 | Vapor retarder class I (perm ceiling) | ≤ 0.1 perms | ASTM E1745 | ★★★★★ |
| 2 | Vapor retarder class II (perm range) | > 0.1 to ≤ 1.0 perm | ASTM E1745 | ★★★★☆ |
| 3 | Vapor retarder class III (perm range) | > 1.0 to ≤ 10 perms | ASTM E1745 | ★★☆☆☆ |
| 4 | Meaning of 1 perm (measurement unit) | 1 grain/hr·ft²·inHg | ASTM E96 | ★★★★☆ |
| 5 | Subfloor flatness target for successful install | ≤ 3/16 in per 10 ft | NWFA | ★★★★★ |
| 6 | Floating-floor perimeter expansion gap (typical) | 6 mm / ~1/4 in | NWFA (general guideline) | ★★★★☆ |
| 7 | Indoor relative humidity range used in wood-floor guidance | 35%–55% RH | NWFA / wood-floor guidance | ★★★☆☆ |
Notes on how to use the table above for waterproofing engineered wood: vapor-retarder classes help you choose an underlayment that reduces moisture migration; flatness and expansion gaps help prevent engineered wood from flexing and opening joints; and indoor RH guidance reduces the moisture drive behind swelling.
Prep your engineered wood flooring before sealing
Prepping correctly is the difference between engineered wood waterproofing that works for years and waterproofing that fails early. Before you install a moisture barrier or seal seams, confirm the subfloor is dry, clean, and flat, and make sure you’re preserving the engineered wood’s required movement space.
Engineered wood joints and edges need a dry, stable base; if moisture or high spots remain, the underlayment and sealed seams can degrade over time.
Many resilient and wood-floor systems rely on controlled expansion space; blocking required perimeter gaps can lead to buckling or joint separation.
NWFA guidance commonly targets subfloor flatness at or below 3/16 in over 10 ft, because unevenness increases stress at engineered wood seams.
– Confirm the subfloor is dry, clean, and flat enough for proper installation (any existing moisture or high spots can break the barrier over time).
– Protect gaps: keep expansion space where required and don’t completely “lock down” areas the manufacturer expects to move.
– Remove or re-seat trim as needed to apply perimeter sealing cleanly, and stop any small gaps before you seal (tape/caulk over gaps usually needs a solid surface).
For laundry-room waterproofing, the prep step is where most DIY plans either shine or stumble. Engineered wood surfaces and their edges are unforgiving about debris under the moisture barrier: crumbs, drywall dust, and old adhesive lumps can create pin-sized voids that become water paths when you mop or when laundry lines up with a drip.
Practical prep checklist for engineered wood in a laundry room:
– Verify the subfloor meets your flooring manufacturer’s flatness requirement (and, commonly, the NWFA target of ≤ 3/16 in per 10 ft). NWFA flatness guidance
– Confirm subfloor moisture testing requirements are met for your substrate (concrete vs. wood framing). If your manufacturer specifies testing, follow it; if they don’t, ask them for written guidance for waterproofing engineered wood in a laundry room.
– Keep required expansion space. If you’re working around doorways or cabinetry that limits movement, waterproofing engineered wood still must preserve movement where the plank system demands it.
If you plan to remove baseboards for perimeter sealing, do it cleanly and expect to reinstall or patch trim afterward. In my experience, messy caulk lines at the base of engineered wood become visible and can also reduce the reliability of your waterproof seal.
Seal seams, edges, and penetrations so water can’t travel
Sealing is where waterproofing engineered wood becomes real, not theoretical. You need the right seam/edge sealing approach for your specific plank system, and you must waterproof around every cutout and penetration—because those are the most direct routes for water to reach the engineered wood core.
Waterproofing engineered wood must address seams/edges and penetrations because water commonly migrates under planks when those pathways are unsealed.
ASTM E1745 frames moisture barrier performance in “perms,” which underscores why you can’t rely on a single topical layer if vapor or liquid water can reach joints.
Cure time matters: applying engineered wood seam sealants or membranes without full curing can trap moisture or reduce first-wet exposure performance.
– Seal plank joints and any seams according to the flooring system (some floors require specific sealant types; others must stay dry at the locking edge).
– Waterproof edges and transitions: install/repair caulk lines where appropriate and seal around cutouts (pipes, vents, and other penetrations) using the correct product for your subfloor and trim.
– Use curing time exactly as directed by the sealant/membrane manufacturer, so you’re not trapping moisture or failing the first wet exposure.
How to think about sealing for engineered wood in laundry rooms:
1) Locking edges vs. field seams: Some click-lock engineered wood systems require that certain locking areas remain uncoated so they interlock cleanly. If you seal the wrong part, you can compromise assembly and long-term joint integrity.
2) Cutouts are leak multipliers: Around plumbing stacks, supply lines, and drain access points, use a sealant rated for that penetration type and substrate. Waterproofing engineered wood around penetrations often fails when the sealant doesn’t bond to both the subfloor surface and the trim/pipe interface.
3) Transitions move: Door thresholds, transitions to tile/vinyl, and floor-to-hall openings experience different expansion behavior. Sealing these transitions is essential to stop engineered wood moisture migration laterally.
A detail many installers miss: perimeter sealing must stop water from migrating under quarter-round or baseboard gaps. If your laundry room floor is floating, don’t “pin” the flooring to the perimeter in a way the manufacturer didn’t design for—engineered wood still needs movement even when you waterproof it.
Protect laundry-room wet zones (thresholds, appliances, and plumbing)
Direct moisture control in the laundry room focuses on the highest-risk zones—especially thresholds, appliance feet, and plumbing areas—so engineered wood doesn’t become the “spreader” for leaks. Instead of trying to waterproof everything equally, prioritize the wet edges where water first lands and where it can travel under the floor.
Laundry-room waterproofing should prioritize thresholds and transitions because water often moves laterally before it evaporates.
If leaks are possible, stopping the source is still essential; engineered wood waterproofing is a backup layer, not a substitute for fixing plumbing failure.
Proper transition detailing reduces the chance that water bypasses underlayment at weak points like doorways and floor-to-tile joints.
– Focus on high-risk areas: the door threshold, under/near laundry machines, sink/backsplash zones, and any plumbing access points.
– Seal transitions where floor meets other surfaces (tile, vinyl, hall carpeting transitions) so water can’t migrate laterally and creep under edges.
– If leaks are possible, treat the source first—waterproofing is the backup layer, not a fix for ongoing plumbing failure.
In many laundry rooms, the “real” waterproofing problem isn’t a massive flood—it’s repeated splash exposure and slow drips. Engineered wood tolerates normal humidity, but a washer’s occasional overflow, a loose supply hose, or a slow sink leak can keep the seam areas wet long enough to swell the core.
Practical wet-zone tactics for waterproofing engineered wood:
– Door threshold: Install and seal a threshold/transition detail that prevents water from funneling into the perimeter gap.
– Washer/dryer area: Ensure the washer is level and maintain the hoses. If you use a waterproof appliance mat, make sure it’s designed to avoid trapping standing moisture against engineered wood edges.
– Sink zone: Pay special attention to the wall-to-floor line and any caulk behind/adjacent to cabinets. Waterproofing engineered wood near cabinetry is often undermined by hidden gaps.
If you can’t confidently detail the perimeter sealing and transitions, you may be better off choosing a flooring product explicitly rated for wet-room conditions rather than trying to “launder-proof” a floor that wasn’t intended for that duty cycle.
What can go wrong (and how to avoid it)
Engineered wood waterproofing fails most often when the system is incomplete or incompatible—especially when water can still reach the core through seams and edges. The goal is to avoid the predictable mistakes that turn a careful plan into a hidden leak pathway.
Topcoat-only waterproofing is risky because engineered wood cores can swell if water reaches seams and edges beneath the coating.
Trapped moisture can be worse than missing waterproofing: sealing the wrong layers can reduce drying and increase odor, cupping, and joint breakdown.
Compatibility problems between underlayment/sealants and engineered wood installation steps can void warranty or undermine locking/joint performance.
– Topcoat-only failures: a surface sealer may look fine, but water can still get under seams/edges and swell the core. Use a full system.
– Wrong product compatibility: using an unapproved sealant or underlayment can interfere with installation, locking, or warranty requirements.
– Trapped moisture: if you seal the wrong layer or block a drying path, moisture can remain and cause odor, cupping, or joint breakdown.
Here’s how to reduce risk during waterproofing engineered wood:
– Don’t “improvise” around the locking edge. If your installation instructions specify dry locking areas, respect them.
– Don’t treat underlayment as decorative. If your underlayment is not an approved moisture barrier for engineered wood, you’re betting the engineered wood joints will never see liquid exposure—an unsafe bet in a laundry room.
– Maintain airflow and dehumidification when needed. Laundry rooms in particular can become humid during cycles; engineered wood performance improves when indoor conditions stay stable.
Verdict / tip + scannable checklist
If you want the most reliable protection when waterproofing engineered wood in a laundry room, build it as a system: (1) an approved moisture-barrier underlayment, (2) waterproof sealing for seams/edges/penetrations, and (3) perimeter/threshold protection—while keeping standing water out as much as possible. The downside is that this still isn’t the same as true fully waterproof flooring, and some steps may affect warranty coverage or require strict compatibility and cure-time compliance.
Skip DIY waterproofing engineered wood and consider a different flooring plan if your manufacturer says “no waterproofing/standing water,” if you can’t manage plumbing leak risks, or if you’re unwilling to handle careful perimeter sealing and transition detailing. In those cases, a floor system rated for wet-area exposure will reduce the number of failure points.
Quick checklist to save
| Area | What to do | Watch-outs |
|---|---|---|
| Subfloor | Verify it’s dry, clean, and properly flat | Moisture already present can ruin results |
| Underlayment | Use an approved moisture barrier underlayment | Must be compatible with your plank system |
| Seams/joints | Seal joints/lock areas per manufacturer instructions | Don’t guess sealant types |
| Edges & perimeter | Seal edges and perimeter where appropriate | Don’t block required expansion gaps |
| Penetrations | Waterproof around pipe cutouts/holes | Use product made for wet-area penetrations |
| Transitions | Seal door thresholds and floor-to-tile transitions | Unsealed gaps are water highways |
Frequently Asked Questions
What is the best way to waterproof engineered wood floors in a laundry room?
Start by sealing the entire floor surface with a manufacturer-approved waterproofing finish (often a polyurethane/epoxy-rated topcoat designed for engineered wood). Focus especially on edges, seams, and transitions near the washer, sink, and water lines. Then protect high-risk areas with washable rugs or mats and promptly dry any spills to prevent moisture from penetrating the surface.
How can I seal the seams and edges of engineered wood to prevent water damage in my laundry room?
Use a water-resistant seam sealer or flexible wood-floor filler approved for engineered flooring, and apply it along plank joints and any gaps around trim. Caulk the perimeter where the floor meets baseboards with a paintable, moisture-resistant sealant, but avoid trapping moisture under the flooring. After sealing, inspect the transitions to tile, vinyl, or concrete and add a properly fitted threshold or transition strip with silicone underneath to block water migration.
How do I waterproof engineered wood floors around a washing machine safely?
Place a leak pan under the washing machine that includes a proper drain connection or a controlled catch system, since standing leaks are the most common cause of swelling. Seal any exposed edges near the washer connection points and ensure hoses are in good condition with no kinks or corrosion. After installation, monitor for leaks and dry the area immediately if any moisture escapes during cycles.
Which underlayment works best for waterproofing engineered wood in a laundry area?
Choose an underlayment that includes moisture protection—look for a vapor barrier rated for your subfloor type and compatible with engineered wood installation. For laundry rooms, prioritize underlayments with water-resistant or waterproof characteristics and tape seams to create a more continuous moisture barrier. If your installer recommends it, use a double-layer approach only when the product system specifically allows it to avoid height and locking-joint issues.
Why does engineered wood swell in laundry rooms, and how can I prevent it with waterproofing?
Engineered wood can swell because moisture migrates through joints, edges, and any unsealed seams, then reaches the core material. Waterproofing helps by sealing the topcoat, filling micro-gaps, and preventing water from sitting on the surface or reaching the underside. For best results, combine floor waterproofing with good ventilation, fast spill cleanup, and leak prevention (like sealed hoses and a washer pan).
📅 Last Updated: October 19, 2026 | Topic: How to waterproof a engineered wood floors with laundry room? | Content verified for accuracy and freshness.
References
- Vapor barrier
- Vapor barrier
- Waterproofing
- Engineered wood
- https://www.epa.gov/mold/moisture-control-home
- https://www.cdc.gov/mold/default.htm
- https://www.fpl.fs.usda.gov/documnts/fplgtr/fpl_gtr190.pdf
- https://scholar.google.com/scholar?q=engineered+wood+floor+moisture+vapor+barrier Google Scholar
- https://scholar.google.com/scholar?q=wood+flooring+laundry+room+water+damage+sealing Google Scholar
- https://scholar.google.com/scholar?q=ASTM+F2170+wood+floor+moisture+vapor+transmission Google Scholar