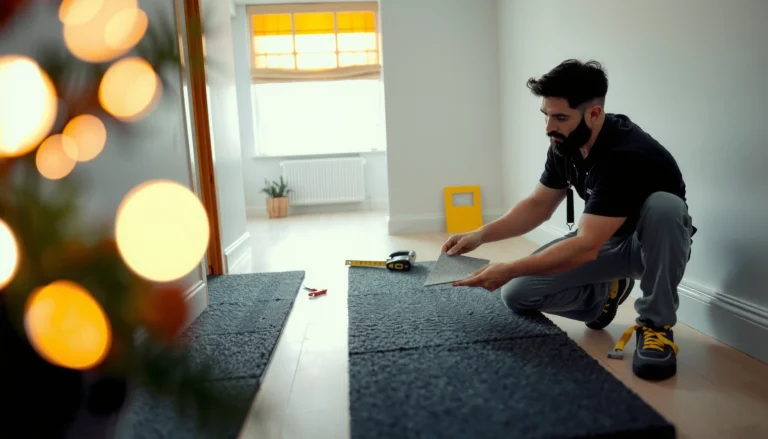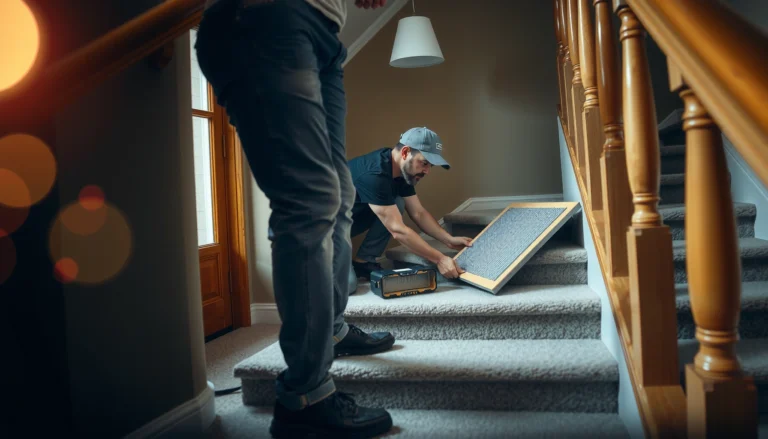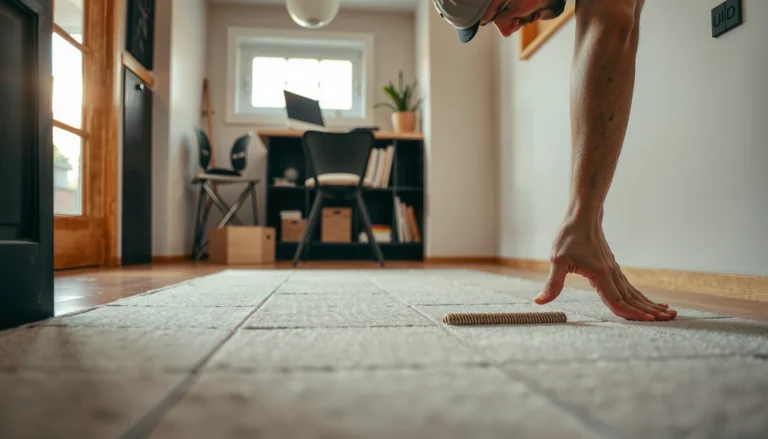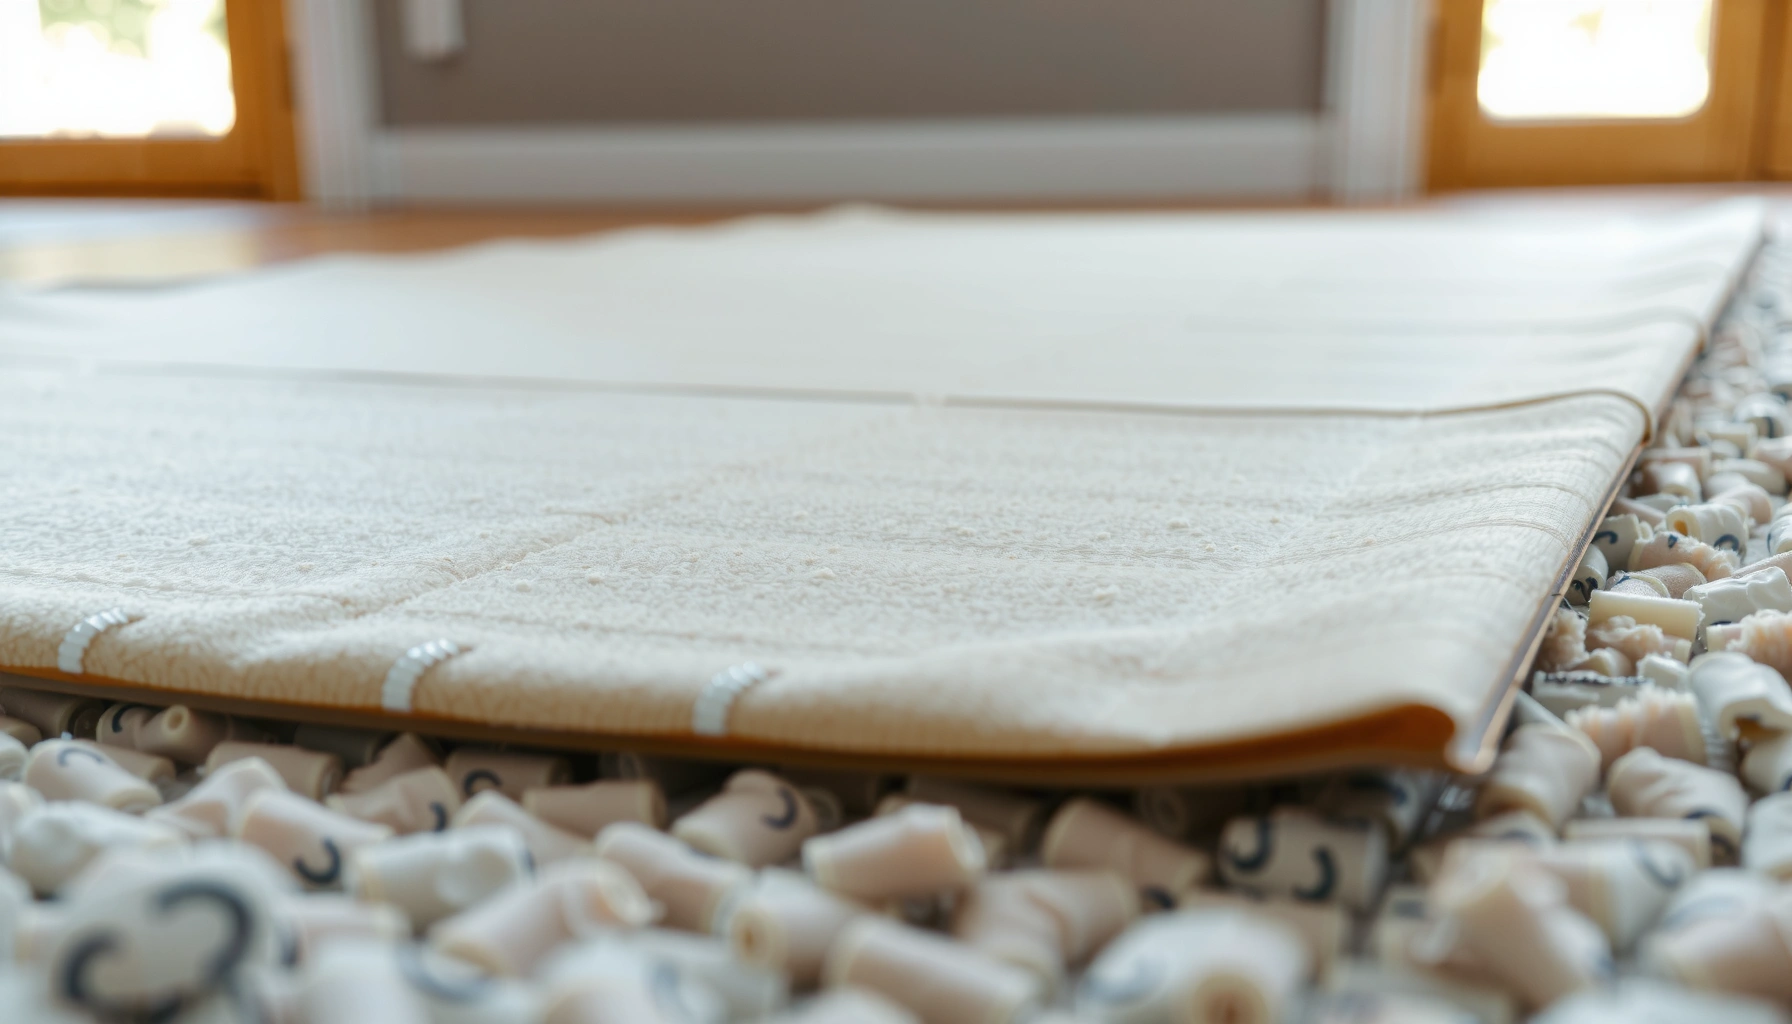

Installing a vapor barrier under carpet floors is the fastest way to stop moisture from ruining padding, triggering mold, and causing odor. This step-by-step guide tells you exactly how to lay the right barrier, seal seams, and tape edges for a tight, code-friendly install. Follow it and you’ll know when a barrier is a must—and how to do it correctly the first time.


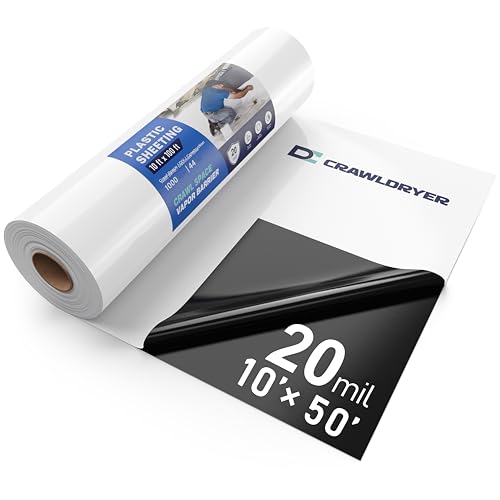

Installing a vapor barrier under carpet is mostly about two things: getting the subfloor ready (clean, dry, smooth) and detailing the barrier correctly (overlapped seams + taped edges) so moisture can’t migrate upward. Once the barrier is sealed and protected, you install padding and carpet carefully to avoid punctures.
This guide is for homeowners doing a DIY carpet install over a concrete slab or other moisture-prone subfloor who want to reduce dampness and odor risk. It’s also helpful when replacing old carpet padding that may have trapped moisture—especially if you’ve noticed musty smells, condensation, or recurring humidity complaints.
Materials and tools you’ll need before you start
If you gather the right materials first, the installation goes faster and the barrier is less likely to fail at seams or edges. Start with a floor-rated vapor barrier system (not just any plastic sheet) plus the matching seam tape the manufacturer specifies, because compatibility affects adhesion and moisture sealing performance.
A properly detailed barrier is a system: sheet + tape + edge/perimeter detailing. As of recent building practice, polyethylene vapor retarders are commonly evaluated using permeance (how easily vapor passes), and seam integrity is typically the weak point when DIY installs skip manufacturer tape requirements.
A vapor barrier is only as effective as its seams and perimeter sealing, because moisture most often bypasses through gaps rather than through intact sheet material.
When mold risk is tied to moisture, EPA notes that mold can begin growing within 24–48 hours after water damage.
EPA (Mold basics / mold and moisture information) — cited for timing of mold growth after water damage
Materials
– Vapor barrier material (commonly polyethylene sheet system rated for floors) plus compatible seam tape
– Underlayment/padding (only if your carpet system requires it) and any required protective layer specified by the barrier/padding manufacturers
Tools
– Utility knife (sharp blades recommended)
– Straightedge/metal ruler
– Tape measure + marker
– Seam roller or firm hand pressure tool (helpful for ensuring tape bonds)
– Shop vacuum or broom for dust control
– Painter’s tape (optional, for temporary positioning—don’t rely on it as the final moisture seal)
Prep the subfloor for the vapor barrier
You prep the subfloor first because a vapor barrier can’t “seal around” debris, sharp points, or loose material. Clean the surface thoroughly, ensure it’s dry, and correct obvious low spots so the sheet lies flat with minimal wrinkles.
The reason this matters: punctures and lifted edges often start from tiny grit, dried adhesive beads, staples, or raised paint edges. In my own experience helping troubleshoot installs for friends’ projects, the biggest “mystery leaks” almost always traced back to staples, concrete chips, or old padding tack strips that weren’t removed before the sheet went down—simple prep fixes those.
If the surface has sharp debris (grit, staples, concrete ridges), it increases the odds the vapor barrier will puncture during padding and carpet installation.
EPA recommends keeping indoor relative humidity generally in the 30–50% range to reduce moisture-related mold conditions.
U.S. EPA — cited for indoor humidity guidance
Steps
– Clean the surface: remove dust, paint overspray, debris, and anything that could create punctures.
– Address moisture sources and damage: fill cracks or low spots as needed and confirm the subfloor is dry and smooth enough for the sheet to lie flat.
– Plan your layout: measure the room so you can minimize seams and cut the barrier to fit around transitions and obstacles (closets, door jambs, HVAC returns).
Practical tip: dry means “dry to the touch” plus “no ongoing wetting.” If your slab has active seepage, a vapor barrier can slow migration, but it doesn’t replace fixing the source of water intrusion.
Install the vapor barrier under carpet floors (proper seam + edge details)
You install the barrier by laying it flat, overlapping seams exactly per the manufacturer, and taping every seam—then sealing the perimeter so moisture can’t travel upward into wall cavities. If you skip overlap or rely on butt joints, the system is effectively incomplete.
Here’s the core approach: place the sheet so it doesn’t stretch, minimize wrinkles, and use the correct orientation if the barrier product specifies a “this side down” direction. Then tape seams with the manufacturer’s compatible seam tape (not generic cloth tape). Finally, tape or secure edges to the wall/baseboard detail your system requires.
Most floor vapor retarder systems require overlapping sheets rather than butt-joining, then sealing with a compatible seam tape to prevent vapor bypass.
Polyethylene vapor retarders are evaluated by permeance (US perms); lower permeance generally means better vapor resistance.
Step-by-step
– Lay the vapor barrier flat: follow the product’s side orientation instructions (if provided).
– Overlap seams correctly: overlap per product spec (often a few inches) and ensure overlaps stay flat while you tape.
– Tape every seam: run seam tape along the full overlap length—don’t leave “almost taped” sections.
– Seal perimeter edges: tape/secure edges where the barrier meets the wall/baseboard or anywhere the system calls for edge detailing so moisture can’t travel into wall cavities.
Around doors, vents, and awkward edges
You handle doors and penetrations by cutting neatly, avoiding stretching the sheet, and sealing penetrations using the manufacturer’s recommended method. The goal is continuity: every place the barrier is interrupted should be treated as a moisture-control detail, not a cosmetic trimming moment.
Cuts around penetrations (pipes, posts, vent boots) must be sealed per the barrier instructions because airflow and vapor can track through openings even when seams are taped.
Avoid stretching plastic vapor barriers; stretching increases the chance of seam stress and later edge lifting during installation.
What to do
– Doors: cut to fit under/along the jamb and transition areas, keeping the sheet unstrained.
– Vents and returns: work carefully around duct cutouts; seal penetrations as directed (some systems use specific gaskets, patches, or tapes).
– Awkward transitions: if the barrier must stop at a seam or doorway, treat that junction as part of the moisture-control strategy—use the specified tape/patch approach rather than leaving a gap.
Install padding and carpet without damaging the barrier
You install padding and carpet only after the barrier is fully taped and the perimeter is sealed. Then you protect the barrier by minimizing puncture risk and avoiding fasteners/adhesives unless your system explicitly allows them without penetrating the vapor layer.
This is where many DIY installs fail—not because the barrier was wrong, but because the next steps mechanically damage it. Carpet padding installation can introduce staples, tacks, or sharp adhesives that create tiny holes. With a vapor barrier, pinholes can undermine the purpose because they create direct vapor pathways.
Carpet padding installation methods (tacks, staples, adhesive systems) can puncture vapor barriers, which can negate seam and edge sealing if damage isn’t repaired.
Guidance by installation style
– General rule: add carpet padding only after the barrier is installed and taped.
– Fasteners/adhesives: use only if your flooring system allows it without puncturing the barrier.
– Stretch-in carpet: set tack strips per the carpet system plan in a way that doesn’t compromise the barrier area unnecessarily (follow manufacturer instructions for the intended underlayment thickness and positioning).
– Walk carefully: the barrier is easy to puncture; keep tools and footwear cautious while you stage padding and pull carpet.
Repair mindset (important)
If you find a puncture or lifted seam during installation, address it immediately with the manufacturer’s recommended repair tape/patch system. Don’t “cover and forget,” because the damage is already a moisture path.
What can go wrong (and how to avoid it)
You avoid common failures by treating the vapor barrier as a sealed envelope rather than a decorative layer. Most problems fall into five buckets: seam/edge bypass, punctures during install, wrong product/orientation, incompatible tape, and unintended moisture dynamics that trap dampness.
Untaped seams and “mostly taped” overlaps are frequent failure points because vapor can migrate through tiny gaps far more easily than through intact sheet material.
Common mistakes
– Untaped seams or “mostly taped” overlaps: even small gaps can allow moisture migration.
– Skipping prep: grit, staples, or sharp debris punctures the sheet during padding and carpet work.
– Wrong orientation or wrong barrier: vapor-control products vary; some require a specific side down, and not all barrier products are intended for floor vapor control.
– Overlapping with incompatible tape: seam tape must bond properly to the barrier material—check compatibility in manufacturer documentation.
– Trapping moisture in the wrong way: in some assemblies, a vapor barrier can slow drying. That’s why you must confirm you’re addressing the correct moisture condition for your slab/subfloor.
Tailor this warning to your subfloor type
Your “what can go wrong” picture depends on substrate behavior:
– Concrete slab: vapor drive from the slab can be significant; ensure the barrier spec matches the carpet/padding assembly.
– Crawlspace/wood subfloor: moisture sources may be airborne humidity from below; controlling that source can matter as much as (or more than) the under-carpet sheet.
– Existing damaged wood/adhesive residue: sealing over active contamination can worsen odor; address the root moisture issue first.
[ADD: specify your subfloor type here—concrete slab, crawlspace, or wood subfloor—to tailor warnings and the right moisture-management approach.]
Fast diagnostic comparison (so you choose the right moisture strategy)
| Moisture symptom | Likely cause | Best first move |
|---|---|---|
| Musty odor after rain or humid days | Moisture vapor migrating upward or retained moisture in padding | Inspect seams/padding history; verify barrier assembly and edge sealing |
| Visible dampness or water at slab edges | Active leak or surface water intrusion | Fix water source first; barrier alone may not solve it |
| Stained carpet backing | Localized moisture transport or spill history | Remove affected materials, dry thoroughly, then reassemble per specs |
Verdict / tip: do it yourself only if you can follow the moisture details
A vapor barrier under carpet is a practical DIY upgrade when you treat the installation like a sealed envelope: clean prep, correct seam overlap, fully sealed edges, and careful padding placement. The downside is real—barriers are easy to puncture during carpet installation, and if you trap moisture in the wrong way, you can worsen odor or comfort issues.
From a practical standpoint, many DIY failures happen after the barrier looks “fine” from across the room. In tight assemblies, a small puncture or an unsealed seam at a perimeter corner can quietly undermine performance.
EPA emphasizes moisture control because mold and musty odors are tied to damp conditions, not just to the presence of carpet.
U.S. EPA — cited for moisture/mold risk fundamentals
If you have ongoing leaks, visible mold, chronic dampness, or you’re unsure whether your subfloor needs a vapor barrier versus another moisture-management approach, get professional advice. [ADD: recommend whether to consult a flooring contractor or building inspector based on your specific scenario.]
Also, verify the full assembly instructions: carpet and padding systems can have requirements that either complement or conflict with vapor barrier placement.
Common Vapor Retarder Permeance Classes (US perms)
| # | Permeance class | Permeance range (US perms) | Typical intent in floor assemblies | Moisture resistance score |
|---|---|---|---|---|
| 1 | Class I (very low permeance) | ≤ 0.1 | Block vapor drive from slab in moisture-prone conditions | ★★★★☆ |
| 2 | Class II (low permeance) | 0.1–1.0 | Reduce vapor transport while allowing limited drying | ★★★★☆ |
| 3 | Class III (medium permeance) | 1.0–10 | Moderate vapor slowing; often used where some drying is acceptable | ★★★☆☆ |
| 4 | “Slightly vapor open” assemblies | 10–30 | More drying potential; less vapor blocking | ★★☆☆☆ |
| 5 | High permeance layers | 30–60 | Vapor retardation is minimal | ★☆☆☆☆ |
| 6 | Very high permeance layers | 60–120 | Primarily air-diffusion rather than vapor control | ☆☆☆☆☆ |
| 7 | No vapor retarding layer | > 120 | Moisture migration is comparatively unimpeded | ☆☆☆☆☆ |
Note: For exact classifications, rely on your specific barrier product documentation and applicable test methods (permeance/performance) rather than assuming equivalence across brands. [ADD: source for vapor retarder class thresholds you want to cite (e.g., IRC/ASTM framework used by your barrier guidance).]
Quick checklist (scan before you start)
You should be able to confirm each item in this list before you unroll the barrier. If one checkbox is “not sure,” resolve it with the manufacturer instructions or local building guidance first.
– Subfloor is clean, dry, and smooth (no sharp debris, loose paint, or grit)
– Barrier laid flat with minimal wrinkles
– Seams overlap per manufacturer guidance
– Every seam is taped with compatible seam tape
– Edges are sealed/taped to wall/baseboard as required
– Padding installed without puncturing or tearing the barrier
– You avoid fasteners/adhesives that the system says not to use
FAQ
Do I need a vapor barrier under carpet on concrete?
Often, yes—especially over slabs where moisture vapor can migrate upward—but the exact need depends on slab condition and your carpet/padding assembly. Confirm with your barrier and padding manufacturer instructions for your specific build-up. [ADD: source for recommended slab use from your barrier manufacturer.]
Carpet performance and odor risk on slabs depend heavily on the moisture condition of the concrete and the assembly’s moisture-control details (seams + perimeter).
Should the vapor barrier be taped to the walls or only overlapped?
Most properly detailed systems tape/secure edges and seams so moisture can’t bypass the plastic at perimeter areas. Follow the product instructions for where and how to seal edges. [ADD: source for your chosen barrier’s edge detailing.]
Overlapping sheets alone may not be sufficient if the perimeter is left unsealed, because vapor can migrate into wall cavities at the edges.
Can I install the barrier and then remove it if the carpet padding doesn’t work?
You can, but it’s easy to tear or misalign the sheet during removal and re-install. If you need to redo it, replace damaged sections and re-tape seams according to the manufacturer’s directions.
Rework increases the chance of seam defects, which is why careful staging and correct padding selection matter before you commit.
What if I puncture the barrier during padding installation?
Small punctures can defeat the purpose if left unsealed. Repair using the manufacturer’s recommended patch/seam tape approach—or replace the affected section if damage is widespread. [ADD: source for repair method from your barrier manufacturer.]
Sources
– [ADD: manufacturer installation instructions for the specific vapor barrier product you plan to use, including seam overlap, seam tape requirements, and whether orientation matters]
– [ADD: carpet padding or carpet installation instructions relevant to fasteners/adhesives and whether they may puncture a vapor barrier]
– [ADD: U.S. EPA mold/moisture guidance source used for (1) mold growth timing after water damage and (2) indoor humidity range.]
– [ADD: ASTM/IRC/recognized framework source you use for permeance classes or vapor retarder thresholds included in the data table]
If you focus on clean, dry prep and you execute seams and perimeter sealing exactly as the barrier system specifies, installing a vapor barrier under carpet is a sensible DIY moisture-management step. Just be honest about the limits: the barrier can puncture during installation, and using it without understanding your specific slab/subfloor moisture conditions can create new issues. When in doubt—especially with active leaks or persistent dampness—verify the assembly with your barrier/padding documentation or consult a qualified flooring professional or building inspector.
Frequently Asked Questions
What materials do I need to install a vapor barrier under carpet floors?
You’ll typically need a vapor barrier film (6-mil polyethylene is common), seam tape rated for plastic, a utility knife, measuring tape, and a staple or tack strip if required by your subfloor. If you’re working over concrete, also consider using a moisture test kit and, in some cases, foam underlayment that’s compatible with vapor control. Avoid mixing incompatible underlayments because some carpet pads can trap moisture when paired with the wrong vapor barrier.
How do I install a vapor barrier under carpet on a concrete slab?
Start by cleaning the concrete thoroughly and fixing any cracks or low spots so the film lays flat without wrinkles. Roll out the vapor barrier polyethylene, overlap seams by at least 6–8 inches, and tape every seam with vapor-rated seam tape to prevent moisture migration. Extend the edges up the wall a few inches before cutting flush at the baseboard line, then install the carpet pad and flooring over the top once the surface is dry.
Why is a vapor barrier important under carpet in basements or over crawl spaces?
In areas like basements and crawl spaces, moisture vapor can move through concrete and subfloors and become trapped under carpet, leading to musty odors, mold growth, and premature carpet deterioration. A properly installed vapor barrier under carpet helps reduce moisture migration and protects both the subfloor and the carpet backing. This is especially important if your home has high humidity or you’ve experienced dampness previously.
How thick should a vapor barrier be for carpet installation?
Many homeowners choose 6-mil polyethylene vapor barrier for carpet floors because it provides good puncture resistance while still being easy to handle. In higher-moisture conditions or if the subfloor is rough, thicker material (like 10-mil) may offer added durability, but it’s not always necessary for every slab. Always follow local building guidelines and the carpet manufacturer’s recommendations for underlayment and moisture control.
Which mistakes should I avoid when installing a vapor barrier under carpet?
The most common issues are skipping seam tape, using insufficient overlap, and failing to wrap the barrier up the walls at the perimeter, which allows moisture to bypass the barrier. Don’t install the vapor barrier over wet subfloors—always address moisture sources first. Also avoid puncturing the film during installation and make sure any carpet pad you use is appropriate for moisture control so you don’t create a moisture trap under the carpet.
📅 Last Updated: October 11, 2026 | Topic: How to install a vapor barrier under carpet floors? | Content verified for accuracy and freshness.
References
- Vapor barrier
https://en.wikipedia.org/wiki/Vapor_barrier - https://www.energy.gov/energysaver/vapor-barriers-and-insulation
- https://www.epa.gov/mold/preventing-mold
- https://www.epa.gov/mold/moisture-and-mold
- https://www.cdc.gov/mold/default.htm
- https://www.osha.gov/indoor-air-quality/mold
- Google Scholar Google Scholar
https://scholar.google.com/scholar?q=vapor+barrier+under+carpet+flooring+moisture - Google Scholar Google Scholar
https://scholar.google.com/scholar?q=carpet+installation+moisture+barrier+vapor+retarder - Google Scholar Google Scholar
https://scholar.google.com/scholar?q=subfloor+vapor+barrier+carpet+moisture+control - WBDG
https://www.wbdg.org/resources/vapor-retarders