


Wondering how to estimate the cost of kitchen floors? This budget guide delivers a clear, step-by-step way to calculate your total—from materials and subfloor prep to installation and labor—so you know what to expect before you buy. You’ll get the quickest pricing method for the most common kitchen flooring types and the key variables that move the final number up or down.




Kitchen floor costs can be estimated reliably by totaling four categories—flooring material, installation labor, subfloor prep, and removal/disposal—then expressing everything as an “installed cost per square foot.” Start with square footage, calculate material quantities using the manufacturer’s coverage, and add a realistic prep/removal allowance based on your current subfloor condition.
If you’re planning a kitchen refresh—whether it’s vinyl, laminate, tile, or hardwood—this helps you turn a rough idea into numbers you can compare across quotes. It’s especially useful when you suspect there may be subfloor issues or you’re unsure how much prep work will cost, because installers often price prep after they see the floor in person.
Step 1: Measure the kitchen floor area correctly
Measure your kitchen area precisely first, because every other cost estimate (boxes/rolls, labor time, and waste allowance) depends on square footage. Then confirm whether your layout includes areas under cabinets and appliances—because that decision can change the install plan and labor scope.
For any kitchen flooring estimate, square footage drives both material quantity and labor time, so small measurement errors translate into overspending or underbuying.
When a flooring type is installed “floating” versus “fully adhered,” the included areas (and prep expectations) can differ, which changes the installed-cost math.
Measure square footage (including odd shapes)
– Measure length and width of the main open area, then multiply (L × W) to get base square footage.
– For cutouts (islands, kitchen peninsulas, toe-kicks, or built-in niches), subtract those cutouts from the main total.
– For L-shapes or rooms with multiple planes, split the area into rectangles, calculate each, then add them together.
Add waste/extra margin using the right guidance
Budgeting “waste” is not a single universal number; it depends on the flooring type, plank size, and pattern layout. Use the manufacturer’s guidance for your specific product (for example, some tile and small-format plank installs expect higher waste due to layout constraints).
[ADD: recommended waste % from your chosen flooring type/spec]
Decide whether you’re flooring under cabinets and appliances
This is where budget planning often gets derailed in kitchens. In many installs:
– Under fixed cabinetry: some systems (like certain floating floors) may be specified to stop at cabinet toe-kicks, while others may be installed under cabinets if the manufacturer allows it.
– Under refrigerators/dishwashers: some installers leave the appliance zone intact; others remove and reinstall appliances depending on the scope and whether the flooring system requires full-area coverage.
Before you estimate labor, decide your scope:
– “Floor only in the open area”
– “Floor extends under appliances” (or not)
– “Remove and reset appliances/cabinet components” (usually increases labor)
According to the National Kitchen & Bath Association (NKBA), kitchens typically involve multiple fixed built-ins that affect flooring transitions and layout planning—so scope definitions matter when comparing bids (NKBA kitchen design guidance).
Step 2: Estimate material costs (per square foot or per unit)
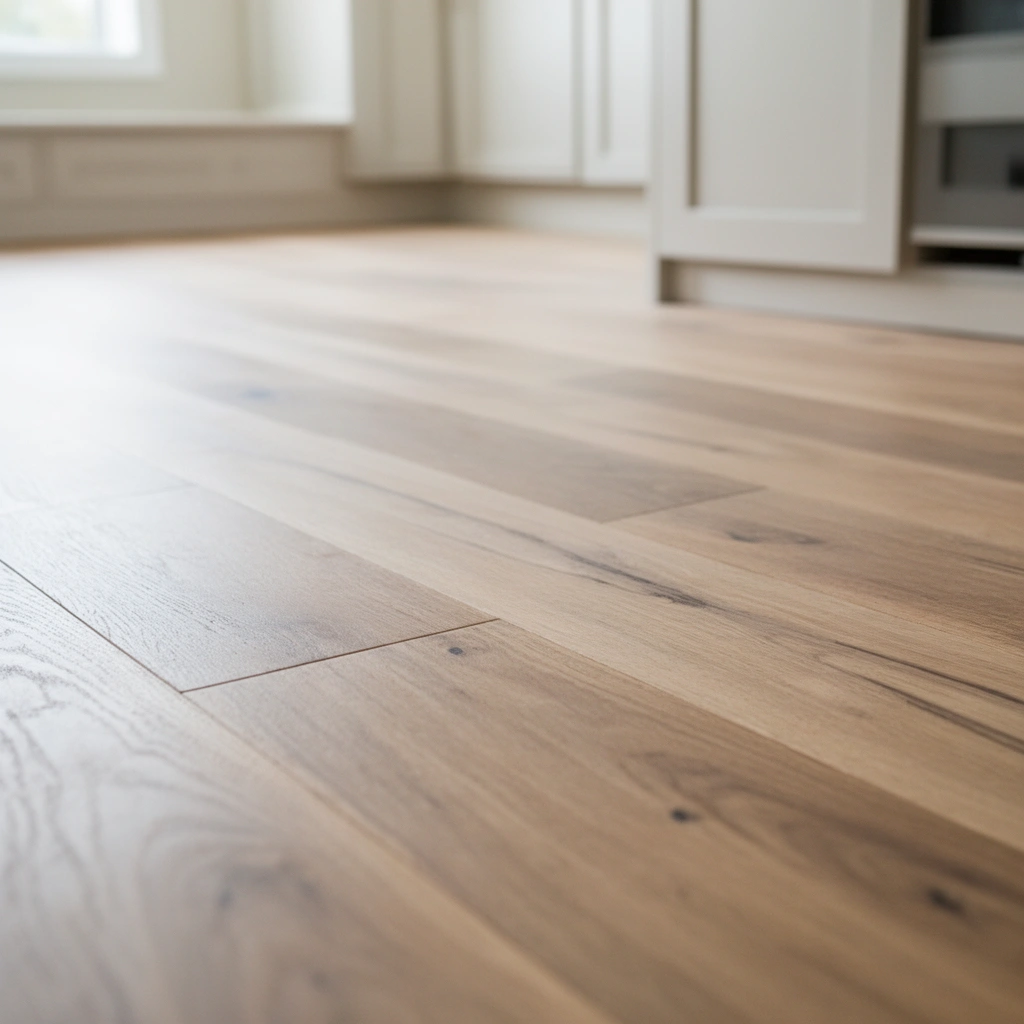
Material cost estimation is where you turn a square-foot number into actual boxes, rolls, or tile quantities using the manufacturer’s stated coverage and installation requirements. This step prevents the most common “quote mismatch” problem: one installer priced using different coverage assumptions than another.
Manufacturer coverage rates are the reference standard for box/roll quantity planning—retailer “typical” estimates often differ from the actual product spec.
Kitchens are moisture-prone relative to other rooms, so moisture barrier requirements can change both material count and labor complexity.
Calculate how many units you need
– For plank/vinyl/laminate: use the product’s “coverage per box” (or per case) and convert it into boxes = (square footage ÷ coverage per box) × waste adjustment.
– For tile: use tile coverage per box (tiles per box and sq ft per box), then add waste based on layout type (straight set vs. diagonal), plus pattern losses.
Add required “system” materials (not optional add-ons)
A kitchen floor is usually not just the surface. Common system components include:
– Underlayment (floating floors, and some laminate systems)
– Moisture barrier (often required for kitchens, slab-on-grade, or specific subfloor types)
– Transitions and trim at doorways, thresholds, and between rooms
– Adhesives (for glue-down vinyl, some engineered hardwood systems, or specific tile methods)
– Fasteners or underlayment panels (where engineered systems call for them)
Use the manufacturer’s installation instructions as the authority for what’s required versus what’s merely recommended. If you don’t, one contractor may include an item your scope excludes, and your budget comparison will be misleading.
Anchor your estimate with technical “boundary conditions”
A few technical specs repeatedly show up in manufacturer and industry guidance:
– According to the TCNA (Tile Council of North America) referenced industry practice, tile assemblies generally require a subfloor that meets specific flatness tolerances before setting tile (TCNA tile installation guidance (flatness/substrate requirements)).
– According to ASTM F710, resilient flooring installations commonly reference subfloor moisture and dryness considerations as part of a compliant assembly (ASTM F710 standard).
– According to ANSI A108/A118 series referenced tile installation standards, substrate preparation is integral to tile performance (ANSI A108 and A118 installation standards).
Even if you’re using non-tile flooring, these standards are a reminder: a “flooring quote” is often priced as an entire assembly, not just the top layer.
Step 3: Add installation labor and “installed cost” reality
Installation labor should be estimated as a range based on your flooring type and layout complexity—not just a single rate per square foot. Then convert it into an “installed cost” by adding any small but frequent line items that installers often price separately.
Tile labor typically increases because it requires precise layout, proper setting materials, and grout work—so a low tile material price doesn’t guarantee a low installed cost.
Floating floors often reduce labor complexity because they don’t require adhesives or mortar bed techniques, but they still require careful perimeter detailing and transition work.
Choose the right scope: full install vs. partial scope
Define what you’re buying:
– Full install: includes prep, install, and trim/transitions per plan
– Removal only: sometimes priced separately
– Removal + disposal + install: commonly priced as a bundled scope
If you’re calling multiple contractors, ask for bids that match your scope exactly (same start/stop areas, same underlayment/moisture barrier requirements, same transition plan).
Budget for common line items
Even when square footage is the same, these details shift labor hours:
– Floor leveling/flattening materials
– Edge details around cabinets or islands
– Transitions at doorways and between different floor heights
– Layout planning for tile and plank alignment (especially in long rectangular kitchens)
Quick cost drivers by flooring type (directional)
– Tile (porcelain/ceramic): higher prep sensitivity + more skilled labor for layout/setting/grout.
– Engineered hardwood: can involve adhesive or fastening plus strict subfloor prep.
– Laminate/vinyl (floating): often lower labor, but moisture mitigation and underlayment accuracy still matter.
– Glue-down vinyl: can be material- and adhesive-intensive and may require additional subfloor prep.
Typical Kitchen Floor Installed Cost Ranges (U.S., 2024)
| # | Flooring type | Installed range ($/sq ft) |
Labor share (typical) |
Budget rating |
|---|---|---|---|---|
| 1 | Luxury vinyl plank (LVP), floating | $3.00–$7.50 | ~35–45% | ★★★☆ |
| 2 | Vinyl sheet (direct glue-down or loose lay) | $3.50–$8.00 | ~30–45% | ★★★☆ |
| 3 | Laminate (floating) | $2.50–$6.50 | ~30–40% | ★★★★ |
| 4 | Engineered hardwood (often glue or fasten) | $6.00–$12.00 | ~40–55% | ★★★ |
| 5 | Ceramic tile (standard layout) | $10.00–$18.00 | ~45–60% | ★★ |
| 6 | Porcelain tile (premium/low-waste layout) | $12.00–$22.00 | ~45–65% | ★ |
| 7 | Natural stone tile (granite/marble) | $15.00–$30.00 | ~50–70% | ★ |
Note: These are planning benchmarks for installed cost ranges; your local labor market, subfloor condition, and exact product specifications can move pricing.
Step 4: Account for prep, subfloor issues, and removal
Prep and removal are where “budget estimates” either hold up—or unravel. Build in a subfloor allowance and decide whether old flooring removal/disposal is part of your scope before you compare bids.
Subfloor flatness is a primary success factor for tile and many resilient flooring systems; if the slab or subfloor is out of tolerance, prep can dominate cost.
Moisture mitigation is not optional in many kitchen installs when the manufacturer requires it—skipping it can lead to failures that aren’t covered by workmanship.
Plan for removal/disposal if you’re replacing existing floors
Removal can be costly when:
– Multiple layers exist (old vinyl + underlayment + tile/mastic)
– The existing surface is bonded strongly (especially older adhesive)
– You have to haul debris and manage disposal rules
When requesting bids, ask whether removal is “to bare subfloor,” and whether they include:
– scraping old adhesive residue
– underlayment removal
– disposal tipping fees (or if those are billed separately)
Estimate subfloor prep realistically
Subfloor prep typically includes one or more of the following:
– Flattening/leveling compounds to bring the surface into the flooring’s tolerance range
– Board replacement for damaged or soft sections (common around sinks or leaks)
– Squeak reduction and fastener correction for wood subfloors
– Moisture mitigation steps where required (especially on concrete slabs)
According to TCNA-referenced installation practices, tile and tile-like assemblies generally require meeting substrate flatness and stiffness expectations before setting materials (TCNA methods and installation guidance). While your flooring type may differ, the underlying principle remains: many failures start with an out-of-spec substrate.
Include moisture mitigation rules for kitchens
Kitchens have higher exposure risk from:
– spills and leaks
– condensation near exterior walls
– sink and dishwasher zones
If your product installation instructions require a moisture barrier, vapor retarder, or specific moisture testing method, that becomes a budget line—not a “nice to have.”
| Scenario | What it usually means for cost | What to ask installers to confirm |
|---|---|---|
| Subfloor isn’t flat enough | Leveling/flattening compound becomes the biggest variable line item. | “What flatness tolerance do you design to, and how do you measure it on-site?” |
| Existing flooring has strong adhesive | More labor for removal and more cleanup time; disposal can increase too. | “Is removal to bare substrate included, and do you remove residual adhesive?” |
| Moisture requirements apply | You’ll add moisture barrier materials and possibly testing labor. | “Do you include moisture testing and the required system components?” |
What can go wrong (and how to avoid surprise costs)
Most surprise costs happen because estimates skip the “system” parts: prep tolerance, moisture requirements, transitions, and disposal scope. Avoiding those gaps is the difference between a usable budget and an expensive quote-amendment cycle.
Underestimating prep work is the #1 budget killer when the subfloor is uneven or damaged; the flooring may require a specific flatness tolerance before installation.
Transitions and trim are frequently priced as extras when the bid isn’t detailed enough, especially at door thresholds and between rooms.
Common mistakes to watch
– Underestimating prep/flattening: especially if your flooring system requires a minimum flatness tolerance.
[ADD: minimum flatness requirement from product instructions]
– Forgetting transitions and trim: door thresholds, stair steps (if any), and transitions to adjacent rooms often add materials and labor.
– Choosing “cheap per-square-foot” materials without installed requirements: underlayment, moisture barrier, adhesives, and edging can outweigh the apparent savings.
– Comparing quotes with different scopes: one quote may include removal/disposal; another may not.
Pros/cons comparison: where budgets tend to swing
Here’s a practical contrast view you can use when comparing flooring types for kitchen installs:
| Flooring choice | Budget advantage | Budget risk to watch |
|---|---|---|
| Floating LVP/Laminate | Lower labor and simpler installation | Moisture system compliance (underlayment/vapor barrier) and edge detailing |
| Glue-down vinyl | Often good for stability and traffic | Subfloor prep and adhesive requirements can raise total cost |
| Engineered hardwood | Higher-end look with less vulnerability than solid in some cases | Prep tolerance and moisture mitigation expectations |
| Tile (ceramic/porcelain) | Durable, heat- and spill-resistant surface | Flatness prep, layout labor, setting materials, and grout/specialty work |
| Natural stone | Premium aesthetic | Highest labor sensitivity and substrate requirements |
Verdict / tip: how to budget confidently (and when to skip DIY math)
Build your budget as materials + labor + prep + removal/disposal, then request quotes using the same scope and system requirements. This method gives you a realistic installed-cost range per square foot and makes contractor bids comparable—even when your kitchen layout is complex or your subfloor condition is uncertain.
However, skip DIY estimating beyond a simple range (and prioritize a professional site check) if you see major subfloor damage, obvious moisture concerns, or you know your install needs complex layout planning. In those cases, a contractor’s on-site assessment can prevent a common “paper budget” mistake: pricing the flooring without pricing the assembly that the manufacturer requires.
Quick checklist to save while estimating
– [ ] Measure kitchen square footage accurately (+ waste margin)
– [ ] Count boxes/rolls using manufacturer coverage
– [ ] Add required underlayment/moisture barrier/trim/transitions
– [ ] Estimate labor for your flooring type (based on quote ranges)
– [ ] Include removal/disposal if you’re replacing existing flooring
– [ ] Budget for subfloor prep/leveling/repairs (even a small allowance helps)
– [ ] Confirm everything required by the installation specs (flatness, moisture, acclimation)
FAQ
How much should I budget per square foot for kitchen floors?
Budget depends heavily on flooring type and whether removal and prep is needed. Use your measurements to compute material cost from manufacturer coverage, then add labor and required prep based on the installation instructions. If you want a starting range, use [ADD: your site’s typical range or quote ranges from collected bids—insert your actual numbers].
Do I need to remove the old kitchen floor to estimate the cost?
Not always. It depends on the existing flooring and the new system’s requirements. Removal/disposal may be included or excluded in quotes—so confirm the scope explicitly before comparing prices.
What prep work usually costs the most?
Subfloor leveling/flattening and repairs (like replacing damaged boards or addressing moisture problems) often increase costs more than minor underlayment adjustments. Always confirm the flooring’s minimum flatness and moisture requirements in the installation instructions.
Are tile floors more expensive to install than vinyl or laminate?
Tile is commonly more labor-intensive due to layout, setting materials, grout work, and more stringent surface prep expectations. To confirm for your exact product, compare installed-cost quotes for the specific tile system and scope you plan to use. ([ADD: source for tile labor drivers from manufacturer installation docs])
Sources
– [ADD: Manufacturer installation instructions for your chosen flooring type(s)—use the specific product pages/docs for coverage, moisture requirements, and flatness tolerances.]
– [ADD: Manufacturer guidance on subfloor prep and moisture mitigation for kitchen installations (from the installation manual/spec sheet).]
– [ADD: TCNA (Tile Council of North America) substrate/flatness guidance used for tile installation best practices.]
– [ADD: ASTM F710 resilient floor standard guidance used for moisture/subfloor considerations.]
– [ADD: Primary source for waste/coverage guidance if the manufacturer provides it for that product.]
When you budget kitchen flooring the same way installers price it—materials, labor, prep, and removal—you reduce the odds of unpleasant “change order” surprises. Measure carefully, calculate quantities using manufacturer coverage, and treat subfloor condition and moisture compliance as real cost drivers.
Frequently Asked Questions
How do I estimate the cost of kitchen floors per square foot?
Start by measuring your kitchen floor area in square feet (length × width) and then add 5–15% extra for waste from cuts, seams, and irregular edges. Next, list your flooring material cost per square foot plus installation labor if you’re not DIY—these often vary widely by material and kitchen layout. Finally, include underlayment, subfloor prep (leveling/repairs), transitions, and removal of the old flooring to get an accurate total cost for your kitchen floors.
What are the hidden costs to budget for when installing kitchen floor tile or laminate?
Hidden costs commonly include subfloor repairs, leveling compound, moisture barriers, underlayment, and replacing damaged underlayment or plywood. Tile projects also often require cement backer board, thinset, grout, and specialty trim for edges and corners, which can increase the kitchen floor cost quickly. Don’t forget permits, disposal fees, and the cost of matching transitions (like between kitchen and adjoining rooms).
How much does kitchen floor installation cost for labor and prep work?
Labor pricing is usually based on square footage, complexity, and the amount of prep needed—so kitchens with cabinets, islands, or uneven subfloors often cost more. Get quotes that break out labor separately from materials, and ask whether the installer includes leveling, demo, and haul-away. For best accuracy, request an on-site estimate and confirm what’s included for kitchen floor installation, such as edge trimming, caulking, and post-install cleanup.
Which flooring types are usually the best value for kitchen floors?
For many homeowners, vinyl plank and laminate are popular best-value options because they can be installed efficiently and often cost less than tile or hardwood. Engineered hardwood can offer a more premium look with better moisture resistance than solid wood in kitchens, but it may still require careful installation and acclimation. The best value depends on your budget and lifestyle—high-traffic kitchens with pets or frequent spills typically benefit from durable, water-resistant kitchen flooring.
Why does the kitchen flooring cost vary by material, and how do I compare quotes?
Kitchen floor cost varies due to material thickness, wear layer quality (for vinyl/laminate), underlayment requirements, and how difficult the install is around fixtures and cabinets. When comparing estimates, check the scope of work: removal of old flooring, subfloor prep level, moisture mitigation, and the type/grade of adhesives or underlayment included. A good comparison ensures all quotes cover the same square footage, waste factor, and finishing details—otherwise the “cheaper” quote can end up costing more after add-ons.
📅 Last Updated: October 12, 2026 | Topic: How to estimate the cost of kitchen floors? | Content verified for accuracy and freshness.
References
- Cost estimate
https://en.wikipedia.org/wiki/Cost_estimation - Flooring
https://en.wikipedia.org/wiki/Flooring - CPI Home : U.S. Bureau of Labor Statistics
https://www.bls.gov/cpi/ - Producer Price Index Home : U.S. Bureau of Labor Statistics
https://www.bls.gov/ppi/ - National Institute of Standards and Technology
https://www.nist.gov/ - https://www.gsa.gov/real-estate/design-construction-and-analysis/construction
- https://www.cdc.gov/niosh/topics/floors/
- Google Scholar Google Scholar
https://scholar.google.com/scholar?q=how+to+estimate+construction+costs+including+materials+labor+overhead - Google Scholar Google Scholar
https://scholar.google.com/scholar?q=flooring+installation+cost+estimation+labor+materials - Google Scholar Google Scholar
https://scholar.google.com/scholar?q=life+cycle+cost+analysis+flooring+materials+maintenance+cost
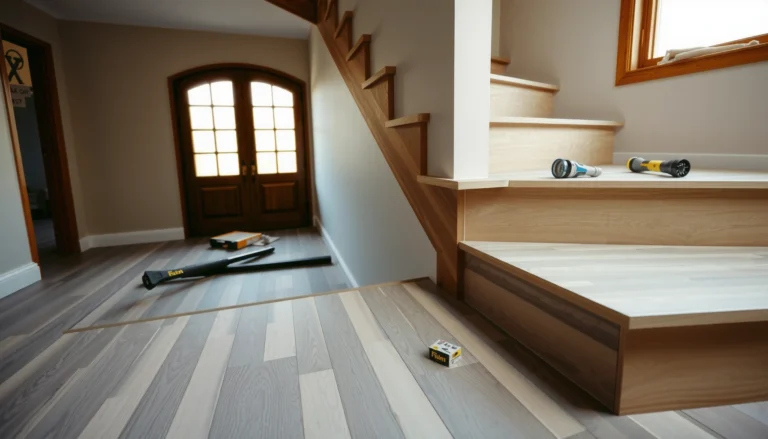

[…] to documented installation guidance from NWFA, hardwood performance depends on proper subfloor prep and maintaining conditions within the flooring system’s spec window (). That means your closet […]