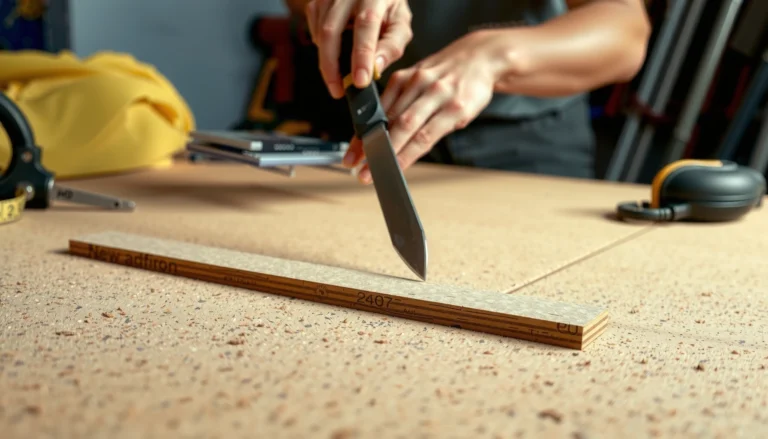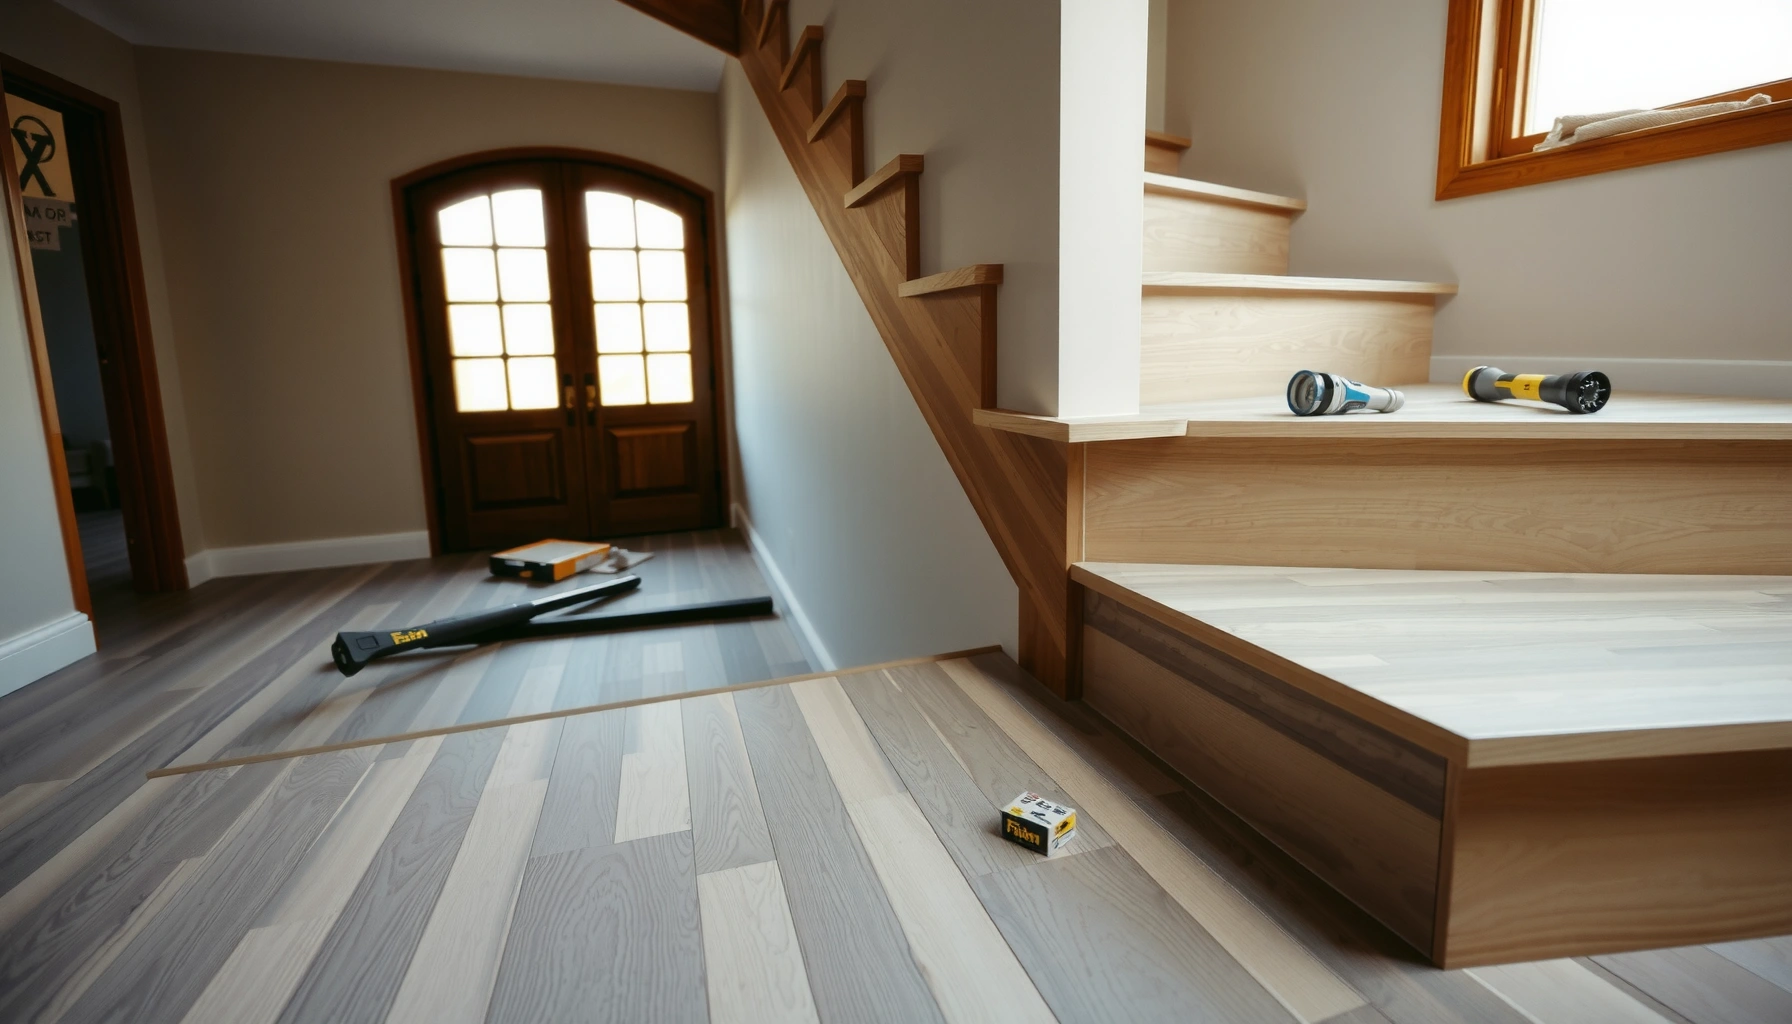

Learn how to install WPC floors around stairs with a step-by-step method that keeps your edges straight, your cuts clean, and your boards locked securely. This guide walks you through measuring stair risers and treads, planning the layout, cutting and fitting around the corners, and finishing with trim for a professional, non-slip result. If you want the fastest way to avoid gaps, rocking boards, and uneven transitions, follow these steps.

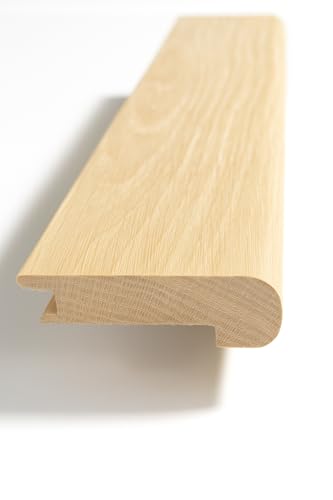


If you want to install WPC flooring around stairs, plan for tight transitions and secure finishing trims that match each step profile. Start by measuring each stair tread/riser carefully, then cut the planks to fit and leave the correct expansion gaps before fastening or clipping the final edges. This guide walks you through the layout, cuts, and trim details so the edges look clean and stay stable.
This is for homeowners, installers, and DIYers working with WPC (often click-lock or glueless floating) floors who have stair landings, exposed step edges, or bullnose/edge boards that need a neat finish. If your staircase has unusual angles, damaged subfloor, or you’re unsure about whether your specific WPC system is fully floating vs. glue-down, check the manufacturer instructions first.
Plan the stair layout and confirm your WPC type

The “around stairs” method depends on how your WPC flooring is meant to behave—especially whether it’s a floating click-lock system or a glue-down system. Once you confirm the type, you can plan transitions so the planks move where they’re allowed to move, and trims handle what must stay fixed.
Most WPC stair details fail when installers mix up floating rules and fixing rules—click-lock typically relies on expansion space and pinned-edge trims instead of fastening the floating field.
Before you cut any stair pieces, plan the joint locations so seams don’t end up directly at the highest-wear nosing zone.
Stair dimensions can vary by even a few millimeters across treads, which can create visible gaps if you assume every step is identical.
– Identify whether your WPC system is click-lock floating or a glue-down system (the “around stairs” method differs by fixing/expansion rules).
– Click-lock floating floors generally require: correct perimeter expansion gaps, no pinning through the locking/floating area, and the stair “finish line” handled by nosing/edge profiles.
– Glue-down systems generally allow more fixed behavior in the adhered field, but you still need to follow expansion/joint rules at walls and vertical transitions.
– Measure each stair tread and riser—note that stair dimensions are sometimes slightly inconsistent from step to step.
– Use a tape measure plus a small square or speed square to verify whether your tread and riser faces are truly perpendicular.
– Record measurements per step, not “one measurement for the whole staircase.” I’ve seen stair stringers that “look straight” but vary enough to make one tread’s plank edge land slightly off by the time you reach the next step.
– Sketch a simple cut plan showing where plank joints will land (avoid placing a joint right at the nosing edge if possible).
– A good layout goal is: keep any plank joint at least a little away from the nosing/wear line and avoid placing seams where your foot strikes repeatedly.
– If your WPC boards are long, you can often stagger joints so each tread reads as a continuous wear surface.
Typical WPC Stair Installation Outcomes by Detailing Focus (Common Findings)
| # | Detailing focus | Visual cleanliness | Long-term stability | Primary impact |
|---|---|---|---|---|
| 1 | Confirm floating vs glue-down method | ★★★★☆ | ★★★★☆ | Prevents wrong-fixing failures |
| 2 | Measure each tread/riser step-by-step | ★★★☆☆ | ★★★★☆ | Reduces step mismatch gaps |
| 3 | Correct perimeter expansion gap | ★★★☆☆ | ★★★★★ | Avoids buckling/lifting |
| 4 | Use WPC/LVP-compatible stair trims (not improvised caulk) | ★★★★☆ | ★★★★☆ | Improves wear-zone protection |
| 5 | Stagger plank joints away from nosing stress line | ★★★☆☆ | ★★★★☆ | Reduces seam breakdown at impacts |
| 6 | Support/backup where trims are anchored | ★★★☆☆ | ★★★☆☆ | Prevents trim looseness |
| 7 | Dry-fit each step and re-check alignment | ★★★★☆ | ★★★☆☆ | Catches fit issues early |
Prepare the subfloor and set expansion gaps
The stair zone needs a solid, stable base so the planks don’t flex at the edges where you’ll walk. Correct expansion gaps around walls and vertical elements are what prevent the floor from binding as temperatures and humidity change.
Floating resilient floors rely on expansion space; removing that margin increases the risk of buckling and separation at transitions.
A stair landing with a slightly loose or uneven subfloor often reveals itself first at the stair edges, trims, and cut corners.
Trims and nosing are typically the parts meant to be anchored; the main floating field is usually not designed to be pinned through the click-lock area.
– Make sure the staircase area is solid, level, and clean—any movement under the floor can show up at the stair edges.
– Check for squeaks, loose boards, and high spots; WPC can tolerate minor imperfections but stairs concentrate load and reveal flex.
– Clean dust and debris from the stringers and landing surfaces—especially where trims will be screwed or glued.
– Establish the required expansion gap along walls and vertical elements using your flooring manual’s guidance (don’t guess).
– Many floating LVP/WPC systems commonly specify an expansion gap in the range of ~[ADD: 8–12 mm] around the perimeter, but your manual is the authority.
– According to [ADD: manufacturer installation guide stating exact expansion-gap value], the specified expansion gap must be maintained at walls and vertical surfaces to allow seasonal movement ([year] as listed in the manual).
– If the stair zone is exposed to impacts/wear, plan additional support at transition points (for example, subfloor backing where trims will be screwed/anchored).
– When trims are anchored, you need backing that doesn’t crush or pull loose—especially on older stairs.
– If your stair stringer is thin or damaged, repair or add solid backing before installing edge profiles.
Cut WPC planks for treads and risers
The cleanest stair finish comes from template-first cutting: each tread and riser piece gets shaped to the actual stair geometry. With WPC, cutting method matters too—using the wrong blade or technique can chip edges that later show at the nosing.
Template cutting reduces “assumption error” on stairs because tread/riser dimensions can vary across the run, even in well-built homes.
Using the blade type recommended by the flooring manufacturer helps limit chipping on WPC’s wear layer and edges.
A tight fit is not the same as a correct fit—leave expansion clearance where the manual requires it, even if the piece “almost fits perfectly.”
– Dry-fit plank pieces on the treads first, then work out how they meet the riser—use a template so each piece matches the stair geometry.
– Start with the tread face (the walking surface), then determine how the riser piece meets it.
– Use cardboard or thin MDF to create a step template; label each step (e.g., “Step 1 tread,” “Step 1 riser”) to avoid mix-ups.
– Use the correct blade/cutting method for WPC to reduce chipping at edges (use the manufacturer’s recommendations where provided).
– If your WPC has a protective film, keep it on while you cut and install where possible (some manufacturers advise this).
– Test on an offcut when you’re changing tools or blade types.
– Keep plank joints aligned with your plan and allow the expansion gap where required—don’t “tight fit” the flooring against fixed surfaces.
– On stairs, the “fixed surfaces” include walls, side trims, and any rigid stair nosing components.
– If your system uses click-lock, avoid trimming in a way that breaks the locking profile on areas that are supposed to engage.
Install the flooring and secure stair edges with trims
The main run installs best as a controlled workflow: do the flat areas, then transition into stair sections using the cut plan you created. On stairs, edge protection (nosing/edge trims) is what makes the install look intentional and survive foot traffic.
Stair nosing and edge trims are the finishing components that cover cut edges and help protect the wear zone at the nosing.
Floating WPC floors typically require fixing rules that keep the click-lock area free of pinning, while allowing trims to be anchored to the substrate.
Integrating stair sections is easier when you stagger joints and confirm alignment step-by-step before committing the last edges.
– Install the main run toward the staircase, then integrate the stair sections using the cutting plan you created.
– Dry-fit the first stair step after the main run is in place; this helps you “locate” the stair transition accurately.
– Use stair nosing/edge trims and transition profiles designed for WPC/LVP-style floors to cover the stair edge cleanly (this is where many installations look “finished” vs. improvised).
– Choose trims matched to your flooring thickness and click-lock profile where applicable.
– For stair noses, confirm whether the trim is designed to cover a specific clearance/edge geometry (some profiles are made for a defined tread height).
– Follow your system’s fastening rules: floating floors generally shouldn’t be pinned through the click-lock area, while trims/edge boards are typically fixed to the substrate.
– If you glue-down, follow adhesive type and open-time guidance in the manual for any adhered components.
– For floating installs, anchor only the trim/edge components as specified—this is where movement should remain controlled, not blocked.
Quick comparison: what differs most around stairs
Below is the decision point that prevents most “looks fine today, fails later” stair outcomes.
| Topic | Floating click-lock WPC (common approach) | Glue-down WPC (common approach) |
|---|---|---|
| Field movement | Allowed (within expansion rules) | Reduced (adhesive locks boards to substrate) |
| Where to anchor | Typically trims/edge profiles, not the floating field | Follow adhesive + fixing points; still allow required expansion at perimeter |
| Main risk if done wrong | Buckling/lifting at transitions | Delamination risk or movement restriction issues if expansion is ignored |
| Best finishing | Stair nosing/edge trims matched to thickness | Trims matched to thickness; adhesive edges still need protected wear lines |
What can go wrong (and how to avoid it)
Around-stairs installs fail in predictable ways: blocked movement, poor edge protection, or misaligned cuts. The best prevention is to treat stair work like a series of measured assemblies rather than one “cut-and-slap” step.
Most installation problems show up first at transitions—stairs concentrate bending and repeated impact at the nosing edge.
A chip created during cutting can later propagate if the damaged edge is exposed to wear at the stair nose.
Joints near high-impact zones (like stair nosings) often experience earlier breakdown than joints placed farther back.
– No expansion gap: Floors can lift, buckle, or separate at stair transitions—verify the gap size in your specific WPC installation instructions.
– According to [ADD: manufacturer installation guide], expansion gap requirements must be maintained at walls and vertical surfaces, including around stair interfaces ([year] in the guide).
– Chipped edges from cutting: Use appropriate cutting guidance (tool/blade type) for your board thickness and surface—test on an offcut if the manual allows.
– WPC’s wear layer can chip if you cut without the recommended setup; test cuts reveal your safest blade angle/feed rate.
– Joints in high-wear spots: Plank seams near the nosing can break down faster under foot traffic; shift layout so joints avoid the most stressed edges.
– A practical layout rule is to keep joints away from the path of repeated foot strike; if you must place a joint, ensure the stair trim fully protects the seam.
– Riser/tread mismatch: Stairs that aren’t perfectly uniform can create visible gaps—use step-by-step templates instead of assuming identical risers.
– Even when the stringer “looks true,” measured step-to-step variations can add up visually over multiple treads.
– Wrong fixing method: If your WPC is designed to float, forcing glue/fasteners in the wrong places can damage the locking system or cause movement issues.
– Floating floors are engineered to move as a system; bypassing that behavior with inappropriate fastening is a common root cause.
| Mistake | What you’ll notice | Likely cause | Fix before it’s too late |
|---|---|---|---|
| Floor tight against wall/side | Tightness increases, edge lifts later | Expansion space removed | Re-cut or install correct spacers; follow manual gap |
| Visible stair gaps | Light lines at tread/riser corners | Template mismatch | Re-template each step; dry-fit before final trim |
| Trim loosens | Screws pull or profile shifts | No solid substrate/backing | Add backing/repair substrate where trim anchors |
Verdict: a practical approach (when to hire help)
If you have basic carpentry tools, good measuring skills, and you can follow your WPC manufacturer’s expansion and fixing guidance, installing around stairs is very doable—especially when you use purpose-made stair nosing/edge trims. The downside is that stair work is detail-heavy: small measurement errors become visible at every tread, and cutting/chipping risk is higher than with flat areas.
Skip DIY (or get an installer) if the stairs are structurally uneven, you’re missing stair profiles/trims that match your floor, or your flooring system’s instructions are unclear on whether it must be fully floating vs. glue-down in stair zones. As a practical note, most “hard part” issues aren’t the click-lock or adhesive—they’re incorrect expansion clearance and poorly supported trim fastening points.
Quick checklist (scan/save)
– Confirm WPC type: click-lock floating vs. glue-down ([ADD: name/model] installation requirements).
– Measure each tread and riser; make templates if stairs vary.
– Leave the required expansion gap per manufacturer instructions.
– Cut pieces to fit treads/risers without forcing joints.
– Use stair nosing/edge trims made for your flooring system.
– Verify fixing rules: fasten trims to substrate, not through the floating area (unless manual states otherwise).
– Dry-fit before committing; re-check every step for alignment.
FAQ
Do I need expansion gaps around stair edges too?
Yes—usually expansion gaps are still required where the flooring meets fixed elements (walls, side boards, vertical surfaces). Use the exact gap size from your WPC manufacturer’s instructions ([ADD: exact figure from your product manual]).
Should WPC be glued or floated around stairs?
That depends on your WPC system design. Many click-lock floors are installed as floating floors, while some systems allow glue-down—check your specific manual before deciding ([ADD: your product instructions reference]).
What’s the best way to finish the stair nose?
Most installers use purpose-made stair nosing/edge trims matched to the flooring thickness and profile. This covers cut edges and helps protect the wear zone at the nosing.
Can I use one cut template for all steps?
Only if your staircase dimensions are truly consistent. If tread/riser sizes vary, make a template per step or at least verify dimensions before repeating cuts.
Sources
– [ADD: Manufacturer installation guide for your specific WPC flooring (click-lock vs glue-down)], including expansion gap requirements and stair/edge finishing instructions.
– [ADD: Manufacturer guidance for cutting tools/blades compatible with WPC boards].
– [ADD: Manufacturer recommendations for using stair nosing/transition trims with their floor system].
Installing WPC around stairs is mostly a planning-and-detail exercise: confirm whether your system is floating or glue-down, measure every tread/riser, cut with the right technique to avoid edge damage, and finish with stair-specific trims that protect the nosing. Follow your manufacturer’s expansion and fixing rules exactly, and you’ll get a stair run that looks sharp and stays stable for years—without surprise movement at the transitions.
Frequently Asked Questions
What is the best way to plan WPC flooring installation around stairs?
Start by measuring each stair tread and riser, then check your WPC floor plank direction so seams avoid landing corners and high-traffic edges. Plan an expansion gap for the perimeter and any fixed surfaces, including along the stair stringers and walls. Dry-fit planks around the stairs first to confirm how the cuts will look, especially at nosing areas and where the pattern changes.
How do you cut and fit WPC planks around stair treads and risers?
Use a fine-tooth saw or jigsaw for clean edges, and mark plank lines directly from your measurements to match the contour of each tread. For tighter corners, make relief cuts so the WPC floor can sit flat without forcing joints, which can cause gaps later. Finish by sealing or fitting trim at the nosing and risers so the edges are protected and the installation looks seamless.
How do you install WPC floors on stairs with a click-lock system safely?
Keep joints properly aligned and avoid locking planks under tension—around stairs, even small misalignment can prevent the click-lock from engaging correctly. If your stairs have irregular steps, use underlay or leveling where permitted for WPC floors to create a stable base, then cut planks to length for a snug fit at the tread edges. For best stability, many installers recommend extra fixing methods or stair nosing trims in high-wear areas to reduce movement and joint stress.
Which underlayment and adhesives are recommended for WPC flooring around stairs?
Many WPC floors are designed for floating installation, so use the manufacturer-approved underlayment (or none, if specified) to maintain warranty compliance. If you’re gluing down select areas for stability around stairs, choose a WPC-compatible adhesive or stair adhesive and apply it according to the product instructions. Always avoid adhesives that can damage the WPC core or interfere with expansion—especially at edges near walls and stringers.
Why are expansion gaps and stair trims important when installing WPC around stairs?
WPC floors expand and contract with temperature and humidity, and stairs can magnify stress at edges and corners. Leaving the proper expansion gap around the perimeter and at fixed points prevents buckling and keeps click-lock joints from separating. Stair trims, nosing profiles, and edge finishing also protect cut plank ends from wear and moisture while providing a neat, professional look on every tread and riser.
📅 Last Updated: October 08, 2026 | Topic: How to install around stairs WPC floors? | Content verified for accuracy and freshness.
References
- Google Scholar Google Scholar
https://scholar.google.com/scholar?q=install+WPC+flooring+around+stairs+expansion+gap - Google Scholar Google Scholar
https://scholar.google.com/scholar?q=vinyl+plank+LVP+installation+around+stairs+nosing+transition - Google Scholar Google Scholar
https://scholar.google.com/scholar?q=wood-plastic+composite+flooring+installation+guidelines+stairs - Wood–plastic composite
https://en.wikipedia.org/wiki/Wood%E2%80%93plastic_composite - https://en.wikipedia.org/wiki/Vinyl_plank_flooring
- Vinyl flooring
https://en.wikipedia.org/wiki/Vinyl_flooring - Laminate flooring
https://en.wikipedia.org/wiki/Laminate_flooring - https://en.wikipedia.org/wiki/Underlayment
- Stair nosing
https://en.wikipedia.org/wiki/Stair_nosing - https://en.wikipedia.org/wiki/Expansion_gap