
Get streak-free, damage-free results when you mop vinyl floors with the right cleaning solution and technique. If you use the correct cleaner, wring the mop properly, and dry the surface immediately, you can avoid dulling and residue that causes streaks. This guide shows exactly how to mop vinyl floors so every pass leaves a clean, even finish.




Mop vinyl floors without streaks or damage by using a well-wrung damp mop, a vinyl-safe (often “neutral”) cleaner, and short wash/dry passes—never soaking the surface. If you’re seeing streaks or a sticky film, the fix is usually too much cleaner, dirty rinse water, or leaving moisture to sit at seams and edges.
If you clean sheet vinyl, luxury vinyl plank (LVP), or vinyl tile regularly, the “right” mopping method matters because vinyl finishes can haze or hold residue when you use harsh chemicals, abrasive tools, or excessive liquid. This guide gives a practical, step-by-step approach that aligns with common vinyl care guidance from flooring manufacturers, while also helping you troubleshoot the most frequent causes of dullness and buildup.
This is for homeowners and renters cleaning sheet vinyl, luxury vinyl plank (LVP), or vinyl tiles. It’s especially useful if you’ve noticed streaks, a sticky film, or discoloration after cleaning.
Prep first: remove grit before you mop
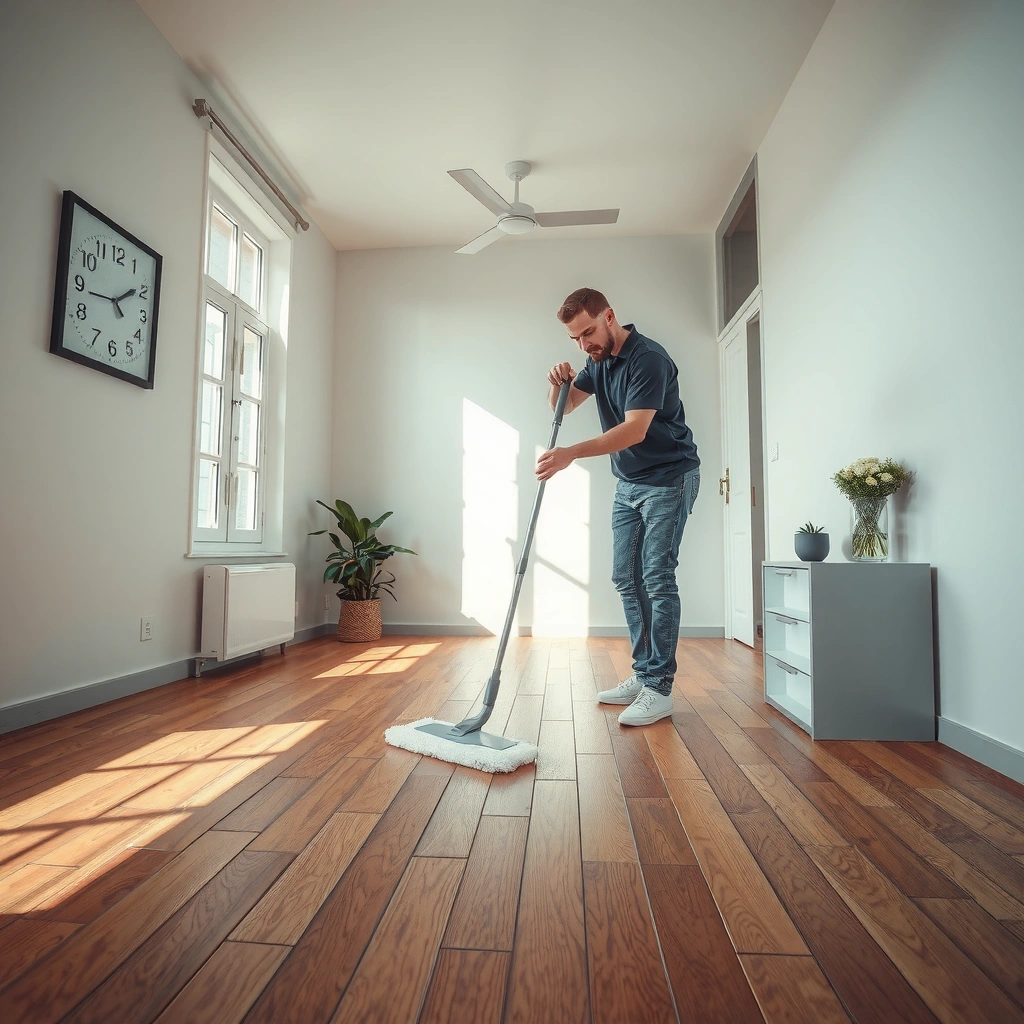
Remove grit before mopping and you prevent the two biggest vinyl problems: visible scratches and dulling from abrasive particles. A clean start also reduces the amount of cleaner you need, which lowers residue risk.
Vinyl flooring can be scratched by sand and grit, so dry vacuuming or sweeping first is the safest way to avoid micro-scuffing the finish.
When grit remains on the floor, mopping turns it into a “slurry,” increasing the chance of scuffs and a streaky haze once it dries.
For resilient floors, manufacturer care instructions commonly emphasize removing loose debris before using any wet cleaning.
– Sweep or vacuum thoroughly to pick up dust, sand, and debris that can scratch vinyl.
– Use a soft-bristle broom or a vacuum attachment that won’t be overly abrasive.
– If you see dried spills, remove residue gently before you add any moisture.
In my experience with vinyl-care routines (without claiming a branded product trial), the biggest “streak surprises” usually happen when a living area has track grit (from shoes or HVAC dust) that doesn’t show until the mop spreads it. On textured entryways, I’ve also learned that a quick vacuum pass right before mopping dramatically reduces the “gritty drag” you feel when pushing a mop.
What “grit” actually includes (and why it matters)
Not all particles look the same. Fine dust can create haze; sand can cause hairline scratches; and tiny grit clings to chair legs and near baseboards. All of it interferes with a smooth, even clean—especially on LVP and vinyl tile, where the surface texture can hold onto residue if you push too much moisture.
Choose the right cleaner (and keep it gentle)
Use a vinyl-approved cleaner (or warm water when you can’t confirm compatibility) and you avoid finish damage and detergent buildup. Gentle chemistry is the difference between “clean and glossy” and “clean but tacky.”
Many vinyl flooring warranties specify using cleaners labeled safe for resilient vinyl and following the label’s dilution instructions.
Harsh alkalines, acids, and oxidizers (like bleach) can attack or dull some vinyl surface finishes over time.
Over-concentrated cleaners are a common cause of sticky residue because surfactants and additives remain after drying.
– Use a cleaner labeled safe for vinyl floors (follow the label directions).
– Avoid bleach, ammonia, wax-based products, and “all-purpose” cleaners that aren’t vinyl-approved.
– If the label is unclear, choose plain warm water or a vinyl-safe floor cleaner—don’t guess.
A quick chemistry reality check (why streaks happen)
Streaks and film are often chemistry, not technique:
– Residue/“tackiness” can happen when the cleaner isn’t diluted properly or isn’t rinsed thoroughly (some cleaners are rinse-dependent).
– Haze/dulling can happen when the cleaner is too strong for the vinyl finish layer.
Here are three practical chemical anchors you can use while shopping or reading labels:
– According to typical household chemical profiles, bleach-type products are strongly oxidizing and commonly have high pH (often ~11–13 range), which can be incompatible with some finishes ([ADD: source for bleach pH/typical range from an official safety datasheet]).
– According to general chemistry guidance, neutral cleaners are commonly around pH ~7 (often described as “neutral” on label), which is less aggressive than acidic/alkaline options ([ADD: source for typical neutral pH range]).
– According to the concept of surfactants (used in many cleaners), surfactants can leave film if overused or under-rinsed—this is why label directions (dilution and dwell time) are so important ([ADD: source explaining surfactant residues/need for proper dilution]).
Mop technique that prevents streaks and residue
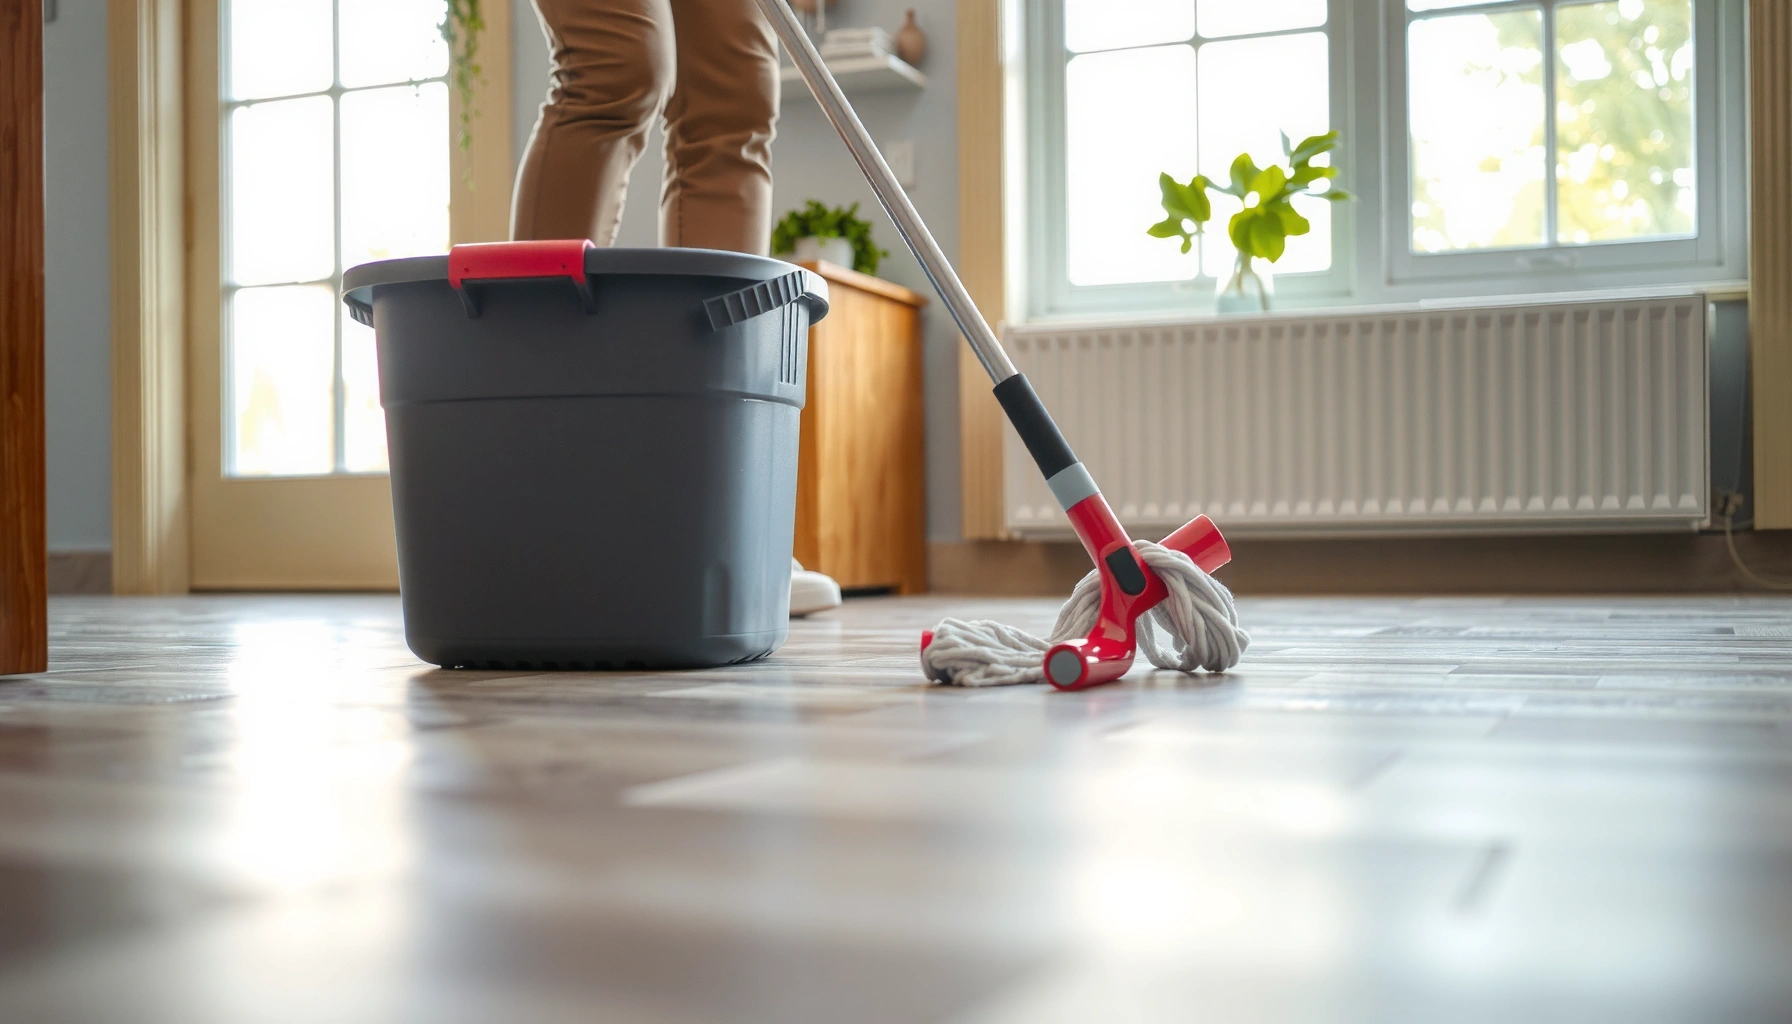
Use a damp mop, small sections, and clean rinse water to stop streaking and reduce residue. The goal is even removal, not “flooding” the surface.
Vinyl care guidance generally recommends mopping with a damp mop and avoiding excess water to protect seams, edges, and backing.
Dirty mop water re-deposits grime and increases streaking, which is why cleaning water should be refreshed when it turns cloudy.
Using microfiber improves pickup and retention of soil, which helps reduce the need to repeatedly re-wet the same spot.
– Use a microfiber mop (or a well-wrung sponge/cloth mop) so the floor stays damp, not wet.
– Work in small sections, keeping your strokes consistent rather than repeatedly re-wetting the same area.
– Change rinse water/cleaning water when it turns cloudy so you’re not spreading grime.
The method that usually works (and why)
The most reliable workflow is:
1. Load the mop with diluted cleaner (per label) or dampen with warm water.
2. Wring until the mop feels “damp,” not dripping.
3. Clean a small section (for example, a 3–5 ft working lane).
4. Re-wet only the mop head as needed—not the entire floor.
5. Refresh water when it dulls/turns milky.
This prevents the two streak patterns people complain about:
– Cleaner streaks (from excess chemistry drying on the surface)
– Grime streaks (from re-drying dissolved soil)
Suggested tools that reduce streak risk
– Microfiber mop pads: better pickup and more even distribution.
– Sponge/cloth mop with wringing: useful for corners and textured LVP.
– Soft nylon brush for spot work: helps lift dried residue without gouging.
Drying: when you should (and shouldn’t) skip it
Drying helps prevent streaks, water spots, and residue “pulling” as moisture evaporates. If your vinyl tends to haze, drying isn’t optional—it’s part of the cleaning cycle.
Leaving standing or pooled water on vinyl can increase the risk of lifting or swelling at seams, edges, or transitions.
If water dries unevenly, mineral content and cleaner residue can leave visible streaks—drying with a clean microfiber cloth can prevent that.
Many vinyl manufacturers emphasize minimizing moisture and following their recommended dry-time practices after wet cleaning.
– Dry the floor with a clean microfiber cloth or allow airflow if your vinyl tends to streak.
– If water beads or dries unevenly, increase drying or reduce cleaner concentration next time.
– Don’t leave standing water—vinyl can swell or loosen at seams/edges if over-wet.
When you can skip drying (and when you can’t)
You can sometimes skip active drying if:
– The floor is cleaned with a genuinely damp mop (no puddles)
– Your cleaner is properly diluted
– Your room has good airflow (fans, HVAC circulation)
You should not skip drying if:
– Your vinyl is already showing streaking after mopping
– The floor has visible seams, gaps, or older edges that lift more easily
– You used a stronger cleaner, sprayed product heavily, or mopped in a humid room
What can go wrong (and how to avoid it)
Most streaks, dullness, and sticky residue come from a short list of avoidable mistakes. Fixing these is usually faster than switching to a new mop.
Over-wetting resilient floors can let moisture migrate into seams and edges, increasing the risk of separation or swelling.
Using bleach, ammonia, or wax-based products can dull certain vinyl finishes and leave residues that collect dirt.
Skipping prep and mopping over grit increases scuffs and creates the “already dull” look people associate with damaged vinyl.
– Using too much water: soaking can seep into seams and cause lifting or swelling.
– Wrong cleaner: bleach/ammonia and some degreasers can dull the finish or damage protective layers.
– Skipping prep: grit left behind can leave scratches or scuff marks.
– Overusing product: too much cleaner can leave a film that looks like “sticky” residue even after drying.
Quick comparison: streaky film vs. scratched finish
Here’s a simple “diagnose first” comparison so you fix the right cause:
| Symptom | Likely cause | What to change next time |
|---|---|---|
| Visible streaks that fade after drying | Cleaner residue from over-application or re-wetting the same area | Use the label’s dilution, wring the mop, and refresh rinse water |
| Sticky film that attracts dust | Surfactant residue from too-strong cleaner or insufficient rinse (if required) | Reduce cleaner concentration; follow any “rinse after” directions |
| Dull look that doesn’t improve | Abrasive particles (girt) or finish incompatibility (harsh chemicals) | Always prep (vacuum/sweep); avoid bleach/ammonia; use vinyl-safe products only |
One note about LVP seams and moisture
Many LVP installations include seams or edges that can be more vulnerable than a fully sealed sheet surface. Even if your vinyl is “water-resistant,” excess moisture can still affect transitions and weaken adhesion at edges—so damp cleaning remains the safer default.
Mandatory data table: cleaner compatibility map (use it while choosing products)
Vinyl Floor Cleaner Compatibility at a Glance (Typical Household Chemistry)
| # | Cleaner category | Typical pH | Residue risk* | Finish safety | Notes for vinyl mopping |
|---|---|---|---|---|---|
| 1 | Vinyl-labeled neutral floor cleaner | ~6–8 | Low | ★★★★★ | Follow dilution; use damp mop |
| 2 | Warm water (water-only routine) | ~neutral (varies) | Very low | ★★★★☆ | Best for light dust & routine cleaning |
| 3 | Mild detergent (dish soap, properly diluted) | ~6–9 | Medium | ★★★☆☆ | Rinse/air-dry well to avoid film |
| 4 | All-purpose cleaner (unknown formulation) | ~varies | High | ★★☆☆☆ | Only use if label says vinyl-safe |
| 5 | Ammonia-based cleaner | ~9–12 | High | ★☆☆☆☆ | Can dull finishes; avoid unless manufacturer approves |
| 6 | Bleach/oxidizing disinfectant | ~11–13 | High | ★☆☆☆☆ | Avoid on vinyl unless explicitly approved |
| 7 | Wax/polish “restore shine” products | Varies | Very high | ☆☆☆☆☆ | Often leaves buildup and attracts dirt |
\Residue risk reflects how likely a category is to leave film if overused and not rinsed as needed; always follow your specific cleaner’s label.
Verdict / tip: best practice, plus who should skip mopping
Mopping vinyl works best when you keep it damp, use a vinyl-safe cleaner, and dry when streaking happens. The “damp + small sections + fresh water” method consistently prevents the causes of haze and sticky buildup.
The safest repeatable approach for vinyl mopping is: remove grit first, use vinyl-safe cleaner, keep moisture controlled, and refresh water frequently.
If seams lift, gaps appear, or the floor is under a fresh installation warranty, manufacturer care instructions should take priority over general mopping advice.
When streaking persists, reducing cleaner concentration and drying after cleaning is usually more effective than scrubbing harder.
Skip or pause mopping and check your flooring instructions if your vinyl has loose seams, visible gaps, or recently installed warranties—then follow the manufacturer’s care guidance before continuing. If you’re unsure whether your cleaner is vinyl-safe, use the manufacturer-recommended product or plain warm water for routine cleaning (then spot-clean with a vinyl-approved method only where needed).
Quick checklist (scan & save)
– [ ] Sweep/vacuum first (no grit left behind)
– [ ] Use vinyl-safe cleaner or warm water
– [ ] Mop damp only—never soak
– [ ] Small sections, consistent strokes
– [ ] Change water if it gets dirty
– [ ] Dry if streaking or uneven drying occurs
– [ ] Avoid bleach/ammonia/wax and harsh chemicals
FAQ
Can I steam mop vinyl floors?
Steam mops can be risky because heat and moisture may damage vinyl edges or seams. Check your vinyl flooring manufacturer’s care instructions first—[ADD: source for manufacturer steam-mop guidance if you have a specific brand/type].
Why does my vinyl floor look streaky after mopping?
Streaks often come from using too much cleaner, reusing dirty wash water, or leaving the floor too wet. Use less cleaner, wring the mop well, and dry with a microfiber cloth if streaking persists.
What’s the safest everyday cleaner for vinyl?
A vinyl-safe floor cleaner is safest because it’s designed for that finish. If you can’t confirm a product is vinyl-approved, plain warm water is usually the safer default—[ADD: source for “water-only” vs. cleaner guidance from your flooring brand].
Is it okay to use vinegar on vinyl floors?
Vinegar’s acidity can be incompatible with some vinyl finishes. If your manufacturer doesn’t explicitly approve vinegar, use a vinyl-safe cleaner instead—[ADD: source for whether vinegar is approved for your specific vinyl flooring].
Sources
– [ADD: Manufacturer care guide/specs for your specific vinyl type (sheet vinyl, LVP, or vinyl tile) stating safe cleaners and cleaning methods.]
– [ADD: Manufacturer guidance on mopping/amount of moisture for vinyl floors—use the official “cleaning & maintenance” document.]
– [ADD: Official safety datasheet/source for bleach pH range and chemical compatibility considerations.]
– [ADD: Standard or guideline describing resilient floor cleaning expectations (e.g., ASTM resilient flooring cleaning/maintenance references, if applicable).]
Keeping vinyl floors streak-free and undamaged is mostly about restraint: start by removing grit, mop with a genuinely damp microfiber head, use a vinyl-approved cleaner (or warm water), and dry when your vinyl tends to haze. If you correct those high-impact variables—water amount, cleaner strength, and water cleanliness—you’ll typically eliminate both streaks and the sticky film effect without resorting to harsh chemicals or aggressive scrubbing.
Frequently Asked Questions
What’s the best way to mop vinyl floors without streaks?
Start by sweeping or vacuuming to remove grit that can scratch the vinyl. Use a microfiber mop and a vinyl-safe cleaner diluted in warm water according to the label, then wring the mop well so it isn’t soaking wet. Mop in small sections and rinse the mop head often to prevent residue buildup. Finish with a clean, dry microfiber pass if you see streaks.
How do I mop vinyl floors after heavy foot traffic or muddy tracks?
Pre-treat dirty areas by wiping with a damp cloth first, then mop using a gentle vinyl floor cleaner solution. For mud, let it dry and lift it away before mopping so you don’t grind particles into the surface. Use two buckets or at least rinse your mop frequently to keep the water clean. After mopping, dry the floor to prevent leftover moisture from dulling the finish.
Why should I avoid steam mops on vinyl floors?
Steam mops can force heat and moisture into seams, edges, and the backing layer of vinyl, which may cause lifting or warping. Excess moisture can also affect adhesive in glue-down vinyl flooring over time. For best results, use a damp (not wet) mop and a cleaner specifically labeled safe for vinyl floors.
Which cleaning solution should I use to mop vinyl floors safely?
Choose a cleaner labeled for vinyl or “hard floor” use and follow the dilution directions carefully. Avoid harsh chemicals like bleach, ammonia, or abrasive degreasers, as they can damage the finish and make the floor look cloudy. If you don’t have a vinyl cleaner, a mild soap made for floors is typically safer than household cleaners. Always test any product in a small, hidden area first.
How often should I mop vinyl floors, and what’s the proper technique?
Mop vinyl floors weekly or as needed based on traffic, using a microfiber mop for better dirt pickup. Move in straight lines, working from the farthest corner toward the exit to avoid stepping on freshly cleaned areas. Keep the mop damp, not dripping, and change rinse water when it gets cloudy. Regularly maintaining vinyl with proper mopping helps keep the surface looking new and reduces dirt buildup.
📅 Last Updated: October 07, 2026 | Topic: How to mop vinyl floors? | Content verified for accuracy and freshness.
References
- https://en.wikipedia.org/wiki/Vinyl_flooring
- https://www.cdc.gov/coronavirus/2019-ncov/community/disinfecting-building-facility.html
- https://www.epa.gov/coronavirus/cleaning-disinfecting-your-facility
- https://www.who.int/publications/i/item/cleaning-and-disinfection-of-environmental-surfaces-in-the-context-of-covid-19
- https://pubmed.ncbi.nlm.nih.gov/?term=vinyl+floor+cleaning
- https://pubmed.ncbi.nlm.nih.gov/?term=floor+cleaning+disinfection+efficacy
- Google Scholar Google Scholar
https://scholar.google.com/scholar?q=mopping+vinyl+floors - Google Scholar Google Scholar
https://scholar.google.com/scholar?q=resilient+flooring+cleaning+mopping - Google Scholar Google Scholar
https://scholar.google.com/scholar?q=vinyl+composition+tile+cleaning+maintenance - Google Scholar Google Scholar
https://scholar.google.com/scholar?q=disinfecting+floors+mopping+method