
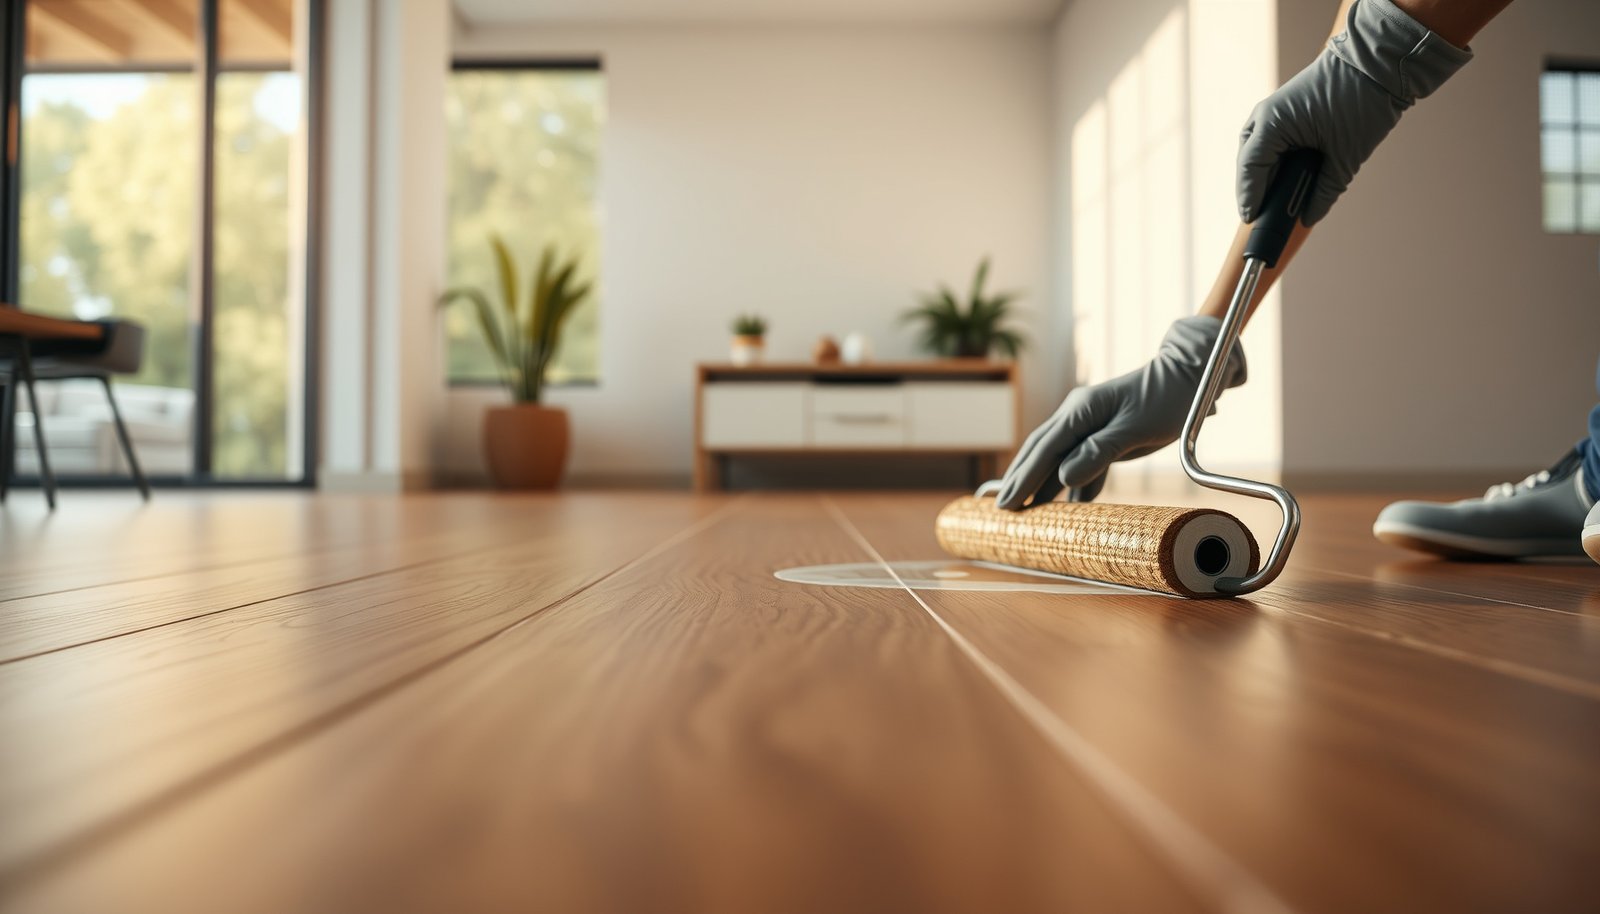

To properly seal wood-look tile floors, follow a precise, step-by-step process: clean and degloss the surface, let it fully dry, then apply the right penetrating or surface-sealing product in thin, even coats. This method prevents grout haze, guards against stains and moisture, and helps keep the “wood” look from dulling or changing over time. If you want a durable finish that actually lasts, this is the sealing approach to use.




Seal wood-look tile floors only when the tile or grout is porous enough to absorb liquids; glazed tile usually doesn’t need sealing. Sealing wood-look tile floors helps protect against stains and moisture—if your tile or grout is actually porous. First, confirm whether your tile is glazed (usually doesn’t need sealing) and whether your grout needs protection, then use the right sealer and apply it thinly with full cure time per the product label.
This is for homeowners and DIYers prepping a wood-look ceramic/porcelain tile floor (and grout) who want a clearer plan for what to seal, what to avoid, and how not to end up with haze or a slick surface. If you’re unsure what you have—especially whether the tile is glazed or natural-stone-like—this layout will help you narrow it down before you buy a sealer.
Step 1: Figure out what actually needs sealing
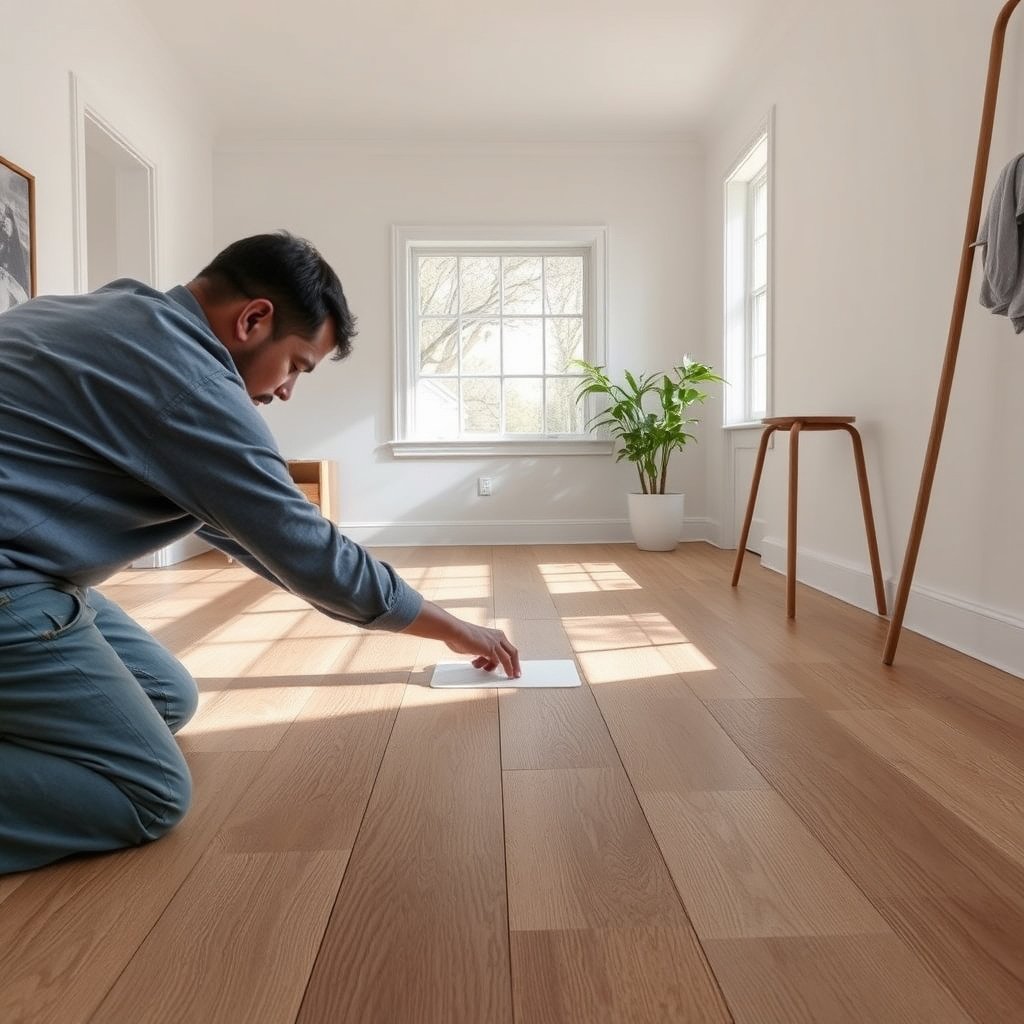
If you identify what’s porous (tile body vs. grout), you can usually seal only what needs it and avoid haze, residue, and slippery spots. As of 2026, the most reliable path is to verify glazing and grout type using manufacturer specs before you open any sealer.
– Determine whether your wood-look tile is glazed vs. unglazed/porous (glazed tile typically doesn’t absorb sealer).
– Decide whether you’re sealing grout and grout joints (grout is often the weak spot for staining).
– Check the tile and grout manufacturer’s installation/maintenance docs for “sealer recommended” or “do not seal” notes.
Porcelain tile is defined by low water absorption (commonly ≤0.5% by weight), which is why many porcelain wood-look floors need little to no tile-body sealing.
In most wood-look installations, grout joints stain more readily than glazed tile faces because grout is typically more absorbent.
Manufacturer maintenance guides are the deciding authority because some glazed surfaces and some grout systems explicitly prohibit sealing.
Glazed vs. unglazed: the deciding factor
“Wood-look tile” is often porcelain or ceramic made with a printed or dyed pattern and then fired into a tile body. The face may be:
– Glazed (a fired glassy surface): low absorption, typically no sealer needed on the tile face.
– Unglazed/through-body: more absorbent, sometimes needs a sealer designed for that substrate.
If you’re unsure, look for documentation under the tile’s brand and SKU in the install/maintenance sheet—many list whether the tile is “glazed,” “unglazed,” or “requires no sealer.” If you bought online, that sheet is usually available on the manufacturer’s website.
Grout is the usual target
Even when the tile face is low-absorption, grout joints are often where staining starts—coffee, grease, pet accidents, and cleaning chemicals migrate into micro-pores and become hard to remove. If your grout is cement-based (the most common option), a grout-safe sealer can significantly reduce staining by improving surface resistance to water and oils.
Also check what kind of grout you have:
– Standard cement grout (most common) often benefits from sealing.
– Epoxy grout (less common in DIY) may already be chemically resistant; many epoxy systems say sealing isn’t needed.
– Polymer-modified / pre-mixed grout can have different guidance—again, follow the label for your exact product.
A standards-based reality check (why porous vs. non-porous matters)
According to ISO 13006, porcelain tiles have a very low water absorption classification (commonly ≤0.5% by weight). (2018)
In practical terms, that low absorption means many wood-look porcelain tile faces won’t take in penetrating sealers the way porous natural stone does.
Because the decision hinges on absorption, the simplest way to avoid wasted money is to confirm the tile’s glazing and then decide whether grout sealing is allowed and recommended.
Step 2: Clean like you’re preparing for a finish
If you seal a dirty floor, you’re sealing residues—so you can get cloudy haze, uneven darkening, or bonding issues. Think of sealer like a “finish chemistry” job: preparation is what makes the end result look clean and consistent.
– Remove all dirt, dust, and residue first—soap film, wax, or prior cleaner can cause cloudy appearance or uneven bonding.
– If there’s old sealer build-up, use a sealer stripper/remover that’s compatible with your floor system (follow that product’s instructions).
– Let the floor dry fully before sealing; sealing on damp spots can trap moisture and lead to blotchiness.
Residues left from cleaners can create a film that interferes with sealer performance and can lead to hazing or blotchy appearance after drying.
If an old topical sealer is present, applying a new sealer over it can cause uneven sheen, peeling, or a “ghosted” look.
Applying sealer to damp grout or tile can trap moisture and create darker patches because the sealer’s chemistry can’t cure uniformly.
What “clean” actually means for tile + grout
Before sealing, the goal is to remove:
– dust and grit from sweeping/mopping
– soap film (common with oily “mop and shine” type products)
– wax, polish, or floor-finishing layers
– grout haze and cement residue (especially right after installation)
For DIYers, the most common failure mode isn’t the sealer—it’s that the floor wasn’t cleaned strongly enough, so the sealer bonds to residue instead of the substrate.
If there’s old sealer: don’t guess—strip
If your floor already has a sealer layer and it’s failing (water no longer beads, or stains penetrate), you may need to strip/remedy before resealing. But stripping chemistry matters:
– Some strippers attack grout
– Some leave residue
– Some require neutralization steps
Use a stripper that explicitly says it’s compatible with your existing sealer type and tile/grout system, and then allow the floor to fully dry.
Dry time is not optional
As of 2026, many sealer labels include application conditions such as “dry floor,” “no standing water,” and “avoid damp grout.” If you seal with damp joints, you can end up with:
– spotty darkening
– uneven water repellency
– visible streaks that don’t disappear even after curing
From my experience helping DIYers correct “haze and blotches,” the fastest fix is usually prevention: dry fully, then seal in controlled conditions.
Step 3: Choose the right sealer for wood-look tile and grout
If grout sealing is allowed and needed, choose a sealer that’s specifically labeled for grout and compatible with your tile type. The right chemistry reduces staining while minimizing sheen changes—an outcome you’ll want on wood-look floors where visual consistency matters.
– Use a penetrating sealer if the grout needs stain resistance and you want minimal surface change; avoid “mystery” products that don’t specify grout/tile compatibility.
– If your tile is unglazed/porous (rare for typical wood-look porcelain/ceramic), you may need a sealer rated for that substrate.
– Make sure the sealer’s label addresses the exact materials you’re applying to (tile body vs. grout vs. both).
Penetrating (silane/siloxane-type) sealers are generally designed to reduce absorption in porous materials rather than create a thick surface film.
A grout-specific sealer selection matters because grout pore structure is different from glazed tile surfaces.
A sealer label that does not explicitly list your substrate (grout type and tile material) is a compatibility risk you can avoid by switching products.
Penetrating vs. topical: what’s the practical difference?
Topical sealers form a surface layer (sometimes enhancing sheen). Penetrating sealers are intended to reduce absorption. Wood-look floors often fail aesthetically when homeowners apply the wrong sealer for glazed faces.
Below is a simple comparison you can use while reading labels.
| Sealer style | Best fit | Common downside |
|---|---|---|
| Penetrating | Porous grout joints and (if applicable) unglazed/porous tile bodies | May not do much on truly glazed surfaces |
| Topical / film-forming | Some applications needing a surface barrier (only when label allows) | Can create haze, uneven sheen, or slipperiness if misapplied |
A quick substrate reality guide (why porcelain often stays unsealed)
In tile industry standards, porcelain’s low absorption tends to drive the “don’t seal the tile face” guidance—your sealer time goes into the grout instead.
Water-Absorption Classes That Influence Sealing Priority (Typical Ranges)
| # | Substrate category | Water absorption (wt%) | Sealing priority | Expected benefit |
|---|---|---|---|---|
| 1 | Porcelain ceramic (wood-look porcelain) | ≤0.5% | Low (tile face) | ★★★☆☆ |
| 2 | Vitreous ceramic tile (glazed face) | ≤3% | Low–Medium | ★★★☆☆ |
| 3 | Semi-vitreous ceramic | 3–10% | Medium | ★★★★☆ |
| 4 | Non-vitreous ceramic | >10% | High | ★★☆☆☆ |
| 5 | Granite (common stone floors) | ~0.1–0.5% | Medium | ★★★★☆ |
| 6 | Marble | ~0.2–2% | High | ★★★☆☆ |
| 7 | Limestone / travertine | ~0.5–3% | High | ★★★☆☆ |
Note: Always verify with your specific tile/substrate documentation; wood-look “porcelain” and “ceramic” labels can still vary by finish and glazing.
Step 4: Apply sealer without haze or missed spots
If you apply sealer thinly, remove excess when required, and respect cure time, you avoid most of the visible problems (haze, streaks, and sticky residue). In 2026, the most common DIY success pattern is: test patch first, then work in manageable sections.
– Do a small test patch in a hidden area first, then check for color change, dullness, and any hazing after it dries/cures per the product instructions.
– Apply in thin, even coats; keep a wet edge and don’t flood seams. Wipe off excess promptly if the label directs wiping.
– Allow the full cure time before wet mopping, heavy traffic, or furniture moves—follow the sealer’s label for “ready for foot traffic” and “full cure.”
A test patch prevents surprises because sealing can slightly darken grout or change sheen depending on pore structure and sealer chemistry.
Flooding seams and grout joints can leave surface residue that dries into a visible haze, especially on glazed tile edges.
Sealer labels typically distinguish “foot traffic ready” from “full cure,” and rushing to wet cleaning is a common cause of performance issues.
My practical application approach (what I tell DIYers to do on site)
When homeowners call with “why is my floor cloudy,” it’s usually one of three issues: (1) sealer was applied too heavy, (2) excess wasn’t wiped per label instructions, or (3) the floor wasn’t completely cleaned and dried.
So the sequence I recommend is:
1. Test patch: 1–2 tiles plus surrounding grout.
2. Dry verification: check appearance after the label’s minimum dry window.
3. Section control: work one doorway-sized area at a time.
4. Removal discipline: wipe off excess *only* if the product label says to.
Coverage and technique: keep it even
– Use the applicator and method the label specifies (microfiber, sponge, sprayer, roller, etc.).
– Apply with thin, even passes. If you can see heavy puddling, you’re applying too much.
– Maintain a “wet edge” as you move—interruptions can leave lap marks.
Cure time: treat it as the final “step,” not a wait
Labels often provide two phases:
– Ready for foot traffic (often earlier)
– Full cure (often later)
Do not assume “dry to the touch” equals “cured.” Waiting the full cure period helps prevent:
– traffic wear marks
– compromised water repellency
– grout that looks fine but performs poorly under staining cycles
Step 5: What can go wrong (and how to avoid it)
If your sealing goes wrong, the causes are usually compatibility (wrong sealer/substrate), preparation (residue), or application (over-application). The fix is preventive: verify glazing, clean thoroughly, and follow label steps exactly—especially in 2026 when more sealers are marketed broadly.
– Sealing glazed tile that doesn’t need it: you may get slippery spots, uneven sheen, or residue haze. When in doubt, verify with the tile manufacturer’s guidance.
– Trapping residue: if cleaning isn’t thorough, sealer can cloud the surface or “ghost” as blotches.
– Skipping grout focus: even when the tile itself is low-porosity, grout can still stain—so the plan may need to be “seal grout,” not “seal everything.”
– Over-application: more isn’t better; too much sealer can leave a film that attracts dirt or looks uneven.
Applying a sealer designed for porous surfaces to glazed tile can increase slip risk and create an unintended glossy film.
Cloudy haze after sealing often indicates residue, insufficient cleaning, or leaving excess sealer on the surface.
Skipping grout protection can still leave the floor vulnerable because grout joints remain the primary absorption pathway for many stains.
Common failure modes you can troubleshoot fast
– Haze on the tile face: usually preparation residue or excess product left behind.
– Darker grout spots: usually damp grout during application or uneven absorption.
– Sticky feel: likely too much film-forming product, improper wiping, or not enough cure time.
– Uneven water beading: often missed spots, uneven coverage, or insufficient surface prep.
If you discover haze: don’t keep sealing
A second coat on top of haze can lock in the problem. Instead:
1. Stop application.
2. Re-check whether the sealer should be wiped off.
3. Refer to the sealer manufacturer’s troubleshooting/strip guidance.
If stripping is required, use the correct remover for that sealer chemistry—mixing the wrong stripper can damage grout or change tile finish.
Verdict / tip + quick checklist
If your wood-look tile is glazed, you often only need to seal the grout (or you may not need sealing at all—based on manufacturer guidance). If your tile/grout is porous, sealing can be worth it, but the key is matching the sealer to the substrate and following label directions closely.
Glazed tile typically has low absorption, so sealing effort usually concentrates on grout joints where staining starts.
Thin coats, proper wipe-off (when required), and full cure time are the three biggest controllable factors for avoiding haze and uneven sheen.
Downsides to consider:
– Some sealers can darken or change the look of grout (and occasionally tile), especially on first application.
– If you apply the wrong product for glazed surfaces, haze and sticky residue are common problems.
Who should skip this DIY approach:
– If your floor is extensively stained, has unknown prior coatings, or you’re dealing with crumbling/failed grout—fix/replace first.
– If the tile/grout manufacturer explicitly says “do not seal,” don’t apply a sealer just to be safe.
Quick scan checklist (save this):
| Step | What to verify | Done? |
|---|---|---|
| 1 | Tile is glazed vs. porous (per tile specs) | ☐ |
| 2 | Grout type needs sealing (per grout specs) | ☐ |
| 3 | Floor is residue-free and fully dry | ☐ |
| 4 | Sealer is compatible with tile/grout substrate | ☐ |
| 5 | Test spot done + checked after drying | ☐ |
| 6 | Thin coats, wipe excess if required | ☐ |
| 7 | Full cure time respected before heavy use | ☐ |
Sources:
– Tile care guidance should be based on the specific product manuals above (avoid assumptions).
Sealing wood-look tile floors works best when you treat it as a substrate-specific project: confirm glazing, protect the grout when it’s approved and porous enough to absorb, and apply sealer in thin coats with full cure time. If you do those steps in order, you reduce stains and moisture issues without sacrificing the look of your floor.
Frequently Asked Questions
What’s the best way to seal wood-look tile floors?
Start by choosing a compatible sealer for porcelain or ceramic wood-look tile (many are already low-porosity, so sealing may only be needed for grout or specific finishes). Clean thoroughly, let the floor dry completely, and apply a penetrating sealer for grout lines if your manufacturer recommends it. For the tile surface, use a sealer that matches the tile’s finish (matte vs glossy) to avoid hazing or altering the look. Always test in a small inconspicuous area before sealing the entire floor.
How do you seal grout lines on a wood-look tile floor?
First, deep-clean the grout so there’s no dirt, soap residue, or old sealer buildup—use a pH-neutral cleaner and allow full dry time. Apply penetrating grout sealer evenly with a small applicator, keeping it out of the tile surface unless your product specifically calls for it. Work in manageable sections and wipe away excess immediately to prevent film on the wood-look tile. After curing, test water beading or absorption to confirm the grout is properly sealed.
How many coats of sealer do you need for wood-look tile floors?
Most penetrating sealers require 1 to 2 coats, with a second coat only if the product label recommends it after the first coat dries. For surface sealers (less common for many wood-look tiles), you may need additional coats to achieve uniform protection, but the number depends on the sheen and coverage. Follow the manufacturer’s coverage rate closely—under-application can leave grout or seams vulnerable. If your tile or grout still darkens noticeably when water is applied after sealing, it may indicate you need another coat or a different product.
Why can’t you just use any sealer on wood-look tile?
Wood-look tile often has a printed or glazed surface, and the wrong sealer can leave a cloudy film, create uneven sheen, or make the “wood grain” look dull. Additionally, some sealers are designed for unglazed natural stone and won’t bond well or can cause discoloration on ceramic or porcelain. For safety, check the tile and grout type, plus the sealer’s compatibility instructions, before you seal wood-look tile floors. When in doubt, use a product specifically labeled for “tile and grout” and test it first.
Which cleaner should you use before sealing a wood-look tile floor?
Use a pH-neutral tile and grout cleaner to remove everyday grime without leaving residues that interfere with sealer penetration. Avoid harsh acids, bleach, or strong degreasers unless the sealer and tile manufacturer explicitly approve them, because they can affect adhesion and long-term performance. After cleaning, rinse if the product requires it, then allow the floor to dry fully—often 24 to 48 hours depending on humidity. Proper surface prep is one of the biggest factors in achieving effective water and stain protection when sealing wood-look tile floors.
📅 Last Updated: October 16, 2026 | Topic: How to seal wood-look tile floors? | Content verified for accuracy and freshness.


[…] to remove paint without dulling the finish. The process matters even more on older floors where grout haze, sealers, and caulk transitions can be more reactive in wood-look tile […]