
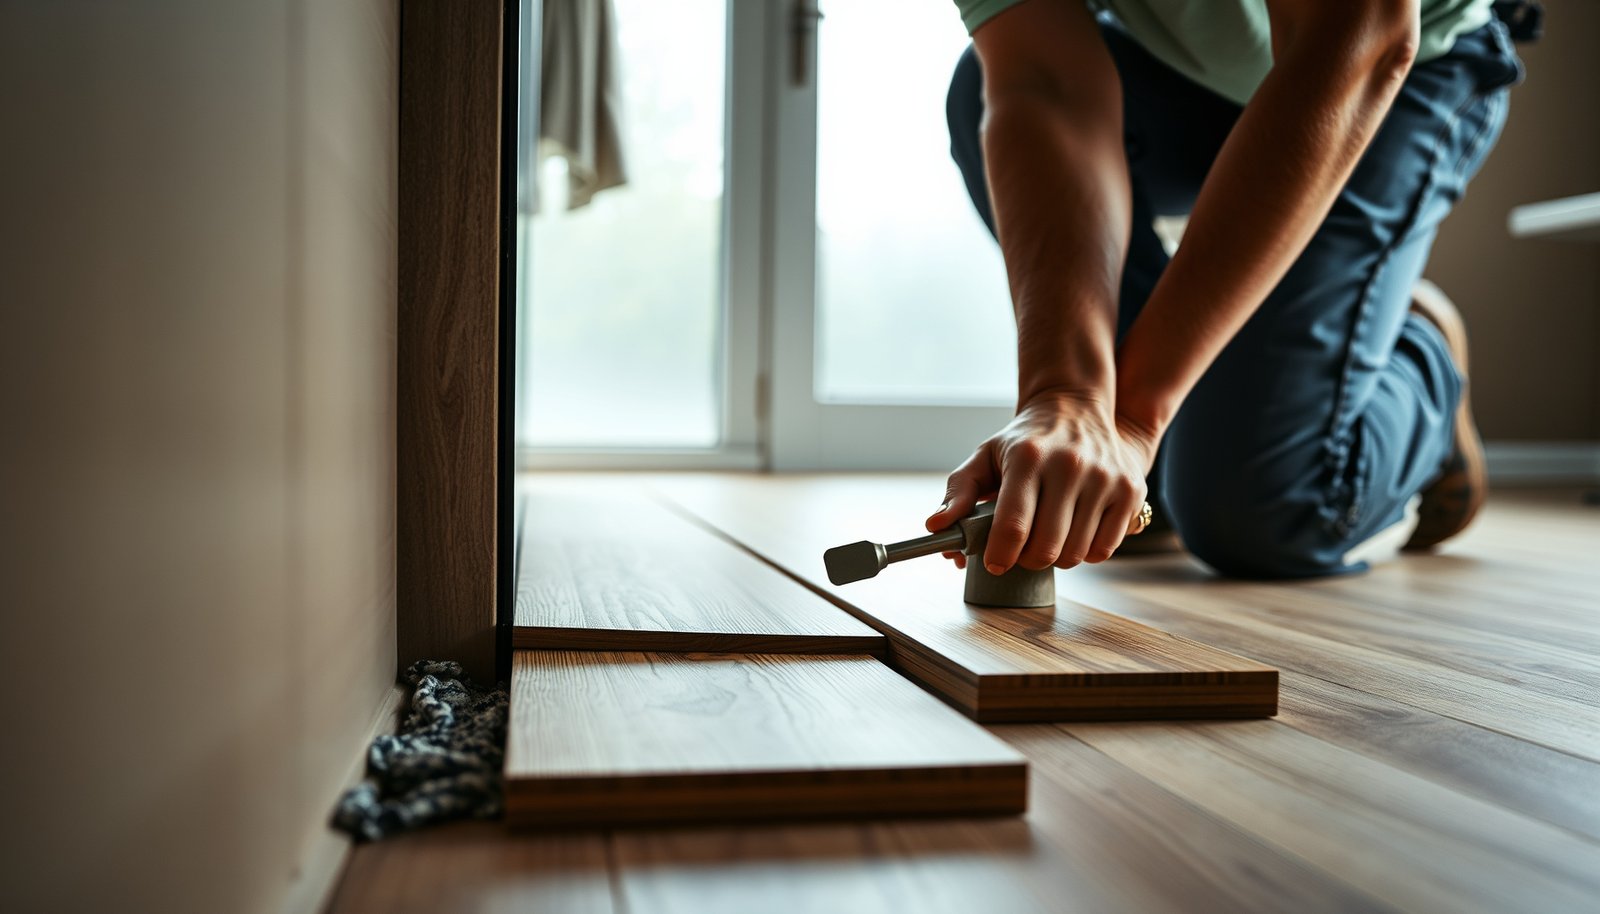

If you’re trying to replace engineered wood floors in a bathroom, the fastest way to a durable result is to follow a strict moisture-proof workflow—subfloor prep, water-resistant materials, and correct underlayment and sealing. This step-by-step guide shows exactly how to remove the old flooring, set the engineered planks in place, and protect the joints so the new surface holds up in real bathroom conditions. By the end, you’ll know whether your layout needs floating or adhesive installation and how to finish for long-term performance.



Replacing engineered wood floors in a bathroom is mainly about moisture control: remove the old planks, verify the subfloor is dry and sound, then reinstall using a bathroom-appropriate underlayment/system and seal every edge and transition. If you’re tackling a full bath or shower-adjacent splash zone (toilet + sink + steam/condensation risk, but not a direct “wet shower pan” flooring install), this step-by-step workflow helps you avoid the common failure points—swelling, cupping, and separation—by getting the prep sequence right.
If you’re dealing with warped boards, squeaks, lifted seams, or water-damaged edges, this guide walks you through a practical workflow—from removal to sealing—so you can decide what’s DIY vs. when to bring in a flooring pro.
Prep and moisture checklist before you replace anything
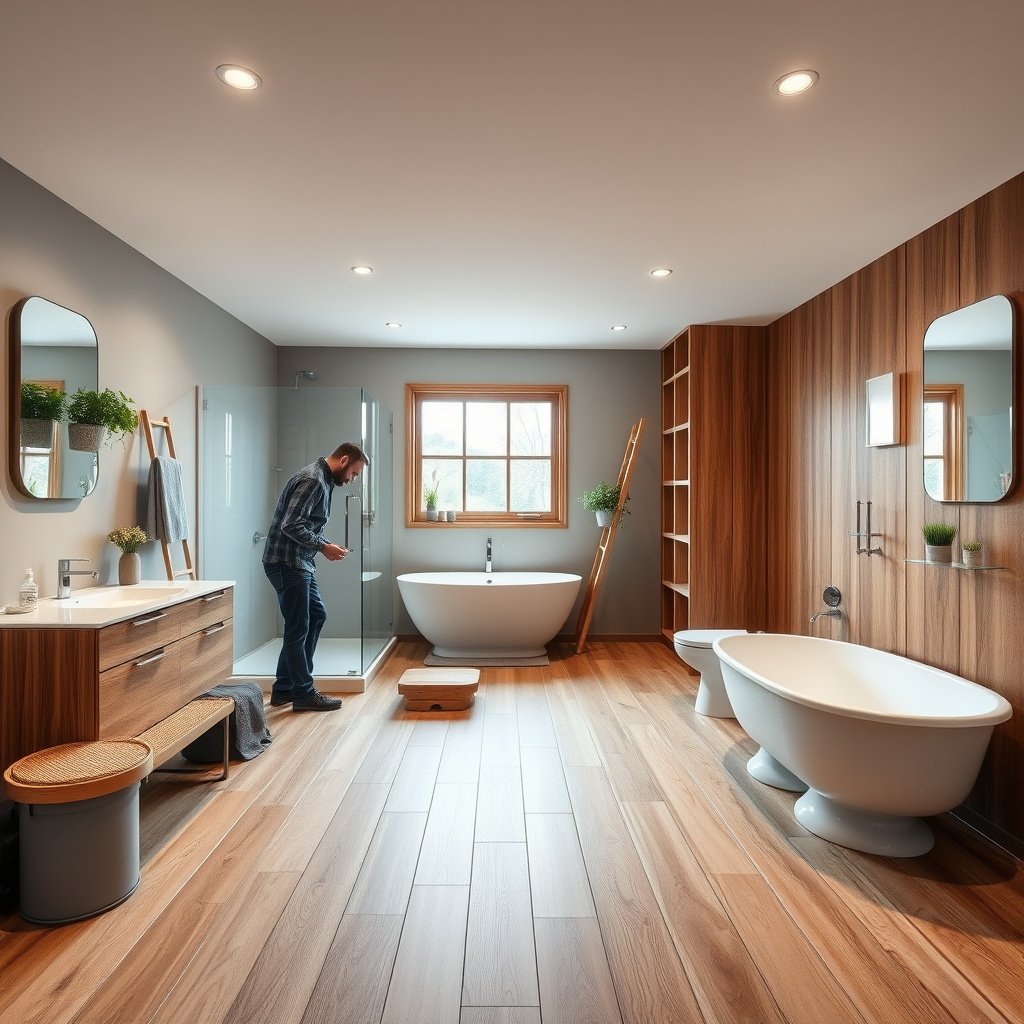
Moisture control comes first—your goal is to confirm the bathroom’s exposure level and then choose an engineered wood installation method the manufacturer actually approves for that exposure. The right sequence prevents the most expensive outcome: reinstalling an apparently “fine” floor over subfloor moisture that later forces planks to swell or separate.
Bathrooms drive dimensional change faster than many other rooms because humidity cycles and incidental splash concentrate near toilets, vanities, and shower-adjacent walls.
If your engineered wood brand requires a specific underlayment and expansion-gap size, deviating from that spec can undermine warranty coverage and long-term flatness.
Before you replace anything, treat this as a compliance checklist (manufacturer specs + moisture reality), not just a floor swap.
– Confirm the bathroom moisture level (especially splash zones, toilets, and any shower/wet wall area) and follow the engineered wood manufacturer’s installation requirements for wet areas.
– Practical rule: assume more exposure where there’s daily water use (toilet supply leaks, splash from sinks, and shower overspray).
– Choose the correct installation approach (click/float vs. nail/glue vs. “approved for moisture” method) based on your plank type—don’t improvise the fastening system.
– Gather what you’ll need: flooring transition pieces, underlayment/waterproofing components (if allowed), spacers, oscillating tool, pry bars, leveling materials, and sealant suited to the system.
Quick moisture “anchor” facts to keep expectations realistic
According to the USDA Forest Service/Forest Products Laboratory (Wood Handbook), wood’s equilibrium moisture content (EMC) varies substantially with indoor relative humidity (for example, EMC is commonly lower in dry conditions and significantly higher when humidity rises) ([year]: ). USDA Forest Service / Wood Handbook (Forest Products Laboratory)
Additionally, the flooring industry relies on standardized subfloor moisture testing methods such as ASTM F1869 (calcium chloride moisture vapor emission) and ASTM F2170 (in-situ RH probes) to quantify moisture rather than guess ([year]: ). ASTM F1869; ASTM F2170
(You still must follow your floor brand’s specific moisture thresholds—ASTM methods measure, manufacturers decide what “acceptable” is.)
Bathroom Moisture Hotspots and Detail Priority (1–5)
| # | Moisture hotspot | Typical exposure | Why it fails | Detail priority |
|---|---|---|---|---|
| 1 | Perimeter expansion gap & edge joints | Humidity cycling | Water tracks to the lowest seam | ★★★★★ (5) |
| 2 | Toilet flange interface | Incidental spills & leaks | Moisture migrates under planks | ★★★★☆ (4) |
| 3 | Shower-adjacent base/wall corners | Splash + condensation | Curtain overspray drives repeated wetting | ★★★★☆ (4) |
| 4 | Doorway transitions | Tracked water | Gaps create a capillary pathway | ★★★☆☆ (3) |
| 5 | Under vanity splash zone | Occasional wet wipe + drips | Standing moisture reaches plank edges | ★★★☆☆ (3) |
| 6 | Floor low spots (bowls/dips) | Pooling after splash | Water sits long enough to swell seams | ★★☆☆☆ (2) |
| 7 | Plank-to-plank locking seams | Capillary entry if gaps form | Poor support or forced fit opens joints | ★☆☆☆☆ (1) |
> Note: “Detail priority” above is a practical ranking used for planning (not a warranty statement). Always defer to your engineered wood’s installation and sealing instructions for the exact wet-area and joint requirements.
Pros/cons comparison: installation methods in bathrooms
Here’s the trade-off you’re managing: engineered wood can work, but the fastening method and underlayment system must be compatible with bathroom moisture.
| Method | Typical pros | Typical cons |
|---|---|---|
| Click/float (floating) | Faster install; tolerates minor subfloor movement if flat | More sensitive to flatness; moisture can concentrate at perimeter gaps |
| Nail-down (with approved underlayment) | Locks down locally; fewer float-related issues | Requires correct subfloor thickness + nail pattern; water still travels at edges |
| Glue-down (only if approved) | Best seam stability when systems are matched | Moisture testing is critical; adhesive failures can occur if subfloor is damp |
Remove the existing engineered wood floor carefully
Removing the old floor is straightforward, but “careful” here means protecting wall gaps, threshold details, and the subfloor surface so new materials bond and seal correctly. Your main objective is to eliminate compromised boards and control what moisture can reach next.
Trim and threshold removal first helps you maintain the wall-to-floor gaps the manufacturer expects around the perimeter.
After removal, you should verify whether the damage is surface-only (boards) or structural (subfloor softness, delamination, or moldy odor).
– Disconnect and remove trim/thresholds first (baseboards, door casing undercuts if needed) so you can lift boards cleanly without damaging the wall gaps.
– Remove planks and underlayment systematically, then scrape off old adhesive residue and check for remaining fasteners.
– Inspect what’s underneath: look for dark spots, softness, delamination, or moldy odor that suggests the subfloor needs more than surface cleaning.
From the documentation perspective, this inspection step matters because engineered wood systems are tolerant of normal humidity cycles only when the subfloor is stable and the installation system allows the right movement. If you see softness (the subfloor “gives” when pressed), bubbling paint over subfloor seams, or visible swelling at joints, plan for subfloor remediation before reinstalling.
Repair and prep the subfloor (level + dryness matter)
Your new bathroom engineered wood floor depends on two subfloor realities: dryness and flatness. If either is off, the new planks can cup, separate, or squeak even when the top layer looks acceptable.
Engineered wood performance is a system outcome: moisture barriers (if permitted), underlayment compatibility, and subfloor condition all work together.
Flatness failures often show up later as locking seams separating or localized “hollow” sound underfoot.
– Dry out and inspect the subfloor (subfloor flatness and condition): engineered wood installation fails most often when the base isn’t properly prepared.
– Fix high/low spots, replace damaged sections, and address any persistent moisture source before installing new flooring.
– Install any required moisture barrier/waterproofing membrane only if your flooring and underlayment brands allow it together (compatibility matters).
Moisture testing and why you should quantify it
If you can, measure moisture rather than guess. ASTM-based tests like ASTM F1869 (calcium chloride) and ASTM F2170 (in-situ RH probes) provide moisture data in standardized terms that manufacturers can reference in their warranty requirements. ASTM F1869; ASTM F2170
Concrete and wood differ in how they store and release moisture, so the “right” test method depends on what your subfloor is (for example, plywood/OSB assemblies vs. slab).
Subfloor flatness: the silent installer killer
Engineered floors—especially click/locking types—need a supported, flat base so the locking mechanism isn’t constantly stressed. If you skip leveling, you may still assemble the planks successfully, but the stress concentrates at seams, leading to gaps you didn’t have at install time.
– If you’re working over plywood, confirm it’s securely fastened and not delaminated.
– If you’re working over OSB, check edges and seams closely; swelling often starts at perimeter and penetrations.
– If you’re working over concrete, look for laitance, irregular patches, and moisture driven upward from slab.
Install the new engineered wood floor correctly
Installing the new floor is where you “lock in” your moisture-control plan: plank layout, expansion gaps, and the approved fastening system work together to prevent buckling and seam opening. In bathrooms, the margins and transitions aren’t cosmetic—they’re part of the water management strategy.
In bathroom installs, expansion gaps and transitions are designed to manage movement and reduce the chance of water tracking under edges.
A manufacturer-approved underlayment system is not optional—stacking the wrong layer can change locking performance and warranty validity.
– Follow the plank layout plan (start line, expansion gaps at walls, and how you’ll handle doorways and transitions). In bathrooms, gaps and transitions are part of the moisture solution—not an afterthought.
– Use the correct fastening/locking method for your product (click-lock needs proper support; nailed floors need the right nail pattern and allowable subfloor thickness).
– Keep consistent spacing and avoid forcing boards—bowed installs often come from ignoring flatness or skipping required acclimation time.
Acclimation and movement: what to do before the first plank
Many engineered wood guidelines include an acclimation period so the product reaches conditions similar to the room. Because bathrooms can swing humidity (especially after showers), you want acclimation aligned with the ongoing indoor environment—not a one-day “install and hope.”
Also plan your layout so you avoid narrow plank strips at wet-exposure edges. Those small cuts are easier to misalign, harder to keep flat, and more likely to open at seams if the subfloor isn’t perfect.
Seal edges, transitions, and finish details
Sealing is the final moisture-control layer—not a workaround for poor subfloor preparation. The key is to seal what the system calls for (edges/joints/transitions) while still allowing movement where your engineered wood requires it.
Over-sealing can be as harmful as under-sealing if it blocks required movement or traps moisture where it can’t dry.
Bathrooms fail at transitions and perimeter details first because water migrates laterally and follows the lowest-path seams.
– Seal the right areas (typically edges, transitions, and any joints where the system specifies sealant) while avoiding “over-sealing” that blocks necessary movement.
– Reinstall trim with the right gap strategy (baseboards are often fine to mount to the wall, not the floor, depending on your floor plan and manufacturer guidance).
– Add transitions (doorways, hallways, and between flooring types) designed for bathroom use so water doesn’t migrate under the floor at the seams.
Transition strategy that reduces water tracking
Pay special attention to:
– Doorways: use a transition that covers the cut edge and doesn’t create a wicking gap.
– Toilet area: ensure the flange interface is correctly treated (and that any sealant is compatible with your engineered wood system).
– Shower-adjacent edges: follow the shower system’s wet-wall plan—don’t assume “sealant alone” solves a design mismatch.
If your bathroom has a dedicated wet zone (some shower designs), you may need to avoid engineered wood directly in that wet area altogether. In that case, engineered wood is typically appropriate for the dry-to-splash zone only, not the full water-impoundment zone.
What can go wrong (and how to avoid it)
Most bathroom floor failures are predictable: water finds an unsealed path, the subfloor stays damp, or the installation system isn’t truly compatible. You avoid nearly all of it by respecting moisture rules, using the approved stack-up, and keeping the perimeter movement space intact.
If seams open after installation, the cause is usually mechanical stress (flatness/support) and moisture at edges—not “bad luck.”
If the floor looks fine for weeks then cupping begins, that pattern strongly points to subfloor moisture that was not fully corrected.
– Water intrusion at seams/transitions: Most failures trace back to skipped sealing at edges or poorly designed thresholds—especially near toilets and shower-adjacent areas.
– Subfloor problems hidden under new planks: If the subfloor is uneven or still wet, the new floor can cup or separate even if the planks look fine at first.
– Wrong installation method: Using a floating/click installation approach in an area or with an underlayment combination that the manufacturer doesn’t approve can void performance expectations.
– No expansion gap: Bathrooms change dimension with humidity; eliminating gaps can cause buckling.
A fast “failure-mode” diagnostic
If you’re troubleshooting an existing failure (before you rebuild), use this logic:
– Buckling/bowing soon after install → flatness + expansion gap or acclimation problem.
– Swollen edges near perimeter → edge sealing or perimeter gap management issue.
– Gaps widening over time → support/underlayment mismatch, locking seam stress, or subfloor movement.
– Musty odor returning → ongoing moisture source behind the walls or underlayment.
Verdict: DIY is possible, but don’t ignore moisture rules
If your engineered wood is a typical bathroom floor (not installed directly in a wet shower pan zone) and your subfloor is dry, level, and approved for the installation method, this is a reasonable DIY project. The downside is real: bathrooms are less forgiving than kitchens/bedrooms—small gaps, sealant misuse, or underlayment incompatibility can shorten the lifespan quickly.
DIY works when you treat engineered wood as a “system”—subfloor condition, underlayment compatibility, expansion gaps, and seal details must match the manufacturer plan.
When you discover a likely ongoing leak, severely damaged substrate, or complicated threshold transitions, professional assessment usually prevents repeating the failure.
Skip DIY (or hire a pro) if you find a likely ongoing moisture source, extensive subfloor damage, a complicated transition through thresholds, or if your flooring documentation doesn’t clearly support bathroom installation for your exact room conditions.
Scan checklist (save this):
| Step | Quick check |
|---|---|
| Moisture control | Identify likely splash/standing-water areas; confirm manufacturer guidance |
| Subfloor | Dry, solid, and flat enough for installation |
| Removal | Trim/threshold removed first; no leftover fasteners/adhesive debris |
| Installation method | Use the approved system (click vs nail vs glue) + correct gaps |
| Underlayment/waterproofing | Only if compatible with the specific flooring brand/type |
| Sealing/trim/transition | Seal at specified edges/joints; use correct transitions in doorways |
| Final inspection | Look for movement, proper gap coverage by trim, and no voids under planks |
Sources to check before you start
– Your engineered wood manufacturer’s installation instructions (warranty + approved bathroom/wet-area guidance, required underlayment compatibility, and expansion gap requirements).
– Underlayment/waterproofing product installation manuals (compatibility and sealing requirements).
– Manufacturer guidance for subfloor prep/flatness (often included as part of the flooring instructions).
– ASTM moisture test standards used by flooring systems: ASTM F1869 and ASTM F2170. ASTM F1869; ASTM F2170
– Wood moisture behavior reference (for understanding humidity/EMC risk): Wood Handbook / Forest Products Laboratory. USDA Forest Service — Wood Handbook (Forest Products Laboratory)
Replacing engineered wood floors in a bathroom comes down to getting the “moisture + base prep + approved installation” sequence right: remove the old flooring carefully, confirm the subfloor is dry and properly leveled, reinstall using the manufacturer-approved method, and seal the specified edges and transitions. If you’re unsure about your flooring’s approved bathroom/wet-area rules, pause and check the installation documentation for your exact product before you buy materials—then you’ll avoid the most common (and expensive) failure points.
Frequently Asked Questions
What should I do before replacing engineered wood floors in a bathroom?
Start by assessing the current floor condition—look for cupping, swelling, soft spots, or mold near the toilet, shower, and sink. Remove baseboards and confirm the subfloor type (plywood, OSB, or concrete) and check that it’s level and dry before installing new engineered wood flooring. Gather moisture-test supplies if possible, because bathroom subfloor moisture is the most common reason engineered wood fails. Also confirm your replacement plan matches your product specs, including underlayment type and expansion gaps.
How do I remove old engineered wood flooring in a bathroom safely?
Begin by cutting any caulk lines at the edges (especially around the toilet and walls) to avoid damaging the subfloor. Then remove the boards carefully—use a pry bar and oscillating tool as needed—taking care not to crack tile backer board, plywood, or underlayment that may remain. If the floor was glued down, use a flooring scraper and follow up with adhesive residue removal so the new engineered wood can sit flat. Wear a dust mask and eye protection, because old bathroom flooring and underlayment can create fine particles.
How do I install engineered wood flooring in a bathroom without trapping moisture?
Use the correct bathroom-rated method for your engineered wood type—many products require a floating installation with an approved underlayment or a direct glue-down system designed for wet areas. Ensure there is a vapor barrier or moisture control layer if your manufacturer calls for it, and never install over a subfloor that’s damp or actively leaking. Maintain required expansion gaps around the perimeter and at transitions, then seal appropriate edges with a manufacturer-recommended sealant (not random caulk that conflicts with the system). Finally, protect joints and keep water from pooling by using proper caulking at fixtures and maintaining grout and seals.
Which underlayment and moisture barrier are best for engineered wood in bathrooms?
The best choice depends on whether your engineered wood is floating or glue-down and what your manufacturer specifies for bathroom conditions. For many floating engineered wood floors, a moisture-resistant underlayment with an integrated vapor barrier may be recommended, while direct-glue installations often use a specific moisture-rated adhesive system instead of thick cushioning. If your subfloor is concrete, you may need an appropriate vapor barrier under engineered hardwood to reduce moisture vapor transfer. Always follow the product’s instructions for underlayment thickness, overlapping seams, and sealing—incorrect underlayment can cause joint failure and swelling.
Why does engineered wood bathroom flooring fail, and how can I prevent it during replacement?
Engineered wood bathroom floors often fail due to excess moisture, poor subfloor prep, incorrect underlayment, or missing expansion gaps that prevent safe movement. If the bathroom has leaks, inadequate caulking around plumbing, or standing water near the shower, the wood can swell, cup, or separate at seams. Prevent problems by drying and leveling the subfloor, using the right installation method for your engineered wood, and sealing transitions and wet-area edges according to manufacturer guidance. After installation, avoid heavy water exposure until adhesives cure fully and perform routine checks for any new moisture sources.
📅 Last Updated: October 19, 2026 | Topic: How to replace engineered wood floors in a bathroom? | Content verified for accuracy and freshness.
References
- https://www.cdc.gov/mold/default.htm
- Mold | US EPA
- https://www.hud.gov/program_offices/healthy_homes/mold
- Engineered wood
- Wood flooring
- Vapor barrier
- Mold
- https://scholar.google.com/scholar?q=engineered+wood+flooring+bathroom+installation+moisture Google Scholar
- https://scholar.google.com/scholar?q=replace+engineered+wood+floor+in+bathroom+subfloor+waterproofing Google Scholar
- https://scholar.google.com/scholar?q=hardwood+or+engineered+wood+flooring+moisture+testing+humidity+bathroom Google Scholar



[…] reinforce with a waterproof topcoat that covers the entire plank surface. Finish by sealing the perimeter expansion gap and any joints between boards with a high-quality moisture-resistant caulk to stop water […]