
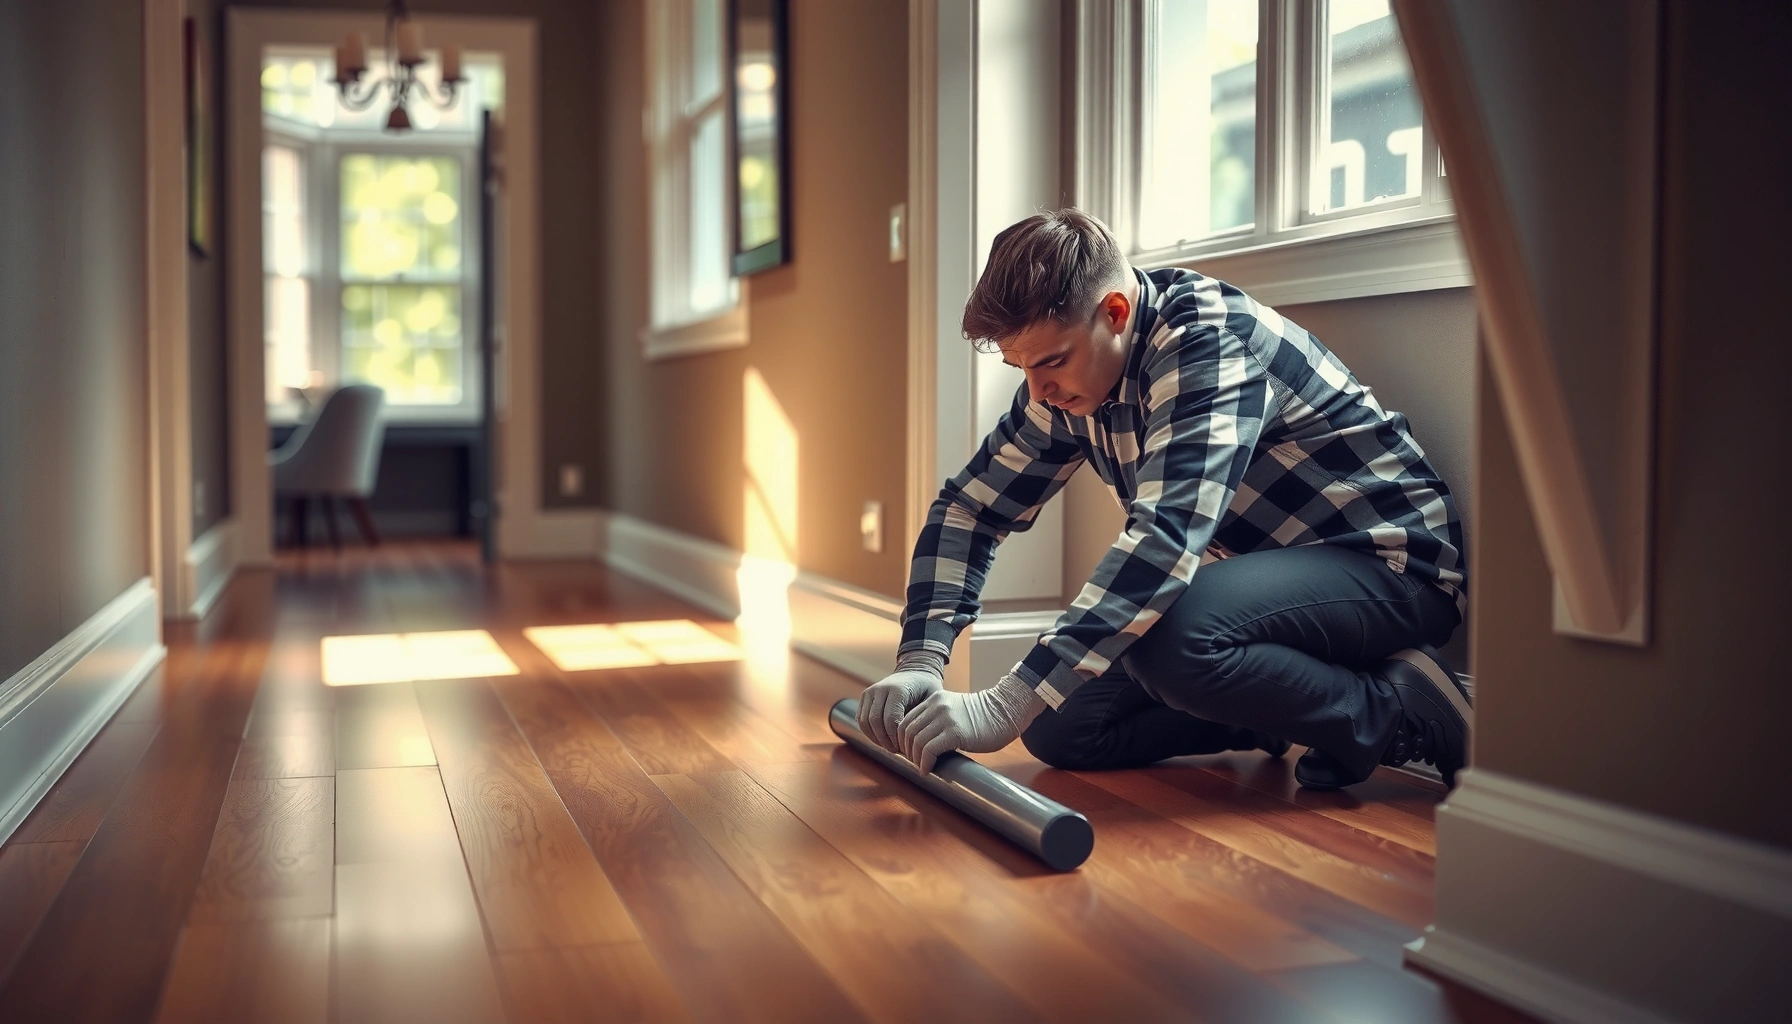

If you’re installing polyurethane floors on stairs, this step-by-step guide tells you exactly how to do it without bubbles, peeling edges, or unsafe slips. You’ll get clear instructions for preparing the stair surfaces, choosing the right polyurethane finish, applying it in the correct sequence, and sealing the most stressed areas. Follow these steps and your staircase will look sharp and hold up under daily traffic.


Polyurethane on stairs usually looks best when you prep aggressively, sand in the right sequence for each tread profile, and apply thin coats so you don’t trap drips, streaks, or dust. Follow a repeatable workflow—clean, repair, sand, prime if needed, then coat and cure—and you’ll get a smooth, durable topcoat that stands up to daily foot traffic.
If you’re installing polyurethane over existing wood or newly finished wood stair parts, this guide is for you—especially if your stairs see frequent use and you want a wipeable, hard-wearing finish. It’s also helpful for preventing stair-specific problems like lap marks, bubbles, and peeling at nosings, where geometry and edge handling make the biggest difference.
Prep the stairs properly (clean, repair, control dust)
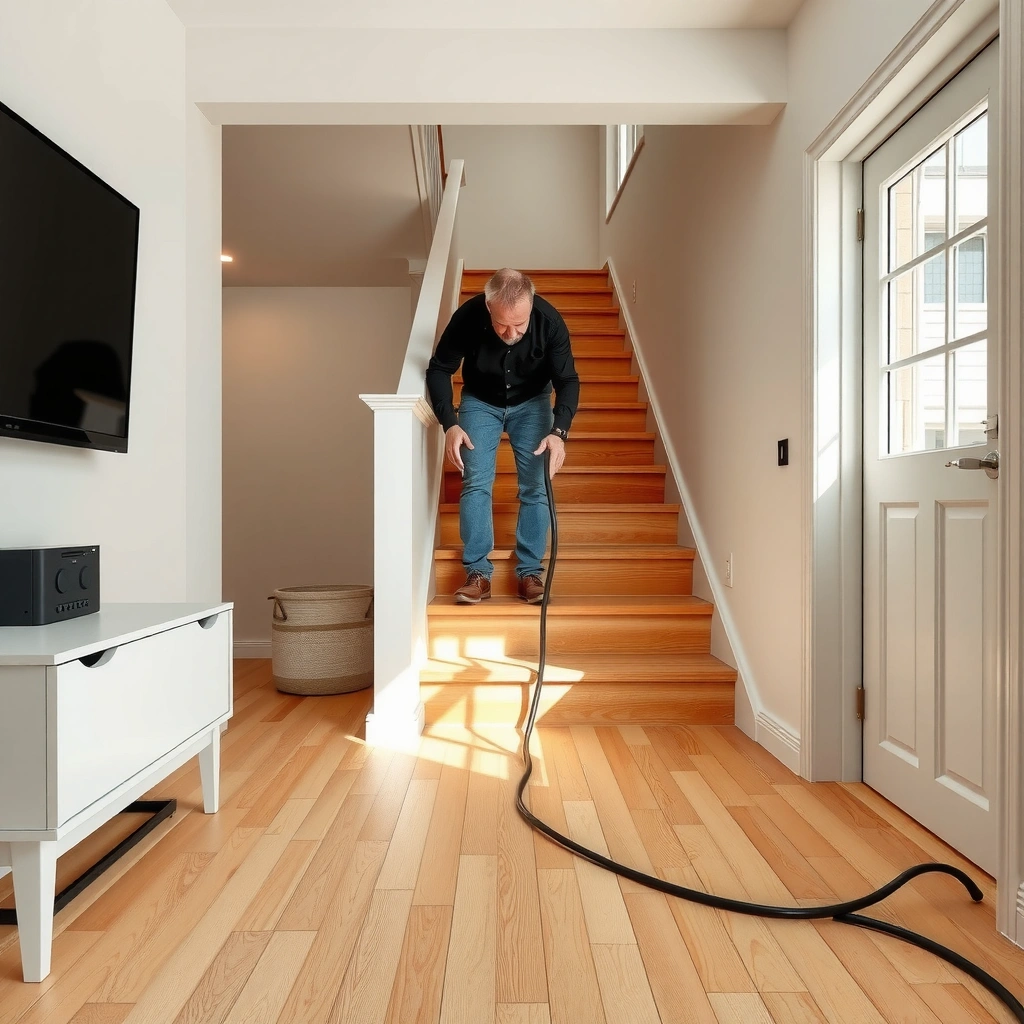
The best polyurethane results on stairs come down to surface cleanliness and damage repair before you ever open the can. If contaminants (oil, wax, residue) remain, polyurethane can look fine at first and then fail through poor bonding, soft finish, or fisheyes.
Polyurethane needs intimate contact with wood—on treads and nosings, that bond is stressed by abrasion and repeated flexing at edges. Start by removing waxes, polishes, and any leftover cleaner residue; then vacuum thoroughly and wipe using the polyurethane manufacturer’s recommended cleaner so you’re not introducing incompatible solvents. In my experience, the “mystery problem” on stairs is rarely the polyurethane itself—it’s usually a thin film of grime or an old finish edge you didn’t fully remove.
If wood is not free of wax, oil, or contaminants, polyurethane can create fisheyes (separate droplets) and weak adhesion that shows up later at stair nosings.
Polyurethane adhesion depends on both chemistry (compatible substrate) and abrasion (sanded surface area), so cleaning is not a substitute for sanding.
Stair treads highlight surface flaws: chips and dents telegraph through a clear coat because polyurethane does not “hide” defects.
Before sanding or coating, inspect each tread for: raised grain, soft spots, prior failing coatings, and loosened edges at the nosing. Fix chips and dents first—wood filler (and any repair hardware) must be fully cured, sanded flush, and left clean. If you’re coating over previously finished wood, confirm compatibility: some old finishes are not safe under polyurethane without specific prep steps.
Practical prep sequence
– Strip or degrease if needed: Use the cleaner specified by your polyurethane label (many recommend a solvent wipe for oil-based products and a different approach for water-based systems).
– Vacuum + wipe (repeat): Vacuum, then wipe, then vacuum again if dust is visible.
– Dry time matters: Don’t coat while the surface is damp. Moisture trapped in pores can contribute to bubbling or haze on the next coat.
Small but important dust control
Dust isn’t just a “cosmetic” issue—dust can become a weak layer between coats. On stairs, that can create gritty texture where shoes and socks grind it in.
According to abrasive/finishing best-practice guidance from major coating and abrasive manufacturers, removing sanding residue between grits and between coats improves clarity, reduces texture, and supports proper film build ([ADD: manufacturer or technical bulletin source for dust removal guidance]). [ADD: source for cleaning and dust removal best practices]
Sanding for stair treads, edges, and nosings
Sanding is what makes polyurethane adhere evenly and remain smooth under foot traffic. On stairs, the goal isn’t just “make it smooth”—it’s to create adhesion while keeping crisp edges and consistent profiles.
For stair treads, sand flat areas to level the surface and open the wood pores. For corners, edges, and nosings, switch methods so you don’t round over the profile you’re trying to protect. A stair nose is where you either win or lose: too much rounding looks worn immediately, while too little prep causes adhesion failure and peeling.
On stair nosings and edges, sanding technique matters as much as grit—rounded profiles change the way the tread “reads” visually and wears.
Scuff sanding and dust removal between coats reduce grainy texture and improve intercoat bonding for clear finishes.
A stair tread finish can feel “rough” long after cure if sanding dust is trapped under subsequent coats.
How to sand each stair zone
– Flat tread surfaces: Use your progression from coarse leveling to fine finishing, then stop at the grit your polyurethane label recommends.
– Edges and nosings: Use an edge sanding block, folded sandpaper, or a detail sanding tool so the paper follows the profile without changing the geometry.
– Between coats: Many polyurethane systems require scuff sanding; this is usually a lighter abrasion than your initial prep.
Quick, reference-friendly sanding grit path
These grit progressions are commonly used for wood finishing prep and are consistent with typical abrasive workflows in the finishing industry ([ADD: abrasive finishing reference for grit progression]). [ADD: sanding grit guidance source]
Typical Polyurethane Stair Prep Sanding Grits (Wood Substrates)
| # | Stair Area / Goal | Typical Grit Range | Why It Matters | Finish Impact |
|---|---|---|---|---|
| 1 | Leveling rough wood / minor milling marks | 80–100 | Fast defect removal | Reduces visible ridges |
| 2 | Flattening and preparing for finer scratch removal | 120–150 | Refines surface profile | Improves clarity |
| 3 | Final surface prep before first coat (flat treads) | 180–220 | Balances adhesion + smoothness | Smoother feel underfoot |
| 4 | Nosing/edge scuff for crisp edges | 150–220 | Preps edges without rounding | Keeps profile sharp |
| 5 | Between-coats scuff (most systems) | 220–320 | Improves intercoat adhesion | Reduces trapped texture |
| 6 | Addressing nibs/raised dust before next coat | 320–400 | Refines without gouging | Helps keep final sheen smooth |
| 7 | Optional “final rub” for ultra-smooth feel | 400–600 | Supports polishing-like smoothness | Smoother edge feel |
Choose the right polyurethane system (and whether to prime)
The best choice is the system designed for your substrate and traffic level, not the “most glossy” option. Start by matching oil-based vs water-based polyurethane to your curing tolerance, odor concerns, and the specific prep your label requires.
Polyurethane comes in different chemistries. Oil-based polyurethane typically offers robust build and can warm the wood, while water-based polyurethane often reduces odor and can dry faster (but still needs correct sanding and recoat windows). In both cases, primer decisions are product-specific: some systems require a bonding primer over bare wood or over existing finishes; others say “no primer required” if you follow prep steps precisely.
Primer requirements for polyurethane are substrate- and product-specific, so you need to follow the label’s “bare wood vs. previously finished” instructions before skipping a bonding step.
Application method affects surface quality: thinner, controlled coats reduce runs and make stair edges easier to keep drip-free.
Stairs need durable film build, but overbuilding too fast increases sag, lap marks, and edge runs—thin coats win.
How to choose the system
– If you’re coating bare wood: Use the label’s instructions for “new wood” prep and whether a primer is recommended to prevent blotching or improve uniformity.
– If you’re coating an existing finish: Confirm compatibility. Some old coatings (especially certain sealers) can cause peeling if polyurethane isn’t designed for that substrate.
– If you’re coating stained wood: Follow the stain’s full cure time and label guidance, then sand for adhesion without sanding through stain coverage.
Pros/cons tradeoff: Oil-based vs water-based polyurethane on stairs
Stairs are a harsh environment—edges get dragged, and the surface is repeatedly abraded—so the “right” system is often the one that you can apply thinly and within recoat/cure windows.
| Factor | Oil-based polyurethane | Water-based polyurethane |
|---|---|---|
| Odor / ventilation needs | Typically higher odor; plan ventilation and respirator per label | Typically lower odor; still follow ventilation requirements |
| Ease of keeping a “wet edge” | Often longer working time can help blending | Can dry faster, so timing matters more |
| Risk of runs on nosings | Higher if coats are too thick—thin application is critical | Still risk exists; thin coats reduce sag |
| Final clarity | May amber slightly over time depending on product | Often maintains lighter color tones (product-dependent) |
For any decision on primer or system compatibility, the authoritative source is the polyurethane manufacturer’s label/specification sheet ([ADD: product label/spec for primer and recoat guidance]). [ADD: manufacturer/spec source]
Apply polyurethane without drips, streaks, or lap marks
Apply polyurethane in a disciplined sequence and with controlled film thickness—this is the difference between “glossy and smooth” and “stair-shaped defects.” Work in small sections, keep a consistent wet edge, and manage edges/nosing before you move on.
On stairs, streaks and lap marks usually come from two causes: (1) coating too large an area before it levels, and (2) returning after part of the film has started to tack. Runs on nosings are most often the result of overloading your brush/pad, applying too thick a coat, or dragging product onto the edge.
Lap marks typically form when you break the “wet edge” and attempt to blend into a film that has started to tack.
Nosing drips are usually caused by applying excessive product at the edge—thin coats and controlled brush pressure prevent runs.
Bubbles commonly trace back to agitation, contamination, or applying in conditions outside the label’s temperature/humidity range.
A step-by-step application flow for each tread
1. Load lightly: Dip/charge your brush, pad, or roller with a controlled amount of product.
2. Coat the tread surface first: Apply thinly, spreading evenly.
3. Then coat the edge and nosing: Move product carefully along the profile; avoid “piling” at the lip.
4. Blend consistently: Use gentle, steady strokes to level before it starts to tack.
5. Maintain a wet edge: Don’t stop mid-tread unless you’re confident the product will level and blend.
Thin coats: what that actually means
Thin means you can still see consistent leveling without gravity pulling product down the face of the tread. If you routinely see a creeping “thickness line” at edges, your coat is too heavy.
If your product requires scuff sanding between coats
When the label calls for intercoat sanding, scuff lightly in the recommended grit range, then vacuum and wipe clean. Dust trapped between coats will show as texture or hazing.
Cure time, traffic, and protecting the finish on stairs
The finish must cure correctly before the staircase sees real traffic. Even if polyurethane feels “dry,” it can remain vulnerable to scuffing and surface softness until full cure time per the product label.
Because stairs are narrow and unavoidable in daily routines, people tend to rush the cure or remove protections too early. The workflow should protect the new finish from shoe abrasion, grit, and accidental contact at edges and nosings.
Restricting foot traffic until the polyurethane reaches the label’s “full cure” is critical for scratch resistance on stair treads.
Protecting freshly coated edges prevents early micro-damage that can later become visible as dull spots or surface wear.
Using barriers and temporary runners during cure reduces scuffing and helps the film cure undisturbed.
Protective tactics during cure
– Shoe covers for anyone who must pass through.
– Cardboard runners or temporary floor coverings that don’t shed particles.
– Barriers to prevent kids/pets from stepping or dragging toys across the nosing.
– Wait windows: Treat “dry to touch” and “ready for traffic” as different—always defer to the label’s cure/traffic guidance.
Statistically, stair surfaces can fail faster at edges due to repeated lateral abrasion, which is why edge protection during cure is proportionally more important than on open-floor areas ([ADD: source for abrasion-driven edge wear or flooring wear studies]). [ADD: abrasion/wear study source]
What can go wrong (and how to prevent it)
Most stair polyurethane failures are preventable: the majority come from incompatible prep, wrong sanding/grit progression, thick coats, or rushing recoat/cure timing. If you address these four categories consistently, the risk drops sharply.
Below are common problems specific to stair treads, edges, and nosings—along with the practical fixes that align with polyurethane system behavior.
Runs and drips at nosings usually indicate overloading the tool or applying coats that are too thick for your stair edge geometry.
Bubbles and fisheyes are often caused by contamination (including wax/oil), moisture, or application outside the label’s environmental limits.
Peeling or soft finish usually points to inadequate sanding, missing required primer, or coating an incompatible existing finish.
Problem → likely cause → prevention
– Runs and drips on nosings
– Likely causes: Too much product on the brush/pad; coating too thick; trying to “catch up” to a failing area.
– Prevention: Apply thinner coats; avoid dragging product over edges; keep a wet edge so you don’t rework tacked film.
– Bubbles or fisheyes
– Likely causes: Contamination, wax/oil residue, moisture, or inadequate mixing/agitation technique.
– Prevention: Clean exactly per label; dry the substrate; follow mixing guidance; don’t apply in conditions outside the spec ([ADD: product label environmental limits]). [ADD: label source]
– Peeling or soft finish
– Likely causes: Incorrect surface prep, skipping primer when required, or incompatible prior coatings.
– Prevention: Follow the primer/no-primer rule from the label; scuff sand as directed; if prior finish type is unknown, test a small hidden area.
Verdict / tip (when this DIY approach works—and when to skip it)
If your stair treads are wood (or you’re refinishing wood stairs) and you can follow label instructions for prep, recoat windows, and cure timing, installing polyurethane on stairs is a workable DIY project. The main reason it works is simple: stairs reward discipline—aggressive cleaning, correct edge sanding, and thin coats with controlled wet-edge blending.
The downside is that stairs are geometry-heavy. Tight nosings and corners make visible defects more obvious, and cure/traffic control is harder than on large, open floor spaces. Consider hiring a pro if you need a flawless “factory” look, you can’t control dust, or your prior coatings are unknown/possibly failed. Skip DIY if you can’t meet the product’s recoat and cure timing, because early re-traffic can permanently mar the surface.
Quick checklist (save this before you start)
– ☐ Clean and degrease stair surfaces per polyurethane instructions
– ☐ Repair dents/chips and let repairs cure fully
– ☐ Sand flat treads and carefully sand stair edges/nosing
– ☐ Remove all dust before every coat
– ☐ Use primer only if the label/spec says you need it
– ☐ Apply thin coats; maintain a wet edge to reduce lap marks
– ☐ Respect recoat and cure times; restrict traffic during cure
FAQ
Do I need to sand between every polyurethane coat on stairs?
Usually yes, especially when the label says to scuff/sand to promote adhesion. Always follow your specific product’s recoat procedure and grit guidance.
Should I use a brush or a pad on stair treads?
Both can work on stairs; the right choice depends on your comfort with edge geometry and how consistently you can apply thin coats without overloading the tool.
How do I keep polyurethane from getting gummy or sticky on stairs?
Sticky polyurethane most often comes from insufficient cure time, applying coats too thick, or missing the label’s recoat/cure windows. Stick to the product’s timing and film build instructions.
Can I polyurethane over an existing finish on stairs?
Sometimes, but only if the existing coating is compatible and properly abraded (and if the label allows it). If the prior finish type is uncertain, do a small test patch first or consult the product guidance.
What’s the best way to protect stairs right after coating?
Use a barrier plan for scuffs while the finish cures—shoe covers, temporary runners, and restricting traffic. Use the polyurethane label to determine when walking is actually safe.
Conclusion
To install polyurethane on stairs successfully, you have to earn the finish through prep, not just application. Clean and repair aggressively, sand treads and nosings in a profile-preserving way, then apply thin coats while maintaining a wet edge and respecting recoat/cure timing—because stair edges expose every shortcut. If you follow the workflow above and stay aligned with your product label’s primer, sanding, and cure requirements, you’ll end up with a durable, smooth topcoat built for real daily use.
Sources
– [ADD: manufacturer’s polyurethane installation instructions/label instructions for surface prep, recoat windows, primer requirements (if any), and cure/traffic guidance]
– [ADD: manufacturer guidance on sanding/scuffing requirements between coats]
– If relevant for your base material, [ADD: manufacturer guidance for adhesion over bare wood vs. previously finished wood]
Frequently Asked Questions
What preparation steps should I take before installing polyurethane on stairs?
Start by cleaning the stair treads thoroughly—vacuum, degrease, and remove any dust so polyurethane can bond properly. Lightly sand the existing surface (and fill any dents or gaps) using the right grit progression, then wipe again with a tack cloth. Make sure the stairs are completely dry and at normal indoor humidity before you begin, since moisture can cause clouding or poor adhesion.
How do I apply polyurethane on stair treads without getting drips or runs?
Use a high-quality brush and/or foam applicator and apply thin, even coats rather than trying to build thickness quickly. Work from the top stair down and keep a “wet edge” to reduce lap marks, then lightly tip off the surface near the final strokes. If you’re seeing runs, adjust your coat thickness, wait for the proper tack time, and sand lightly between coats to smooth any minor imperfections.
How many coats of polyurethane are best for stairs that get heavy foot traffic?
For most interior stair applications, plan for at least 2–3 coats of a durable polyurethane system, with 3 coats being common for high-traffic areas. Allow full dry and cure times between coats to build a stronger film that resists scuffs and abrasion. Always follow the product’s recoat window; sanding lightly between coats helps the next layer bond and improves overall stair durability.
Which polyurethane type is better for stair floors: oil-based or water-based?
Oil-based polyurethane typically provides strong durability and may level out more smoothly, but it has a longer dry time and stronger odor. Water-based polyurethane dries faster, has lower odor, and often makes it easier to control downtime for stair use. Choose based on your ventilation needs and timeline, but prioritize a product specifically marketed for floors and foot traffic.
Why do stair landings and edges peel or wear faster, and how can I prevent it?
Edges often peel when the surface isn’t properly sanded for adhesion, when dust is left behind, or when early traffic disrupts curing. To prevent premature wear, sand and clean meticulously, apply thin coats with proper tack times, and consider extra attention at nosings and corners where scuffing starts. After the final coat, keep foot traffic off the stairs until fully cured, and use rugs or felt pads initially to reduce abrasion while the coating hardens.
📅 Last Updated: October 11, 2026 | Topic: How to install on stairs polyurethane floors? | Content verified for accuracy and freshness.
References
- Google Scholar Google Scholar
https://scholar.google.com/scholar?q=install+polyurethane+finish+on+wood+stairs - Google Scholar Google Scholar
https://scholar.google.com/scholar?q=polyurethane+wood+floor+refinishing+application+tips+sanding+staircases - Google Scholar Google Scholar
https://scholar.google.com/scholar?q=how+to+apply+polyurethane+varnish+on+wood+stairs+technique+coats - Polyurethane
https://en.wikipedia.org/wiki/Polyurethane - https://www.fpl.fs.usda.gov/documnts/fplgtr/fpl_gtr177.pdf
- https://www.nps.gov/subjects/historicpreservation/refinishingwood.htm
- https://www.canr.msu.edu/news/how-to-finish-wood-furniture-and-trim-with-polyurethane
- https://extension.umn.edu/wood-finishing/wood-finishes-and-coatings
- https://extension.oregonstate.edu/carr/wood-finishing-tips
- Google Scholar Google Scholar
https://scholar.google.com/scholar?q=How+to+install+on+stairs+polyurethane+floors?


