
Measure laminate floors for a playroom the right way and you’ll avoid costly mistakes—start by getting the room’s exact dimensions and subtracting space for transitions and edges. This step-by-step guide walks you through measuring length and width, accounting for waste, and calculating the number of planks you need. If you want the cleanest, most accurate layout on the first try, follow this method.




To measure laminate floors for a playroom, measure the room’s length and width, then calculate square footage and add waste for cuts (typically 10%). Measure any odd areas too—like closets, nooks, or doorways—so you can translate that into the right number of planks and full boxes. This guide walks you through a practical, room-friendly way to get accurate measurements before you buy.
If you’re planning laminate flooring in a playroom (often with furniture, transitions, and sometimes uneven shapes), careful measuring matters more than usual. This is for DIYers who want a dependable way to estimate how many boxes they’ll need and avoid running short mid-project.
Gather what you need before you measure

The fastest way to avoid buying too little (or too much) laminate flooring is to collect the right tools and write down measurements immediately as you take them. Before you start, treat measurement like a mini “workflow”: measure → record → verify, because playrooms often include cutouts, closets, or built-ins that change what “flooring area” actually means.
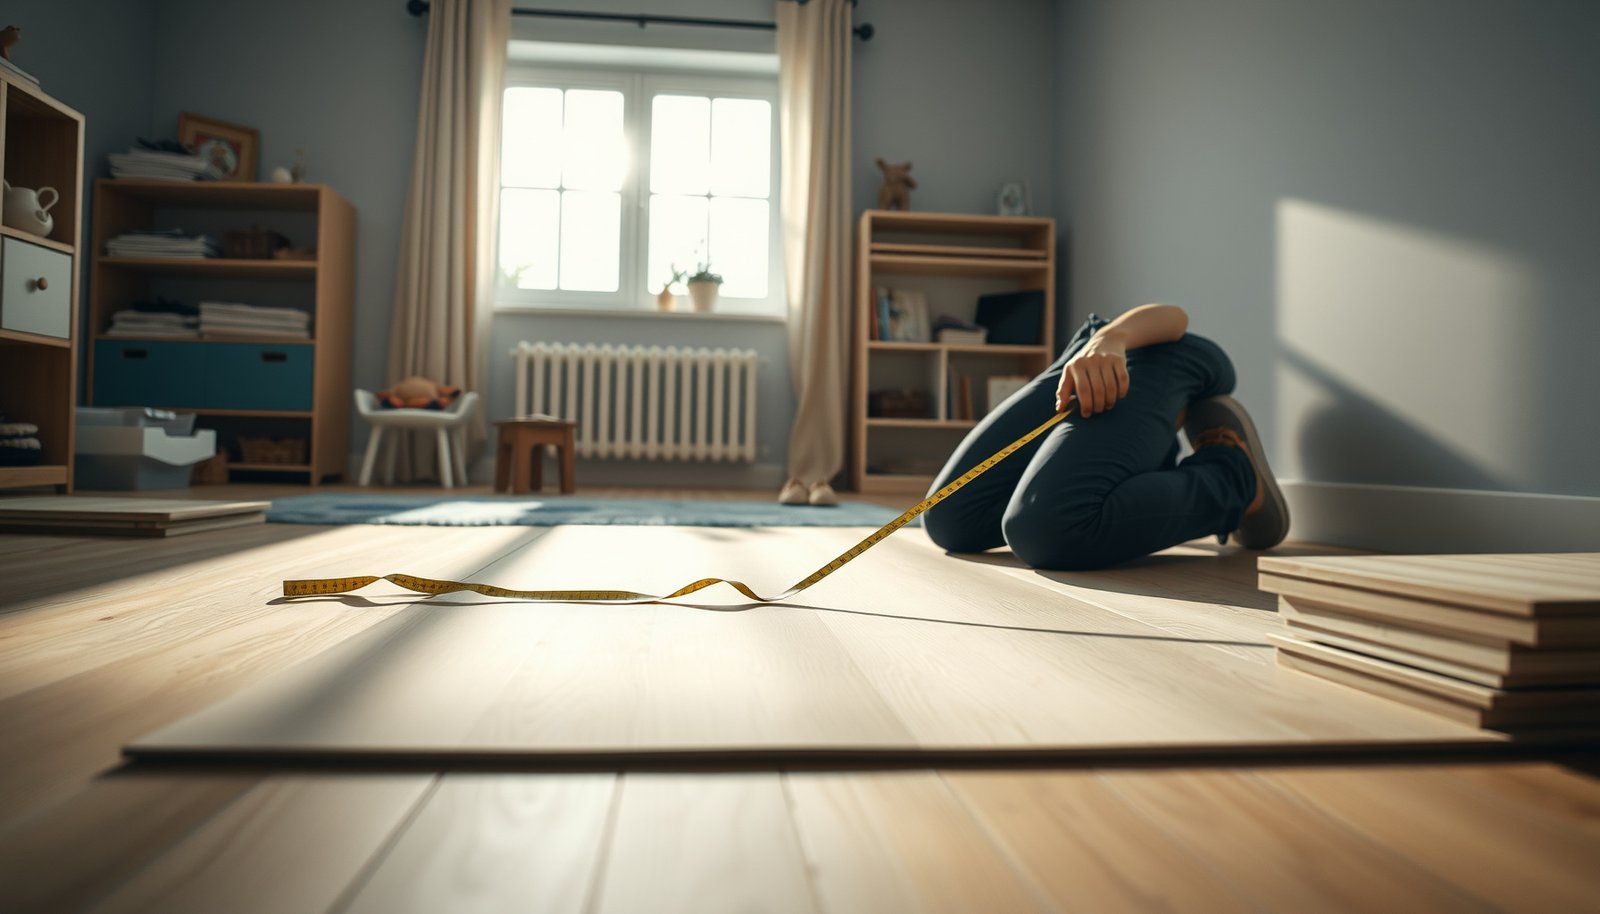
A tape measure is the correct tool for laminate measurement because flooring layouts depend on accurate feet-and-inches dimensions, especially along walls that are not perfectly square.
For laminate flooring estimates, writing down separate footprints (for closets, nooks, or recesses) reduces math errors when you convert square footage to planks and boxes.
– Use a measuring tape, not a ruler—laminate needs room-size accuracy. A tape measure lets you capture wall length precisely, including slight variations near corners.
– Grab a notepad/phone notes to record length/width and any breakouts (closets, bay areas, or awkward corners). Record in feet and inches, then convert once—preferably into feet to keep square footage math clean.
– Keep a “room sketch” (even a rough one) with labels like A (main room), B (closet), and C (doorway stop/start area). That sketch becomes your single source of truth when you’re counting planks later.
– Have your laminate details ready: the coverage per box printed on the box (square feet), plus any manufacturer guidance for expansion gaps at walls/edges.
Measure the playroom accurately (length, width, and shape)
To measure laminate flooring in a playroom, you want the footprint of the area that will actually receive laminate—not just the outer-room perimeter. Start by measuring in feet along the longest and shortest directions, then correct for any out-of-square corners by measuring more than one location.
Square footage for a rectangular area is calculated as (length in feet) × (width in feet), which is the core math step for converting laminate flooring measurements into ordered square footage.
When walls are not square, measuring only once can misrepresent square footage; measuring opposite sides helps reveal the actual floor footprint.
– Measure the room length and width at least once; if the walls aren’t perfectly square, measure again near the opposite ends.
– If the floor isn’t a simple rectangle, split it into sections you can measure separately, then add the areas together. Typical playroom “splits” include:
– L-shaped floorplans (main room + extension)
– Step-in areas (recessed closets or alcoves)
– Small irregular cutouts (corners that don’t form right angles)
– Convert each section to square footage separately. For each rectangle-like section:
– Convert feet/inches to feet
– Multiply length × width
– Add all section square footages to get total “planned flooring area”
Data anchors you can use while measuring:
– According to common flooring layout math, square footage = length × width (standard geometry used across construction estimating).
– According to typical laminate installation guidance, expansion gaps are commonly in the range of ~8–12 mm (about 5/16–1/2 in) at fixed edges; always confirm on your specific manufacturer instructions.
– According to many manufacturer and contractor installation approaches, waste allowances are often around 10% for standard residential layouts (higher for irregular shapes).
> Quick note for 2026 installs: As of 2026, most laminate boxes still print both coverage per box and installation requirements for floating floors (including expansion spacing), so verifying the printed coverage can be more reliable than estimating from plank dimensions alone.
Account for transitions and openings (doors, closets, and cutouts)
To get an accurate laminate flooring order, you must decide where the laminate will start/stop at every transition and opening. In other words: measure the flooring footprint, not the room footprint, because doorways, thresholds, and recessed closets often change what “counts” toward square footage.
Laminate flooring estimates should be based on the covered footprint the planks will actually occupy, which can require subtracting openings where laminate will not be installed.
For closets and recessed spaces, measure the recess footprint that will receive laminate so you don’t over-order based on the surrounding room area.
– Decide whether laminate will run through openings or stop at a doorway/threshold—measure the area you’re actually flooring.
– If laminate continues into a doorway area, include that footprint.
– If you plan to stop at a threshold, subtract the opening area accordingly.
– For closets or recessed spaces, measure the footprint that will receive laminate, not the full surrounding room.
– Track transitions (things like stairs, adjacent flooring types, or different heights) because they often require:
– A transition strip
– A consistent edge/stop line
– Extra planning around underlayment and expansion gaps
My go-to measuring approach (and where it helps): When I’m working from a sketch, I label each zone with two numbers: “planned flooring area” and “don’t-count area.” This simple bookkeeping prevents the common “I measured the room, so I assumed it was the floor” error—especially in playrooms with closets and nooks.
– If you want an extra-safety habit, walk the perimeter with a tape measure and mark your planned stop lines on paper before you do final math. This is where laminate flooring projects most often drift off plan.
Calculate square footage, then convert to planks/boxes
To estimate laminate quantities correctly, you convert your measured footprint into total square footage, add waste for cuts, then divide by the coverage per box printed on the laminate packaging. This prevents a frequent ordering mistake: guessing box counts without grounding them in real coverage numbers.
Total order square footage is commonly calculated as (measured flooring square footage) × (1 + waste factor) before converting to box counts.
Box count should be calculated using the laminate box’s stated coverage per box (square feet), not plank count guesses, because real box coverage varies by product.
– Square footage = (length in feet) × (width in feet). For multiple sections, add all section square footages.
– Add waste for cuts—plan on roughly 10% for a typical layout, and use the manufacturer’s guidance if it differs.
– Convert area to boxes using the coverage printed on the laminate box (coverage per box), not guesswork.
– Example workflow (math template):
1) Total flooring area (ft²) = sum of all section areas
2) Ordered area (ft²) = total flooring area × 1.10 (or your chosen waste factor)
3) Boxes needed = ordered area ÷ box coverage (ft²/box)
4) Round up to the next whole box
Waste buffer reference (quick math you can reuse)
This table is designed as a practical estimator: it shows how laminate waste percentages change total “ordered area” when your measured flooring footprint is 120 ft² (replace 120 with your own measured area if you want to replicate the method).
Laminate waste buffer math for a 120 ft² playroom flooring footprint
| # | Waste Factor | Ordered Area (ft²) | Added Area (ft²) | Buffer Adequacy |
|---|---|---|---|---|
| 1 | 5% | 126.0 | 6.0 | ★★ (low) |
| 2 | 7% | 128.4 | 8.4 | ★★★ (medium-low) |
| 3 | 10% | 132.0 | 12.0 | ★★★★ (standard) |
| 4 | 12% | 134.4 | 14.4 | ★★★★ (safe) |
| 5 | 15% | 138.0 | 18.0 | ★★★★★ (very safe) |
| 6 | 18% | 141.6 | 21.6 | ★★★★★ (overbuffer) |
| 7 | 20% | 144.0 | 24.0 | ★★★★★ (max cushion) |
What can go wrong when measuring laminate for a playroom
Even careful DIY measurement can still miss the mark if you measure the wrong “area.” The most common problems come from mixing room geometry with flooring geometry, then applying waste rules to an incorrect base number.
The #1 estimating failure for floating laminate flooring is treating the room perimeter as the flooring footprint, without subtracting openings or areas that won’t receive laminate.
Irregular playroom layouts (closets, nooks, vents, and custom cut lines) increase cutting waste and can require more than the default 10% buffer.
– Mistaking the “room size” for the “flooring size” (e.g., forgetting to subtract door openings or areas not receiving laminate). For laminate flooring, what matters is where the planks lay and where the expansion gap needs to be maintained.
– Underestimating waste when you have lots of cuts around edges, vents, or irregular shapes. As a math reminder, each “odd” area creates more edge-cuts, and edge-cuts don’t reuse efficiently.
– Measuring only once and assuming walls are square—playrooms sometimes have built-ins or transitions that create measurement surprises.
– Forgetting underlayment and seam requirements in the plan. Underlayment doesn’t change square footage the same way carpet does, but it can affect how transitions and stops are handled—especially at doorways and fixed cabinetry.
– Not reconciling the direction of plank layout with your estimated waste. Orientation (along the long direction vs. across) can change cut patterns, even if the room dimensions stay the same.
A quick comparison: what you measure changes what you order
- Measure full room perimeter
- Pros: faster, good for simple rectangular spaces. Cons: can over-order or under-order when laminate flooring stops at thresholds or skips openings.
- Measure flooring footprint (plan-based)
- Pros: aligns directly to box coverage math; better for playrooms with closets/nooks. Cons: takes more time upfront because you map transitions and stop-lines.
Verdict: a reliable measuring method (and who should skip DIY estimating)
The most reliable way to measure laminate flooring for a playroom is the section-by-section footprint method: measure what’s actually covered, add a realistic waste factor, then convert to box count using the coverage printed on the laminate box. This approach typically lands you close enough to order confidently without mid-install shortages—but it’s not perfect for every layout.
Footprint-first measurement (instead of room-perimeter measurement) ties directly to laminate box coverage, which is how you avoid ordering errors.
Complex geometry increases waste, so a fixed 10% buffer may be too low for playrooms with multiple transitions, built-ins, or non-rectangular regions.
If you follow the section-by-section method and calculate from box coverage, you’ll usually land close enough to order confidently without mid-install shortages. That said, skip DIY estimating (or get a pro measurement) if your playroom has highly complex geometry, multiple transitions, or you’re unsure about floor underlayment/expansion-gap requirements—those details can affect how much flooring you truly need.
Downside to know: even with accurate math, laminate flooring orders can still vary by product because plank dimensions, tongue-and-groove loss, and cut efficiency differ by brand and thickness. If you’re buying discontinued lots, running short mid-project can be more costly than buying an extra box.
Quick measurement checklist (scan before you start)
– Measure length and width (and re-check at opposite ends)
– Split the room into rectangles if the shape is irregular
– Subtract areas that won’t get laminate (as applicable)
– Add ~10% waste for cuts (or follow the manufacturer’s guidance)
– Calculate square footage and divide by box coverage
– Buy with a small buffer rather than right at the minimum
Sources
With your measurements translated into a plan-based flooring footprint (plus waste and box coverage), you’re set up for a smoother laminate flooring install in your playroom—one that stays on budget and minimizes the risk of stopping mid-project for more material.
Frequently Asked Questions
How do I measure a playroom for laminate flooring accurately?
Measure the playroom’s floor area by calculating length × width for each continuous section, then add them together. If you have closets, alcoves, or built-ins, measure those separately so you don’t miss hidden square footage. Finally, add 10–15% extra to account for cutting, waste, and pattern alignment when planning laminate flooring.
What’s the best way to calculate laminate floor square footage for a room with irregular shapes?
Break the room into smaller rectangles or sections, measure each section’s length and width, and total the square footage. For doorways or recessed areas, measure them as part of the appropriate sections rather than guessing. Use the calculated total to estimate laminate planks needed, factoring in the extra 10–15% so you have enough for off-cuts and edge trimming.
How do I measure laminate flooring with underlayment and transitions in mind?
Measure the room to the exact areas where the laminate flooring will end, including how far underlayment extends and where seams will land. Plan for transitions at doorways or between rooms by measuring the width of threshold strips or reducer transitions, then include those areas in your layout. Keep in mind that laminate typically expands slightly at the perimeter, so measure and plan for an appropriate gap at walls and fixed objects.
Which measurements should I take for cutouts like vents, columns, and built-in furniture?
Measure the height and width of each cutout, then note its exact distance from a reference wall or starting corner for accurate plank placement. For floor vents, measure the surrounding opening and plan plank cuts so the vent cover can sit correctly. If you’re leaving built-in furniture in place, measure the exposed floor areas rather than the entire room, and add extra waste for complex shapes.
Why should I add extra waste when measuring laminate floors for a playroom, and how much should I add?
Playrooms often require careful cuts around outlets, baseboards, and any layout changes that can increase waste compared with simple rooms. A standard allowance of 10–15% is recommended for laminate flooring to cover mistakes, irregular boards, and off-cuts, and you may increase it for intricate patterns. Adding extra ensures you can match colors and finish consistently—especially important in high-traffic areas where repairs might be needed later.
📅 Last Updated: October 22, 2026 | Topic: How to measure a laminate floors for playroom? | Content verified for accuracy and freshness.
References
- Laminate flooring
- Floating floor
- Floor
- Flooring
- Floor plan
- Square foot
- Expansion joint
- https://scholar.google.com/scholar?q=measure+laminate+flooring+square+footage Google Scholar
- https://scholar.google.com/scholar?q=laminate+flooring+installation+calculation+waste+factor Google Scholar
- https://scholar.google.com/scholar?q=how+to+calculate+laminate+floor+boards+for+a+room Google Scholar