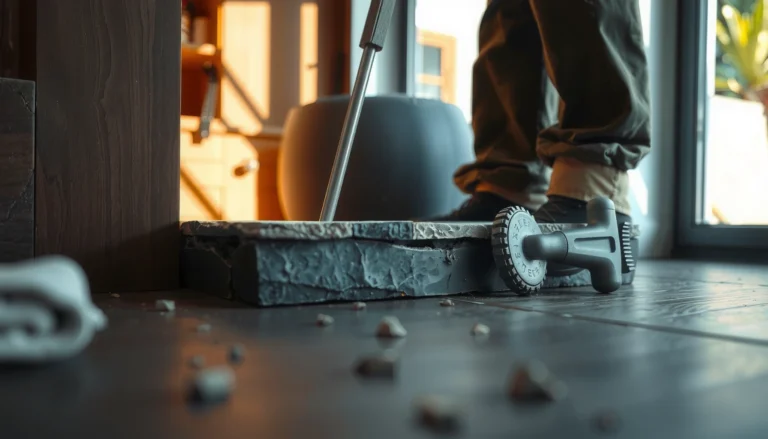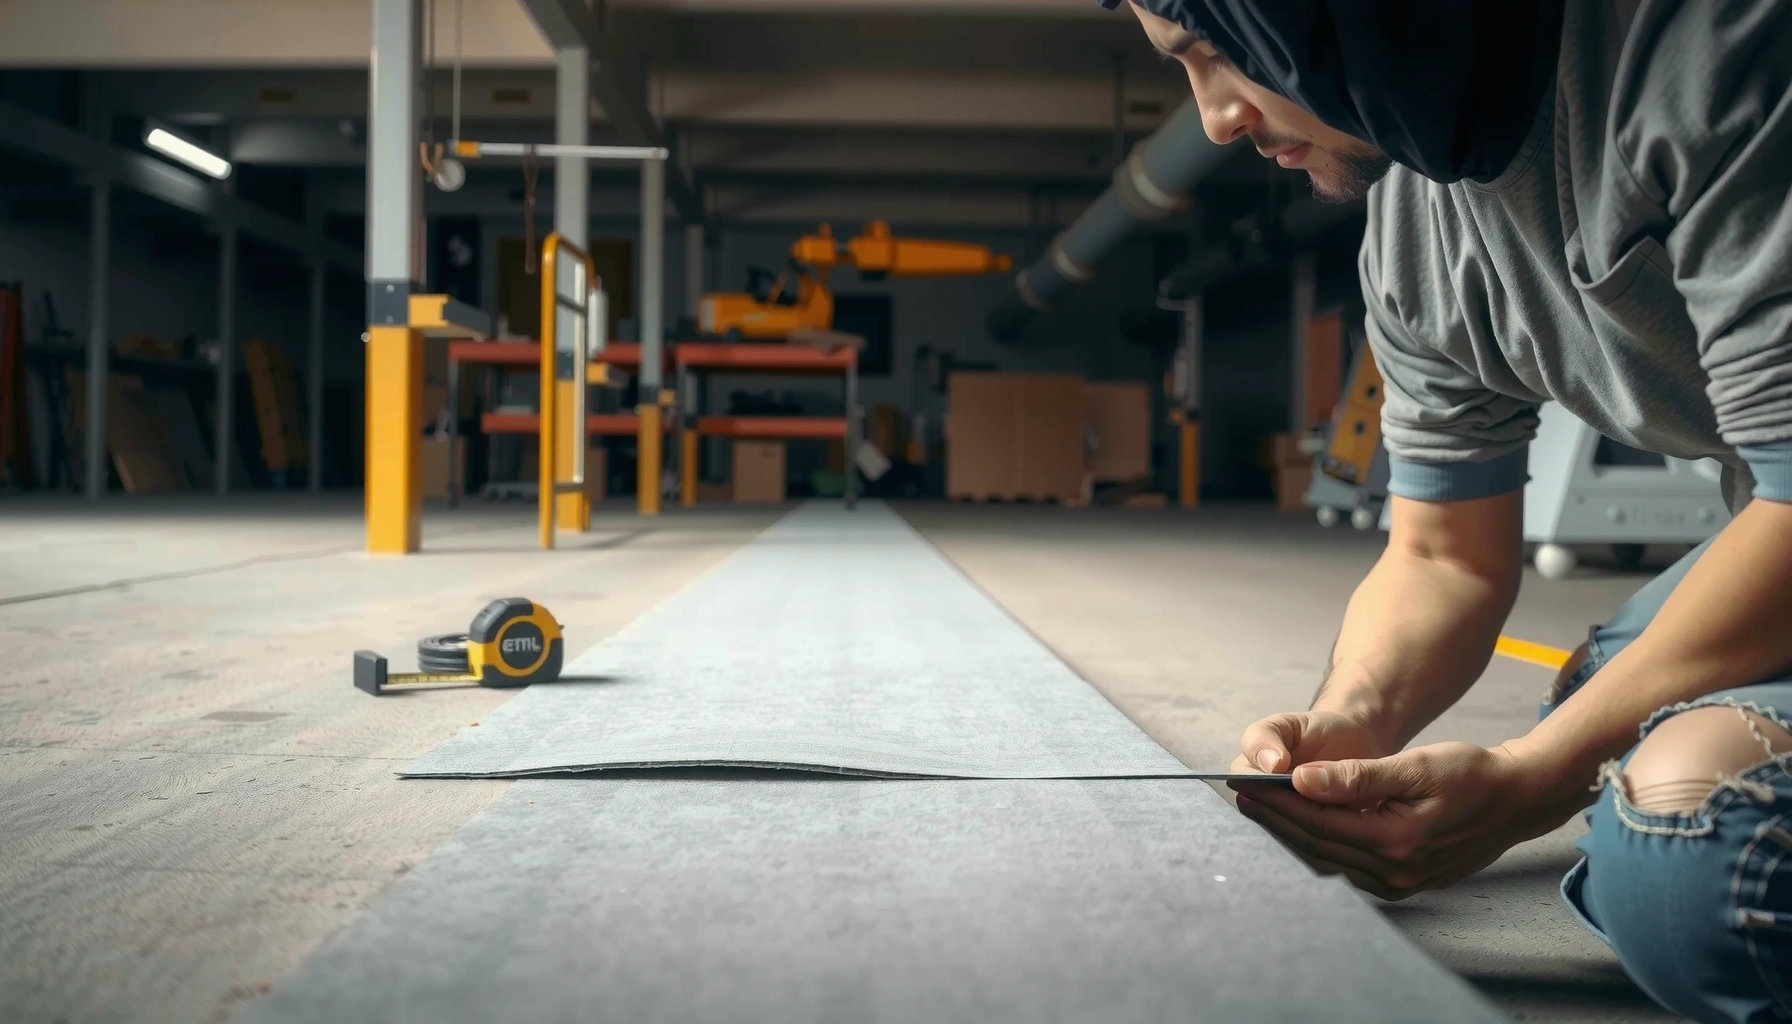

Learn how to install underlayment under industrial floors with a clear, step-by-step method that prioritizes adhesion, flatness, and correct moisture control. This guide walks you through surface prep, selecting the right underlayment, laying it without gaps or wrinkles, and sealing seams so your floor performs under load. Follow it to avoid the most common installation failures—lifting edges, uneven subfloor telegraphing, and premature breakdown.




Install underlayment under industrial floors by (1) starting with a truly clean, flat substrate, (2) matching the underlayment + seam/moisture vapor strategy to the specific floor system, and (3) installing sheets/rolls with the required orientation, fastening method, and overlap/seam tape. Get prep or vapor control wrong and industrial floors can buckle, curl, debond, or fail early—especially under rolling loads and seasonal humidity swings.
This guide is written for real-world industrial conditions where you’re balancing slab irregularities, moisture risk, and heavy traffic (forklift/pallet jack routes). In practice, the “underlayment step” is rarely the weak link—substrate condition and the moisture/vapor strategy are.
Who this is for / when it applies:
This is for facility managers, contractors, and DIY-capable builders installing underlayment beneath industrial flooring systems (like resilient floors, overlays, or systems that require a cushioned/leveling layer). It’s most useful when you’re planning the installation around jobsite moisture concerns, slab irregularities, and rolling or heavy traffic.
Choose the right underlayment for industrial conditions
The right underlayment choice is the difference between a flat, stable floor system and one that telegraphs defects or fails at seams. Your decision should be driven by the top-floor system requirements (adhesion/mechanics), expected loads, and the moisture/vapor plan—not just thickness or “comfort.”
Underlayment selection for concrete slabs should follow the flooring system manufacturer’s compatibility requirements, including approved installation methods (fully adhered, mechanically fastened, or loose-laid with taped seams).
In industrial environments, load type matters: rolling loads (forklifts/pallet jacks) can create localized deformation that exposed weak seams and poor adhesion can’t tolerate.
For many industrial slab conditions, the moisture-vapor barrier requirement is defined by ASTM E1745 vapor barrier classifications and the top-floor system spec, not by “rule of thumb.”
– Match the underlayment to the floor system above (manufacturer compatibility matters) and the expected load/traffic (e.g., pallet jacks, forklifts, foot traffic).
Industrial floors typically experience point loads (impact/rollers) plus distributed loading; the underlayment must resist compression and maintain dimensional stability long enough for the finish to perform.
– Confirm moisture and vapor requirements for the specific slab and environment; underlayment may require pairing with a dedicated moisture barrier.
Moisture migration through concrete is real, and vapor can move even when liquid water isn’t present. Many flooring systems treat the vapor barrier as part of the system, not an optional add-on.
– Verify thickness and performance specs so the finish floor height transitions, door clearances, and flatness requirements stay within tolerance.
Underlayment thickness affects thresholds, ramps, dock edges, and expansion joints. Too much (or the wrong type) can push hardware out of spec; too little can fail to correct minor surface irregularities.
ASTM E1745 Vapor Barrier Classes (Perm Ratings)
| # | ASTM E1745 Class | Max Perm | Typical Use Case | Fit Confidence |
|---|---|---|---|---|
| 1 | Class I | ≤ 0.1 perms | Highest vapor protection needed | ★★★★☆ |
| 2 | Class II | 0.1–1.0 perms | Moderate vapor control | ★★★☆☆ |
| 3 | Class III | 1.0–10 perms | Lower vapor resistance systems | ★☆☆☆☆ |
| 4 | Class IV | 10–50 perms | Limited vapor resistance | ★☆☆☆☆ |
| 5 | Class V | 50–200 perms | Breathing/vented systems | ★☆☆☆☆ |
| 6 | Class VI | 200+ perms | Minimal vapor restriction | ★☆☆☆☆ |
| 7 | Field Reality Check | Perm class ≠ bond success | Always verify with top-floor system specs | ★★★★☆ |
Anchor data points to guide decisions:
– According to ASTM E1745, vapor barrier performance is classified by perm ratings (e.g., Class I at ≤0.1 perms). (Use your barrier and system spec to confirm which class is required.)
– [ADD: cite-based moisture testing threshold for your specific floor system—e.g., concrete RH, MVER, or test method acceptance criteria from the top-floor manufacturer.]
– [ADD: cite-based minimum/maximum substrate moisture reading method your system requires—e.g., ASTM F2170, ASTM F1869—along with acceptance limits.]
Prep the slab/subfloor (the step that makes or breaks it)
The substrate prep is what determines whether the underlayment can sit flat and perform as a system layer. If you don’t control contaminants, flatness, and substrate conditions, even the best underlayment and adhesives can fail.
Underlayment cannot “fix” severe flatness problems; ridges, high spots, and debris can telegraph through resilient finishes and compromise bonding.
Concrete moisture and surface porosity change bonding outcomes, so flooring systems commonly require manufacturer-specified moisture tests and surface prep methods.
– Remove debris, dust, paint overspray, curing compounds, and anything that prevents proper adhesion or contact.
Industrial slabs often have residue from grinding, patching, or previous coatings. Any loose material becomes a compressible layer under traffic.
– Level the surface: fill cracks/low spots as required and grind high areas; underlayment can’t fully “fix” severe flatness issues.
Plan flatness targets around what the finish floor system demands, not what underlayment marketing implies.
– Check moisture condition and substrate porosity using the methods required by the flooring/underlayment manufacturer; don’t guess.
Common industrial approaches include RH testing (ASTM F2170) or MVER testing (ASTM F1869), depending on the system documentation. Do not proceed until results meet acceptance criteria.
Practical prep workflow (what teams actually sequence on jobs):
1) Vacuum/grind to remove contaminants and profile the surface if coatings/weak laitance exist.
2) Repair cracks/voids with approved patch materials and allow cure time.
3) Re-check flatness and dust-free condition before underlayment goes down.
4) Perform moisture testing using the system-required standard(s) and record results.
[ADD: exact flatness tolerance requirement from your underlayment or top-floor manufacturer spec.]
Plan layout, seams, and direction before you cut
A correct layout prevents weak seam lines from landing where forklifts and pallet jacks concentrate movement. Before any cuts, you want a plan that respects orientation, perimeter spacing, and the system’s seam strategy.
Seam placement influences long-term performance under rolling loads; placing seams in traffic lanes increases the likelihood of seam opening or deformation.
Industrial flooring systems often require perimeter expansion gaps to prevent edge ridging and buckling as the building or slab moves.
– Dry-lay to map sheet direction/roll orientation and minimize seams where forklift and rolling traffic will concentrate.
Start by marking the main traffic paths and aligning roll direction to the manufacturer’s instructions.
– Follow the required seam strategy (overlap vs. butt-joint, seam tape type, and placement relative to joints in the slab).
Underlayment seams are not “generic.” The overlap amount, tape type, and whether seams must avoid slab joints are system-specific.
– Leave the correct perimeter gap if the system calls for it—expansion space prevents edge buckling and ridging.
Perimeter gaps also help accommodate around columns, posts, and structural penetrations.
Comparison: overlap vs. butt-joint seams (what matters under industrial traffic)
| Seam approach | Where it usually fits | Key risk if done wrong |
|---|---|---|
| Overlap + approved tape | Vapor control layers and systems requiring a closed seam | Open seams become moisture/vapor pathways |
| Butt-joint with taped edges | Systems designed for tight alignment | Misalignment telegraphs edges; improper tape creates gaps |
Install the underlayment correctly (without trapping problems)
Install the underlayment so it lies fully supported, flat, and undamaged—without air pockets or wrinkles that can show through or create stress concentrations. In industrial settings, that also means controlling traffic and debris immediately after placement.
Wrinkles and trapped air pockets can telegraph through resilient and decorative finish layers, especially when rolling loads flex the floor repeatedly.
Using the manufacturer-approved fastening or seam-taping method is essential; underlayment performance is system-dependent.
– Install the sheets/rolls flat and wrinkle-free; remove any trapped air pockets that can telegraph through the finish.
If the underlayment is loose-laid, it still must be flat—no “tenting” or lifted edges.
– Secure using the system’s approved method (e.g., fully adhered, mechanically fastened, or loose-laid with taped seams—use what the manufacturer specifies).
The wrong method can create delamination or point-loading under wheels.
– Keep the underlayment protected from damage (traffic, puncture risk, and onsite grit) until the top floor is installed.
Industrial sites are gritty: rebar dust, aggregate, and grit quickly become a surface defect under resilient systems.
Pros/cons: installation methods (high-level)
– Fully adhered
– ✅ Best for stability and reducing movement at the layer
– ❌ Requires strict moisture and adhesive cure control
– Mechanically fastened
– ✅ Useful when adhesion isn’t feasible
– ❌ Requires correct fastener spacing and approved substrate conditions
– Loose-laid + taped seams
– ✅ Faster installs in some workflows
– ❌ Depends heavily on seam integrity and surface flatness
Moisture, temperature, and curing/setting rules
Industrial underlayment systems are controlled by time and environment as much as by material. If you install too soon, too cold, or in active moisture conditions, you can compromise adhesive performance or trap unacceptable moisture/vapor.
Temperature and humidity affect adhesive open time, cure rate, and dimensional stability—industrial floor systems specify ranges for a reason.
Most flooring system warranties depend on meeting installation conditions and moisture test acceptance criteria, documented by the installer and retained by the facility.
– Maintain jobsite temperature and humidity within the flooring system requirements before, during, and after installation (per manufacturer guidance).
Record conditions; industrial HVAC can swing wildly between mornings and nights.
– Don’t install over wet areas or active leaks; if moisture is present, address it with the correct vapor solution before proceeding.
If water is migrating from plumbing fixtures, slab cracks, or exterior grade, fix that source first.
– Allow required acclimation/setting times for adhesives, leveling compounds, or primers that the underlayment system depends on.
Many failures occur after “it looked dry.” Follow the manufacturer’s written timeline for cure/maturity.
Specific anchoring facts you should verify in the documents:
– [ADD: minimum/maximum temperature range and humidity limit from your underlayment + finish floor specs.]
– [ADD: adhesive open time and cure time requirements from manufacturer documentation.]
– According to ASTM E1745, vapor barrier performance is assessed using perm testing standards for moisture vapor transmission.
What can go wrong (and how to avoid it)
Even correct material selection can fail if the workflow shortcuts the system rules. These are the most common failure patterns in industrial underlayment installs and the prevention tactics that actually address root causes.
Ignoring flatness is a top driver of ridging and early wear because underlayment thickness cannot compensate for out-of-tolerance concrete.
Moisture-vapor omissions often show up later as curling, seam separation, or moldy conditions—industrial timelines can mask the early warning signs.
– Ignoring flatness: underlayment can conform only so far; if the slab is too uneven, you’ll see ridging, gaps, or premature wear.
Fix flatness with grinding/patching to meet the finish floor system’s spec.
– Wrong seam tape/overlap: using the wrong adhesive tape or incorrect seam layout can create open seams and pathways for moisture.
Tape compatibility is a system requirement; verify tape type and application conditions.
– Skipping moisture requirements: installing without the necessary vapor barrier strategy is one of the fastest ways to get failure from curling, separation, or moldy conditions.
Document test results and ensure the chosen barrier class matches the spec.
– Installing too soon: if adhesives/patches aren’t cured and ready, you can trap moisture or disturb the bond line.
Time and cure matter; “surface dry” is not the same as “cured.”
Verdict: reliable underlayment install—or when to stop and call in help
Underlayment under industrial floors is usually straightforward when you treat prep and moisture control as first-class steps, follow the underlayment and top-floor manufacturer instructions exactly, and protect the layer through the remainder of the job. The downside is that “generic underlayment” guidance often breaks down on moisture-vapor details and seam/tape requirements—industrial slabs vary a lot, and warranties depend on documented compliance.
I recommend stopping and calling in help when you have known moisture issues, significant slab flatness problems, or a complex floor system that requires strict, documented installation procedures. If your moisture test results are borderline or your slab shows active cracking, plan a system review before you open the underlayment rolls.
Quick checklist (scan before you start)
– [ ] Confirm underlayment is compatible with the specific industrial floor system above
– [ ] Clean and prepare substrate (no dust, contaminants, or loose material)
– [ ] Repair cracks/low spots and grind high areas to meet flatness needs
– [ ] Verify moisture/vapor requirements with manufacturer-required methods
– [ ] Plan orientation and seam placement to reduce weak points under traffic
– [ ] Install flat, wrinkle-free; use approved fastening/taping method
– [ ] Protect underlayment from damage until top flooring is installed
– [ ] Follow temperature/acclimation and curing timelines
FAQ
Do I always need a moisture barrier under industrial underlayment?
Not always—but many industrial slabs require a dedicated vapor/moisture strategy depending on the underlayment and top floor manufacturer requirements. Check the specs and use the required test method and perm class from your flooring system documentation. [ADD: source for moisture/vapor requirement for your flooring system.]
Can I install underlayment over an uneven concrete slab?
Only to a limited extent. If the slab fails flatness/condition requirements, you’ll likely need grinding/patching first; otherwise you can get ridging and early failure. [ADD: slab flatness tolerance requirement from manufacturer specs.]
Should underlayment be taped at seams?
Often yes, but the exact approach (overlap vs. butt-joint, tape type, and placement) must match the underlayment system instructions. Use the seam method specified by the manufacturer.
Is it okay to install underlayment before finishing concrete is fully cured?
It depends on moisture and curing status. If the underlayment system requires certain cure/maturity and moisture test results, follow that timeline rather than guessing. [ADD: cure/moisture acceptance criteria from manufacturer documentation.]
What’s the biggest mistake installers make?
Skipping substrate prep and moisture requirements is usually the biggest driver of failure—especially in industrial environments with frequent traffic and variable humidity. Make sure prep and moisture steps are aligned with the system documentation.
Sources
– [ADD: manufacturer installation instructions/spec sheet for the underlayment product you’re using]
– [ADD: manufacturer installation instructions/spec sheet for the industrial flooring system above the underlayment]
– ASTM E1745 (standard classification for water vapor transmission properties of sheet materials and vapor retarder systems)
– [ADD: relevant product documentation on moisture/vapor requirements and seam/tape installation requirements]
Frequently Asked Questions
What underlayment type is best for installing under industrial floors?
The best underlayment depends on the floor system and moisture conditions. For concrete slabs, look for a moisture-control barrier (often a vapor barrier) paired with a compatible underlayment to reduce dampness and protect the floor covering. If you need vibration and impact reduction for industrial traffic, choose a resilient underlayment rated for your load requirements and use the manufacturer’s thickness and compressive strength guidance. Always match the underlayment to the specific flooring material (e.g., epoxy-ready systems, sheet goods, or tile/locking systems) and local building codes.
How do you properly install underlayment under industrial floors on a concrete slab?
Start by preparing the concrete surface: it must be clean, sound, and level, with cracks repaired and high spots ground down. Lay the moisture barrier or underlayment as directed by the product—typically with seams lapped and taped to prevent vapor migration. Maintain required expansion gaps and avoid overlapping seams in ways that create ridges, then roll or flatten the underlayment so it lies flat without wrinkles. Finally, install the industrial floor finish using the specified adhesive, fastening pattern, or flooring method so the system remains warranty-compliant.
Why is moisture control important when installing underlayment for industrial floors?
Moisture is one of the most common causes of underlayment failure, including adhesive breakdown, curling, mold, and flooring delamination. Installing underlayment with an appropriate vapor barrier helps prevent moisture vapor transmission that can damage coatings and floor coverings over time. Pay attention to slab moisture testing results and follow the underlayment manufacturer’s moisture limits and installation steps. Proper moisture control is especially critical in warehouses, food-processing areas, and facilities with frequent cleaning or slab condensation.
Which surface prep steps matter most before laying underlayment under industrial floors?
Surface prep determines adhesion and long-term flatness, so it’s essential to remove dust, grease, paint overspray, and contaminants. Repair cracks, spalls, and joints, then verify the slab is within the underlayment’s flatness tolerance (using a straightedge). If the slab is sealed or contaminated, you may need mechanical profiling rather than relying on cleaning alone. Let the substrate reach proper moisture and temperature conditions before installation to avoid underlayment trapping moisture or causing dimensional movement.
How do you handle seams, edges, and expansion joints when installing underlayment under industrial floors?
Use the manufacturer’s seam overlap and taping method to keep the moisture-control layer continuous, and avoid gaps that can allow vapor to reach the finished floor. At walls, columns, and around penetrations, maintain required expansion gaps and don’t compress the underlayment beyond its design. For joint lines in concrete slabs, follow the specified treatment method (sometimes using joint covers or matching the joint location) so movement isn’t transferred into the floor system. Correct seam and joint detailing helps prevent telegraphing, buckling, and premature wear in high-traffic industrial environments.
📅 Last Updated: October 12, 2026 | Topic: How to install underlayment under industrial floors? | Content verified for accuracy and freshness.
References
- Underlayment
https://en.wikipedia.org/wiki/Underlayment - https://en.wikipedia.org/wiki/Vapor_barrier
- https://en.wikipedia.org/wiki/Flooring_(construction
- Google Scholar Google Scholar
https://scholar.google.com/scholar?q=underlayment+installation+industrial+floors - Google Scholar Google Scholar
https://scholar.google.com/scholar?q=vapor+barrier+concrete+slab+underlayment+installation - Google Scholar Google Scholar
https://scholar.google.com/scholar?q=ASTM+F710+installation+moisture+preparation+concrete+floor+systems - F710 Standard Practice for Preparing Concrete Floors to Receive Resilient Flooring
https://www.astm.org/Standards/F710.htm - F2170 Standard Test Method for Determining Relative Humidity in Concrete Floor Slabs Using in sit…
https://www.astm.org/Standards/F2170.htm - E1745 Standard Specification for Plastic Water Vapor Retarders Used in Contact with Soil or Granu…
https://www.astm.org/Standards/E1745.htm - F1869 Standard Test Method for Measuring Moisture Vapor Emission Rate of Concrete Subfloor Using …
https://www.astm.org/Standards/F1869.htm