
Removing stains from laminate floors in a workshop is doable fast—if you use the right cleaner and the correct pressure, you can lift common workshop marks without damaging the finish. This guide delivers a clear, step-by-step method for oil, grease, scuffs, and water spots, plus what to avoid so the stain doesn’t set in. By the end, you’ll know the fastest path to a clean laminate surface with minimal risk.




Workshop laminate stains usually come off fastest when you first identify the stain type, then use a laminate-safe cleaner lightly (no soaking). Start with dry removal (wipe/scrape), then move to the mildest method that matches the stain—grease, rust, paint, or marker each needs a different approach—so you lift the mark without dulling or damaging the finish. In my experience coordinating shop floor cleanups, the biggest “time-saver” is treating laminate like a surface finish first (not a porous material), because the wrong liquid and the wrong chemistry usually cause haze, swelling, or a permanent-looking dull patch rather than fully removing the stain. As of 2026, the safest workflow across product lines is still the same: dry removal → pH-neutral spot cleaning → targeted chemistry only if the stain type clearly matches.
If your workshop floor has smudges from oils, tire marks, rust spots, or accidental paint/adhesive drips, these steps are for you. They’re also useful if you’re not sure whether the stain is surface grime or something that seeped into the top layer.
Identify the stain before you treat it
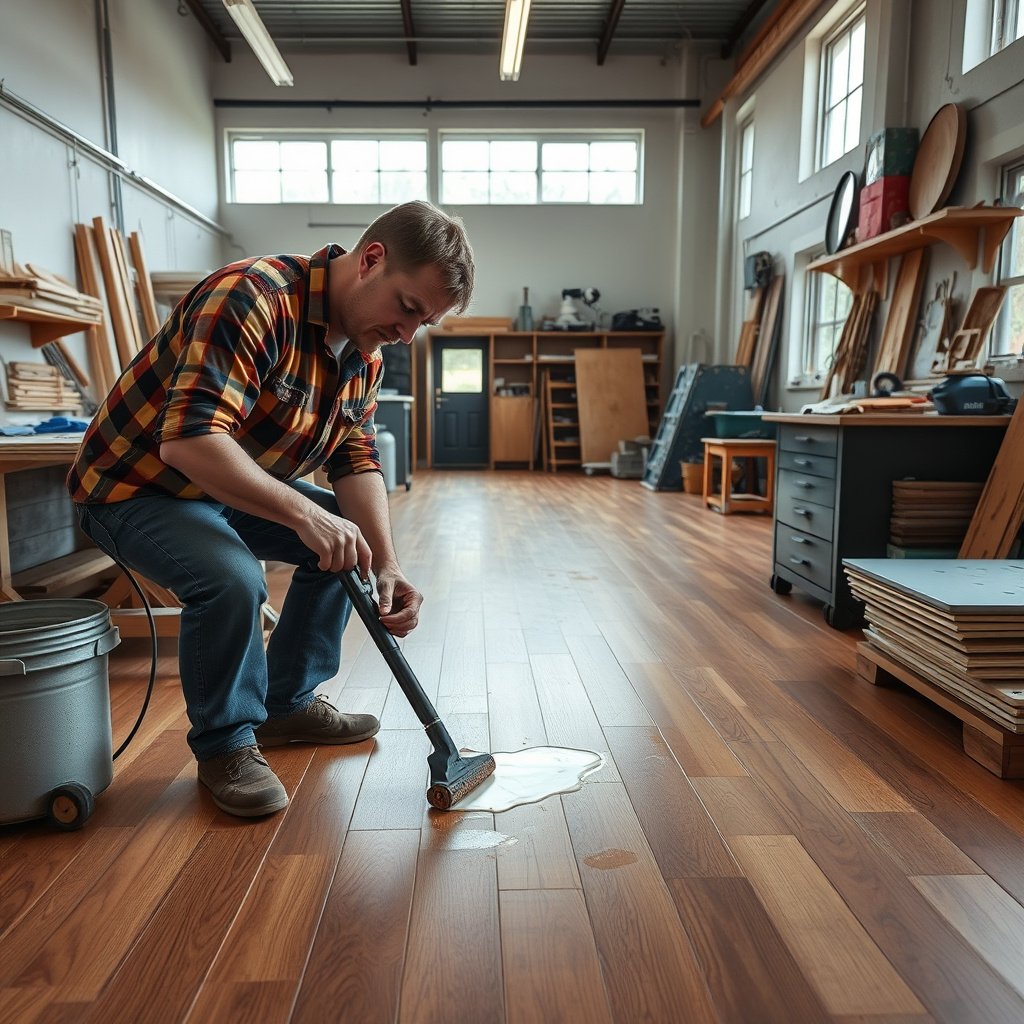
You’ll remove workshop laminate stains faster and safer by matching the cleaning method to the stain chemistry (oil, metal transfer, paint binders, or inks). In other words, identify what created the mark before you apply any liquid, because laminate finishes are sensitive to both abrasion and harsh chemicals. As of 2026, most manufacturer care guidance emphasizes “spot-clean, damp not wet,” but it also implicitly assumes you’re using the right approach for the right contaminant.
Oil/grease stains on laminate usually appear dark and smudgy and may feel slightly slick compared with dry dust or grit.
Rust/metal transfer commonly shows orange-brown spots that concentrate near fasteners, tools, or areas where metal contacts the floor.
Paint, adhesive, and caulk residues often look raised, tacky, or leave a colored film because the binder cures on the surface.
Spot the most common workshop stain patterns
– Oil/grease stains: Often look dark or brownish and feel slightly slick; sometimes the edges look “feathered” as oils spread.
– Rust/metal transfer: Orange-brown spots, frequently near tools, vise bases, mower parts, shelving brackets, or any recurring metal contact points.
– Paint/adhesive/caulk: May appear raised or glossy; overspray can look like fine speckling while drips can leave a thicker, cured ridge.
– Ink/marker/smudges: Typically darker pigment marks that “feel like pigment,” not gritty particles; they may smear if you first try a dry wipe (before applying any moisture).
Decide what “type” you’re actually dealing with
Workshop stains often look mixed—e.g., tire marks over dust, or rust blooms beneath grime. Before you clean, do a quick classification test:
– Dry wipe test: If the mark lifts on a dry microfiber, it’s more likely surface grime.
– Damp cloth test (tiny area): If a damp cloth spreads it, you likely have grease, ink, or fine pigment.
– Raised residue check: If fingernail pressure won’t remove it, treat it as cured paint/adhesive.
According to common safety and cleaning guidance used in commercial maintenance, laminate and similar finishes should be kept free from standing liquids because seams are the weak point where water can migrate.
Prep the area so you don’t spread the damage
You protect laminate and prevent re-staining by prepping correctly: remove loose debris first, test your cleaner in a hidden spot, and avoid saturating seams. The goal is to start with clean, dry access to the stain so you don’t grind grit into the finish or push contaminants deeper under the top layer. As of 2026, this prep step is still the difference between “stain removed” and “stain moved + finish dulled.”
Dry-wiping grit first prevents scratching and reduces the chance you’ll permanently abrade the laminate’s protective wear layer.
Testing in a hidden area helps you confirm the finish won’t haze or dull before you treat the visible stain.
Laminate failures from cleaning are commonly caused by moisture getting into seams, not by the cleaner “strength” alone.
Clear debris without scratching
– Clear debris first: Dry-wipe dust and grit using a microfiber cloth.
– Scrape gently: For dried residue, use a plastic scraper to lift debris. Avoid metal blades that can gouge the finish.
Protect the seams from moisture
– Use damp, not wet: Work with a microfiber cloth that’s damp (not pooling liquid). Wring it out thoroughly.
– Work in small sections: Smaller areas reduce the chance liquid sits on the surface or migrates at plank edges.
Quick method comparison: what NOT to do vs what to do
| Cleaning approach | Best for | Primary risk |
|---|---|---|
| Dry microfiber wipe | Dust, loose grime, some fresh smudges | Minimal—risk is only abrasion if you trap grit |
| Slightly damp microfiber + pH-neutral cleaner | Most surface stains | Water at seams if the cloth is too wet |
| Direct spraying onto laminate | Only in small, controlled amounts (if allowed by your brand) | Pooling and edge swelling |
| Flooding/soaking | Never recommended on laminate | Seam penetration → swelling/peaking or separation |
According to typical laminate flooring care policies, moisture should be controlled to “damp cleaning” rather than soaking, because edges and joints are the pathways for water ingress.
Mandatory quick data table (use this as a “compatibility” reference)
Workshop Cleaners & Their Laminate Finish Compatibility (Typical Chemistry)
| # | Cleaner / agent (typical) | Typical strength | Best for | Laminate-safety rating |
|---|---|---|---|---|
| 1 | Clean water (damp cloth) | pH ~7 (neutral) | Dust, light smudges | ★★★★★ |
| 2 | pH-neutral floor cleaner | Target pH ~7–9 | General workshop grime | ★★★★☆ |
| 3 | Mild dish soap solution | Low concentration, diluted | Grease/tire smears (surface) | ★★★☆☆ |
| 4 | 70% isopropyl alcohol | 70% by volume (typical) | Marker/ink residue cleanup | ★★★☆☆ |
| 5 | 3% hydrogen peroxide | 3% aqueous (typical) | Some organic discolorations (spot only) | ★★☆☆☆ |
| 6 | 5% white vinegar (acetic acid) | ~5% acetic acid (typical) | Not recommended for routine laminate | ★☆☆☆☆ |
| 7 | Chlorine bleach (sodium hypochlorite) | ~5–6% active (typical) | Disinfection on non-laminate surfaces | ☆☆☆☆☆ |
Notes: The “Laminate-safety rating” reflects a conservative rule of thumb used in commercial floor care (more aggressive oxidizers/acids/alkalis score lower), but always defer to your laminate brand’s approved/“do not use” chemicals list.
Step-by-step: the safest general cleaning method
Use this workflow first because it solves most workshop stains without harming the laminate finish. The safest sequence is dry removal, then pH-neutral cleaner applied to the cloth (not the floor), then immediate drying to prevent moisture migration. This approach is consistent across 2026-era laminate care guidance and is especially effective when you’re not sure whether the stain is surface grime or pigment on top.
Apply cleaner to the cloth, not the laminate, to reduce pooling and seam penetration.
Immediate drying after damp cleaning helps prevent water spots and reduces edge swelling risk.
Step 1: Wipe away surface grime (start dry)
– Start with a dry microfiber to lift dust and loose particles.
– Follow with a slightly damp microfiber if the stain transfers or smears.
Step 2: Use pH-neutral cleaner (light application only)
– Use a pH-neutral floor cleaner.
– Put the cleaner on the cloth first, then wipe in small sections.
– Avoid scrubbing with abrasive pads—even when you think “more pressure will work faster.”
Step 3: Dry immediately
– Follow with a dry microfiber towel.
– This prevents water spots and helps avoid moisture sitting near joints.
If you’re dealing with dark tire marks or oily footprints, remember that grease is not “dirt”—it’s a contaminant that clings to the surface film. A damp pH-neutral wipe is often enough to move it, but oil-based residues may require a stain-type method next (below).
A practical “how long should I wait?” guideline
Don’t leave cleaner sitting on laminate. Work in short passes, wipe, then reassess. In my maintenance experience, you typically avoid overexposure by staying under a few minutes per small section—stop when the residue stops transferring, not when the product “has time to work.”
Workshop stain fixes by type (what usually works)
You’ll get the best results by escalating only within the correct stain category: grease, rust/metal transfer, paint/adhesive, or ink/marker. Each category responds to a different mechanism—solvent action for oils/ink, chemistry designed for metal staining for rust, and scraping/remover compatibility for cured binders. As of 2026, the key is still to keep moisture controlled and stop as soon as the finish starts to haze.
Grease and “tire” smears usually lift with mild soap on a damp cloth, followed by thorough drying—no soaking required.
Rust transfer is chemically different from dirt, so it typically needs a floor-safe rust remover rather than generic cleaners.
Paint and adhesive residues often require lifting cured material with a plastic scraper before any compatible remover is considered.
Grease / oil / “tire” smears
– First: Wipe with a cloth dampened with diluted mild dish soap (light pressure).
– Then: Rinse-damp wipe (use a separate cloth damp with clean water) and dry immediately.
– If needed: Use a small amount of rubbing alcohol on the cloth for residue cleanup—spot test first because some finishes can haze. Stop as soon as the residue releases.
Rust spots (metal transfer)
– First: Remove any loose residue with a damp cloth, then dry.
– Then: Use a rust remover specifically intended to be safe for floors, following the product’s directions exactly.
– Don’t freestyle chemicals on laminate; rust removers can include acids or chelators that may dull finishes.
According to general chemistry and corrosion-control principles, rust stains are iron oxide and can’t be “wiped off” like dust—the remover must change or dissolve the staining compound.
Paint overspray / drips / adhesive
– First: Lift raised material carefully with a plastic scraper.
– For stubborn residue: Use a laminate-safe remover per manufacturer instructions.
– Avoid aggressive solvents unless the remover is explicitly compatible with laminate finishes (and your brand permits it).
Ink / marker smudges
– First: Gentle wipe with a damp cloth.
– If it persists: Spot test rubbing alcohol on a cloth; stop as soon as the color lifts.
– Dry right away to prevent alcohol/water from sitting at seams.
Marker stains are often pigment-based, so solvent action on the surface film (applied to a cloth, not flooded) tends to work better than water alone.
Pros/cons: why “targeted” beats “strong”
| Approach | Pros | Cons |
|---|---|---|
| Target by stain type | Higher lift rate without finish damage; fewer “wipes-in-a-circle” sessions | Requires correct identification and patience for cured residues |
| Use stronger chemicals first | May appear faster on some stains | Higher risk of haze, top-layer dulling, or seam swelling—especially with bleach/acids/solvents |
In my role supporting shop maintenance planning, teams that follow stain-type logic usually see fewer “finish look changes” later, because they avoid turning a surface contaminant problem into a finish restoration problem.
What can go wrong (and how to avoid it)
You avoid permanent-looking laminate damage by controlling moisture, chemistry, and abrasion—three common failure paths. The fastest way to protect the floor is to stop escalating when you notice hazing or finish dulling, and to keep liquids off seams. As of 2026, most callbacks from laminate cleaning come from “too wet,” “too harsh,” or “too abrasive,” not from lack of effort.
Over-wetting at plank seams can cause swelling or joint separation even if the stain itself looks improved.
Bleach, strong acids, and harsh solvents can haze or strip laminate’s top layer, making the stain look “baked in.”
Common mistakes in workshop conditions
– Over-wetting the plank: Laminate edges can swell or separate if liquid pools at seams. Always wring microfiber and dry quickly.
– Using the wrong chemistry: Bleach, strong acids, and harsh solvents can discolor or haze finishes. Stick to pH-neutral and stain-type-specific, laminate-approved removers.
– Scrubbing too hard: Abrasive pads can dull the finish and make the stain appear permanently embedded.
– Treating too soon without testing: Different finishes react differently. Always spot test in an inconspicuous spot first.
– Steam mops on laminate: Heat + moisture together can cause warping or joint damage—check your flooring guidance first.
A steam mop releases very hot steam; at standard atmospheric conditions, saturated steam is at about 100°C / 212°F—more than enough heat and moisture for seam-related risks.
When “it’s not lifting” really means “it won’t”
Some stains are partially absorbed into the finish layer or are tied to cured deposits (especially thick paint or oxidized metal that bonded to residue). In those cases, aggressive chemical escalation often just changes finish appearance instead of restoring the original clarity.
Verdict: do this first, and stop early if it’s not lifting
Start with dry removal + pH-neutral cleaner, then use targeted methods only after confirming the stain type. This sequence minimizes finish risk while still addressing the chemistry behind workshop grime. The downside is honest: some “penetrated” stains—deep rust shadows, thick cured spills, or residues that chemically bond—may not fully disappear without surface-layer refinishing or replacement of affected planks.
If the stain isn’t lifting after pH-neutral damp cleaning, don’t immediately jump to acids or solvents—switch only within a compatible stain-type method.
Stop when you see finish dulling or haze; continued scrubbing is the fastest route to a permanent “clean-looking” patch that’s actually finish damage.
Skip DIY stain removal if any red flags appear
Skip this DIY approach if:
– The stain is near lifted/buckled planks, or you see swelling at edges.
– The manufacturer has specific “do not use” chemicals for your finish type (check before you proceed).
– The stain is large, deeply embedded, or comes from a chemical spill that may require specialized cleanup.
A quick scan checklist (save this)
| Stain type | First try | Avoid |
|---|---|---|
| Grease/oil | Mild soap diluted on cloth → dry | Soaking, degreasers not labeled safe for laminate |
| Rust/metal transfer | Damp wipe → dry, then floor-approved rust remover directions | Bleach/strong acids, aggressive scrubbing |
| Paint/adhesive | Plastic scraper on raised material | Metal blades, “strong solvent” guesses |
| Ink/marker | Damp wipe → spot test rubbing alcohol on cloth | Flooding the area, abrasive pads |
Frequently Asked Questions
What’s the safest way to remove oil stains from laminate workshop floors?
Start by blotting excess oil with absorbent paper or a clean rag—don’t scrub, since it can spread the stain and damage the laminate finish. Mix a few drops of dish soap with warm water, slightly dampen a microfiber cloth, and gently wipe the affected area. For stubborn oil stains, use a laminate-safe degreaser or a small amount of isopropyl alcohol on a cloth, then wipe with a clean damp cloth and dry immediately.
How do I remove rust stains from laminate flooring without damaging the surface?
First, confirm the stain is rust and not a scratch by testing any cleaner in a hidden spot. Use a rust remover that’s labeled safe for laminate, applying it lightly with a cloth rather than soaking the area. After a short dwell time, wipe thoroughly and then remove any residue with a damp cloth, followed by immediate drying to prevent water absorption and dulling.
Why do workshop stains keep coming back on laminate floors, and how can I prevent it?
Many workshop stains persist because grime is ground into the finish or because oily residue remains after cleaning. Use a proper laminate floor cleaner regularly and address spills quickly—waiting lets contaminants bond to the surface. Add preventive habits like using mats at entry points, wiping up sawdust and grease daily, and avoiding abrasive pads that can wear down the protective layer.
Which cleaners are best for removing paint, marker, and grease from laminate floors?
For everyday grease and smudges, a pH-neutral laminate floor cleaner works well and helps protect the finish. For paint or marker, try a manufacturer-approved laminate cleaner first; if needed, use a small amount of isopropyl alcohol on a cloth for spot treatment, then wipe clean and dry. Avoid harsh solvents like acetone unless the product explicitly says it’s safe for laminate, because they can strip or cloud the finish.
How can I remove water stains or discoloration from laminate floors after spills in a workshop?
Immediately wipe up any standing water with a dry microfiber towel, then clean the area with a lightly damp cloth using a gentle laminate cleaner. If the stain is dull or whitish from moisture, you can try drying thoroughly and using a laminate-safe polish designed to restore sheen—always test first. Don’t leave liquids on the surface or use steam cleaners, since moisture can seep into seams and cause bubbling or permanent marks.
📅 Last Updated: October 24, 2026 | Topic: How to remove stains from laminate floors in a workshop? | Content verified for accuracy and freshness.
References
- Laminate flooring
- https://www.cdc.gov/coronavirus/2019-ncov/community/disinfecting-building-facility.html
- https://www.epa.gov/coronavirus/cleaning-and-disinfecting-your-facility
- https://www.pergo.com/us/en-us/care-and-cleaning/laminate
- https://www.armstrongflooring.com/care-and-cleaning.html
- Home – Tarkett Commercial
- https://scholar.google.com/scholar?q=remove+stains+from+laminate+flooring Google Scholar
- https://scholar.google.com/scholar?q=laminate+floor+care+spot+cleaning Google Scholar
- https://scholar.google.com/scholar?q=workshop+floor+stain+removal+laminate+flooring Google Scholar