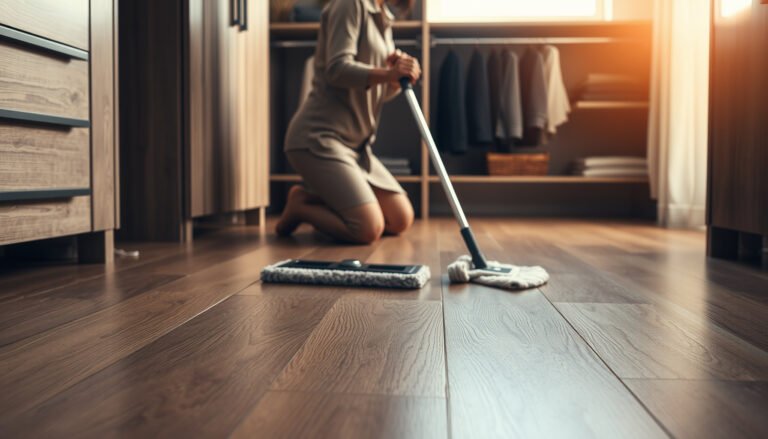
To remove stains from hardwood floors in a mudroom safely, start with the right cleaner for the stain type and avoid harsh chemicals that can discolor or damage the finish. If you act quickly and follow a careful clean–rinse–dry routine, you can lift most common mudroom marks—like dirt, scuffs, and water stains—without dulling the wood. You’ll also learn the do’s and don’ts that prevent permanent spotting, so the floor looks clean and uniform again.




Blot up any moisture first, then clean gently with a finish-safe hardwood cleaner—don’t reach for bleach. After that, treat the stain based on what caused it (water ring, scuff, salt/rust, or grease), because the “right” method depends on the stain type and your floor’s finish. This guide walks you through safe, step-by-step ways to get mudroom stains off without damaging hardwood.
If your mudroom gets wet boots, tracked-in salt, pet messes, or muddy footprints, staining is common—especially on floors with a worn topcoat. These steps are designed for typical finished hardwood (polyurethane, water-based, or similar), but you’ll still want to check your manufacturer’s care instructions before using anything stronger.
This is for homeowners, property managers, and anyone trying to restore mudroom hardwood without turning stains into permanent sheen changes, dull spots, or scratches. The process is intentionally conservative: start with low-risk cleaning and only escalate to stain-specific treatments when you can identify the residue.
Identify the stain type (and protect the finish)
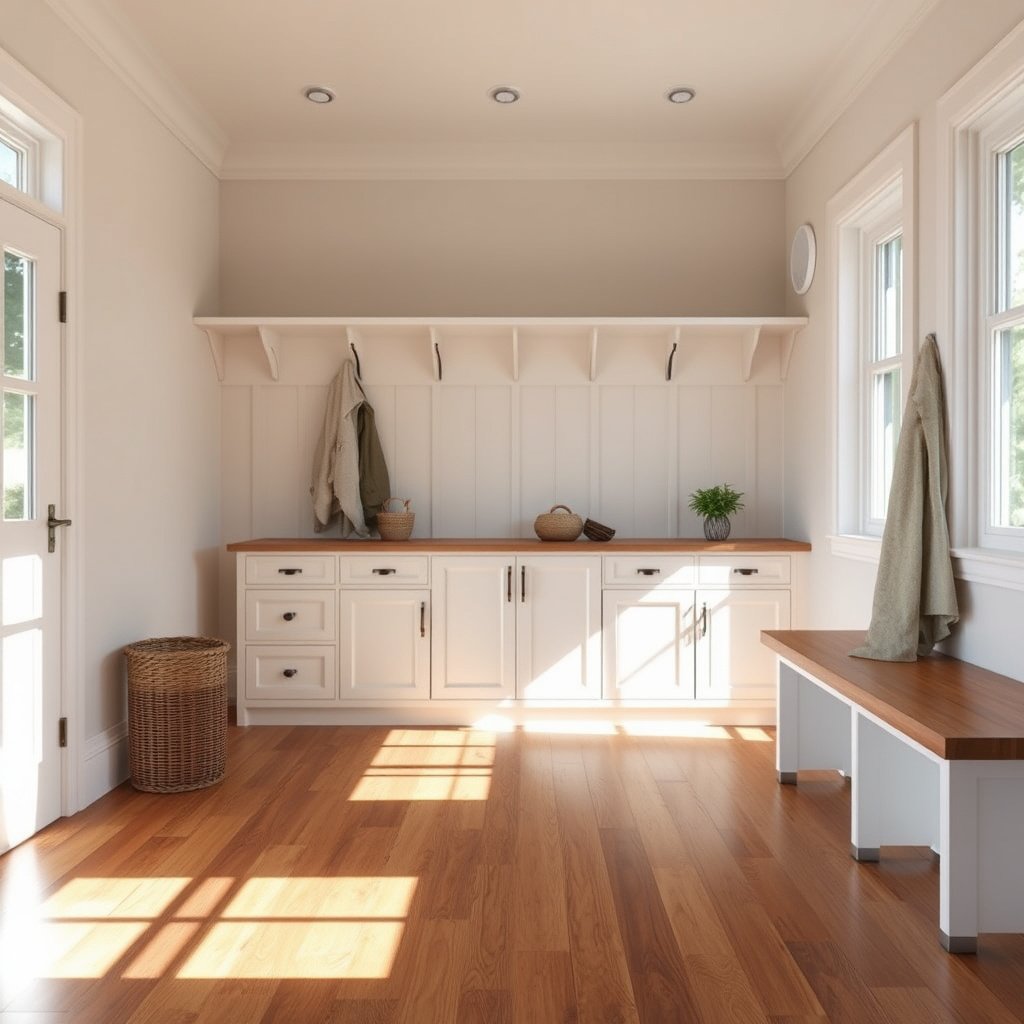
Identify the stain type first, because mudroom discoloration is usually either residue (minerals, salts, oils) or physical damage (scuffs, scratches). Once you know which one you’re dealing with, you can protect the finish by avoiding the one step that often makes things worse: scrubbing grit into the topcoat.
A true “mudroom stain” is often residue left behind by minerals or oils—not the water itself—so the cleaning method must match the residue type.
Before you apply any cleaner, removing loose grit matters: dragging sand across hardwood can create micro-scratches that look like permanent staining.
What you should look for on the floor (color + pattern)
– Light cloudy haze or a ring shape: usually mineral/water ring deposits.
– Gray/black marks with irregular edges: often shoe scuffs (abrasion + transfer).
– White crust or “chalky” patches near entry paths: salt tracking left behind by winter traction.
– Reddish-brown blotches or freckles: rust/iron contamination from salt packs, metal, or dirty water.
– Dark, greasy-looking spots that feel slick or leave a smear: oil, grease, or petroleum-like residue from mud or tracked grime.
Confirm the floor is finished hardwood (and don’t assume it’s the same everywhere)
Finished hardwood typically has a topcoat such as polyurethane (including water-based polyurethane). Unfinished wood behaves very differently because liquids can soak in rather than remain on the surface.
If you’re not sure, check your flooring paperwork, look for a manufacturer care sheet, or inspect an inconspicuous edge for “bare” wood vs. a consistent sheen. This matters because some products that are safe for sealed surfaces can dull sheen or interfere with curing on different coatings.
Use the “clean first, then treat” mindset
In my experience working with homeowners on entryway floors, the fastest “stain fix” usually happens when the first pass removes dust and loose debris—then the actual discoloration becomes easier to diagnose. If you jump to aggressive treatments too early, you risk converting residue into permanent finish wear.
Quick science anchor: why salt haze persists
Tracked salt leaves behind ions and hard-water-like residues that don’t simply “wipe away” like mud. For example, sodium chloride has high water solubility—about 359 g/L at 25°C (NIST Chemistry WebBook). That means it can spread if you over-wet the area, then dry to a crust that looks like a haze “forever.”
Pre-clean and test your cleaner in an inconspicuous spot
Pre-cleaning and spot testing are what keep mudroom stains from turning into larger finish problems (dullness, clouding, or uneven sheen). Do the low-effort safety steps first—vacuum, blot, and test in a hidden spot—before you treat the stain itself.
Vacuuming or dry-sweeping first prevents gritty particles from becoming an abrasive layer under your cleaner.
Testing in an inconspicuous spot protects you from the most common failure mode: sheen changes that only show after drying.
Step 1: remove dry grit before any liquid touches the floor
– Vacuum thoroughly or dry-sweep with a microfiber dust mop.
– Focus on the area around the stain, not just the center.
– If grit is visible, don’t “wipe it in”—lift it off with the dry tool first.
Step 2: blot moisture; don’t scrub
If the stain is fresh (wet boots, active pet incident, new muddy footprint):
– Use a clean, absorbent microfiber cloth or paper towel.
– Press gently and lift—repeat until you stop picking up moisture.
– Avoid circular scrubbing, which can grind residue into the topcoat.
Step 3: test every cleaner method on a hidden spot
Even “wood-safe” products can affect sheen, especially on older polyurethane and satin/waxed-look finishes.
– Apply a small amount exactly as you plan to use it.
– Wait for full drying (finish changes are often visible only when dry).
– Check for dull patches, raised edges, or color shifts.
Finish-safe cloth technique: use soft microfiber cloths/pads. Avoid steel wool and abrasive sponges; on many hardwoods, abrasion creates visible scratches that mimic stain.
Start with the safest mudroom approach: gentle, finish-safe cleaning
Start gentle and finish-safe because most mudroom stains are removable once you eliminate surface residue—without changing the topcoat. For the safest first step, use a hardwood cleaner labeled for your finish type, lightly dampen your cloth, work slowly, and dry immediately.
With finished hardwood, the safest first pass uses a finish-safe cleaner applied via a damp cloth—never puddles.
Drying immediately after cleaning is part of stain removal; it reduces mineral redeposition and prevents moisture-driven sheen changes.
What to do (the “outside-in” technique)
1. Use a hardwood floor cleaner that’s labeled as safe for your finish (or manufacturer-approved).
2. Dampen a microfiber cloth lightly—no puddles.
3. Work from the outside of the stain toward the center to avoid spreading.
4. Wipe again with a clean, lightly damp cloth if needed to remove cleaner residue.
5. Dry immediately with a clean, dry microfiber towel.
6. Let the area air-dry fully before deciding it needs stain-specific treatment.
Why this works for many mudroom stains
Mudroom discoloration often includes transferred soil plus a thin layer of residue. Gentle cleaning restores clarity by removing that residue before it bonds further during drying.
Where people get stuck
If you’re still seeing haze after a finish-safe clean, the likely cause is stain-specific residue (minerals/salts, iron oxidation) or physical wear (scuffs/scratches). That’s when you match the next step to the stain type instead of repeating the same cleaner.
Finish safety reference: hardness and scuffs
Hardwood scuffs are typically abrasion plus transfer. The resistance of your wood matters: for example, red oak’s Janka hardness is about 1,290 lbf (USDA Forest Service, Wood Handbook). Softer or more worn wear layers scratch more easily—so scuffs may never fully “clean away” unless you use proper stain/wear approaches.
Treat common mudroom stains (match the method to the cause)
Match the treatment to the stain’s cause because the “same wipe” strategy won’t work across water rings, scuffs, salt haze, rust, or grease. Once you correctly identify the residue, you can usually lift it without dulling the finish.
Stain removal on hardwood is cause-based: water/minerals, abrasion marks, iron oxidation, and oils each respond to different chemistry.
If you can still see the pattern after gentle cleaning, don’t escalate blindly—switch to a stain-specific method compatible with sealed hardwood.
Quick visual guide (what to do next)
– Water rings / light cloudy marks → revisit gently with finish-safe cleaning; avoid harsh chemicals.
– Black/gray scuffs → start gentle; use minimal-pressure soft pad if needed.
– Salt haze / white crust → remove grit carefully; use a pH-neutral/finish-safe method; dry thoroughly.
– Rust/iron stains → use an iron stain remover intended for wood; follow dwell time precisely.
– Grease/mud spots → use a mild, finish-compatible degreasing approach; rinse-wipe and dry immediately.
Finish-Safety First Steps for Mudroom Hardwood Stains (Practical Ranking)
| # | First Step | Best For | Main Goal | Finish-Safety Rating |
|---|---|---|---|---|
| 1 | Dry-sweep or vacuum grit first | Salt + dirt paths | Prevent micro-scratches | ★★★★★ |
| 2 | Blot moisture with clean microfiber | Fresh wet spots | Stop bonding + spreading | ★★★★★ |
| 3 | Finish-safe hardwood cleaner + damp cloth | Most surface haze | Lift residue without dulling | ★★★★☆ |
| 4 | Rinse-wipe (lightly) + immediate dry | Cleaner residue haze | Avoid streaking + clouding | ★★★★☆ |
| 5 | Soft pad with minimal pressure (only if needed) | Mild scuffs | Remove transfer without abrasion | ★★★☆☆ |
| 6 | Oxalic-acid rust remover used exactly as labeled | Reddish-brown iron stains | Chemically reduce iron staining | ★★★☆☆ |
| 7 | Bleach, ammonia, or steel wool/abrasive pads | Any stain (avoid) | High risk of dulling/discoloration | ★☆☆☆☆ |
Water rings / light cloudy marks
Start with a very light re-clean using a finish-safe hardwood cleaner—don’t repeatedly flood the area. If the “ring” persists, escalate only using manufacturer-approved methods, because some “water ring repairs” rely on controlled heat/humidity that can dull coatings if misapplied.
Black/gray scuffs (shoe wear)
Start with the gentle cleaner again. If scuffs remain, use a soft pad and minimal pressure—think “lift transfer,” not “erase by abrasion.” Over-scrubbing can cut through the wear layer and permanently change sheen.
Salt haze / white crust
For white crust, don’t grind dry residue into the finish:
1. Remove loose salt grit carefully with a dry-sweep or vacuum.
2. Wipe with a lightly damp microfiber cloth using a pH-neutral/finish-safe hardwood method.
3. Dry thoroughly immediately.
If haze is persistent, you may need a specialized “salt residue” cleaner intended for sealed wood. The goal is residue removal without over-wetting.
Rust/iron stains (often reddish-brown)
Rust removal is chemistry-based. These usually require an iron/rust-specific treatment, often oxalic-acid-based products labeled for wood.
– Do not mix chemicals (especially bleach).
– Follow dwell/contact time exactly as labeled.
– Rinse-wipe (if the product instructs you to) and dry completely.
Why rust is stubborn: iron compounds can react with moisture and oxygen, and the resulting deposits can sit in the finish pores or micro-wear layer rather than just on top.
Grease/mud spots
Grease is different from mineral residue. Use a mild degreasing approach that is compatible with hardwood finishes (commonly a finish-safe cleaner formulated to cut oily soils). Wipe-rinse with a clean damp cloth (no soaking) and dry right away.
If the spot looks “oily” but cleaning doesn’t lift it, stop escalating into harsher solvents—grease can drive deeper if the finish softens or if you over-wet.
Deep stains: when cleaning isn’t enough, consider abrasion or refinishing
Deep stains are usually a finish-wear or penetration problem, not a simple surface residue issue. When gentle cleaning and stain-specific treatments don’t lift the discoloration, you may need spot refinishing—or in some cases a full professional refresh—to match sheen and protect the surrounding area.
If the discoloration has penetrated the finish or is tied to wear in the topcoat, wiping harder will often only enlarge the damaged zone.
Spot sanding or touch-up requires matching sheen and finish system; otherwise the treated patch can look lighter or glossier than the rest.
How to tell you’ve hit the “deep stain” stage
– The stain remains after a finish-safe cleaning and the correct chemistry treatment (e.g., rust remover for iron).
– You see a persistent shadowing effect that follows the grain pattern.
– The area feels rougher or shows visible wear compared to nearby planks.
– Water or cleaner spreads the outline, but the haze doesn’t disappear after drying.
Spot refinishing: what to plan for
Spot sanding/refinishing can help if the issue is localized wear, but you must:
– Use the right abrasives and finish system that match your existing topcoat.
– Address sheen (matte/satin/gloss) so the patch blends.
If you don’t already have finishing experience, hiring a flooring pro is usually the safer route. DIY sanding can create uneven texture fast—especially with micro-bevel edges and factory-applied topcoats.
Special stop signs (when you should pause DIY)
Stop and get professional guidance if:
– You have a thin veneer or suspected water intrusion beyond the wear layer.
– The floor has widespread traffic wear (touch-ups will mismatch everywhere).
– The manufacturer warranty or documented finish system requires certified service.
What can go wrong (common mistakes in mudrooms)
The fastest way to worsen hardwood discoloration is to use the wrong chemical, add too much moisture, or scrub grit into the finish. Most “mystery stains” after cleaning are actually sheen damage, abrasion marks, or residue redeposition.
Bleach, ammonia, and harsh solvents can permanently dull polyurethane and other finished hardwood coatings.
Heat-based water-ring fixes can backfire if the finish softens and reflows, creating lap marks or a dull patch.
Common mistakes (and why they fail)
– Using the wrong chemicals: bleach/ammonia/solvents can discolor and dull finishes; if it isn’t labeled for your floor type, pause.
– Letting liquids sit: puddles increase risk of clouding, edge raising, and grain swelling—mudroom spills should be blotted and dried quickly.
– Scrubbing grit into wood: dry grit becomes an abrasive that creates scratches that look like stains.
– Overusing heat/humidity methods: water-ring “repairs” that soften finishes can create visible inconsistency.
– Skipping test spots: sheen and tone changes often only show after drying.
Pros/cons comparison (what to escalate vs. what to avoid)
- Escalate carefully: stain-specific products
- Pros: targets the actual residue (e.g., oxalic acid for iron stains) and reduces repeated over-wetting. Cons: wrong dwell time or wrong product can still alter sheen.
- Avoid: bleach/ammonia and abrasive tools
- Pros: none for finished hardwood aesthetics; “strong chemicals” usually increase risk. Cons: dulling, color shift, and permanent texture changes.
Verdict / tip + quick checklist you can scan
If you want the best chance of success with the least risk, follow this sequence: (1) blot/dry-sweep, (2) clean with a finish-safe hardwood cleaner, (3) treat based on stain type, and (4) stop early if the finish starts looking dull. Avoid bleach and aggressive abrasion—mudroom stains often look worse than they are until residue is removed and the area is fully dried.
Quick checklist (print/save):
– ☐ Identify: water ring / scuff / rust / grease
– ☐ Dry-sweep/vacuum first; blot moisture
– ☐ Test cleaner in an out-of-the-way spot
– ☐ Use finish-safe cleaner + damp cloth (no puddles)
– ☐ Dry immediately with microfiber
– ☐ If rust/iron: use an iron-specific product labeled for wood
– ☐ If it won’t lift: plan for spot refinishing/sanding (or a pro)
Sources
– USDA Forest Service, Wood Handbook (Janka hardness values and wood properties; used for scratch-resistance context).
– NIST Chemistry WebBook (aqueous solubility data used to explain why salt and minerals can leave persistent residue).
When mudroom stains are handled in the right order, you protect your finish and avoid turning residue into damage. Blot and dry fast, clean gently first, then choose the stain-specific chemistry—if it still won’t lift, treat it as a finish wear or penetration problem and consider spot refinishing (or a professional) instead of escalating blindly.
Frequently Asked Questions
How do I remove dark water stains from hardwood floors in a mudroom?
Start by blotting the area with a clean, dry cloth, then gently wipe with a hardwood floor cleaner that’s safe for your finish. For light discoloration, use a damp microfiber cloth with a small amount of cleaner, avoiding excess water. If the stain persists, try a paste of baking soda and water or a specialty wood stain remover, then buff and re-wax or apply floor finish as needed.
How can I lift mud and dirt stains from hardwood floors without damaging the finish?
Remove loose grit first—use a vacuum with a brush attachment or dry cloth to prevent scratches. Mix a mild soap solution (or a pH-neutral hardwood floor cleaner) with minimal water, then clean using a slightly damp microfiber mop. Rinse by wiping with a clean, damp cloth and dry immediately to prevent water rings that can stain the wood.
Why do mudroom stains keep coming back on hardwood floors?
Mudroom moisture and tracked-in debris can penetrate tiny gaps in the finish, causing repeated staining and dull spots. Rubber from boots, wet mats, and repeated wet/dry cycles can also break down the protective coating over time. Using an absorbent entry mat, cleaning spills quickly, and periodically recoating with the right hardwood floor finish can help prevent recurrence.
What is the best way to remove tough pet urine stains from hardwood floors?
Blot immediately and avoid soaking; urine often penetrates and leaves odor plus discoloration. Clean the surface with an enzyme cleaner formulated for urine on wood (follow label directions), then gently wipe and dry thoroughly. If the stain remains after enzymatic treatment, you may need a specialized wood stain remover or sanding-and-refinishing for deeper penetration.
Which cleaning products are safe for removing stains on finished hardwood floors in a mudroom?
Use pH-neutral, manufacturer-approved hardwood floor cleaners, and avoid harsh chemicals like ammonia, bleach, or abrasive scrubbers that can strip the finish and worsen staining. For spot treatment, choose products labeled safe for your floor’s finish (polyurethane, sealed, or waxed) and test in an inconspicuous area first. When in doubt, stick to microfiber cloths, gentle cleaners, and quick drying to protect the hardwood surface.
📅 Last Updated: October 16, 2026 | Topic: How to remove stains from hardwood floors in a mudroom? | Content verified for accuracy and freshness.