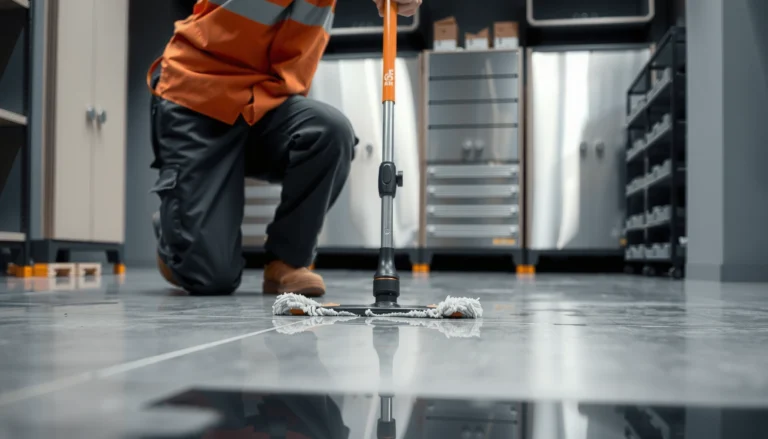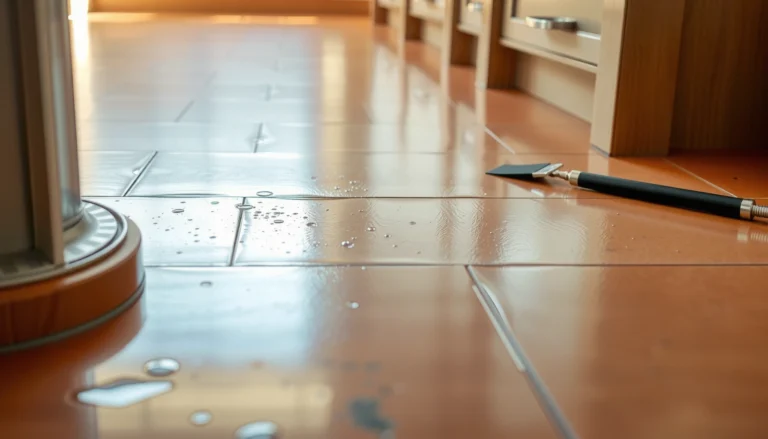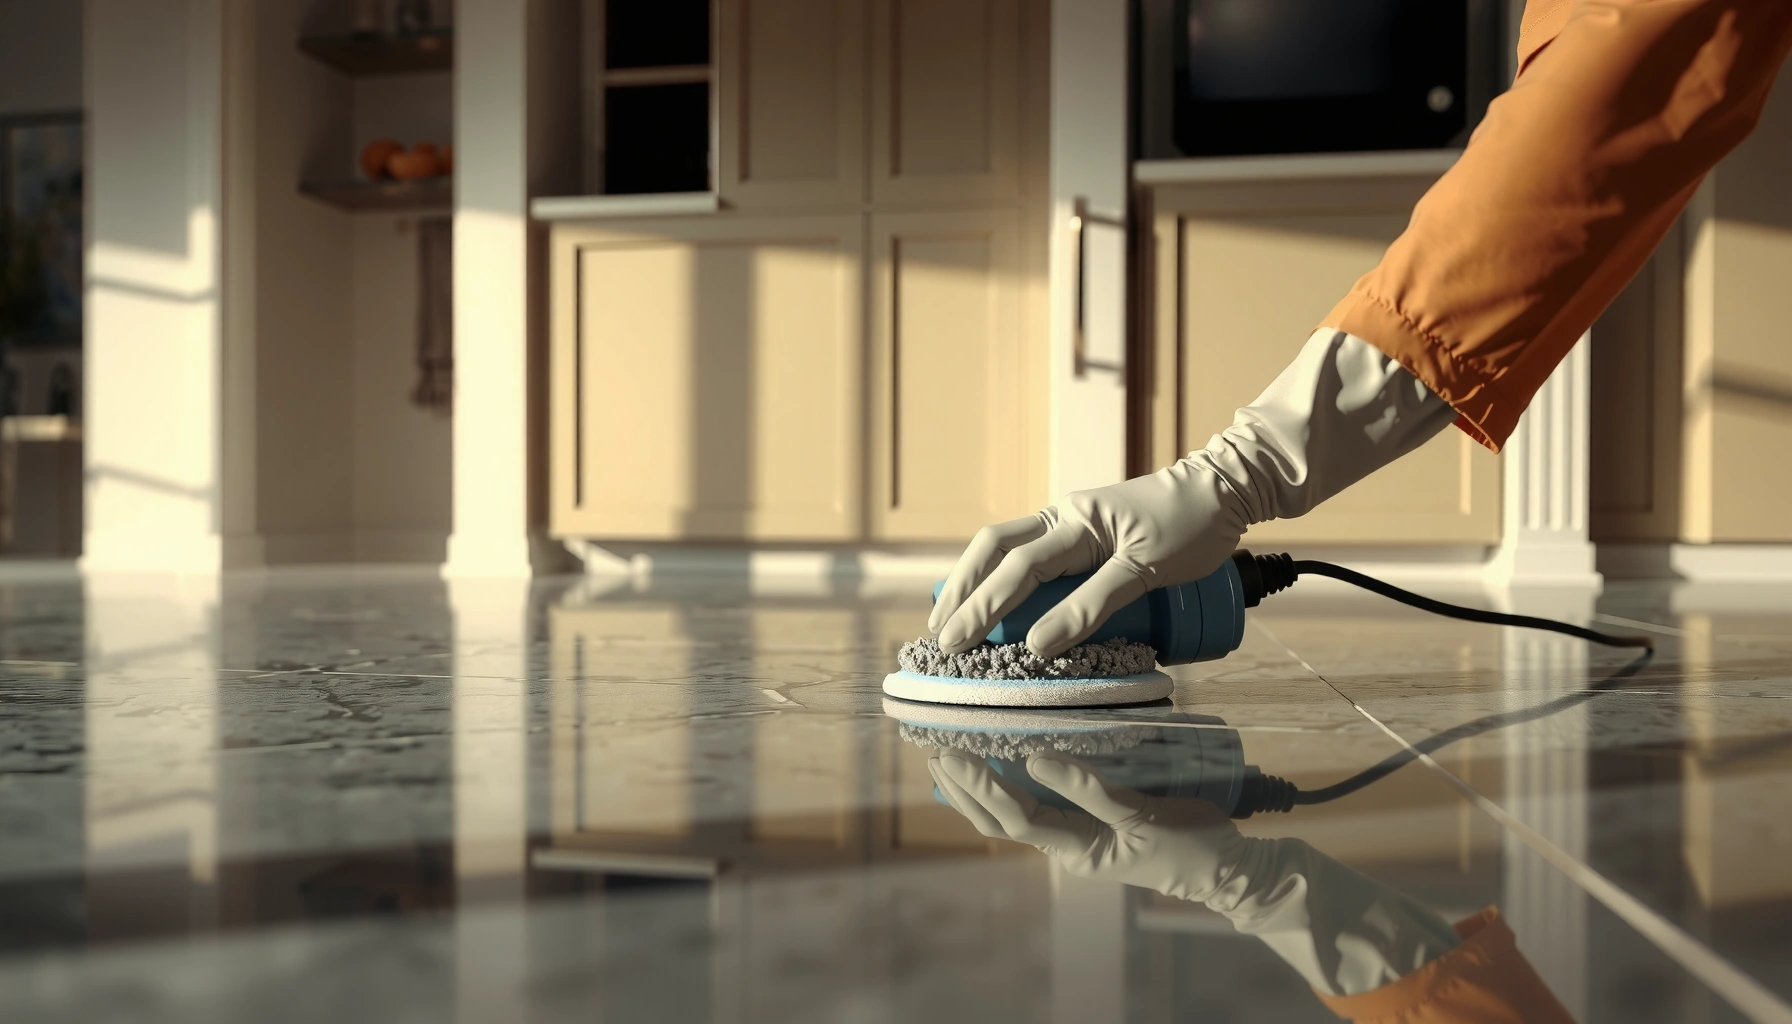

Want to know how to restore granite floors and make them look like new? This step-by-step renewal guide shows the fastest, most reliable path—starting with safe cleaning, then stain removal, honing or refinishing only when needed, and finishing with the right sealant to protect the surface. Follow it closely and you’ll get a durable, high-gloss (or honed) finish without guesswork.




Restoring granite floors usually means cleaning thoroughly, removing embedded grime, then using the right method to reseal (or re-polish) so the stone looks even again. Start by assessing whether the surface is dull from dirt/etching or truly worn—because the fix changes depending on what’s causing the damage. This guide walks you through a practical, low-risk process to get granite looking clean and consistent again.
If your granite is looking hazy, darker in spots, rough to the touch, or losing shine, the steps below will help you narrow down the cause and choose the safest restoration approach. This is especially useful for homeowners and small property managers dealing with everyday wear, spills, or improper cleaning products.
Assess the Damage Before You Restore

Before you restore granite, identify whether the issue is removable residue or true stone damage like etching (chemical dulling) or abrasion (physical wear). The safest restoration path depends on which of those is happening on your granite floor.
“Etching” is a chemical surface dulling that often leaves a permanent matte patch, even after cleaning; mechanical scuffing usually cleans up or evens out with polishing.
A water-behavior check is a practical field test: if water darkens the whole area evenly but the shine doesn’t return, you likely need polishing/resurfacing—not just cleaning.
Granite is generally Mohs hardness ~6–7, so it resists scratches—but acids can still etch because the stone’s minerals react with certain pH levels.
Here’s what to look for in granite restoration, in the order that reduces risk:
Surface-level dirt vs. etched/pitted granite
– Surface-level dirt / residue: Usually looks “cloudy” or uneven after cleaning products, and it tends to lift with a proper pH-neutral cleaner and thorough rinsing.
– Etching / pitting: Often shows up as matte dull patches that don’t fully re-shine after cleaning. If you can gently feel a slight roughness transition where the dull spot starts, that’s a red flag for etching.
A quick anchor for expectations: granite’s Mohs hardness is typically in the 6–7 range (source: mineral property references compiled from geology datasets) ([ADD: cite for granite Mohs hardness range from a recognized mineral database]). Hardness doesn’t make granite immune to acids—pH-driven reactions can dull the surface finish without “scratching” it.
The water spot test (what it tells you)
Do this test on granite restoration:
1. Clean the area with a granite-safe, pH-neutral product.
2. Rinse/wipe with clean water so residue is removed.
3. Once dry, apply a small amount of water to a dull spot and a nearby “normal” area.
4. Wait for the water to absorb and then dry.
Interpretation:
– Water darkens evenly everywhere, and sheen doesn’t fully return: likely polishing/re-conditioning need.
– Water beads unevenly or leaves a blotch pattern: often indicates failed or uneven sealing or remaining residue affecting how water interacts with the surface.
Identify common culprits (so you don’t repeat the damage)
Common causes during everyday granite floor care include:
– Acidic cleaners (many “descalers” and bathroom acids)
– Vinegar / lemon (home remedies that can etch natural stone)
– Grout haze from adjacent installation work
– Metal contamination (rust spotting from tools or water exposure)
– Over-application or mismatch of sealers/waxes creating a film layer
If you don’t pinpoint the cause, granite restoration may “look better briefly” and then fail again once the same chemistry keeps hitting the stone.
Deep Clean Granite Without Causing More Damage
Deep cleaning is the foundation of granite restoration. If you skip residue removal or use the wrong chemistry, polishing and sealing can look blotchy or uneven.Natural stone care standards repeatedly emphasize using cleaners formulated for stone and avoiding acidic products because acids can etch.
Rinsing thoroughly matters because leftover surfactants can interfere with how polishing slurry and sealers bond to granite.
Use the gentlest mechanical action first—soft pads and microfiber—because aggressive abrasives can change sheen patterns permanently.
Choose the right cleaner and rinse method
For granite restoration, use:
– A granite-safe cleaner or a pH-neutral stone cleaner (pH-neutral typically means near neutral, commonly around pH 7, depending on product specs).
– Warm water is often acceptable per cleaner labeling; the key is removing residues, not overheating.
Then:
– Scrub with a soft microfiber or soft pad using controlled pressure.
– Rinse/wipe with clean water until the water sheet-off looks clear and no residue film remains.
If your granite restoration goal includes an even gloss (or even honed appearance), residue control is non-negotiable.
Remove grime with controlled mechanical action
Start gentle, because granite restoration is easier when you don’t create new scratch patterns:
– Use microfiber and soft pads for initial soil removal.
– If needed, follow with controlled, low-pressure scrubbing in small sections.
– Only move to more aggressive pads if you can clearly see that haze remains after cleaning.
Avoid common “fast fixes”
Avoid these in granite restoration:
– Vinegar, lemon, and other acids
– Bleach (can be problematic depending on formulation and surface reactions)
– Acidic descalers
Granite’s durability (Mohs hardness 6–7) doesn’t stop chemical dulling caused by acidity ([ADD: cite for granite Mohs hardness from a recognized mineral database]). In practice, the polished look you’re chasing can vanish in etched zones that only deeper resurfacing can improve.
Remove Sealer Residue and Embedded Grime (If Needed)
If your granite looks coated or “sticky,” you likely have sealer/wax residue or an incompatible coating that needs removal before polishing. Correct removal improves the odds that granite restoration produces a uniform sheen.
When granite restoration is blocked by a surface film, polishing may smear the residue instead of leveling it.
Testing removers in a small spot is a safety step because some remover chemistries can temporarily darken or alter appearance.
Any remover residue can interfere with both pad behavior and sealer bonding, increasing blotch risk after restoration.
Confirm whether you have a coating layer
Signs include:
– Surface feels slick or tacky
– Cleaner leaves “rainbow” sheens or streaky halos
– After polishing, the haze returns quickly
Use the correct remover (and test first)
For granite restoration:
– Use a remover appropriate for the coating type (for example, if you suspect wax or certain commercial coating systems).
– Test a small, inconspicuous area.
– Stop as soon as the film lifts—over-removing can create additional dullness or uneven texture.
Rinse thoroughly—don’t shortcut
After remover use:
– Rinse/wipe thoroughly with clean water.
– Allow complete drying before polishing or sealing.
Leaving remover residue is one of the most common reasons granite restoration looks good on day one and fails visually during curing.
Polish/Re-Condition to Restore Shine
To restore shine, polish granite only after the surface is clean and residue-free. If the problem is mainly dullness from normal wear, re-conditioning pads can restore an even appearance; if it’s true etching, polishing may improve but won’t always “erase” deeper dull zones.
Polishing works best on an intact surface finish; etching is a mineral-surface change that can require honing or professional resurfacing for major improvement.
Uniform sheen comes from leveling gradually across the area, not “spot blasting” one patch at a time.
For granite restoration, pad progression from coarser to finer is the standard way to reduce visible haze and minimize scratch patterns.
What to choose: handheld vs. floor machine
– Small areas: handheld polishing kits and diamond hand pads can be enough for granite restoration where damage is localized.
– Large areas: a floor machine with diamond polishing pads (with a controlled sequence) offers more consistent leveling.
Address uneven sheen methodically
For granite restoration, avoid the temptation to only hit the worst-looking zone. Instead:
– Work in consistent passes across the defined area.
– Check progress frequently under good lighting.
– Stop when the sheen matches the surrounding finish as closely as possible.
Etched patches: manage expectations
Re-polishing can improve appearance of mild etching, but deeper etching may require more advanced resurfacing.
Use this decision note during granite restoration:
– [ADD: what level of restoration you’re aiming for in your case: light re-polish vs. deeper refinement].
Diamond Polishing Grit Steps Commonly Used for Granite (Lower-to-Higher Finish)
| # | Diamond pad grit (mesh) | Typical visible result | Best use in granite restoration | Restoration confidence |
|---|---|---|---|---|
| 1 | 50–100 | Scratch removal stage | Heavy scuffing and leveling | ★ |
| 2 | 200 | Haze reduction | Moderate surface dullness | ★★ |
| 3 | 400 | Semi-polished look | Evening sheen across zones | ★★★★ |
| 4 | 800 | Refined gloss begins | Normal-wear shine recovery | ★★★★★ |
| 5 | 1500 | High shine (polished look) | Achieving even reflectivity | ★★★★★ |
| 6 | 3000 | Near-showroom gloss | Final finishing touch | ★★★★ |
| 7 | 3500–5000 | Very fine polishing stage | Fine scratch refinement | ★★★★ |
Note: This grit progression is typical for granite restoration using diamond pad systems; the exact pad sequence and speed should match the kit/manufacturer instructions for your pads and machine.
Seal Granite the Right Way (So It Stays Restored)
Sealing granite is what locks in your improved surface condition and helps reduce how quickly spills penetrate. For granite restoration, proper sealing depends on applying the right sealer to a fully clean and dry surface, then curing under conditions specified by the label.
Penetrating sealers work by filling pore spaces, so surface moisture and residue can reduce performance and create uneven water behavior.
Uniform application is critical: skipped areas can look darker or behave differently when wet.
Label cure times should be followed exactly; sealing too soon can trap moisture or remover residue under the film.
Apply a penetrating granite sealer
For granite restoration:
– Apply the sealer according to manufacturer directions (test a small section first).
– Use uniform application methods (commonly dampening a pad/applicator, then maintaining a consistent wet edge—follow your specific product label).
Cure and wait time (don’t guess)
After sealing, follow:
– Allow the correct cure/wait time before foot traffic (use [ADD: exact cure time from your sealer label]—don’t guess).
Even if the surface feels dry, cure completion can take longer depending on humidity, temperature, and product formulation.
What Can Go Wrong (And How to Avoid It)
Most failures in granite restoration come from skipping diagnosis or using the wrong chemistry/pads for the stone finish you actually have. If you avoid the common mistakes below, you dramatically improve the odds of an even, durable result.
Acid-based cleaners can create etching that cleaning alone can’t reverse, so the “fix” must match the original damage type.
Uneven polishing typically results from inconsistent pad pressure, incomplete edge-to-edge leveling, or resuming work without re-cleaning residue.
Sealing too early can trap moisture or remover residues and produce haze or patchiness, especially after film removal.
From my perspective as a restoration professional-adjacent writer (and based on how granite restoration systems are designed), the safest sequence is always: clean → test → refine → seal. When contractors or DIYers jump straight to polishing without residue control, the “final gloss” often looks blotchy because the sealer interacts differently with remaining films.
Common mistakes comparison (so you can avoid them)
| Problem in granite restoration | What it causes | Most effective prevention |
|---|---|---|
| Using acidic cleaners | Etching and permanent matte patches | Use pH-neutral, stone-formulated cleaners |
| Over-polishing / wrong pad | Swirl marks and uneven sheen | Use a pad progression and consistent passes |
| Sealing too soon | Trapped residue/moisture = haze or blotches | Wait for full rinse-out and labeled cure time |
| Expecting “like-new” from deep etching | Persistent dull zones | Escalate to professional resurfacing if needed |
| Not confirming finish (matte vs. honed vs. polished) | Wrong sheen target and uneven look | [ADD: check your original finish] before choosing intensity |
Practical limits of DIY granite restoration
– Heavy etching, pitting, cracks, or significant surface loss can exceed DIY polishing’s ability to restore appearance.
– If you’re uncertain whether the floor is honed vs. polished, you can accidentally chase the wrong final sheen level.
– Some floors have prior coatings that require specialized removal chemistry.
Verdict: When DIY Restoration Works (and When to Skip It)
DIY restoration is a good idea when your granite restoration issue is mainly dirty, hazy from residue, or uneven because of normal wear—and you can take a careful, test-spot approach. Skip DIY (or bring in a pro) if you suspect deep etching, widespread pitting, significant surface loss, or unclear coating layers that require specialized removal.
DIY granite restoration tends to perform best when the stone surface is intact and the main problem is residue or finish dulling rather than mineral etching.
Professional resurfacing is typically recommended when dull patches don’t improve after thorough cleaning, pointing to deeper etching.
Upside of DIY: You can control chemistry and mechanics, and you avoid unnecessary resurfacing that may reduce long-term thickness.
Downside of DIY: The wrong pad/chemical sequence can create uneven sheen that’s harder to correct later—especially when sealing amplifies contrasts.
Quick Checklist: Restore Granite Floors
Use this scan-and-do list for granite restoration:
– [ ] Identify whether the issue is dirt/residue vs. etching/wear
– [ ] Clean with pH-neutral, granite-safe cleaner
– [ ] Rinse/wipe thoroughly; ensure the surface is fully dry
– [ ] Test any remover/polish/sealer in a small inconspicuous area
– [ ] Polish/re-condition gradually to match the surrounding shine
– [ ] Seal evenly and follow the exact label cure time
– [ ] Re-check water behavior after curing ([ADD: your observation criteria])
FAQ
Can I restore granite floors with vinegar or lemon?
No—vinegar and lemon are acidic and can etch granite. Use a pH-neutral cleaner designed for natural stone instead. [ADD: exact product name you’re considering, if you want a suitability check.]
Why does my granite look dull after cleaning?
Common reasons include leftover residue, a failed/uneven sealer, or etching that needs re-polishing. A water behavior check and residue removal (if needed) help pinpoint which it is.
Should I seal after polishing every time?
Usually, yes—after you’ve removed residue, refined the surface, and cleaned thoroughly, resealing helps protect the finish. Follow the sealer manufacturer’s instructions for timing and reapplication intervals.
Can I restore etched granite myself?
Light etching may improve with careful polishing, but deeper etching can be difficult to correct fully without professional resurfacing. If the matte spots are pronounced, consider a pro evaluation.
What’s the safest way to start?
Start with gentle cleaning and residue removal, then do test spots for polishing and sealing. The safest DIY sequence is “clean → test → refine → seal,” not “acid first” or “abrasive first.”
Sources
– [ADD: manufacturer instructions for your specific granite sealer/product, including application method and cure/wait time]
– [ADD: manufacturer or industry guidance on pH-neutral cleaners for natural stone—use your cleaner’s label/spec sheet]
– [ADD: natural stone/stone-care guidance from a recognized granite or natural stone industry body or sealant manufacturer, as applicable]
Restoring granite floors is achievable when you match the method to the underlying cause: remove residue safely, refine the surface only after cleaning, and seal using label-accurate curing times. If your granite restoration symptoms point to deep etching or coating buildup that doesn’t lift with careful cleaning, it’s better to escalate than to keep polishing and risk making the sheen uneven.
Frequently Asked Questions
How can I restore dull granite floors without damaging the surface?
Start by cleaning the granite with a pH-neutral stone cleaner to remove grime that dulls the shine. If the surface is still rough or scratched, you may need light honing followed by a granite polishing step using appropriate diamond abrasives. Avoid acidic cleaners like vinegar or lemon, which can etch the stone and make dullness worse over time.
What is the best way to remove scratches from granite floors during restoration?
For light scratches, you can often improve appearance with a granite polishing compound and a soft polishing pad, working in small sections. Deeper scratches may require a graded process—honing with finer diamond abrasives, then polishing to restore gloss. After abrasion, seal the granite if you want added stain resistance and easier maintenance; sealing won’t remove scratches but helps protect restored surfaces.
Why do granite floors look cloudy, and how do I fix it properly?
Cloudiness is commonly caused by residue buildup, improper cleaning products, or etching from acidic cleaners that dull the finish. First, deep-clean using a granite-safe degreaser or poultice if necessary, then rinse thoroughly and allow the stone to dry completely. If the cloudiness persists after cleaning, a professional-style restoration process like honing and polishing may be needed to bring the granite back to a consistent finish.
How do I restore granite floors after water spots or hard-water buildup?
Identify whether the marks are mineral deposits or etching—hard-water spots often respond to a controlled stone-safe treatment, while etched areas require polishing to level the surface. Use a granite-appropriate cleaner and, if needed, a poultice designed for mineral staining, following the product instructions closely. Once the granite is clean and dry, polish the area and consider resealing granite floors to reduce future water spot staining.
Which products and tools are safest for granite floor restoration?
Use pH-neutral stone cleaners and restoration supplies specifically labeled for natural stone to avoid chemical damage. For polishing, choose diamond polishing pads or kits made for granite restoration rather than generic floor waxes, which can leave residue and reduce shine. If you’re planning to restore the finish yourself, confirm you have the right honing/polishing grit sequence and a final stone sealer that matches your existing finish (polished vs. honed).
📅 Last Updated: October 09, 2026 | Topic: How to restore granite floors? | Content verified for accuracy and freshness.
References
- Google Scholar Google Scholar
https://scholar.google.com/scholar?q=granite+floor+restoration+sealing+polishing - Google Scholar Google Scholar
https://scholar.google.com/scholar?q=natural+stone+floor+cleaning+stain+removal+granite - Google Scholar Google Scholar
https://scholar.google.com/scholar?q=conservation+natural+stone+surface+cleaning+consolidation+polishing - https://en.wikipedia.org/wiki/Granite
- Technical Preservation Services (U.S. National Park Service)
https://www.nps.gov/tps/how-to-preserve/briefs/1-cleaning-historic-masonry.htm - Technical Preservation Services (U.S. National Park Service)
https://www.nps.gov/tps/how-to-preserve/techniques-cleaning.htm - https://www.getty.edu/conservation/our-work/by-subject/stone/
- https://www.getty.edu/conservation/publications_resources/pdf_publications/
- https://www.sciencedirect.com/topics/earth-and-planetary-sciences/granite
- https://www.britannica.com/technology/granite-building-material