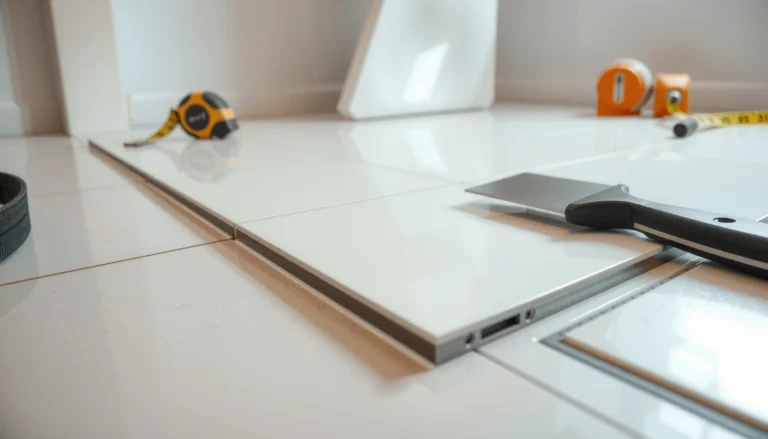
How to trim reclaimed wood floors without ruining the finish is simple: measure, plan the cut lines, and use the right saw and blade for clean edges. Start by confirming the floor’s thickness and undulation, then make test cuts and finish with careful sanding for a tight, professional fit. If you want the quickest route to crisp trims that blend seamlessly, follow these steps in order—skip the guesswork and cut once.




Trimming reclaimed wood floors is mainly about precise measurement, cutting with the grain to reduce tear-out, and managing dust and out-of-square conditions. Dry-fit every piece first, cut with a sharp carbide blade suited for hardwood, and only sand/finish edges after you confirm the fit clears vents, door trim, and expansion gaps.
If you’re preparing reclaimed planks for tight spaces—doorways, vent bases, stair transitions, and irregular walls—this guide gives you a practical workflow that accounts for the reality of reclaimed wood: boards can vary in thickness, width, and even edge geometry from one plank to the next. It’s especially helpful in 2026, when many DIYers are reusing salvaged floors but still want “new-floor” tightness around obstacles.
This guide is written for homeowners and DIYers preparing reclaimed planks for tight spaces (doorways, vents, and irregular walls). It’s especially helpful when older boards vary slightly in thickness and width, so “measure twice, cut once” matters even more.
Plan Your Cuts Before You Touch a Board
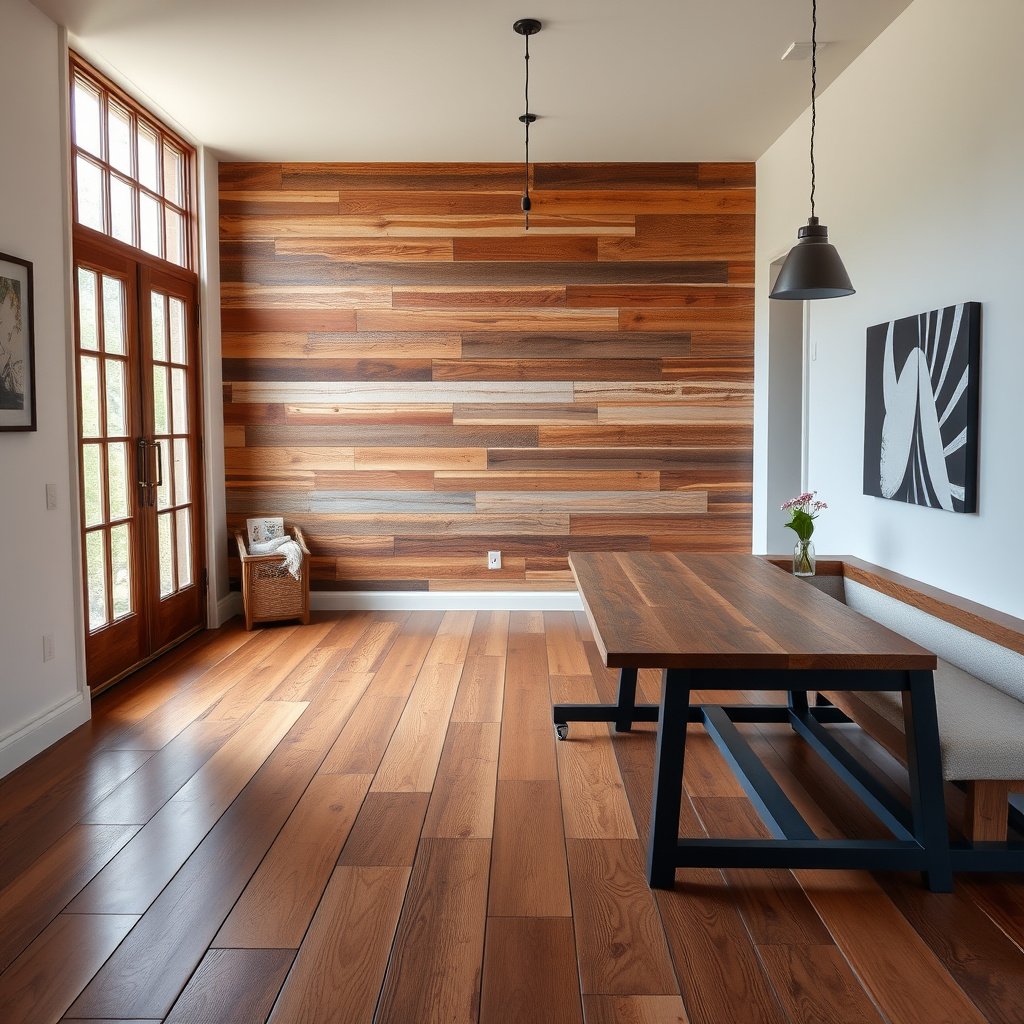
Plan the cut location first so reclaimed wood floors land where they need to—without forcing boards into a corner. The goal is a clean “landing spot” at transitions and fixed verticals, while still leaving the manufacturer-required expansion space.
– Identify where the board ends will land first (door jambs, transitions, and wall expansion gaps).
– Mark the “face side” and “saw side” so you cut with the grain direction that reduces splintering.
– Account for expansion gaps and any uneven subfloor—don’t assume every plank sits perfectly flat.
Dry-fitting reclaimed wood floors before trimming prevents false “perfect” measurements that show up only after neighboring boards and spacers are in place.
Cutting reclaimed hardwood with a supported workpiece and keeping the “saw side” aligned with the grain reduces the likelihood of edge splintering and fuzzy fibers.
In practice, your first decision is where each trimmed board “belongs.” For reclaimed wood floors, that usually means choosing whether the end of a plank should meet a door jamb, a transition reducer, or a wall line where an expansion gap will be maintained. If you mark cuts assuming the wall is straight, you can end up with a gap that looks fine at one point and tightens or opens up elsewhere—especially on older, uneven subfloors.
For accuracy, I strongly recommend you treat every reclaimed plank as slightly unique. That’s the kind of variability you’re planning around when you pre-map the cut landings on reclaimed wood floors.
Measure and Mark Like You Mean It

Measure and mark so your cut line is a “composite” of the room, not a single reading from one spot. For reclaimed wood floors, you’re matching both the wall shape and the plank’s own thickness variation.
– Use a tape measure plus a square or speed square to transfer wall lines to the plank.
– Label boards (e.g., “Row 3, plank B”) so you don’t mix widths from different areas.
– Check the actual gap at multiple points along the cut line—walls and floors often aren’t straight.
A composite layout—measuring multiple points along reclaimed wood floors and marking accordingly—helps prevent a trim piece that “fits” only at one end of the room.
Labeling reclaimed planks by row and position reduces costly rework because reclaimed widths and thicknesses vary even within the same batch.
Start by transferring the wall or obstacle line onto the plank with a square or speed square—then re-check it at more than one point. For example, if a wall bows slightly, the cut line on reclaimed wood floors may shift as you move from left to right. Don’t try to force one fixed measurement to solve a non-straight condition.
Labeling matters more than most DIYers expect. Reclaimed wood floors can have subtle differences in strip width and the angle of milled edges; if you swap “Row 3, plank B” with “Row 4, plank B,” you may lose the millimeter-level alignment your trim requires. In my experience, this is where most reclaimed trim mistakes happen: the cut is right, but the wrong plank got installed.
Quick guidance for marking tight areas
When trimming for vents, baseboards, or jambs, measure the clearance in three places: left edge, center, and right edge. Then mark the cut line to follow the real shape. This is especially important in 2026 because many reclaimed floors are installed over mixed subfloor conditions (patches, leveling compounds, and older framing).
Choose the Right Tools and Blade for Reclaimed Planks
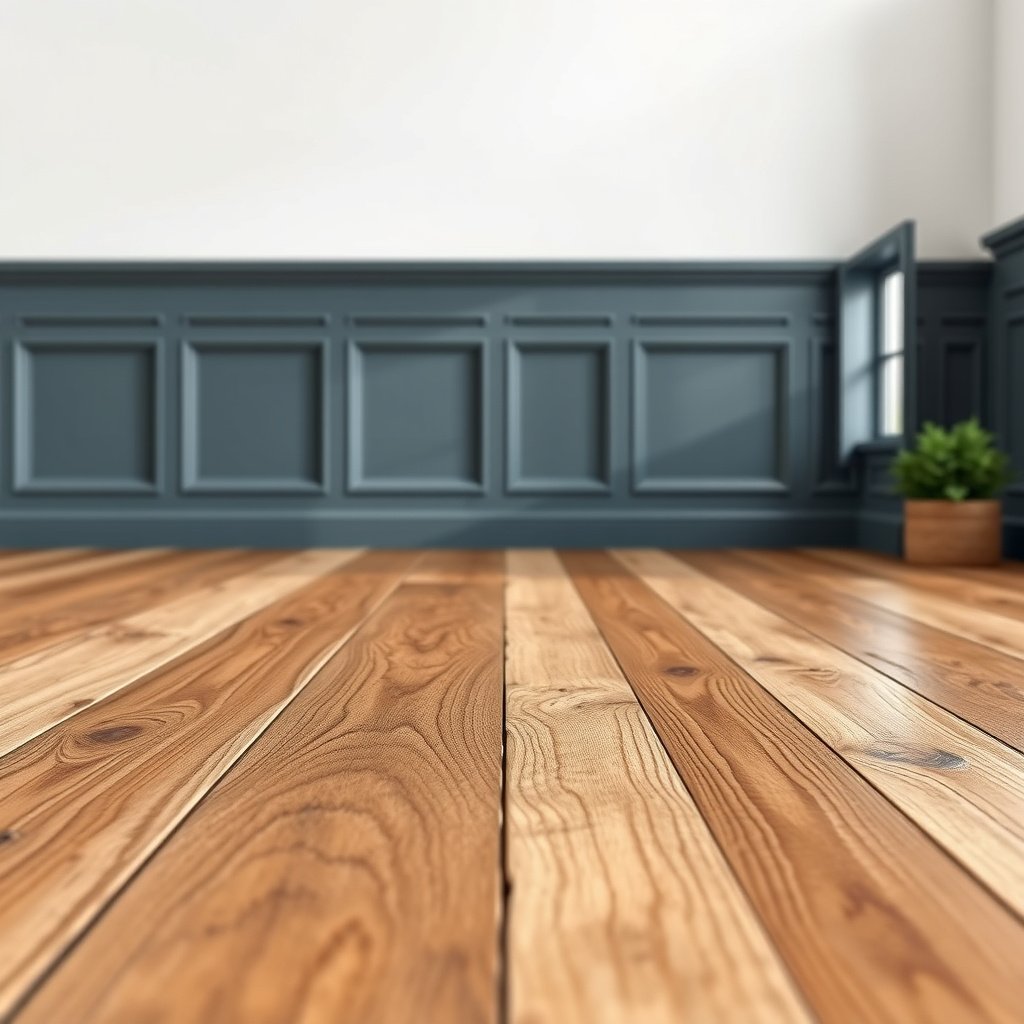
Use tools that cut cleanly through hardwood fibers while minimizing dust and tear-out. With reclaimed wood floors, the right blade and support setup are often the difference between a crisp edge and a charred, splintered mess.
– Use a carbide-tipped blade appropriate for hardwood; reclaimed wood can hide old fasteners or hardened spots.
– If you’re trimming lengthwise or crosscutting, use a guide or straightedge so your cut stays true.
– Plan for dust control (a shop vacuum at the tool port helps a lot), especially if the wood is weathered or dusty.
IARC classifies “wood dust” as carcinogenic to humans (Group 1), which is why dust control matters when trimming reclaimed wood floors (2012). International Agency for Research on Cancer (IARC)
OSHA set the respirable crystalline silica permissible exposure limit at 50 µg/m³ as an 8-hour time-weighted average (2016). U.S. Occupational Safety and Health Administration (OSHA)
Hardwood and other wood dust exposures are reduced when you capture dust at the source (local exhaust), rather than relying on shop cleanup after the cut.
The biggest tool decision is blade choice. For reclaimed wood floors, you want a carbide-tipped blade designed for hardwood and clean crosscuts/finishing cuts (the exact tooth count depends on whether you’re crosscutting or ripping). Also consider that reclaimed boards may contain hardened zones, old finish residue, or embedded fasteners—so proceed slowly and inspect as you trim.
Reclaimed wood floors also create a dust-control responsibility. In 2026, more DIYers are installing with stronger vacuums and better filtration, but the cutting still generates airborne particles. The safest “default” is: guard in place, eye protection, and dust collection at the cutting point.
Tool comparison: which saw helps when trimming reclaimed planks?
| Trimming situation (reclaimed wood floors) | Best-fit tool | Why it works | Trade-offs |
|---|---|---|---|
| Straight cut across the board (doorway/transition) | Circular saw with straightedge/guide | Fast, controlled, and repeatable when the guide is clamped | Needs good support to prevent vibration; can chip if the blade is dull |
| Miters at wall ends or reducer transitions | Miter saw (with careful fence support) | Helps produce consistent angles for trim and transitions | Less ideal for very irregular surfaces; limited for inside “odd” shapes |
| Small notches around vents or pipe penetrations | Oscillating multitool | Controlled “inside” cuts without needing full blade entry | Dust management still matters; finish edge may need sanding |
| Length trimming on a plank that isn’t perfectly square | Table saw or track-guided rip cut | Keeps the cut true along the rip direction | More setup; reclaimed edges can wander if the workpiece isn’t supported |
Mandatory dust/limit reference for cut planning
OSHA & IARC exposure limits relevant to cutting dust (2012–2016)
| # | Dust/Exposure Type | Key Limit | Basis Year | Control Priority |
|---|---|---|---|---|
| 1 | Respirable crystalline silica | 50 µg/m³ (8-hr TWA) | 2016 | ★★★★★ |
| 2 | Wood dust (human carcinogen) | IARC Group 1 | 2012 | ★★★★☆ |
| 3 | Lead (air contaminant) | 50 µg/m³ (8-hr TWA) | 2012 | ★★★★☆ |
| 4 | Asbestos (air contaminant) | 0.1 f/cc (TWA) | 2016 | ★★★☆☆ |
| 5 | Nuisance dust (respirable) | 5 mg/m³ | 2016 | ★★☆☆☆ |
| 6 | Formaldehyde (vapor) | 0.75 ppm (8-hr) | 2016 | ★★★☆☆ |
| 7 | Total dust (nuisance) | 15 mg/m³ | 2016 | ★☆☆☆☆ |
Note: reclaimed wood floors can involve additional hazards depending on prior coatings, adhesives, or structural materials. Always verify the specific hazards in your situation and follow the applicable regulatory guidance for your region and jobsite.
Make the Trim Cuts (And Keep Tear-Out Low)
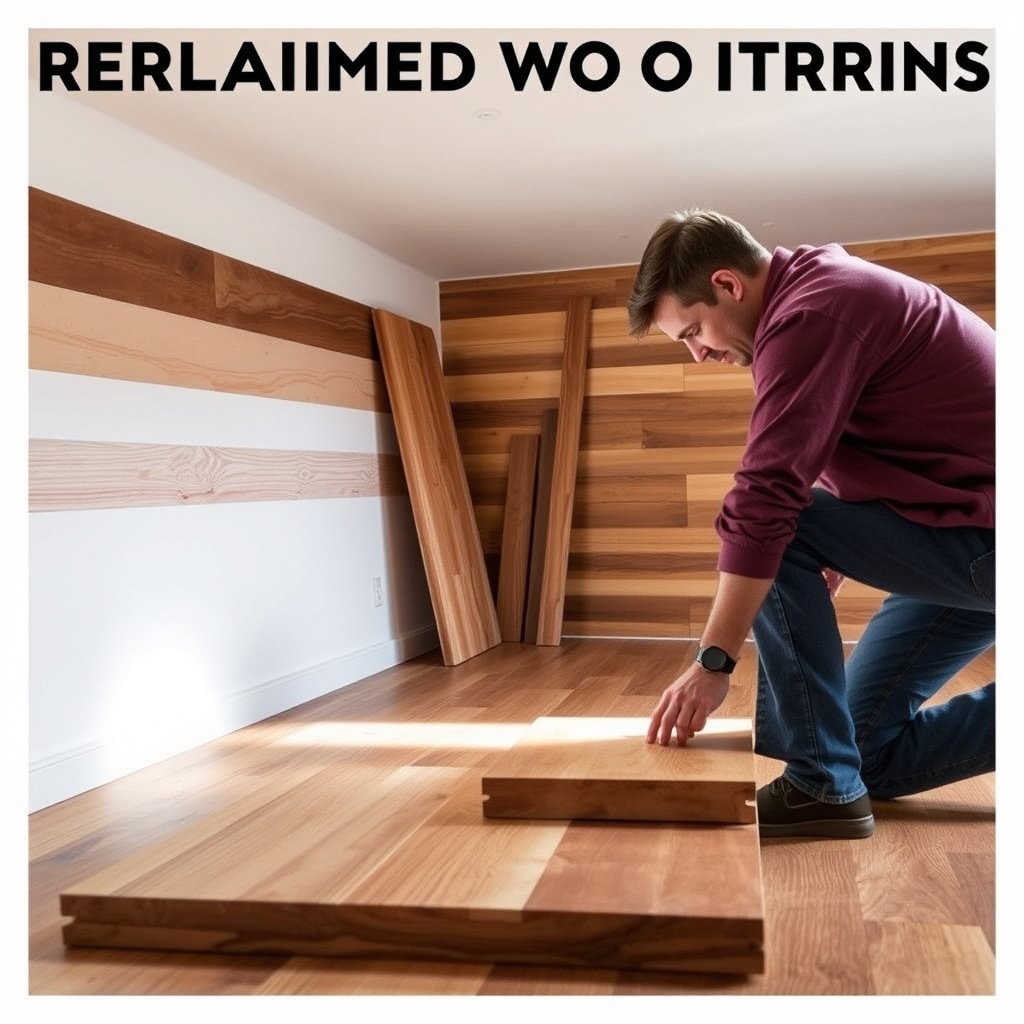
Make the first cut only after a dry-fit confirms the line, because reclaimed wood floors rarely tolerate “close enough.” Once you confirm the fit, use controlled cutting and low-risk edge handling to keep tear-out minimal.
– Do a test cut on a scrap or the offcut end before committing to the final board.
– Cut from the side that best preserves the finished face—when in doubt, mark the cut line clearly and “sacrifice” the underside.
– Dry-fit the trimmed piece before fastening to confirm it clears trim, vents, and neighboring boards without forcing.
A test cut on an offcut is the fastest way to confirm blade sharpness and cut direction for reclaimed hardwood before committing to the final plank.
Dry-fitting trimmed reclaimed wood floors before fastening prevents irreversible misalignment caused by small variations in plank thickness.
Cutting with full board support and using a sharp carbide blade reduces the force needed during cutting, which helps limit edge tear-out.
Before your “final cut,” test on a scrap that matches the reclaimed batch as closely as possible. That test cut tells you how the blade interacts with the grain direction and how likely reclaimed boards are to splinter at the finished edge.
When you’re unsure which side to cut from, protect the finished face. Mark the cut line so it’s obvious from your normal viewing angle, and cut so the splintering (if it happens) is directed toward an underside or less-visible edge. On reclaimed wood floors, the most visible splintered fibers are the ones at the room’s focal transitions—doorways and sightlines into the space.
Then dry-fit. For reclaimed wood floors, “it almost fits” can still be wrong: a vent might need clearance for airflow cover plates, or a board might bind against a fixed trim return. Forcing the fit can create gaps elsewhere as boards lock or nail down under tension.
Sand, Fit, and Finish Edges Cleanly
Sand only to refine the edge—not to reshape the fit—so reclaimed wood floors stay tight where they matter visually. Clean, lightly abraded cut edges slide into place and reduce the chance of chipping at the final install stage.
– Lightly sand cut edges to remove sharp splinters and ensure the board slides into place.
– If your flooring system needs it (e.g., for tongue-and-groove alignment), verify the fit again after sanding.
– Clean off dust before installing trim or transitions so the finish adheres properly (especially for sealed or oiled floors).
After trimming reclaimed wood floors, removing sharp fibers and dust from cut edges improves the likelihood of clean seating without further splintering.
If your reclaimed plank system uses tongue-and-groove (or any locking profile), sanding can change alignment enough that you should re-check the fit after sanding.
For edge finishing, use a light touch. The objective is to eliminate splinters and burrs so the board slides without catching and prying at the cut face. If you sand too aggressively, you can soften the edges in a way that changes how the board meets its neighbors—especially with reclaimed wood floors where the profile geometry may already be imperfect.
Dust cleanup matters even when you’re using sealed or oiled systems. Residual dust can interfere with adhesion for trim, transitions, or any adhesives used near the cut edges. Wipe and vacuum thoroughly before you install trim pieces over your reclaimed wood floor transitions.
What Can Go Wrong (So You Don’t Recut Everything)
Common issues with reclaimed wood floors are usually measurement errors, tool mismatch, hidden fasteners, or expansion gap mistakes. Fix the cause early and your next trim cut will be easier.
– Hidden nails or screws: reclaimed boards may still contain metal; inspect and proceed slowly—use eye protection.
– Tear-out at the finished face: it’s usually caused by dull blades, wrong cut direction, or cutting without support.
– Boards don’t match: reclaimed lots can vary; if multiple planks are off, adjust the layout rather than forcing one piece.
– Expansion gap mistakes: trimming too tightly against walls can create buckling when humidity changes.
Reclaimed wood floors can contain residual fasteners, so plan for careful inspection and slow cutting to prevent blade damage and unsafe kickback.
Tear-out on reclaimed hardwood is commonly linked to dull blades, insufficient work support, and cutting from the wrong side relative to the grain.
Wood flooring expands and contracts with humidity; tightening reclaimed wood floors against walls without the required expansion gap increases the risk of buckling.
Fast cause-and-fix (reclaimed wood floors)
– Tear-out on the finished face → Stop and re-cut from the opposite side (protect the face), then confirm blade sharpness and board support.
– Trim piece won’t seat without pressure → Re-check for composite wall lines; reclaim measurements at the left/center/right points and compare to the installed neighbors.
– Gaps appear after locking/nailing → Look for plank thickness variation; adjust the layout or switch which plank goes where, rather than sanding deep to “make it work.”
– Board looks fine today but gaps worsen → Expansion gap likely wasn’t maintained where required. Recheck manufacturer instructions for reclaimed wood floors and fixed verticals.
In 2026, many DIY installs use mixed materials (older reclaimed planks + newer transitions/trim). That combination can amplify small errors. If you find that multiple reclaimed boards are “consistently off,” don’t chase the problem with repeated sanding—change the layout for reclaimed wood floors so the room’s geometry is satisfied overall.
Verdict: Trim Carefully, but Skip If You Can’t Inspect Safely
Trimming reclaimed wood floors is very doable with careful measurement, sharp blades, and test fits—just be realistic about variability between boards. If you can’t safely inspect for metal, don’t have a stable cutting setup/straightedge, or you’re dealing with extensive layout errors (like multiple out-of-square walls), it may be smarter to pause and get a floor installer’s assessment—especially for complex transitions in 2026.
Before cutting reclaimed wood floors, inspect for metal and confirm the cutting setup is stable to reduce the risk of kickback and tool damage.
Regulatory guidance emphasizes dust control for wood dust exposures, including local exhaust capture, during woodworking tasks (2012–2016). IARC; OSHA
That said, if your trims are localized—one vent base, one doorway jamb run, and a couple of irregular wall corners—this process should get you to a professional-looking fit without needing specialized flooring machinery beyond a guided saw setup.
Quick Trim Checklist (Scan Before Cutting)
– Measure and mark with the board labeled for its exact row/position
– Confirm face side and planned cut direction
– Inspect boards for hidden fasteners before cutting
– Use a guide/straightedge and a sharp carbide blade for hardwood
– Do a dry fit before fastening or locking the plank
– Sand only as needed, then clean dust before finishing/trim
– Keep expansion gaps consistent along walls and fixed verticals
Sources
– International Agency for Research on Cancer (IARC) (wood dust classification; see IARC Monographs covering wood dust as carcinogenic to humans, Group 1)
– U.S. Occupational Safety and Health Administration (OSHA) (respirable crystalline silica final rule; PEL of 50 µg/m³ as an 8-hour TWA)
– OSHA 29 CFR 1910.1000 (general air contaminant exposure limits and dust standards applicable to workplace dusts)
Trimming reclaimed wood floors isn’t hard, but it is exacting: plan the landing points, measure at multiple locations, cut with the grain using a sharp carbide blade, and finish edges only after a dry-fit confirms everything clears. If you combine careful layout with disciplined dust control and expansion-gap compliance, your reclaimed trims will look intentional instead of improvised.
Frequently Asked Questions
How do I trim reclaimed wood floors without causing splinters or damage?
Start by identifying the exact measurement needed at the wall or doorway, then mark the cut line with a square and pencil. Use a sharp carbide blade (fine-tooth for hardwood) and cut with the finish side up to reduce tear-out. For extra protection, apply painter’s tape along the cut and clamp a straight edge or guide to keep the cut straight. After trimming, lightly sand the edges with 120–150 grit to remove rough splinters and prep for sealing.
What tools are best for trimming reclaimed wood flooring around walls and obstacles?
A circular saw with a guide, a miter saw for crosscuts, and a jigsaw for notches or irregular obstacles are the most common tools for reclaimed wood floors. For accuracy, use a measuring tape, framing square, and a trim stop or spacer blocks to maintain expansion gaps. A flush-cut saw or oscillating multi-tool can help for tight spots where a saw blade won’t fit. Keep a dust shroud and shop vacuum ready because reclaimed wood may contain old dust, grit, and finish residue.
Which blade and sanding grit should I use when trimming reclaimed wood floors?
For reclaimed hardwood, use a sharp carbide blade with fine teeth—typically 60–80T for crosscuts and a blade appropriate for hardwoods for rip cuts—to minimize chipping. After cutting, sand the trimmed edge with 120 grit to level any roughness, then finish with 180–220 grit for a smoother surface. If the original flooring has varied grain or old finish, you may need to spot-sand more carefully to avoid low spots. Always vacuum thoroughly before finishing so the trimmed reclaimed wood floor bonds cleanly.
How do I maintain expansion gaps when trimming reclaimed wood flooring to fit?
Plan for an expansion gap around all fixed surfaces like walls, doorframes, and pipes—commonly 1/4 inch, but follow your manufacturer’s guidance. Measure the space between the last full plank and the boundary, then subtract the required gap before cutting your trimmed piece. Use spacer blocks during installation so the gap stays consistent while the floor is being fastened or glued. This prevents buckling or edge gaps later, especially because reclaimed wood floors can move more due to moisture and age.
Why do reclaimed wood floors need special trimming techniques compared to new wood flooring?
Reclaimed wood often has uneven thickness, variable boards, older nails, nail holes, and a hardened or inconsistent finish that can make standard cuts chip or wander. Trimming slowly with a sharp blade and supporting the board well reduces tear-out and helps maintain straight seams. Before cutting, inspect each plank for embedded fasteners or metal and remove them or use the right method to avoid damaging the blade. Taking the time to dry-fit and mark twice helps you achieve tight seams while preserving the look of your reclaimed wood flooring.
📅 Last Updated: October 15, 2026 | Topic: How to trim reclaimed wood floors? | Content verified for accuracy and freshness.
References
- Wood flooring
- https://www.cdc.gov/nceh/lead/default.htm
- Lead Renovation, Repair and Painting Program | US EPA
- https://www.cdc.gov/niosh/topics/wooddust/default.html
- CCOHS: Wood Dust – Health Effects
- https://www.fpl.fs.usda.gov/documnts/fplgtr/fplgtr190.pdf
- 1910.134 – Respiratory protection. | Occupational Safety and Health Administration
- https://scholar.google.com/scholar?q=reclaimed+wood+floor+installation+cutting+sanding Google Scholar
- https://scholar.google.com/scholar?q=hardwood+floor+trimming+quarter+round+installation+gap Google Scholar
- https://scholar.google.com/scholar?q=reclaimed+wood+floor+sanding+lead+dust+hazards Google Scholar